La Maison Rililie
  • Knittingtherapy
  • Patterns
  • Tutorials
  • Free patterns
  • Events & WS
  • About Me

The Soft SHAPING of An I-Cord

16/8/2019

Comments

 
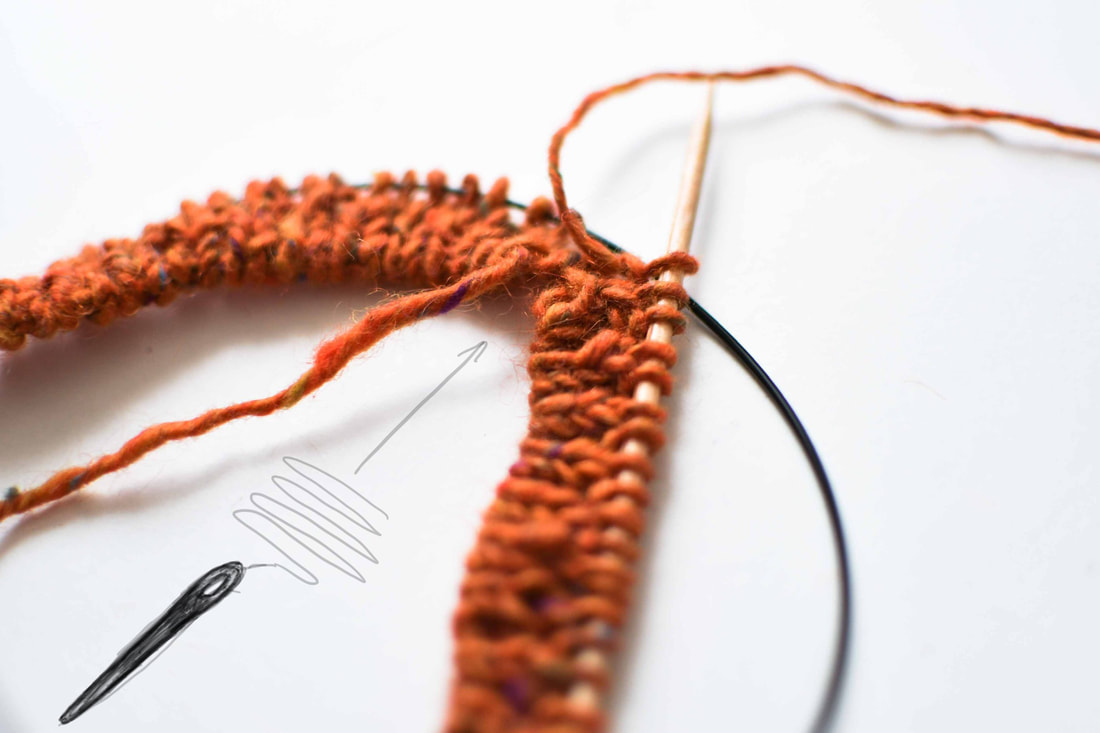
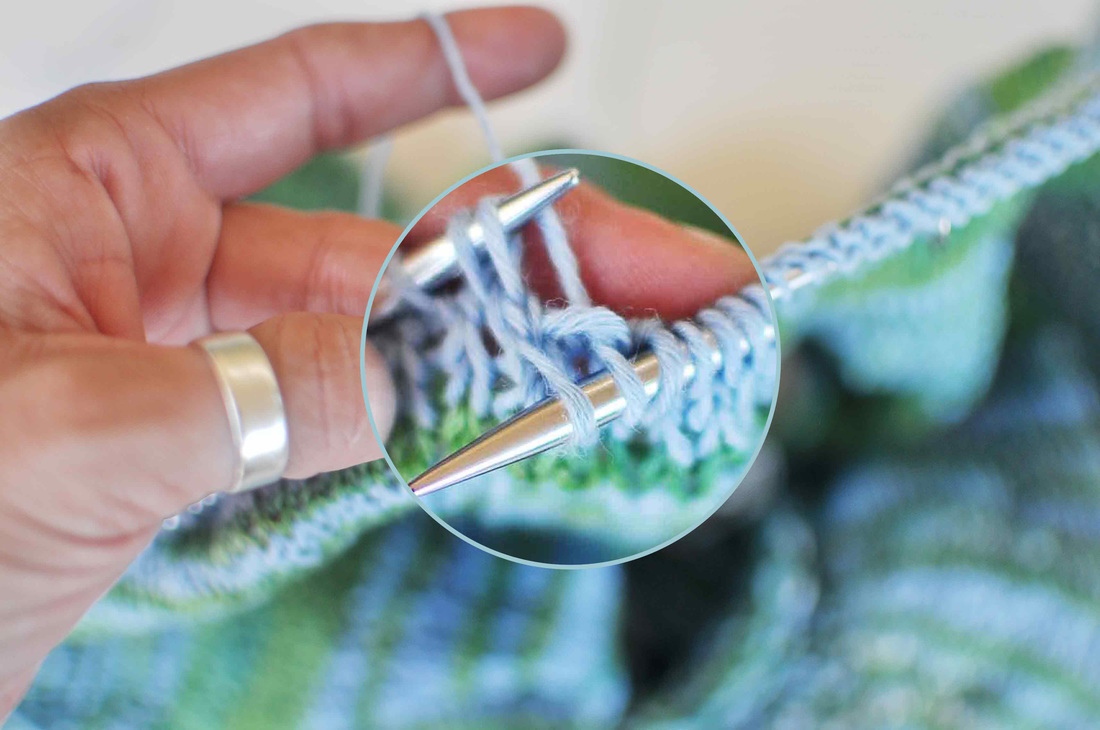
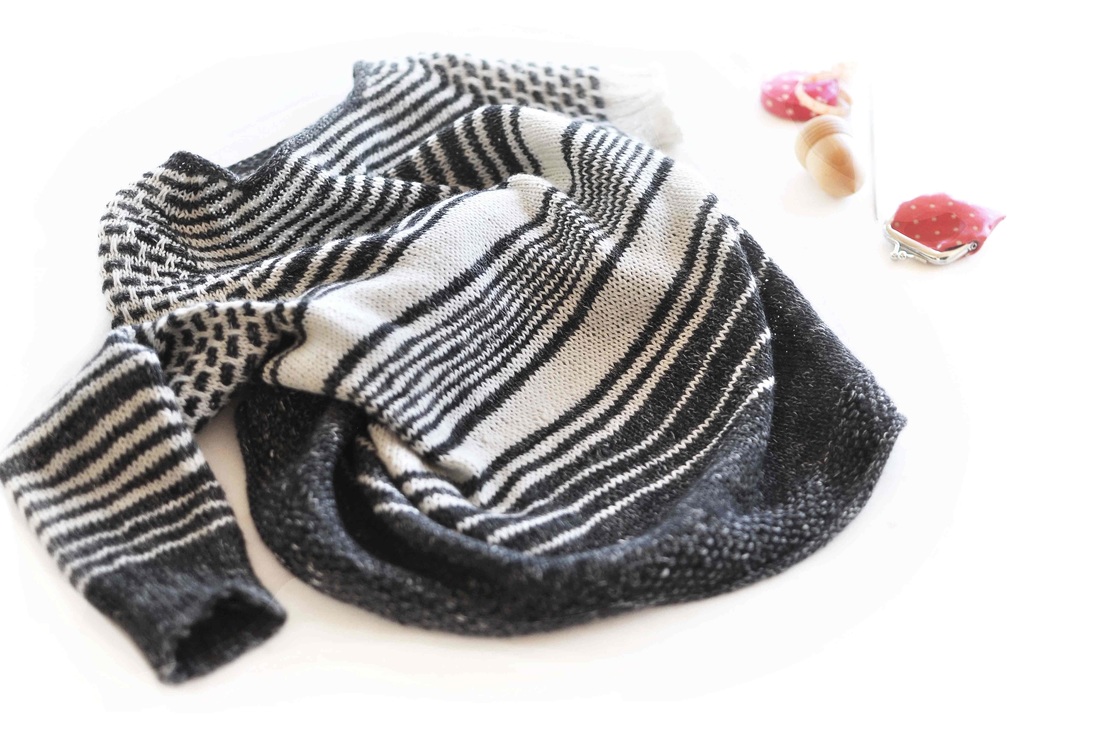
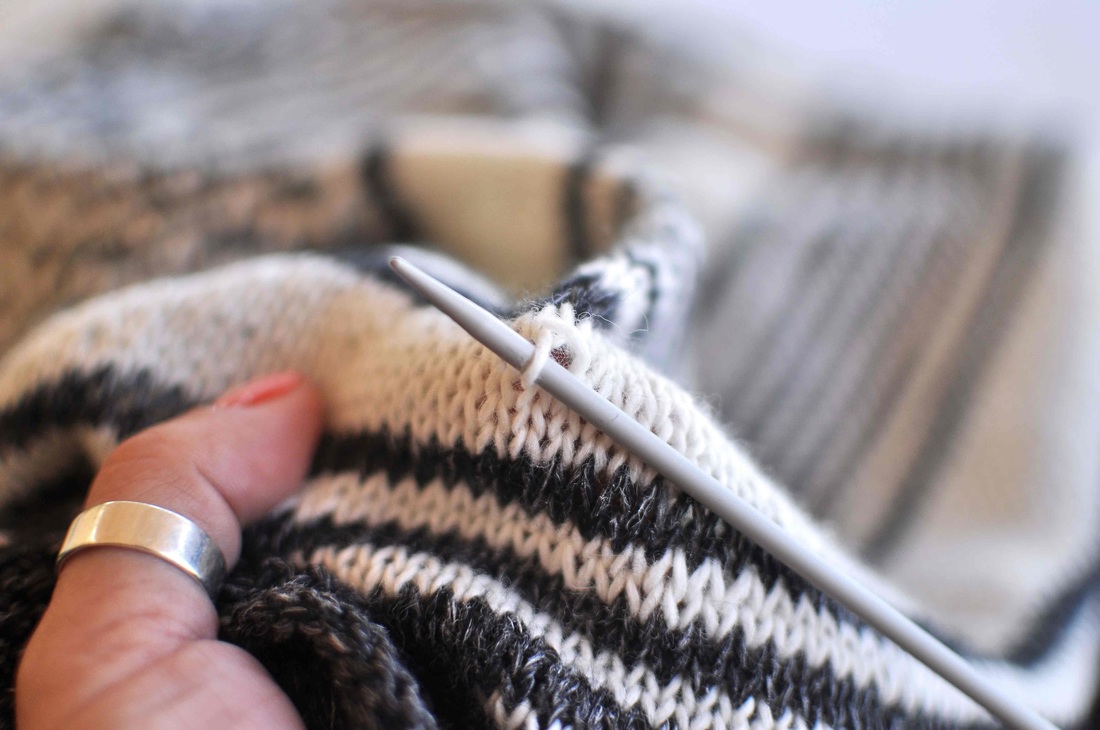
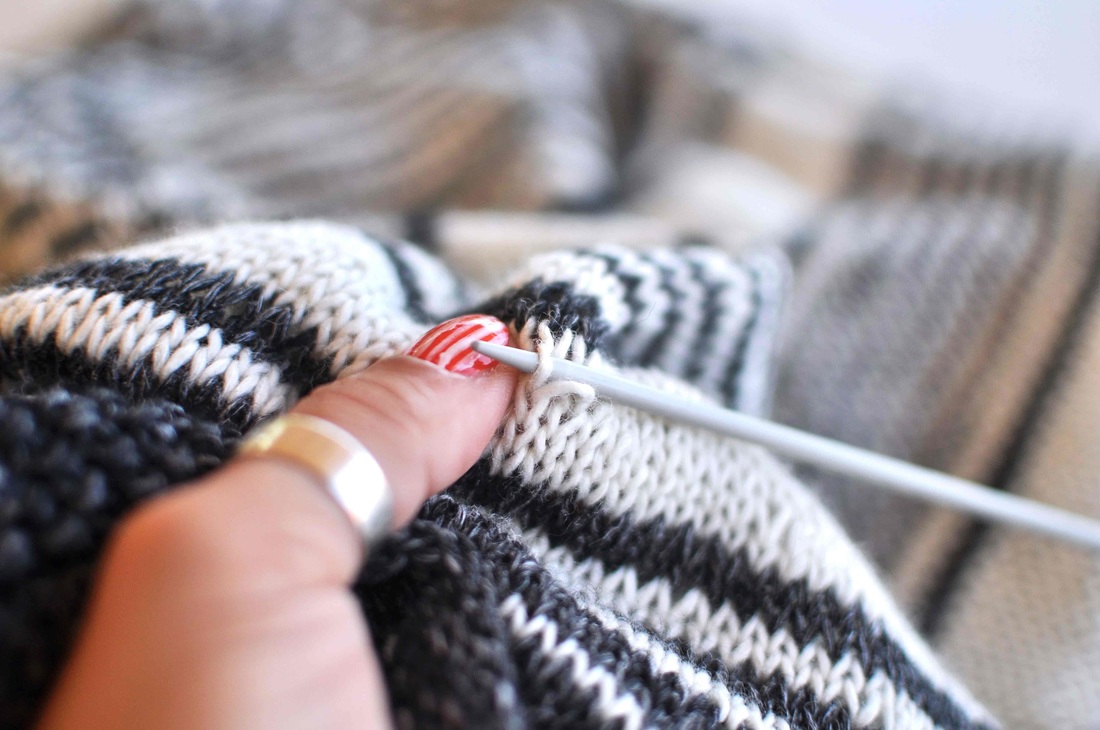
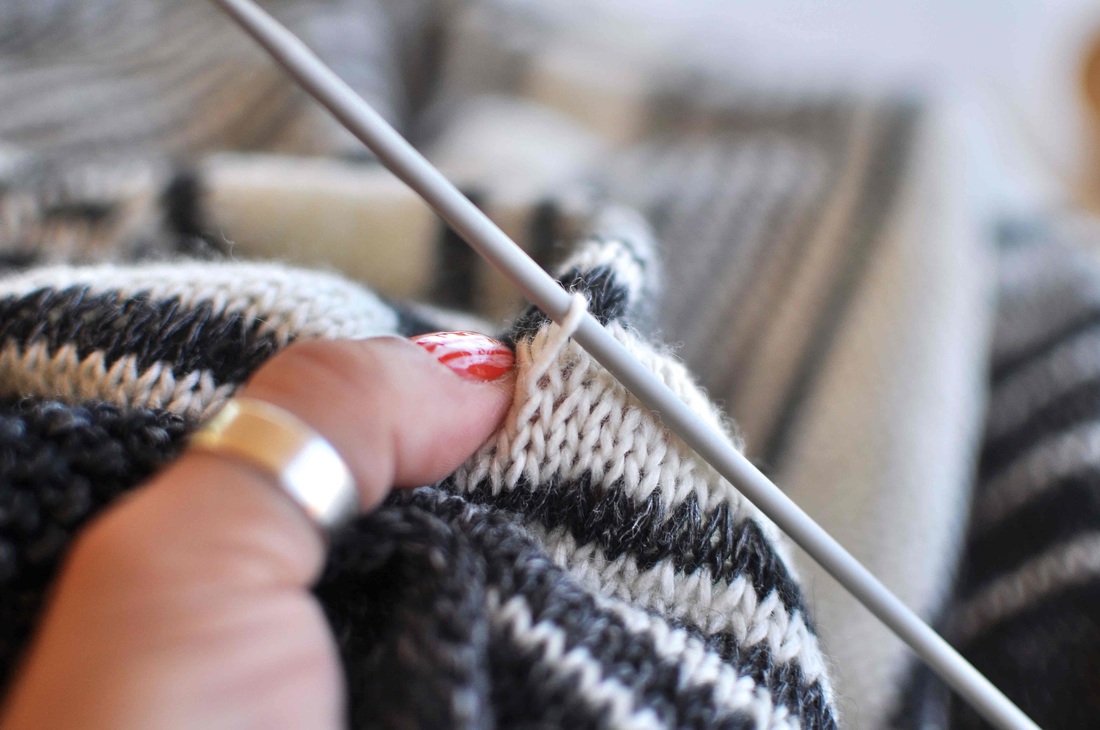
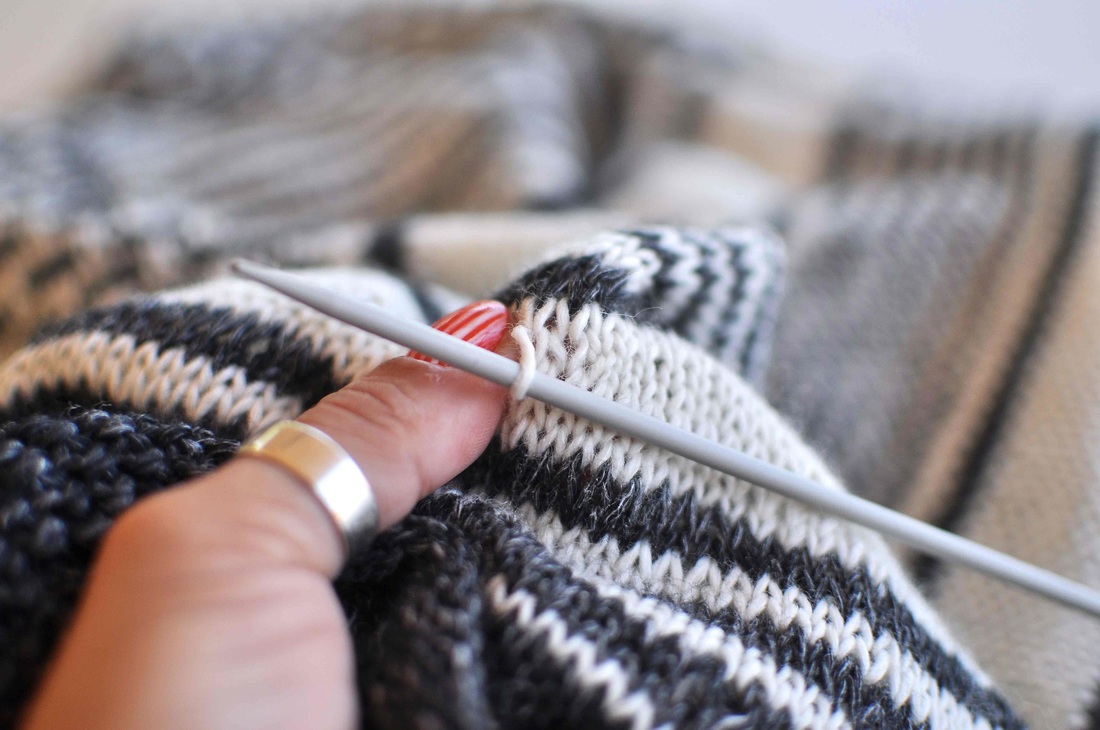
For my upcoming pattern (one that shall be published in the next week) I needed a different approach to work the renown i-cord bind off, the professional looking edging we already cherish and love...
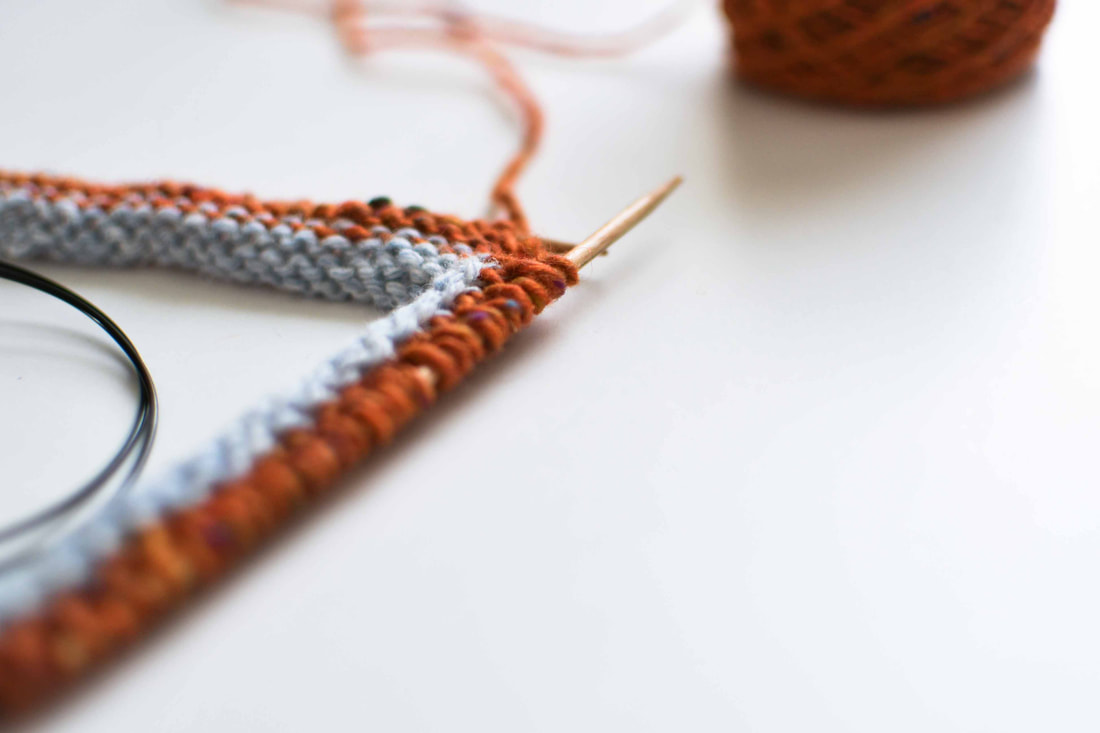
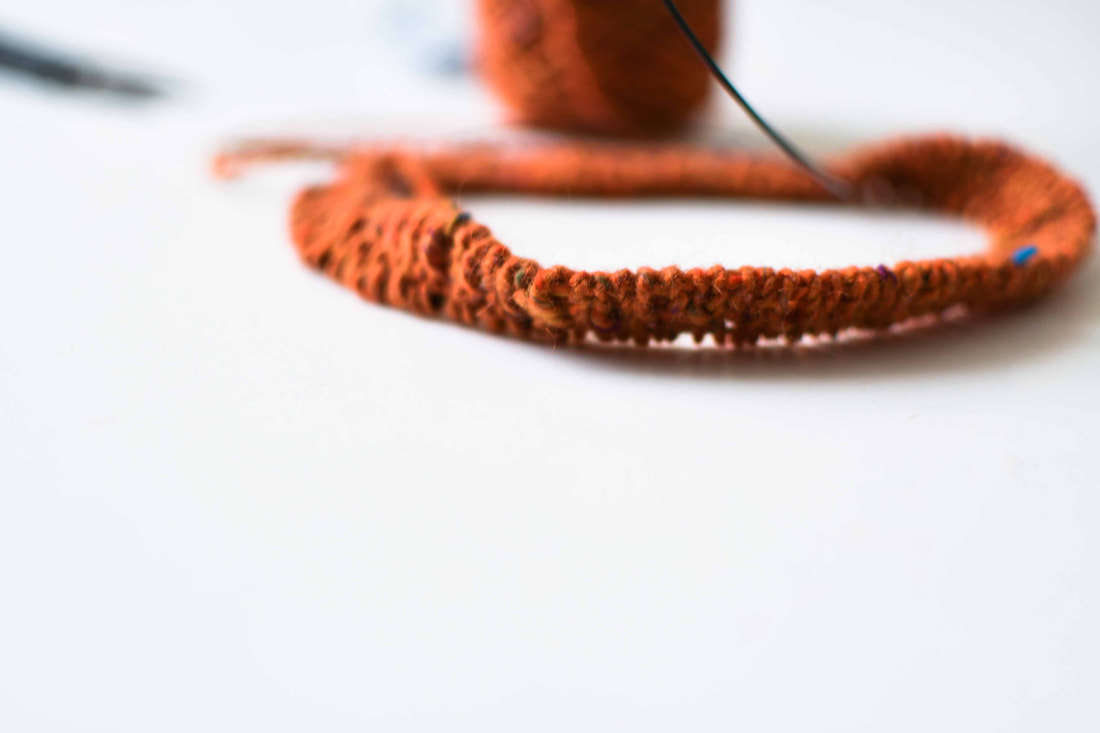
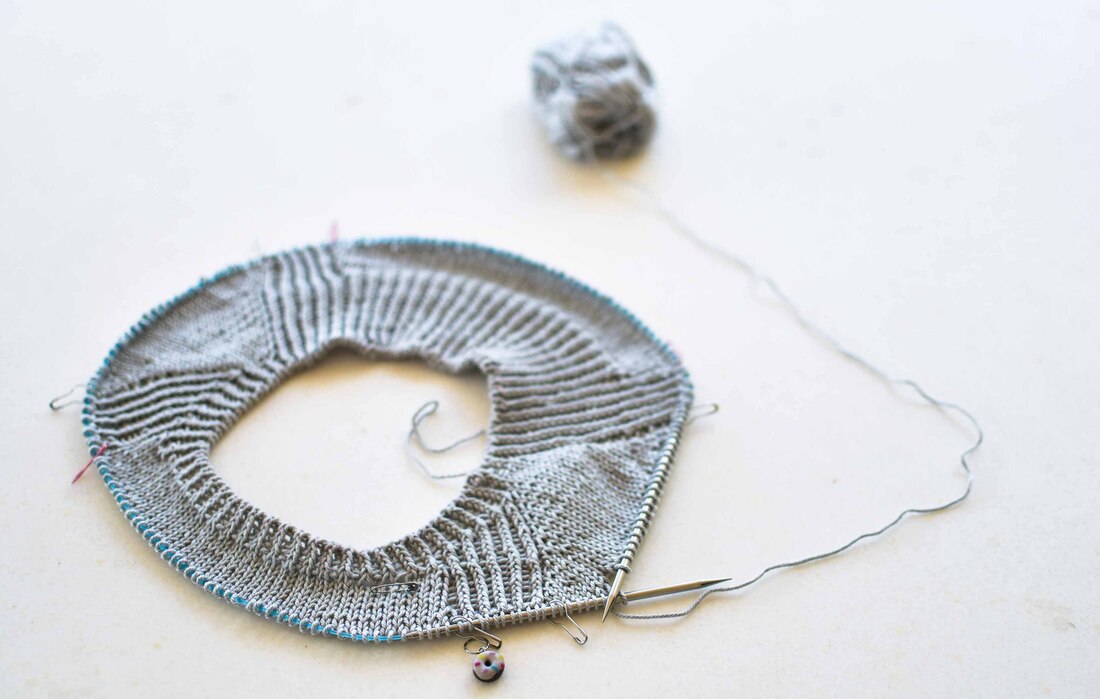
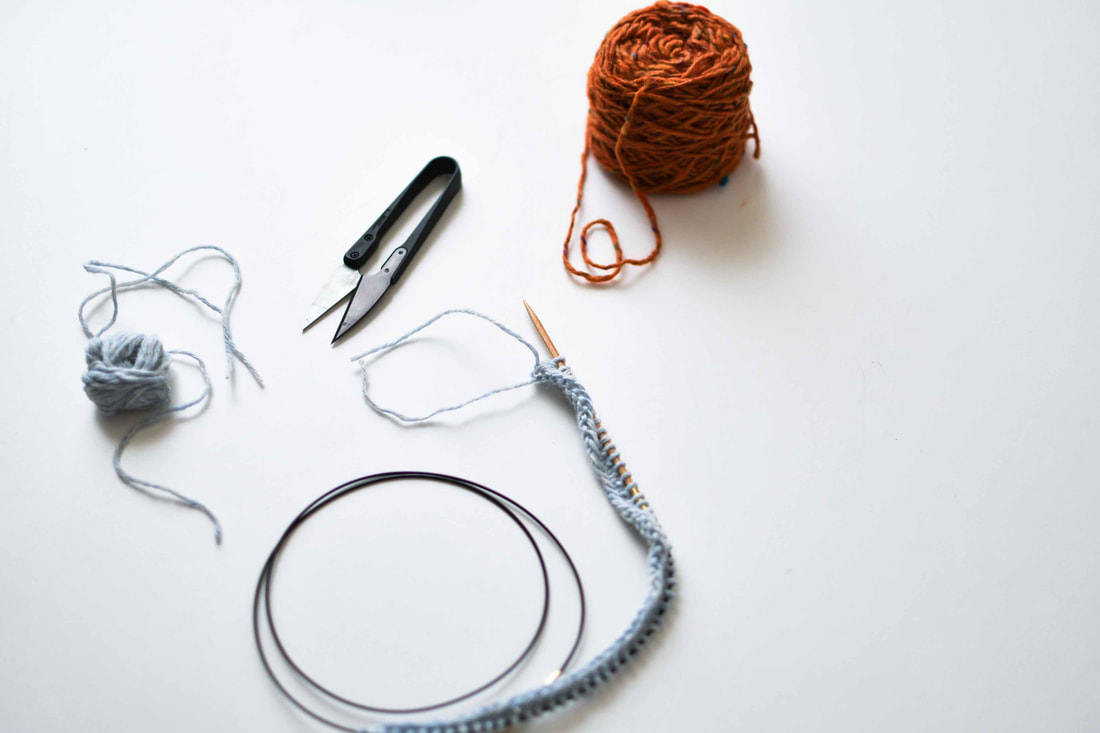
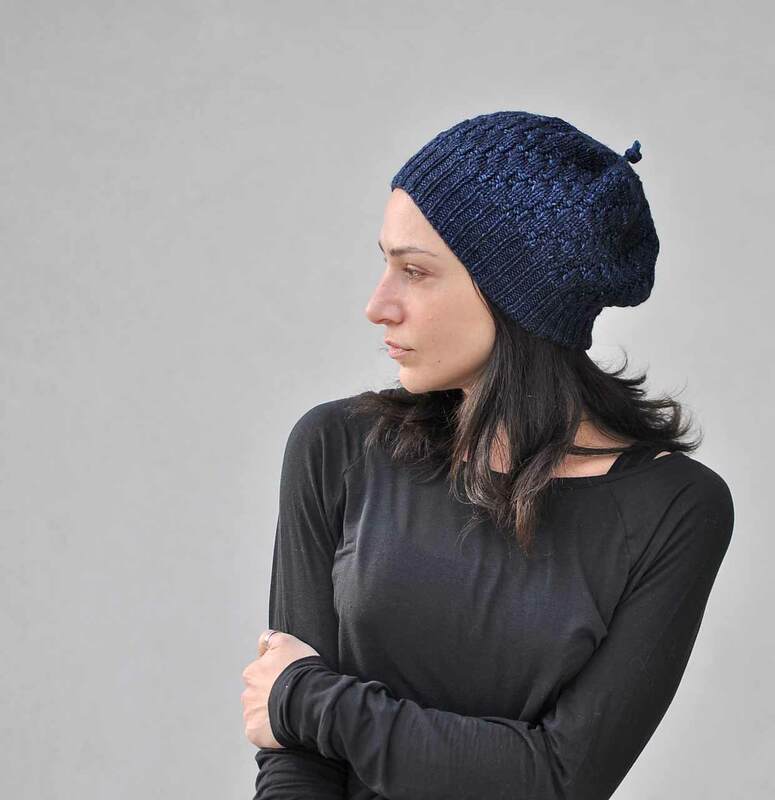
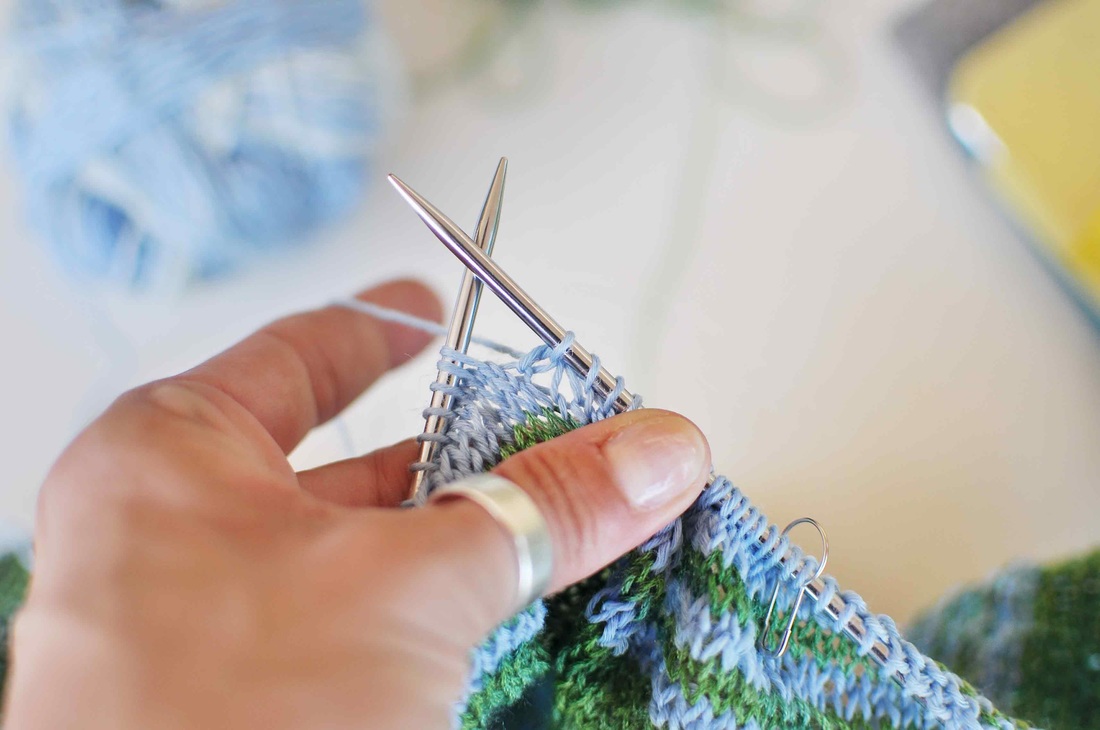
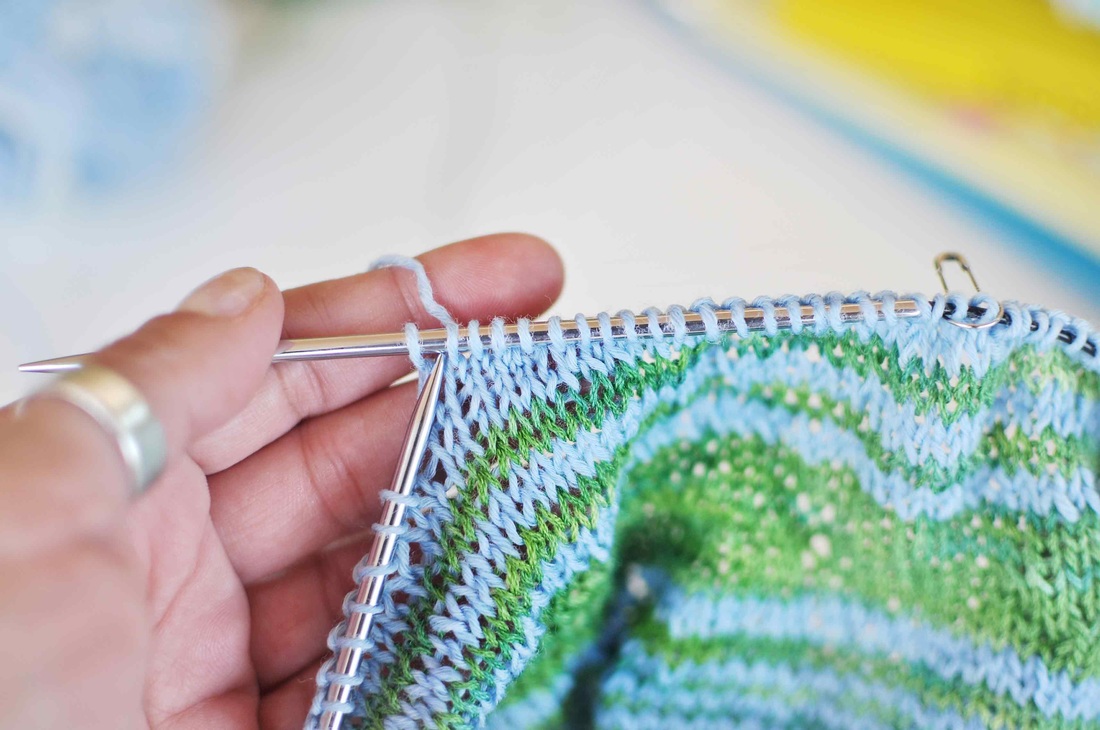
How to work an i-cord BO with a low volume start and ending - a tutorial by La Maison Rililie Designs
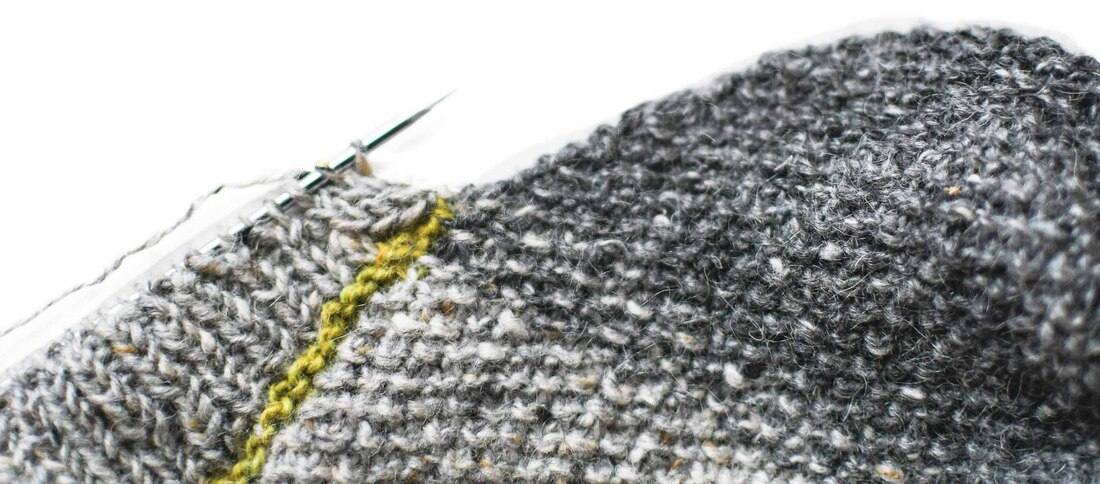
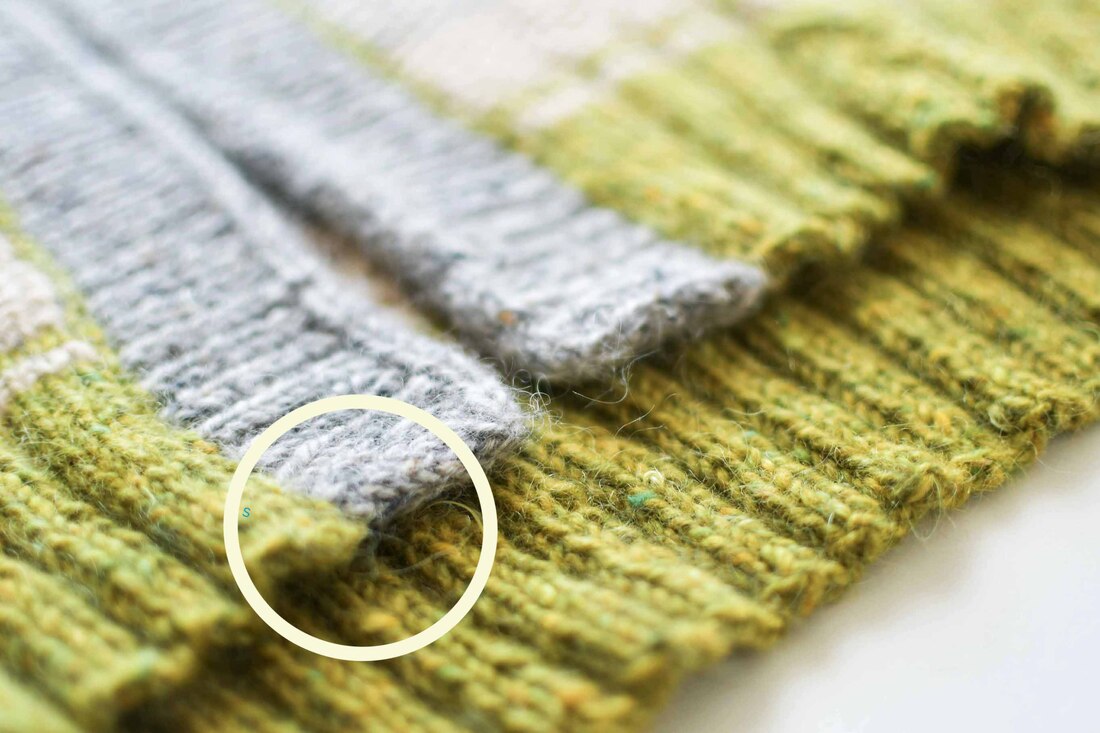
I wanted something, that allowed this very neat border to flow discreetly in and out of the fabric, whenever I should choose for it to do so.... this means that I wanted to allow the cord to get to its full volume and shape after having worked some rows of it and not right from the very beginning (as is the case when we immediately cast on the 3 needed stitches for it) and also to subdue softly at the end of it's cording existence.

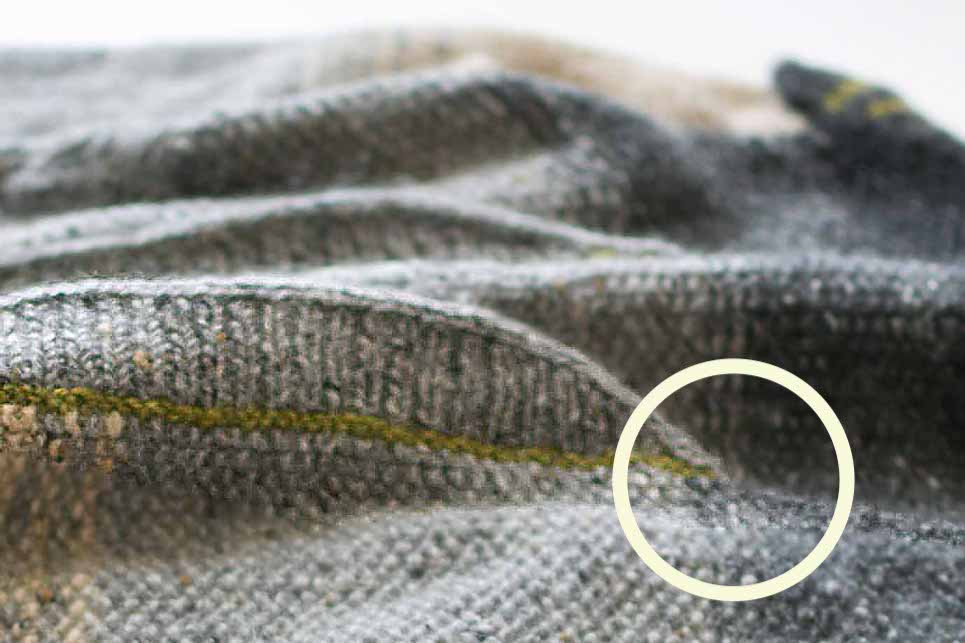
Whenever the i-cord bind off is not worked in a complete and eternal, grafted circle, it starts and ends abruptly with a thick wulst when constructed in the common way. In these sad cases one often tries to hide it's bulk by sewing parts of it into place and pulling some sections out of the way while doing all kinds of stuff that are never really too efficient in hiding all of it's hideousness!
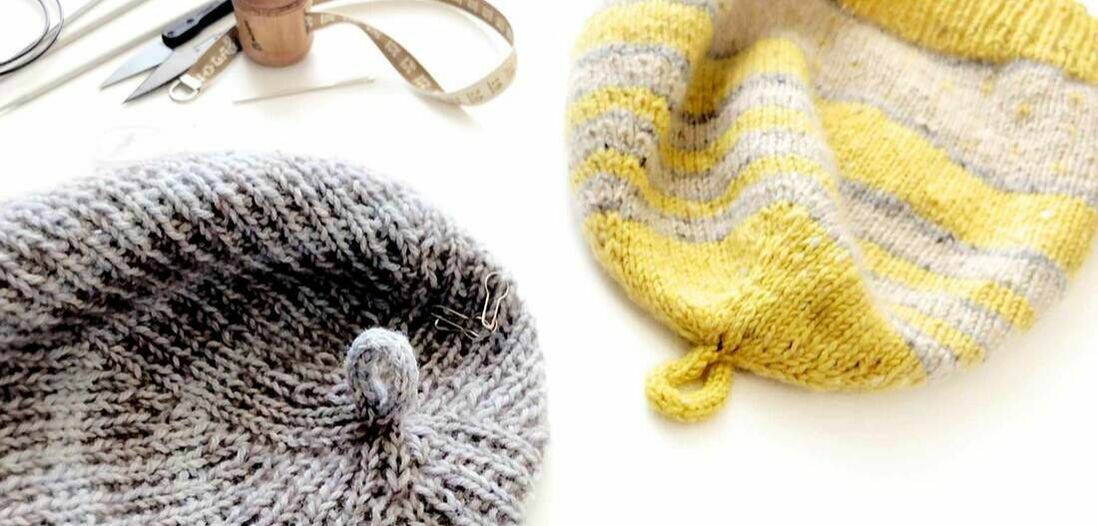
...a soft sloping start of an i-cord BO - tutorial by La Maison Rililie Designs
...a soft sloping end of an i-cord BO, tutorial by La Maison Rililie Designs
So!
Fast forward to today...
In the case that you are one of my fellow knitters that had similar unfortunate i-cord experiences before when finishing your (otherwise) hand-knitted masterpiece, you might be happy to try out this tutorial I just uploaded.

Hopefully my suggestion for a softly starting and discreetly ending i-cord bind off can help you keep those edges of your very own masterpiece as neat as possible!
​
Click on this link, to checkthe revisited i-cord BO photo-tutorial out. 

Comments

How to work an i-cord Loop

8/3/2019

Comments

 
What is an i-cord loop, you ask?
It can be used for many things, but here I show it in the form of a hat finishing.
​One that is cute, easy to make and practical:
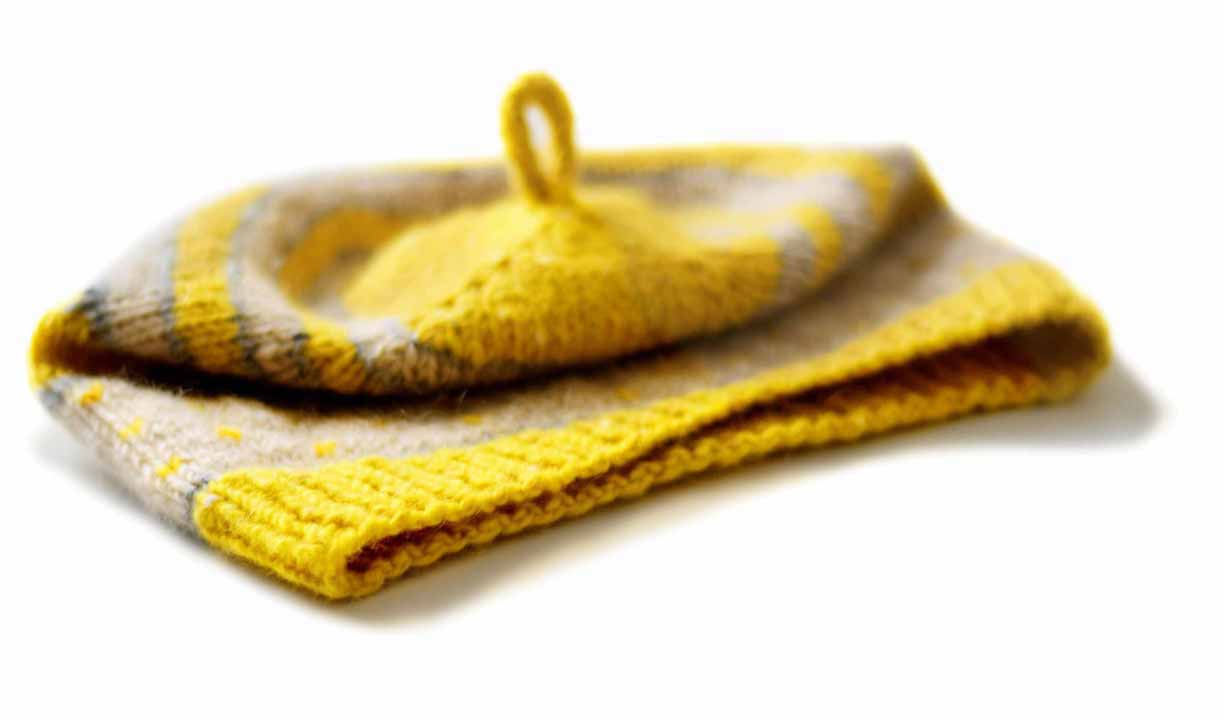
The knitted i-cord loop construction: On the knittingtherapy blog by La Maison Rililie Designs
I don’t know about you, but I like for most of my hats to have some kind of a little something at the top: Some time ago I liked pompoms more than anything (and I still do), but they were always so cumbersome and long to make and I often didn’t have enough of the suitable yarn to make a good sized, fluffy pompom!
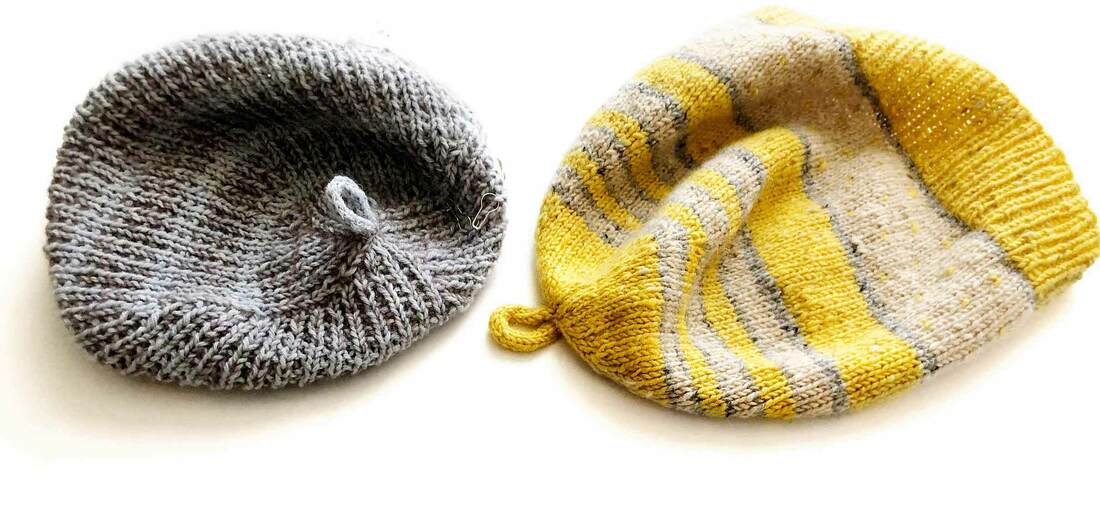
So I thought of working an i-cord finishing some time ago! And I did make one first interpretation of an i-cord "knot" in one of my hat patterns (the reverse and shift hat you can see on the right). Only later I tried another i-cord construction, where the cord makes a complete turn and is grafted near the start of it, to form a loop...
The knitted i-cord loop construction: On the knittingtherapy blog by La Maison Rililie Designs
The Reverse&Shift hat pattern by La Maison Rililie Designs, with an i-cord knot on the top
And this one has become my favourite finishing now. What I like most about it is it's practical aspect: One can hang it on any kind of peg and keep the hats out of the way and organised without folding them! 
​(I first used this finishing on my Casazul hats, that are seen hanging below)
Knitted i-cord loops on top of the Casazul reversible hats: by La Maison Rililie Designs
The i-cord construction is truly quick and easy to make and it uses very little yarn...
In the Casazul pattern I had added a photo-tutorial to showcase the construction of the i-cord loop, but I thought that for my newest pattern a video would be in order, to really showcase the construction of this loop in an easy to follow manner, so as to enable everybody to try the tiny little loop out to finish their hats!
(Of course this exact same method can be used for any kind of knitted loop that you might need, in any size and form --- for any project!)
The knitted i-cord loop construction: On the knittingtherapy blog by La Maison Rililie Designs
Watch the video tutorial on the left and find more knitting ideas and tips+tricks by clicking here.
(The yellow hat of the picturesis a new hat pattern called ZIPF)

The knitted i-cord loop construction: On the knittingtherapy blog by La Maison Rililie Designs
Comments

Pockets... after-style!

13/8/2018

Comments

 
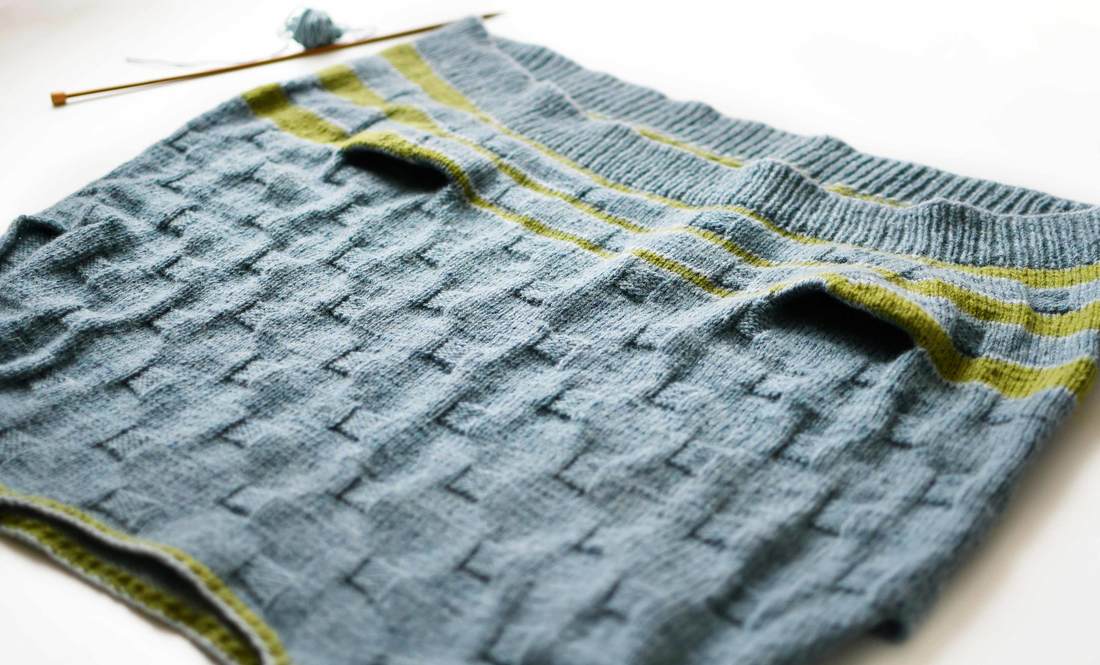
How-To Afterthought Pockets, by La Maison Rililie Designs
After having used this wonderful method of adding horizontal pockets to my latest knitted jumper, I thought that a quick walk-through of the needed steps - together with some pictures - might be of interest to some of you.
​Not everybody has yet tried this easy peasy way of adding pockets in knitted garments.
These pockets might be called "after-thought", but you definitely have to give them some thought before hand, if you use the more common and risk-free waste-yarn-way*¹.
But if I say that you need to give them some thought, I mean easy stuff. There are no rocket science calculations involved here: The things to consider when deciding on the placement of the opening are logical factors, like the height and width of the pocket in relation to the garment itself and to the wearer's hand.
How-To Afterthought Pockets, by La Maison Rililie Designs
The idea is to have the pockets arranged at a flattering position, depending on the style one wants to achieve. If they are going to be functional and not simply decorative, they have to be at a comfortable height to put one's hand inside (preferably without resorting to acrobatic movements).
​At the same time they need to be wide enough to comfortably fit the wearer's hand as also deep enough to fulfil their purpose.
But careful: We do not want the lining to be peeking below the hem when we use them! We all know how much give in length a knitted fabric can have and pockets can "grow" to nearly double their length when lounging hands are pushing downwards.
How-To Afterthought Pockets, by La Maison Rililie Designs
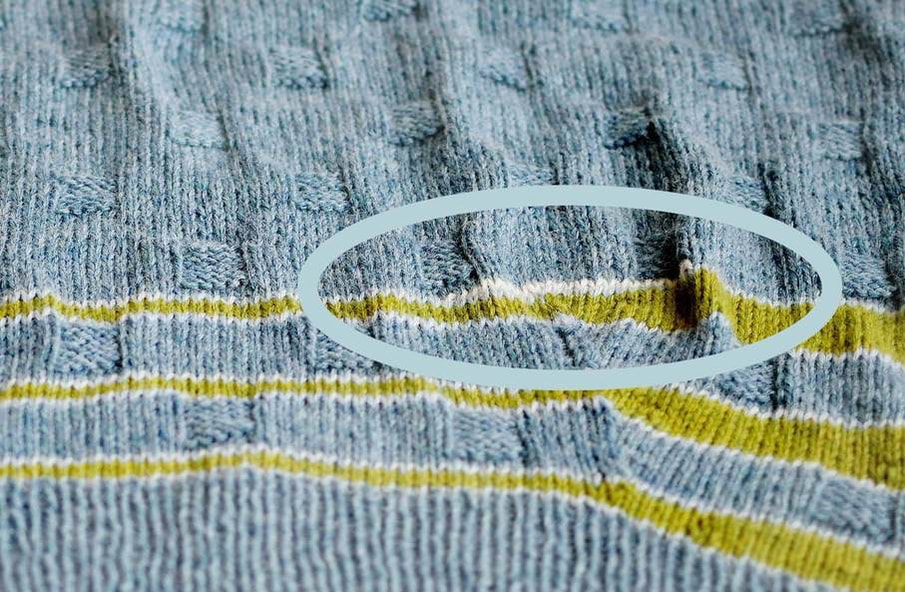
More often than not these decisions can be quickly made by simply placing the hand on the area we would like the pocket to be - and by counting the width of our hand in stitches. Add to this about ½ to 1 inch more, for a comfortable opening and there is the needed width. Now we just need to work these openings in waste yarn, slip the stitches back to the left hand needle and work over them in our project yarn again. (Oh, and I do apologise for my stupidity to have chosen white waste yarn that hardly shows in the picture on the left.)
That's actually all there is for the pocket placement itself!
​After finishing the rest of the garment, we can go back and work on the lining of the pocket:
How-To Afterthought Pockets, by La Maison Rililie Designs
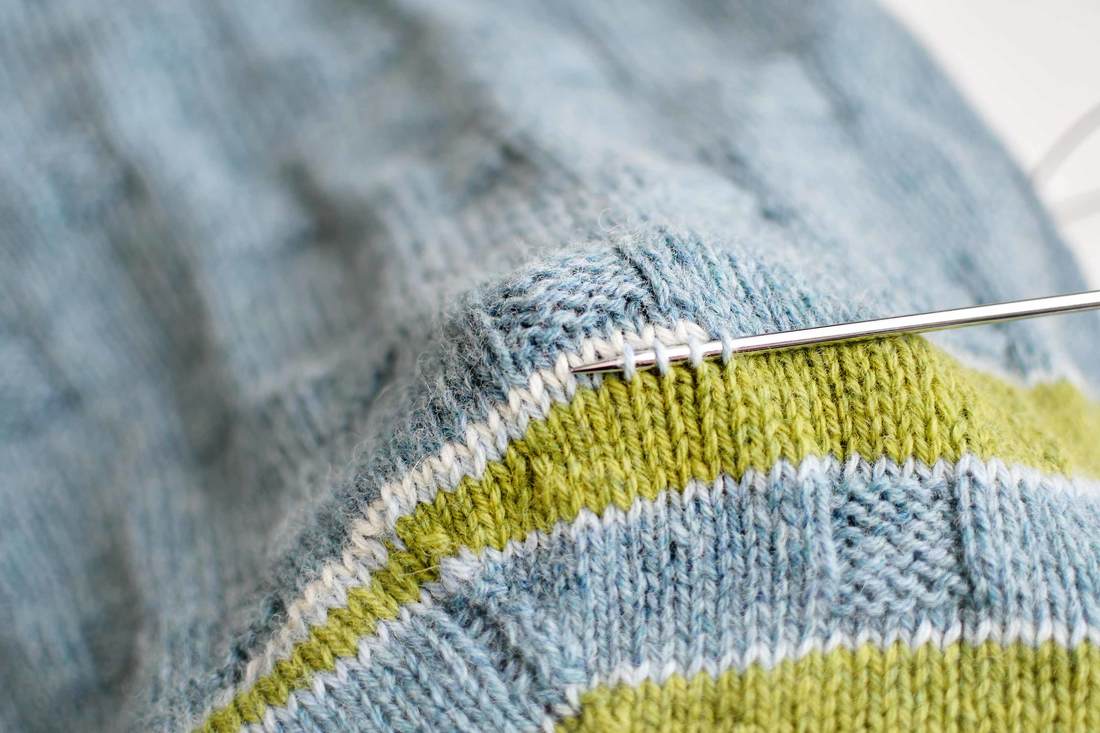
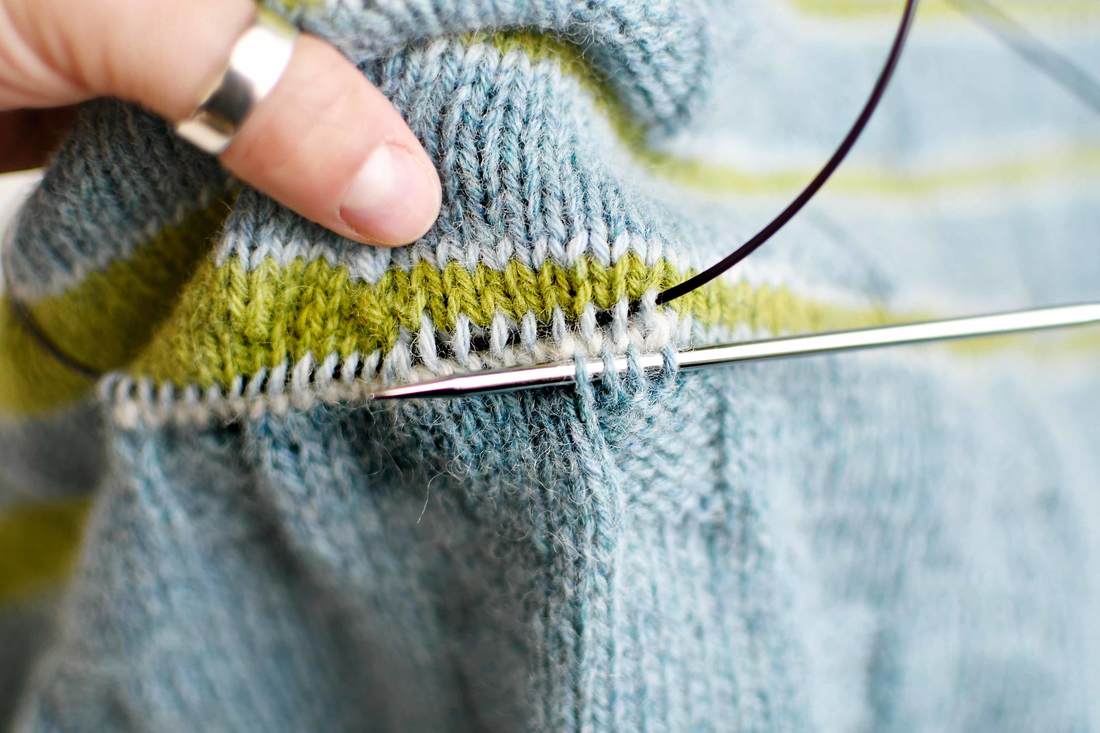
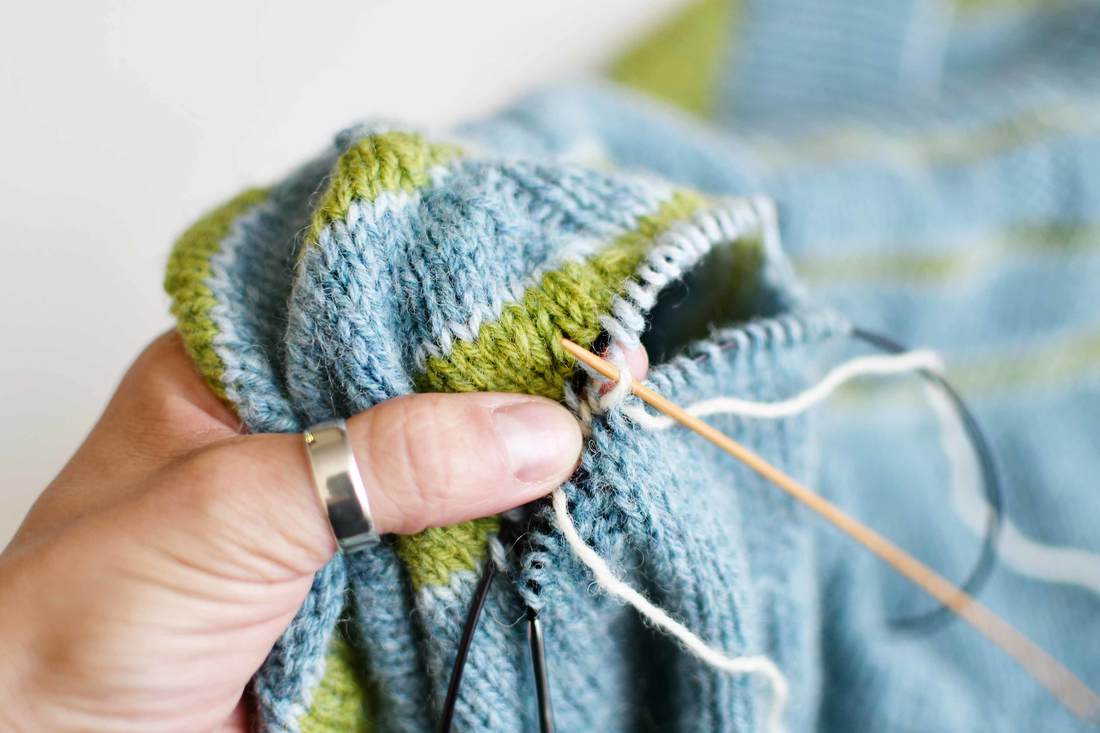
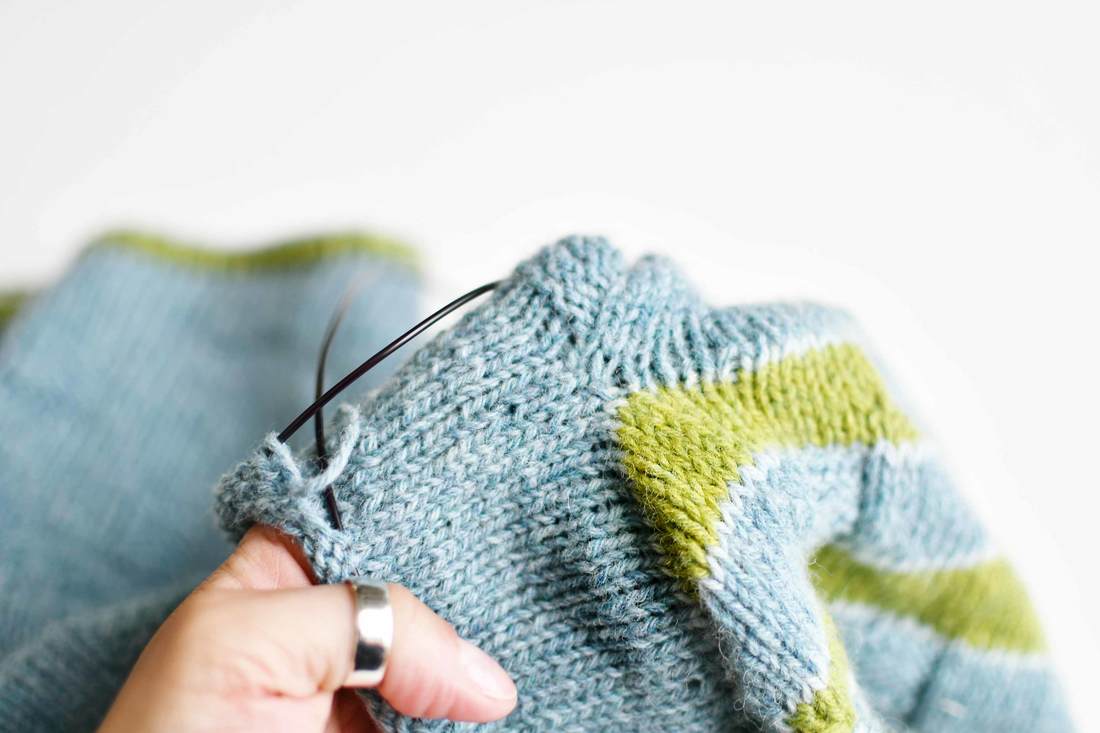
For a seamless lining we need to pick up the stitches worked in our original yarn, on top and below the waste yarn row with the right side facing us. I am using circular needles here because it is easy to simply pick up the same amount of stitches at both sides of the opening: One needle tip sits at the row above and one at the row below. 
​Be careful to not twist the stitches and do try to always pick the right "leg" of each stitch.
How-To Afterthought Pockets, by La Maison Rililie Designs
Then just remove the waste yarn and pull the right needle tip out enough to start working the thus exposed stitches of the lining in the round in the magic loop style (or simply change to a shorter circular needle or DPN). The needle size should be the same as the one we used for the project itself.
Here I used the exact same yarn as for the main body, but one could try a contrasting coloured yarn in a finer weight for a more delicate version or play with stripes or other ideas that might make for a cute lining.
​
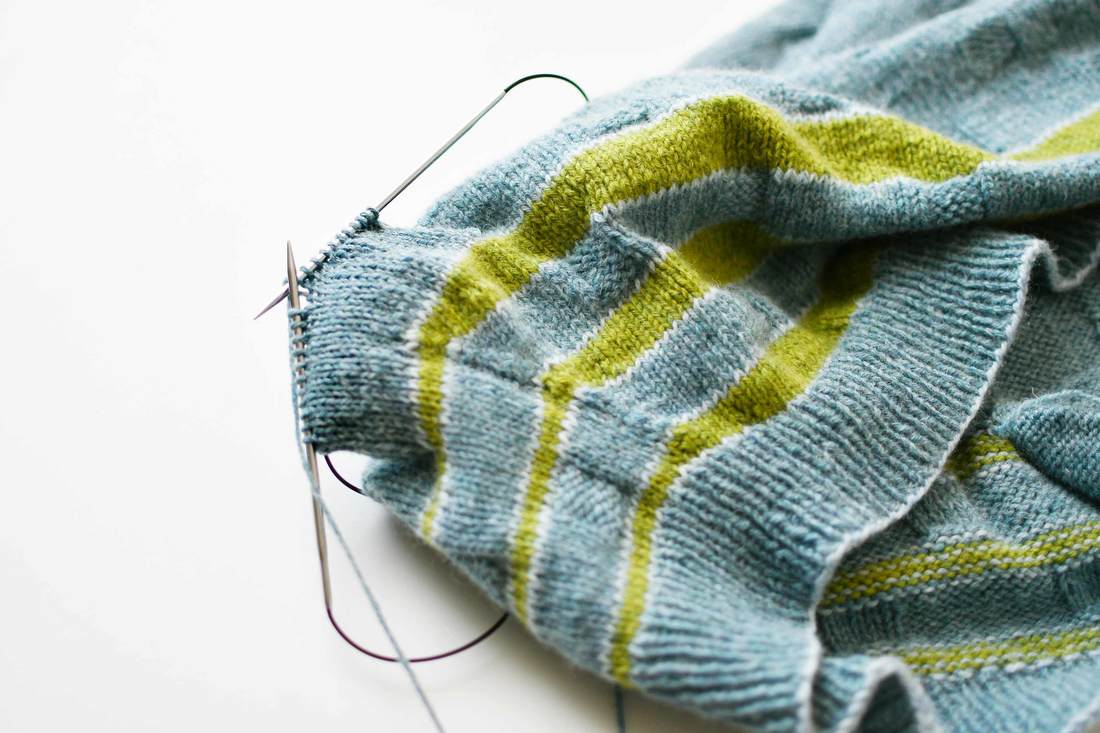
Work in rounds to form a tube for the lining and knit it to your desired length. If you are working a pocket for a seamless top-down-jumper like I did, then you can simply try the pocket length out while wearing the garment and just stop when you have reached a comfortably fitting length that still remains hidden 1 or 2 inches above the hem.
How-To Afterthought Pockets, by La Maison Rililie Designs
Close up the lining-tube by following the linked tutorial on the 3-Needle BO: It is perfect for this job, because it provides a good looking, sturdy seam that has the same elasticity as the knitted lining itself and is worked quickly during the binding off process!
How-To Afterthought Pockets, by La Maison Rililie Designs

Finishing

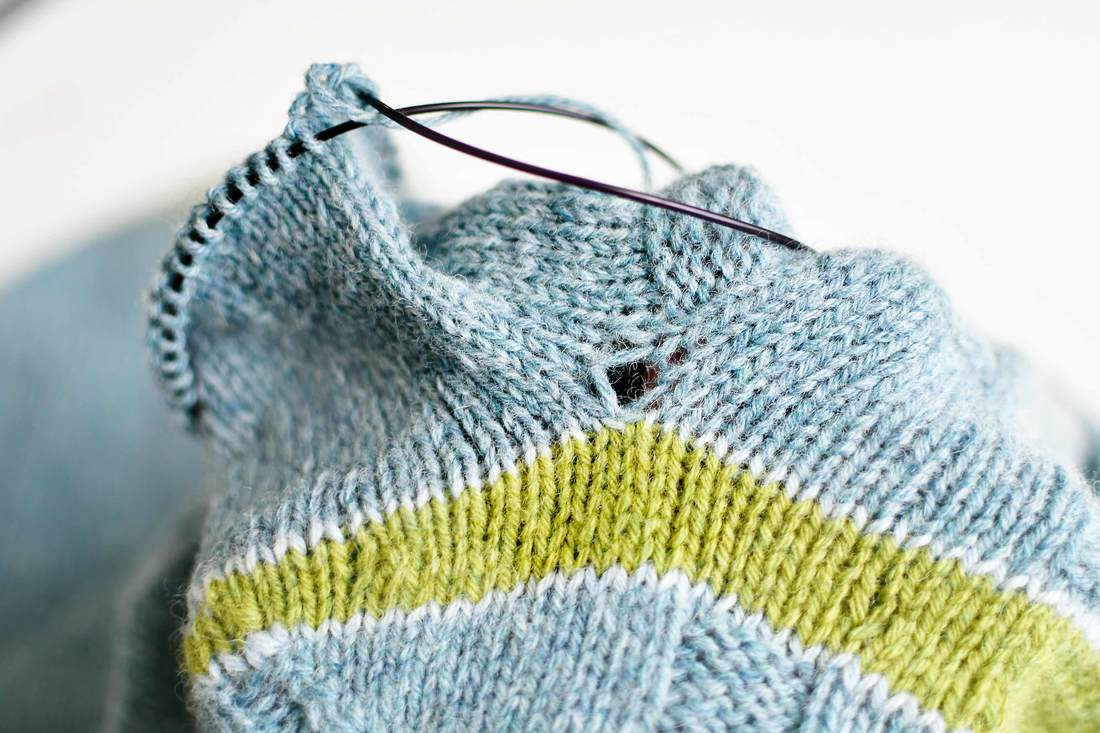
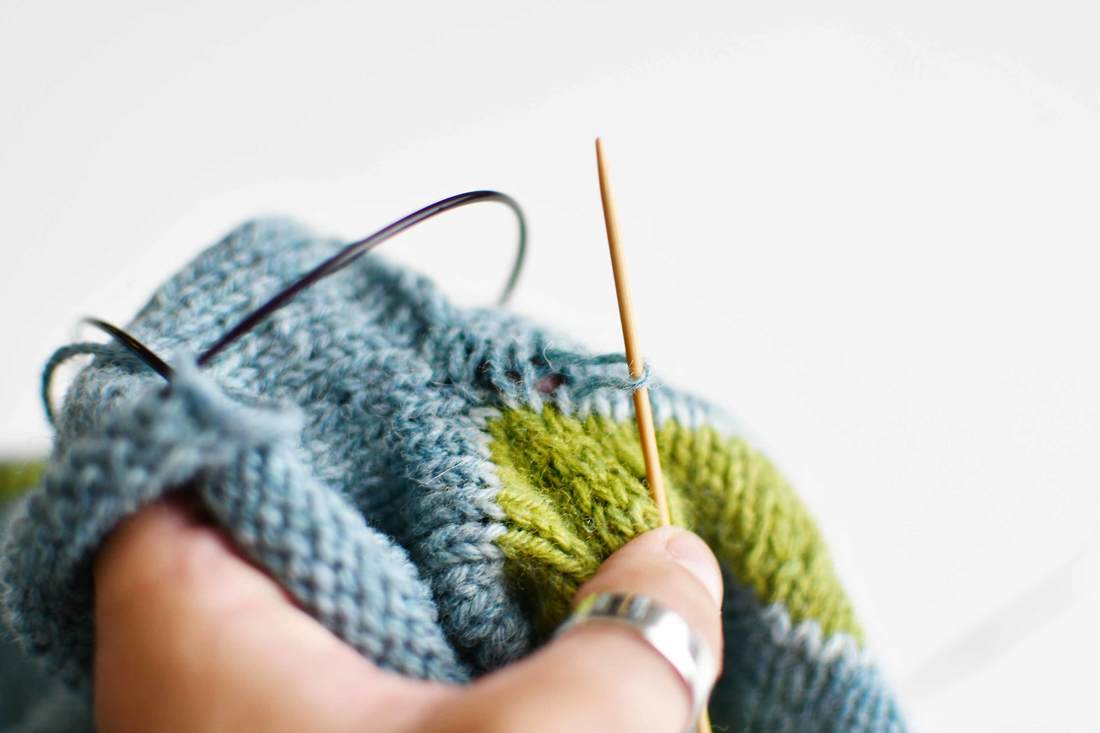
Often there can be two big holes on each side of the pocket (where the stitches were picked up at the "corner" of the waste yarn row).
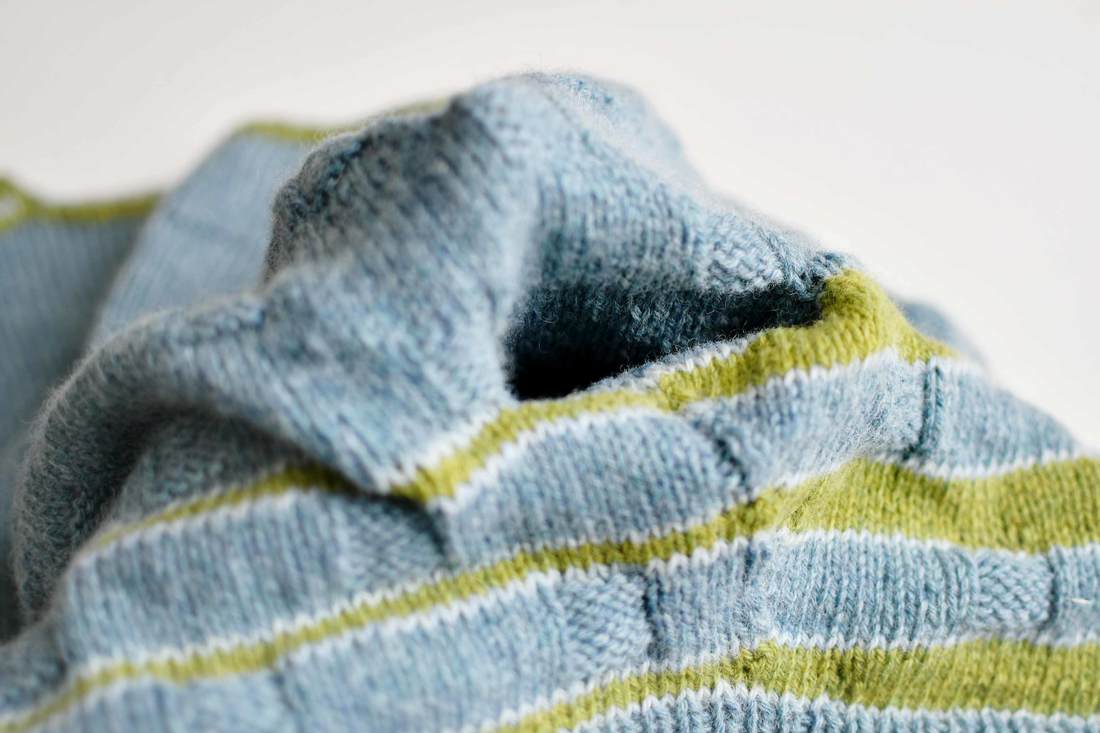
​It is very easy to manipulate them into place and shrink them as shown in the pictures (if you need more info on this subject check out this older blog post, explaining this in detail) Finally the pocket can be formed into perfect shape during blocking by pinning the edges of the pocket's opening.
Before you ask:: The jumper shown here is a new pattern called La GeKka (worked in Magasin Duett yarn Blues) and to be launched on the 25th of August 2018..... 

*¹Footnote: A true after-thought method would be to just cut into the middle of any row and carefully unravel to both ends of the pocket (after having picked up the stitches above and below of course). But for the sake of the article let us stick to the "official" and non-pirate version of doing things!

Comments

star(t)s and pinholes

4/1/2018

Comments

 
Star-Toe socks and pinhole CO technique, by La Maison Rililie on knittingtherapy
I know I know...
It seems as if I have been in a sock knitting frenzy lately - but my sock ramblings shall be kept in check for the next year (here you have quite the original New-Year resolution)!
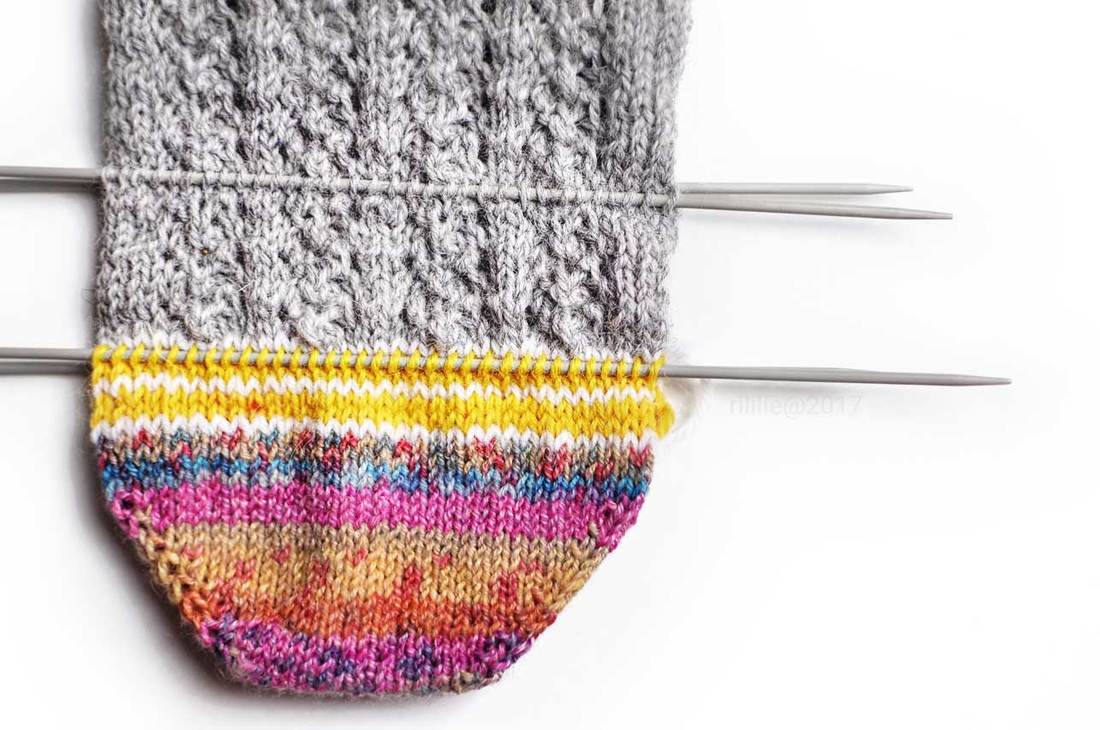
But I really had to post this follow-up article on my latest one,  the free SpiralSock Pattern!

My good friend and tech-editor Kate, actually made a great suggestion after she checked the first version of the pattern ( the one published this Christmas). There was not time to rewrite the pattern back then, but I really wanted you guys to know about Kate's great idea!
(Quick disclaimer:... It seems that her idea is a known adaption to heel-less sock patterns, but we both didn't know about it and re-discovered what others will most probably already know for decades!)
Anyway, since I know that there must be other sock-ignorant people out there like me, who are very entertained by this kind of knitting-technology, I still thought that this follow up post and addition to the pattern itself, might interest some of you.
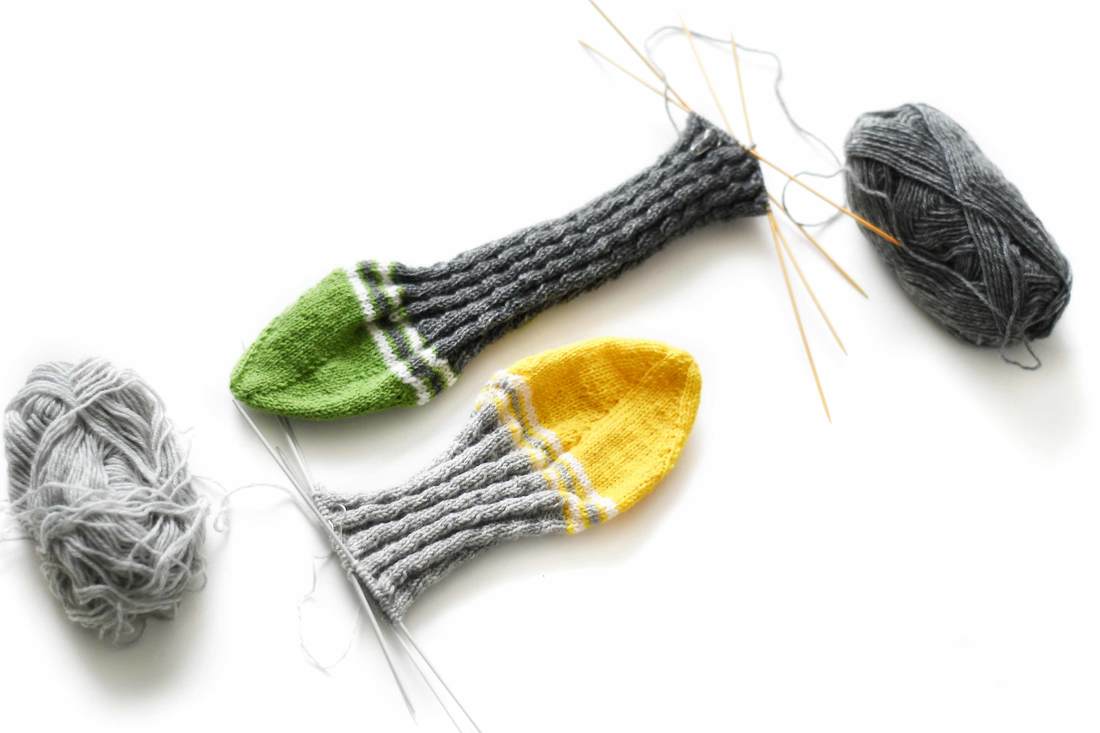
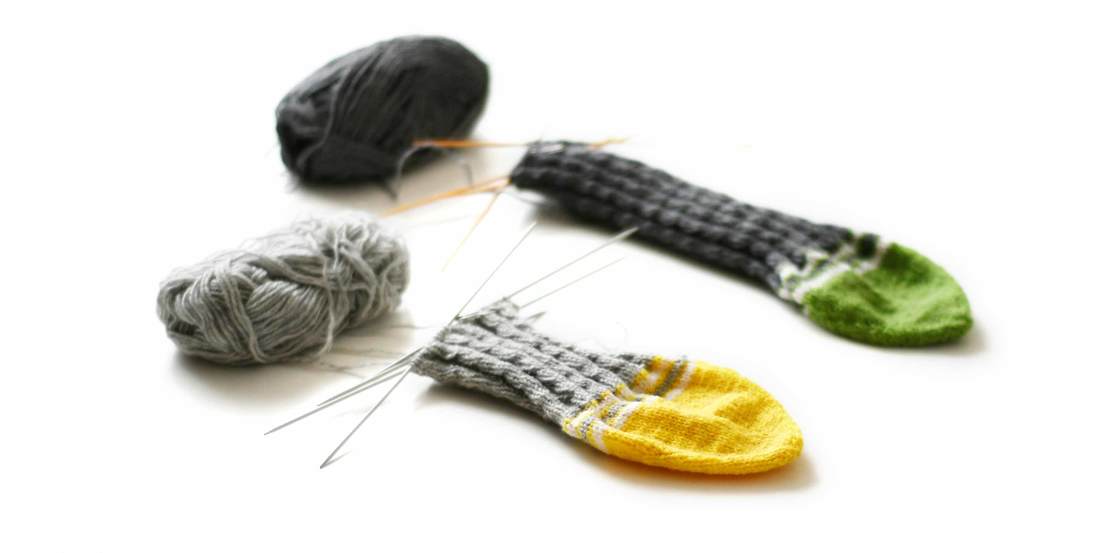
So, well... Kate's new and improved method was to work a Star-Toe (or also a round toe) with the SpiralSock, so that it can be worn without having to adjust the toe in any way, since there is no need for any adjustment in any direction because there simply isn't any - the star toe is the same on all sides, as is the tube for the heel-less sock!
With this toe, one would be able to keep the heel part of the sock even longer in shape, since it never will be put on in the exact same way and therefore the whole area will be worn out over a longer period of time.
Cool, isn't it?


So I played around with a star-toe with a progressive ratio of increase and even rounds and of course I have updated the sock pdf and now there are both toe variations in there for you to choose!
Star-Toe socks and pinhole CO technique, by La Maison Rililie on knittingtherapy
To work this star toe though, we need to cast on our stitches in a circle and there are many ways to work the same circular cast on techniques: One is the crochet technique, which uses (as you have already guessed) the extra tool of a crochet... not a problem in itself, if you can be bothered with looking for it in your messy studio (not that I speak out of experience here....)
Or then there is the excellent "disappearing loop method" by the famous techknitter, whom I consider my biggest teacher and mentor, that also uses knitting needles only and is using a similar technique as for the tubular or invisible cast-on.
 
But I do prefer the one I am showcasing below, since it not only has the advantages that no extra tools are needed (and the messy studio can be sufficiently ignored) - but it also does immediately provide the knitter with two casted on rows. Therefore there is an actual "lower row" stitch to work into right away - a feature, which is especially handy for hidden increases in the very first round after casting on.
(Here I like the hidden increases because they provide a discreet way to work immediate repeat augmentations - on every stitch and/or directly on top of each other on subsequent rounds, as we are doing here to provide a less pointy toe)

Pinhole Cast-On

The main usage for this technique is to mount stitches around a circle (which will later be pulled shut), so as to be able to elegantly start a piece of knitting from the centre outwards - either for round or square shawls, blankets or coasters - or as a start for many other geometrical 3D shapes, like a cone or the bottom of a cylinder or sphere (for toe-up socks, top-down hats, bags or other similar shapes).
Since this technique looks much more complicated in a picture-tutorial than it is in reality, I found that a video is a better way to show how it is done.


To keep things simple, the sts are all cast-on on one DPN and then distributed while working the first increases, for a less fiddly experience.
This is why in the first worked round, the yarn will come from left to right (as is happening when we work an i-cord). But don't worry: It is not going to be at all visible afterwards.

I tried also to showcase, that it is not too important how one is wrapping the yarn around - or if one likes to use a second needle or just fingers to pass the stitch over.
The result will not differ, really. 
​
So do try all methods out and choose what ever feels most comfortable to you!
I hope you'll enjoy it!
Star-Toe socks and pinhole CO technique, by La Maison Rililie on knittingtherapy
On another note: I wonder, do you guys prefer my printable photo-tutorials (which I find are easy to reference later on or to file) or do you like videos better?
Is there one medium you strongly prefer over the other, or does it all depend on the technique itself (like in this case, where the tutorial is easier to understand when actually seeing the movement)?
Please do tell me and I will try my best to adapt to what you guys like most!
oh...
​...and have a wonderful and strong New Year! ✨⭐️

Comments

The invisible sock

18/8/2017

Comments

 
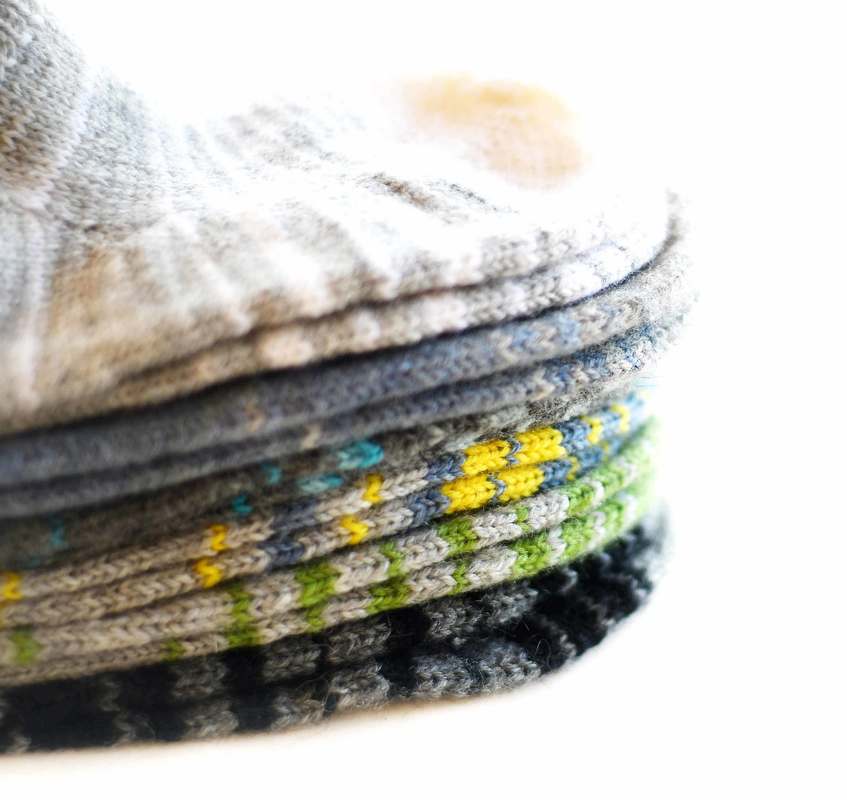
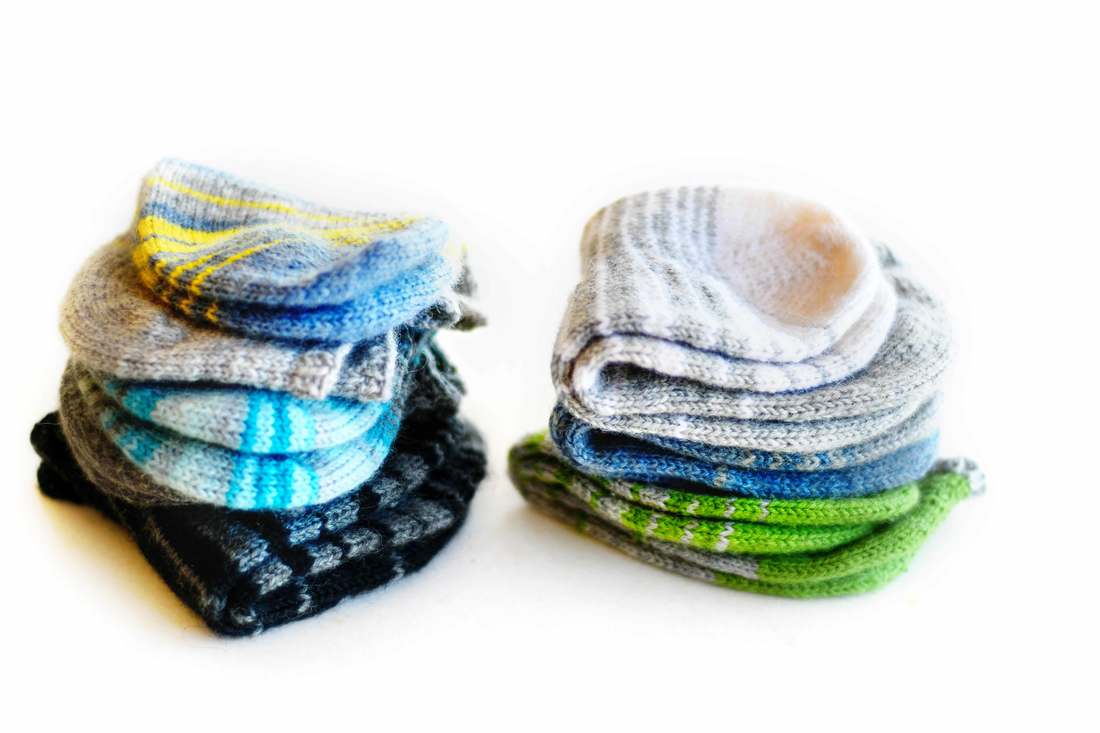
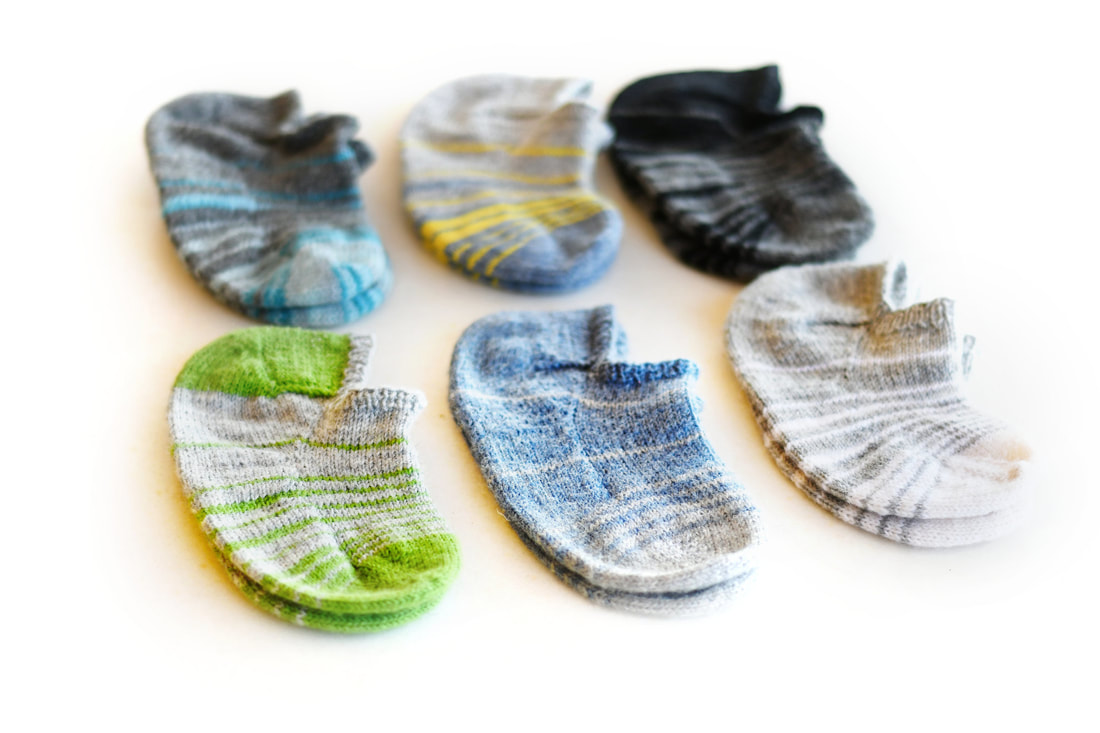
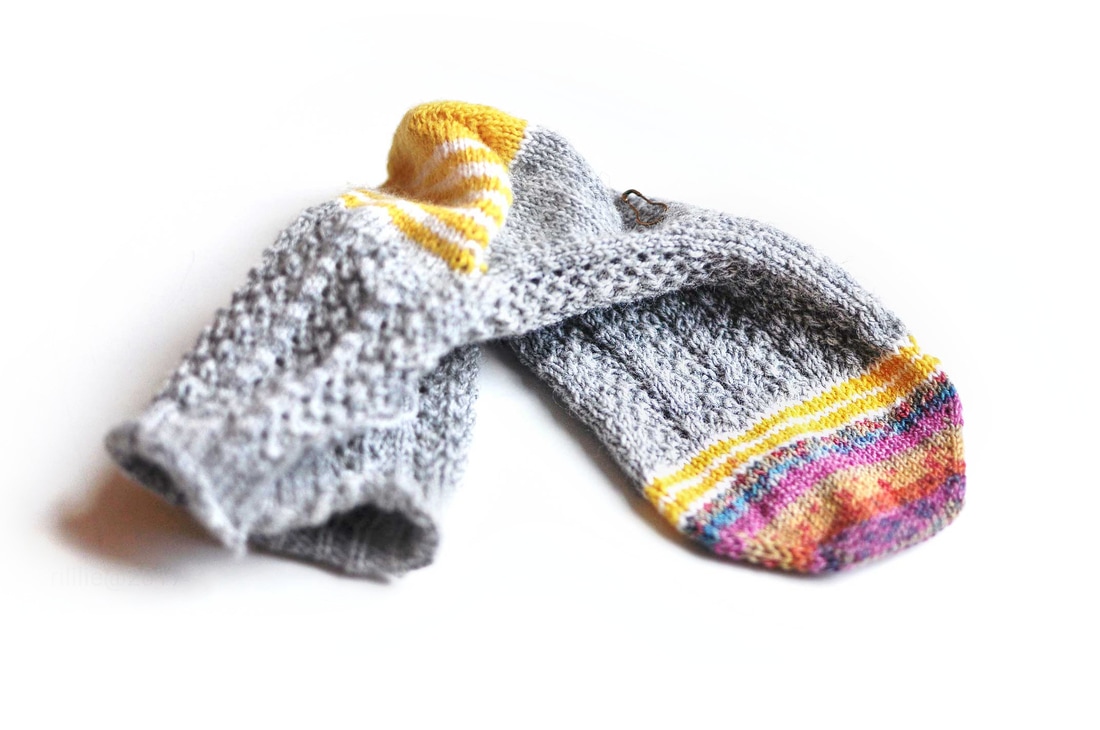
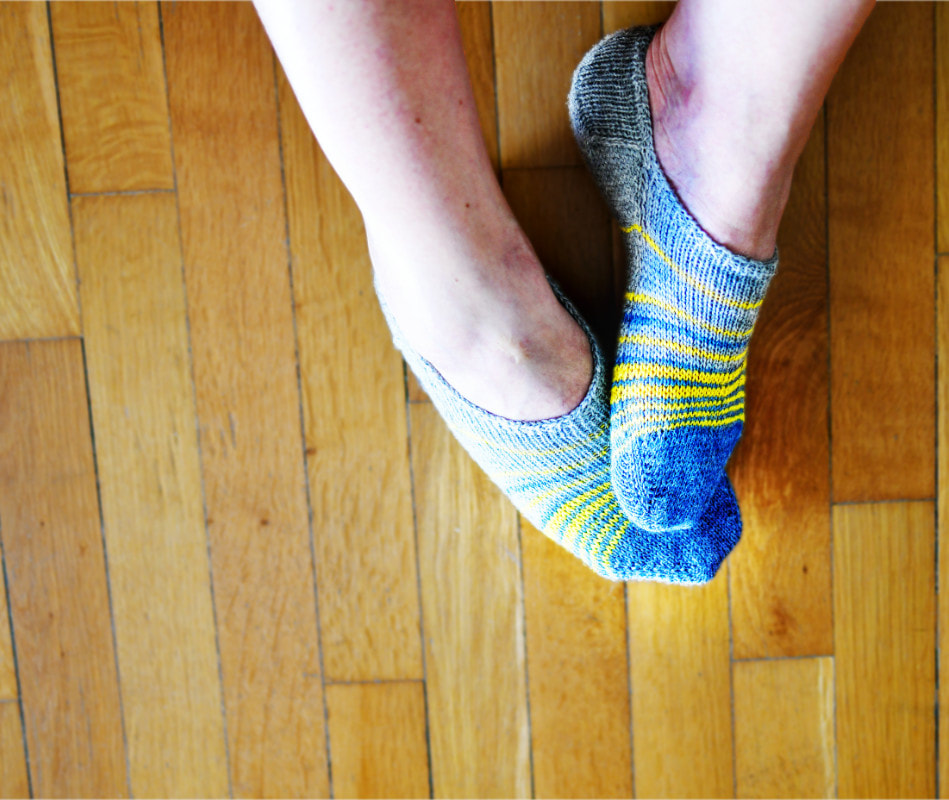
NoShow Socks by La Maison Rililie
... or, otherwise known as the NoShow Socks!
They aren't technically real "socks" though, more something like socklets, or short socks or even a liner sock (as Google just informed me): 
All words to describe this coveted tiny piece of well fitting fabric, which protects your foot from scuffs and keeps you warm - BUT still remains invisible when worn with shoes.
Allow me to describe my though-process and incentives about this pattern in this lengthy post:
I was searching for this perfect but elusive accessory for years!
It must have been right after I learned knitting socks, when I whipped up my first typical run-of-the-mill shorty. I was and remained disappointed while periodically continuing with experiments to knit a sock with a low top section, that not only would hide perfectly in my shoes, but also remain put and make for an elegant and flattering footwear, if I'd needed to take my shoes off while visiting friends. (I don't know about you, but I did find that all those other short socks with the horizontal "cut" across the ankle were not the best option for a long-leg-and-slim-ankle look).
Then I started to notice and love the look most "youngsters" were sporting around me: In midst of the coldest winter, they all seemed to wear sneakers without socks! But my not-so-young feet were revolting against the idea of being rubbed against the lining of my Adidas at sub-zero degrees.
Even at warmer temperatures, blisters had me quickly convinced that I needed to find a way to knit these NoShow Socks, so as to protect my wimpy but fashion-forward feet!
NoShow Socks by La Maison Rililie Designs
Only after many trial socks later, I finally had found a way to produce a low top sock with my favourite kind of heel (a gusseted short-row one). This sock was constructed with a new kind of decrease - especially developed for this pattern, because I didn't like the look of the gusset stitches after turning the heel. I therefore tried to produce sturdy and symmetrical decreases that still had some "plush" feel and style at the gusset-heel edges.
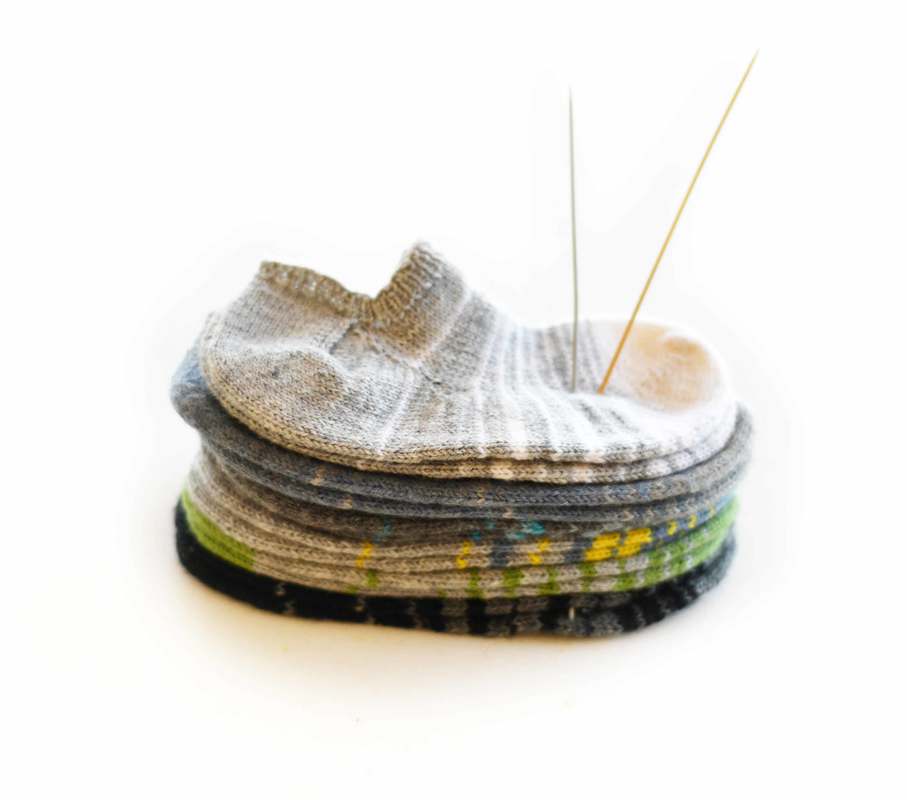
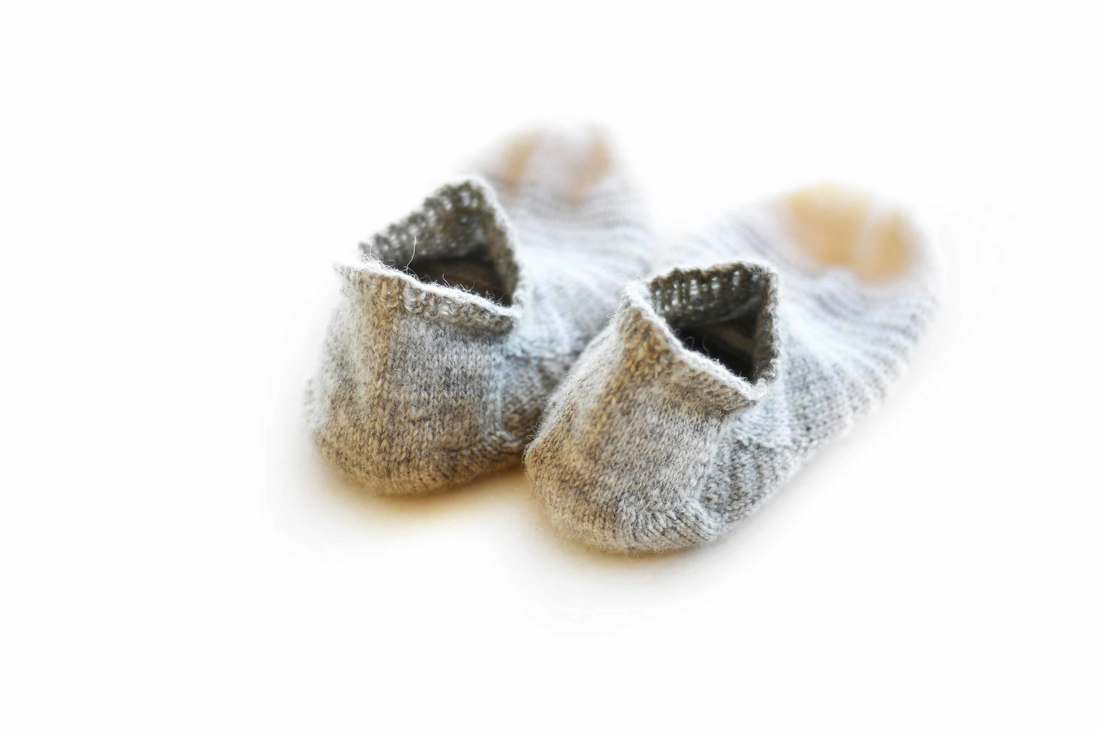
But all of these ideas and new systems, as also the extensive (ab)use of german short-rows in the pattern made me insecure and afraid that people would hate my construction and find it much too cumbersome for such a tiny sock! So I did hold off with publishing it for quite some time and only after getting wonderful feedback from my talented testers I felt brave enough to make this strange little sock pattern public. I was immediately blown away by the amazing response and my fears were completely quelled! I even noticed that many of the other knitters out there shared many of my own quirks and slightly neurotic "preferences" in relation to short socks.... who knew!
NoShow Socks by La Maison Rililie Designs
To make this pattern fun and easy to knit, I had gone through great lengths to showcase all techniques in a comprehensible way:
Many tutorials, some with pictures and others as direct links have been included and are explaining old and new techniques in detail, while there are many tips and tricks scattered throughout the pages.
No recommended yarn was used for this pattern either, although there were many options of beautiful sock yarn for me to choose from!
The reason was simply that I wanted to showcase that this pattern lends itself wonderfully to use up any of the accumulating bits and pieces, that seem to take up our yarn stash. Small lenghts of yarn, which we don't want to through away but still don't know how to use up!.
It's quite easy to use yarn rests of similar weight here: First find the colours you'd like to combine and then just weigh the yarn rests. Work half or less for one sock and you'll have enough for the second sock!
The stripes here are playfully showing off the construction by getting wider and opening up on the longer sole. Of course you don't need to follow the given stripe sequence at all, if you don't feel inclined to do so. There are immense possibilities in colouring and even the smallest amount of yarn can be used up in this super quick project.
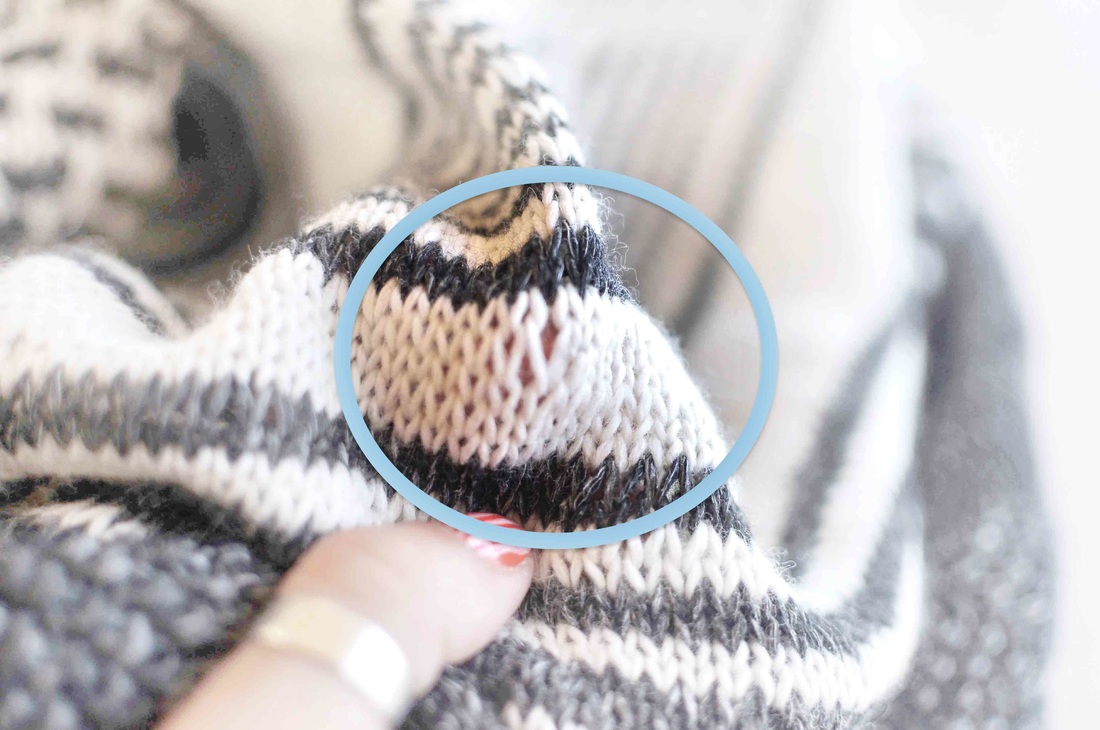
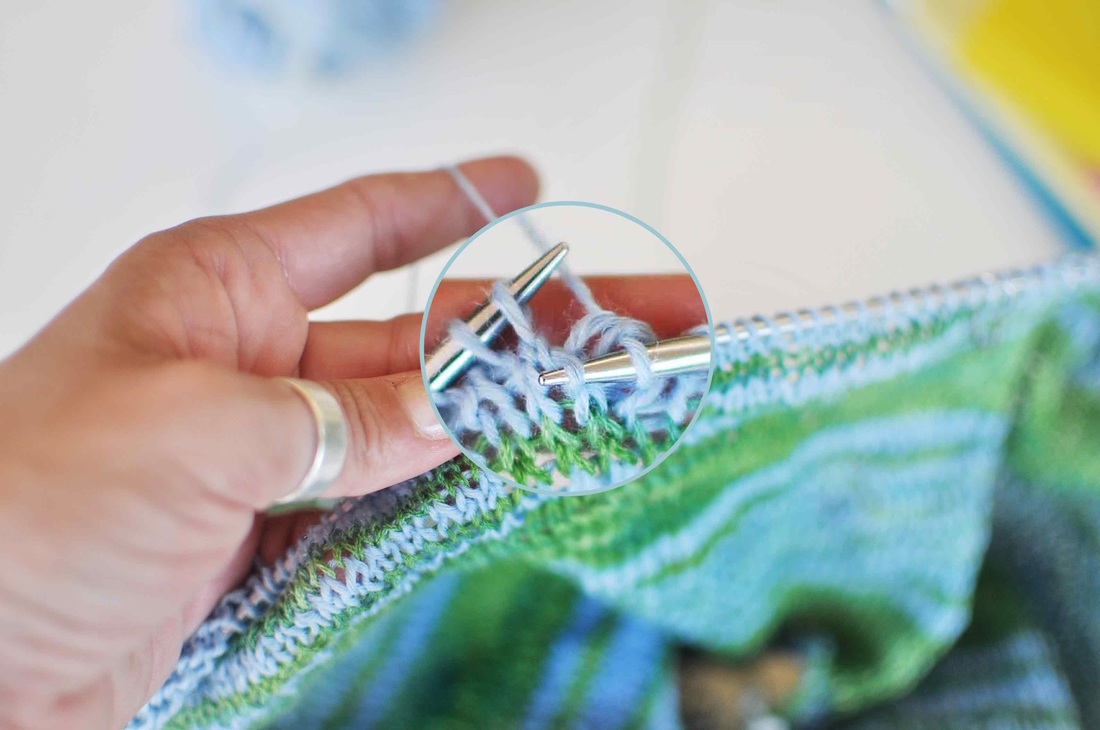
This pattern is also a very good training pattern for German Short Rows, since they are used extensively here and even a special increase is included that was developed during my search for the perfect gusset heel: It rarely happens that you might need to work an increase in a double stitch, but here you have one (as a photo tutorial included in the pattern), so that you are equipped, even for very "rare knitter's problems"!
NoShow Socks by La Maison Rililie Designs
Finally the last technique that provides a good fit to this special little sock is the customisable cast off, which securely hugs the backside of the ankle while giving a looser fit at the instep section, which needs to be more elastic.

As you can see from the pictures, I have already knitted up quite a variety of those socks - and I have only worn this kind during all of last winter! Standing next to all the youngsters on snowy pavements, wearing sneakers and even short booties - I too, kept my ankles fashionably naked!

You can find the pattern either on ravelry or here on my site
(on ravelry you can even check out many of the wonderful socks that have been already knitted up by knitters all over the world)
NoShow Socks by La Maison Rililie Designs
I wanted to celebrate my finally posting this pattern here on the blog (and rewarding the readers that have come this far) - so I decided to give away 5 NoShow Sock Patterns: One for each of the first 5 people commenting below... to knit up and enjoy!
I really do think that everybody needs (at least) one pair of these!

Comments

Sock-Operations

30/3/2017

Comments

 
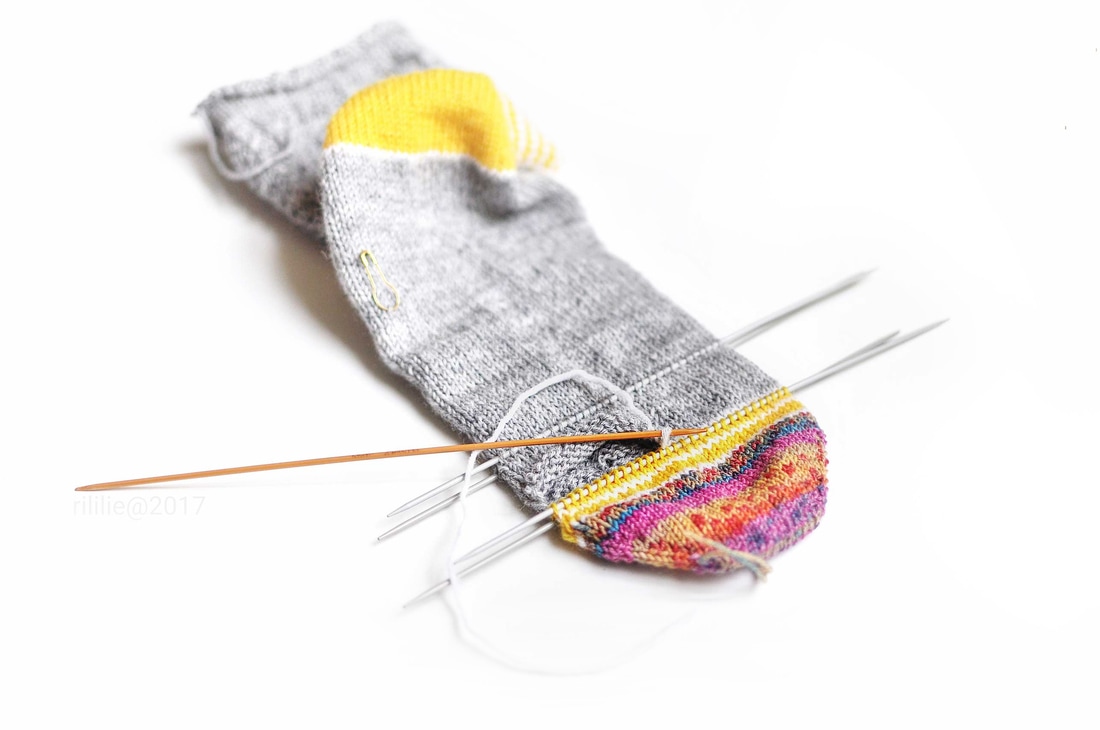
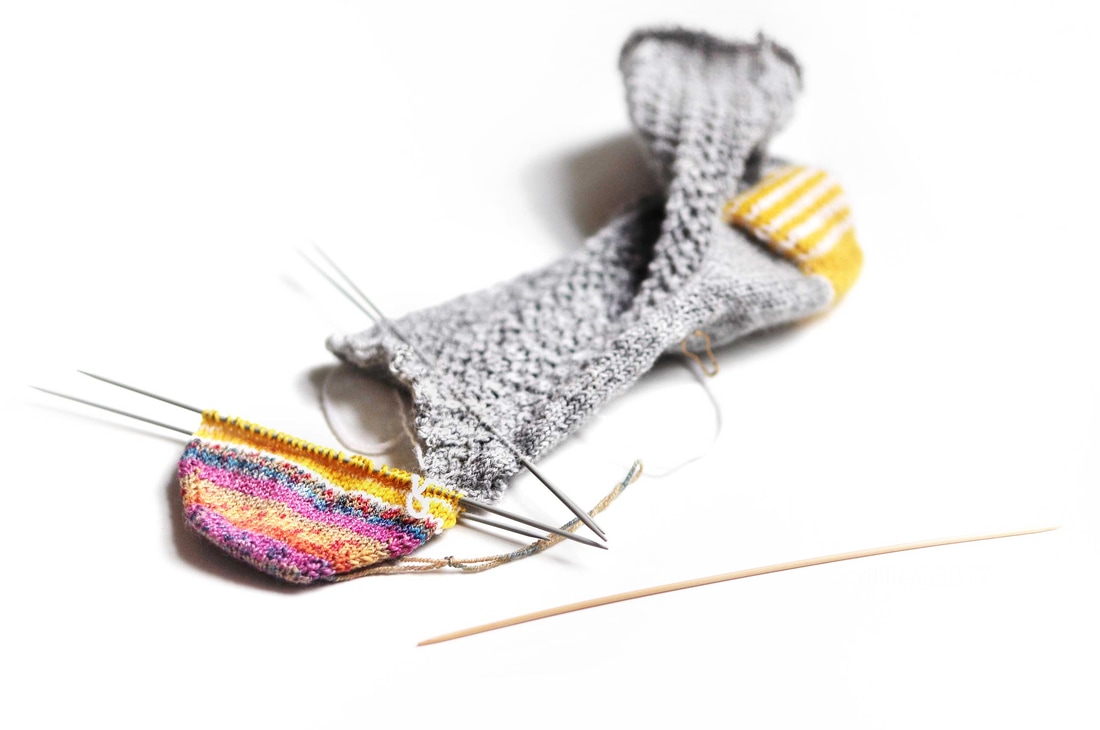
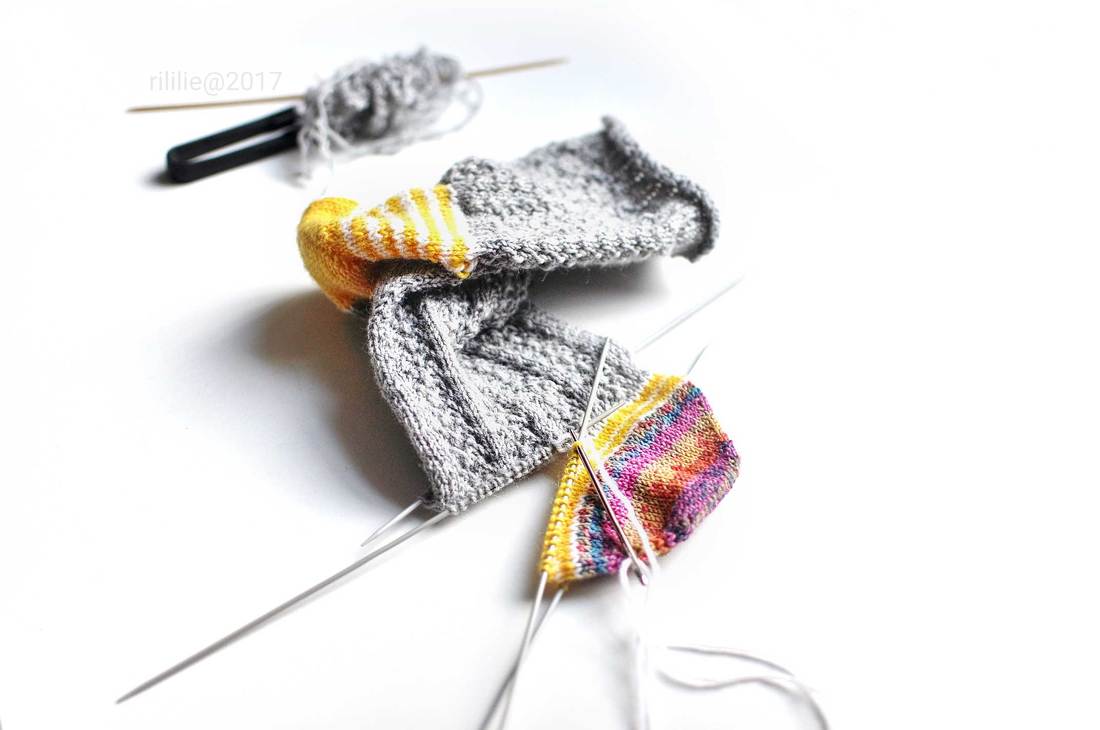
Shortening of a knitted sock: A tutorial on knittingtherapy by rililie
After having gifted a very special hand-knitted item to a beloved receiver, the most dreaded thing for a knitter to hear, is: "Oh... it's so cute, I love it - but I have to admit that I never wear it because it really doesn't fit / is too big / much too long / not really my size...! Well, thanks anyway"
- I had the pleasure to hear something similar after asking my mother if she wears the ShellSock in yellow I gifted her about a year ago. I made her this pair because she liked the ones I did for myself (based onthis free pattern here), but I never saw her wearing the socks, when I visited.
So... after wondering why she didn't tell me sooner and without me asking about them, I immediately started "The Operation ShortSock".
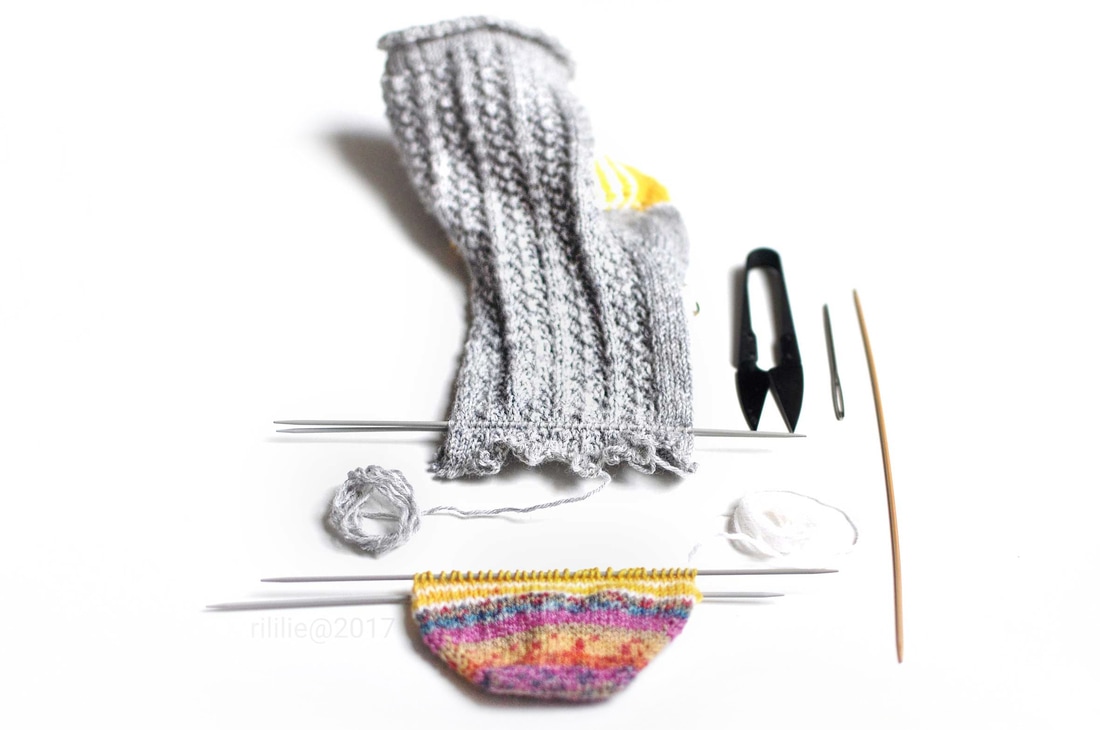
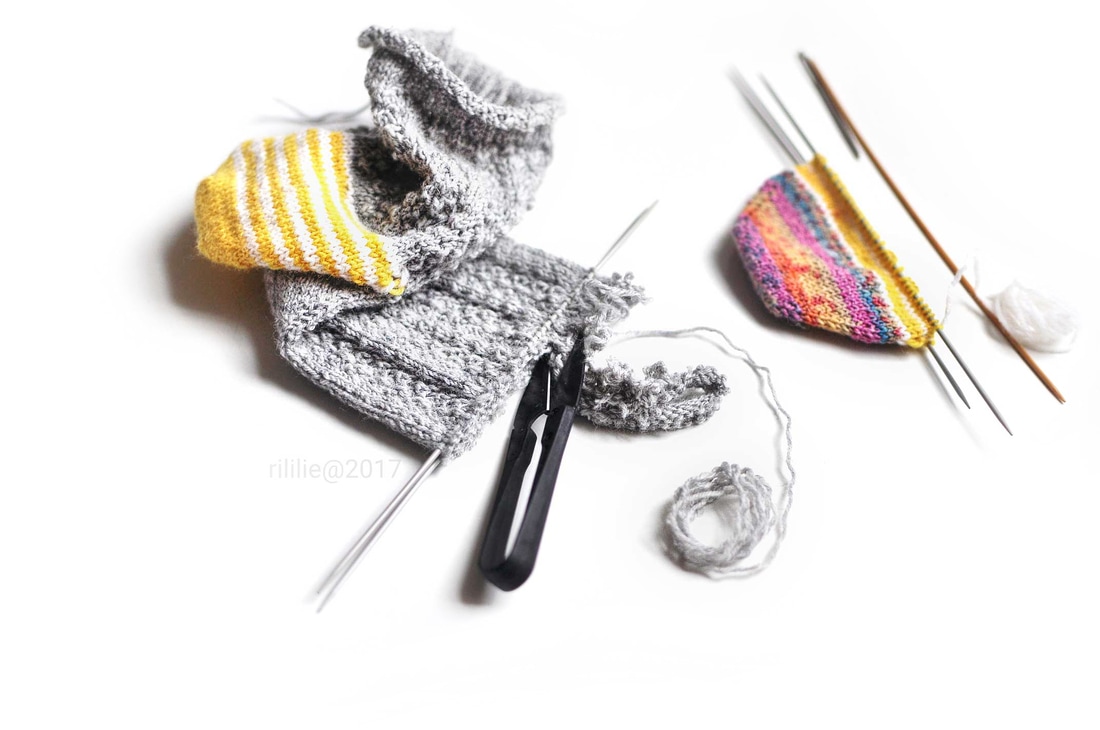
It's nothing groundbreaking in terms of newness or innovation. No, it's simply a cut-and-graft shortening of the sock's foot-tube. But since many knitters seem to be afraid of such "invasive treatments" and since I thankfully remembered to take pictures during "surgery" (a rarity in my case), I thought that I might show you the complete procedure below - step by step - and maybe it will seem less daunting to some! It's the idea of cutting that frightens more than the act itself, believe me.
​
So - first of all we had to do an evaluation-field trip: Mum tried on the sock and we established how much exactly we would need to shorten it, so that it'll fit comfortably.
​Try to keep in mind here that the fabric is elastic and that it will stretch a bit, but avoid to take out too much and make a sock that will be too snug and tight. Just fold over a section, try it out and mark the extent that needs to go.
Shortening of a knitted sock: A tutorial on knittingtherapy by rililie
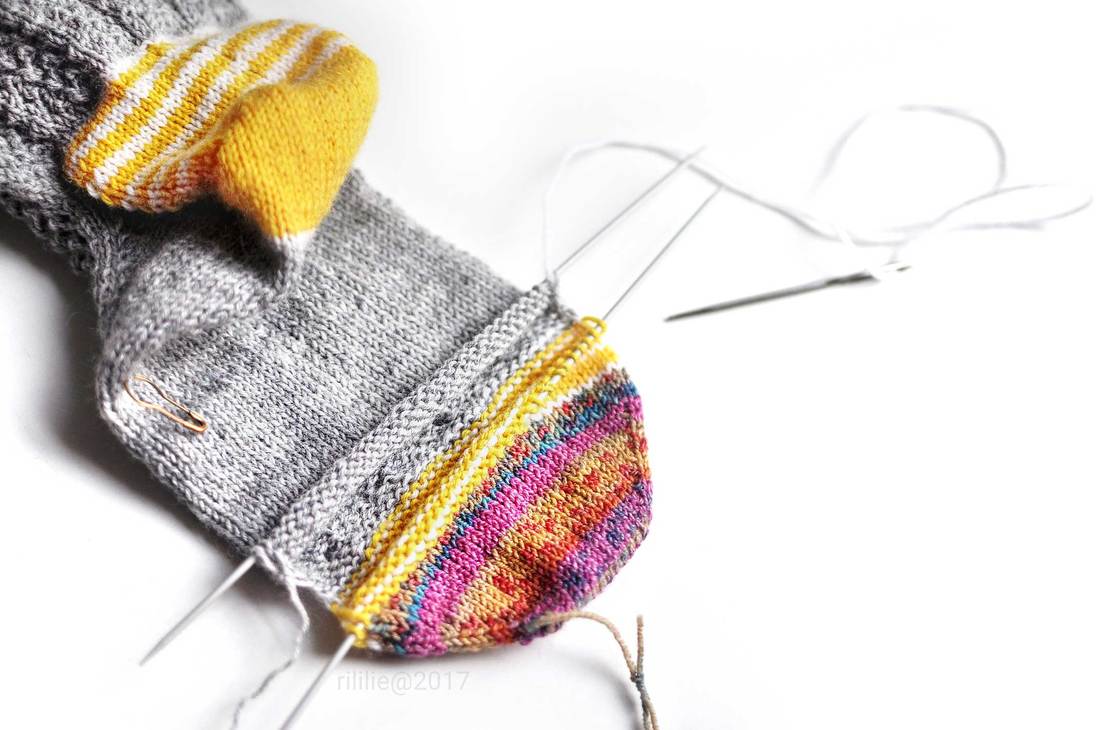
I measured the extra length starting right after the toe - at the lower foot section, right above the increases: This is the easiest and safest area to take some inches off. Four DPNs where positioned to mark the section that would be taken out: two on the instep and two at the insole of the sock.
To make things easier, I chose to pick up the stitches right after the contrasting white round at the toe and on one knit row of the ShellSock pattern, that would still allow me to have a good looking stitch pattern sequence, after the procedure.
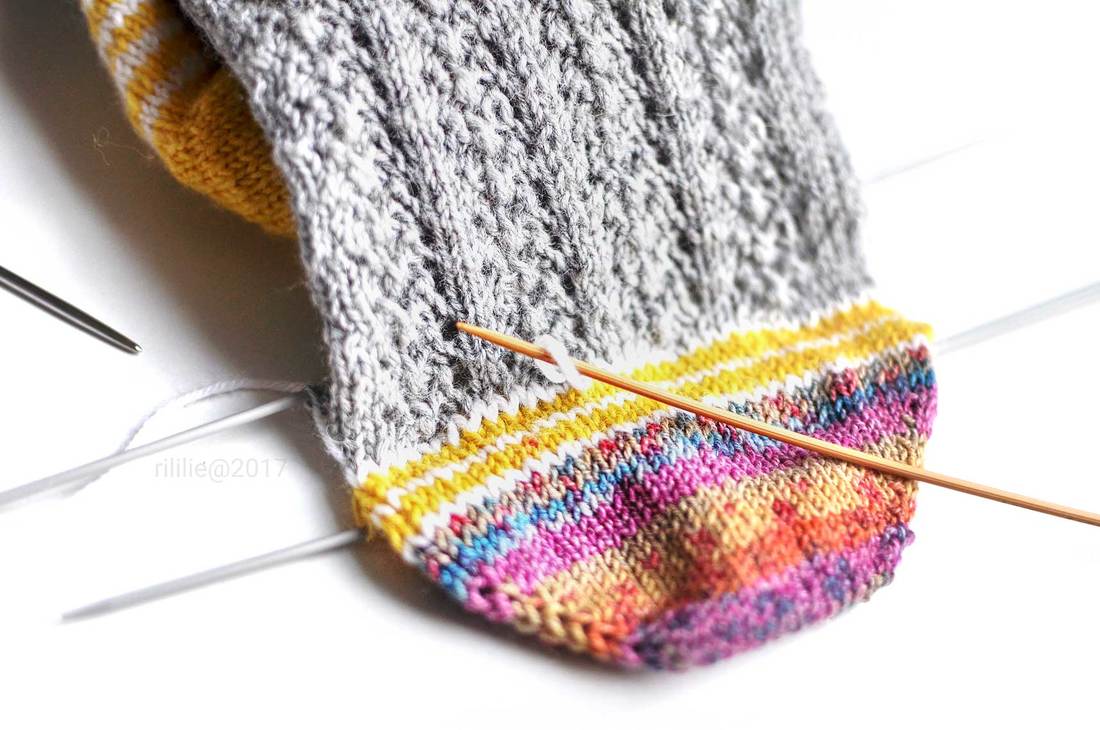
Then I cut into one stitch of said contrast round in white (the first round of the section we intend to remove right above the needle of the toe area) and proceeded to take the whole round out stitch by stitch until the toe was separated completely from the rest of the sock.
You can click on the pictures to see a bigger version of them, if you like.
Shortening of a knitted sock: A tutorial on knittingtherapy by rililie
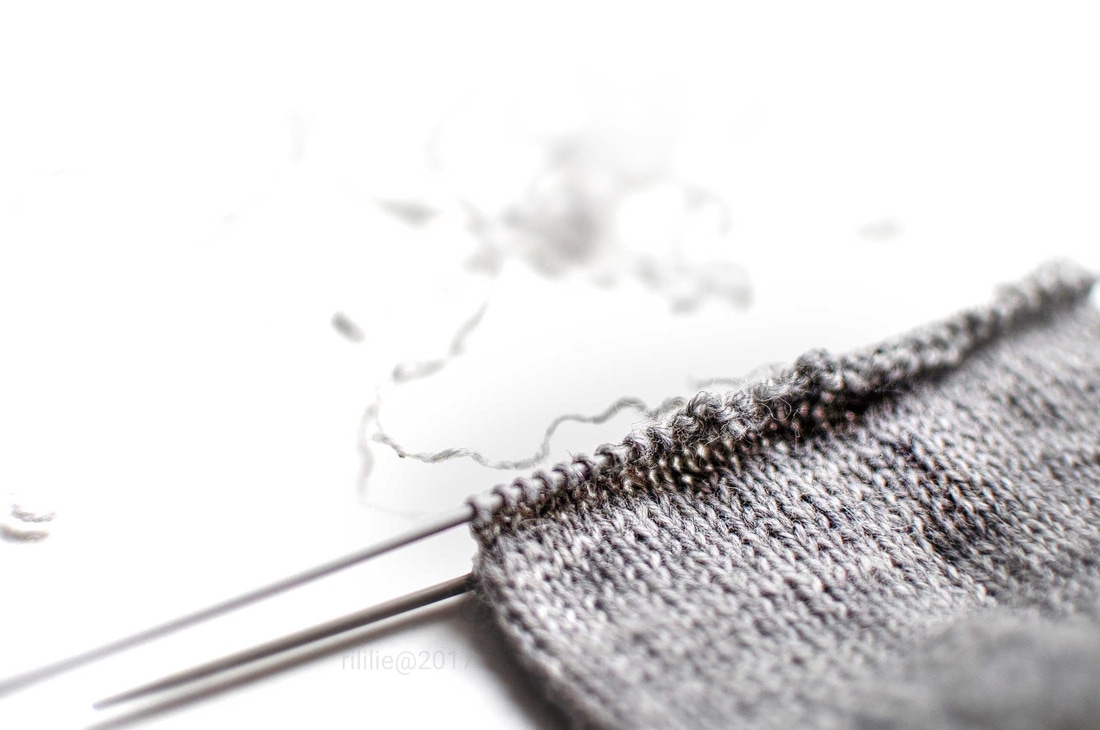
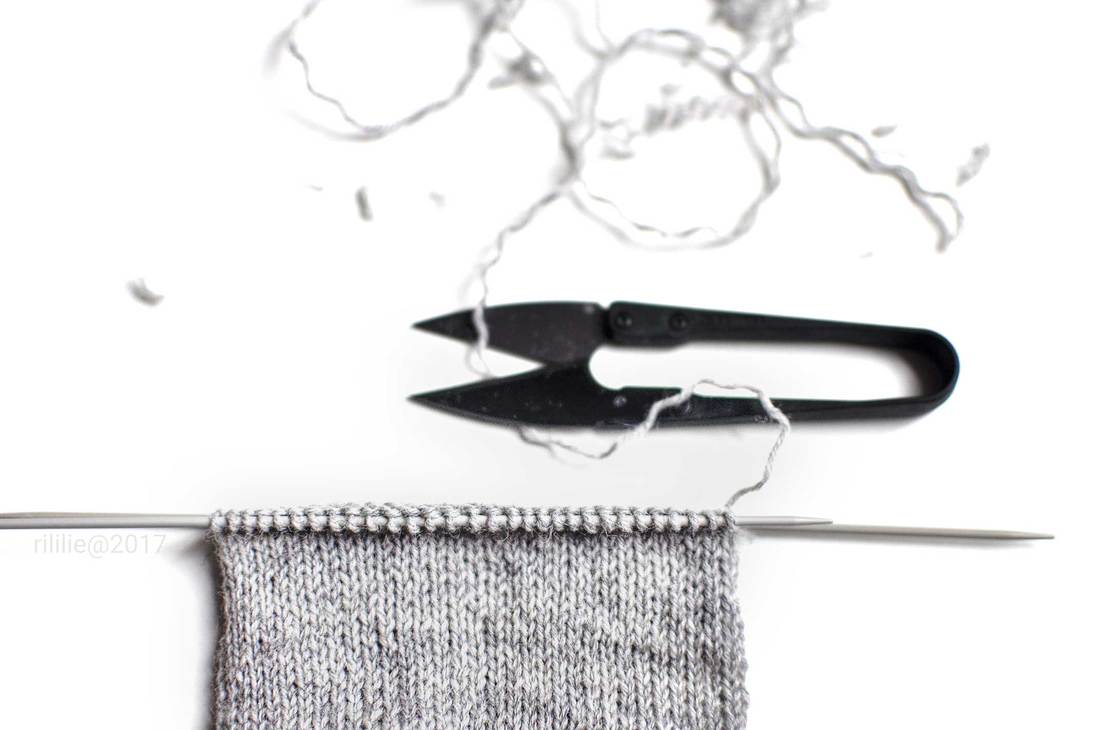
Then I found the tail of the grey main colour and just unraveled it until I got bored... and grabbed the cute little scissors I have from fringesupplyco to quickly cut all the excess away - without of course hurting any of the stitches already positioned on the needle - or myself - or others... 
Shortening of a knitted sock: A tutorial on knittingtherapy by rililie
After cleaning up the mess I did, I made sure that all the stitches were laying correctly on the needles (sometimes I get them twisted when picking up sts in-midst knitting like that). I also checked that each needle had the exact same amount of sts and that the stitches on the needles facing each other, were perfectly aligned.
Shortening of a knitted sock: A tutorial on knittingtherapy by rililie
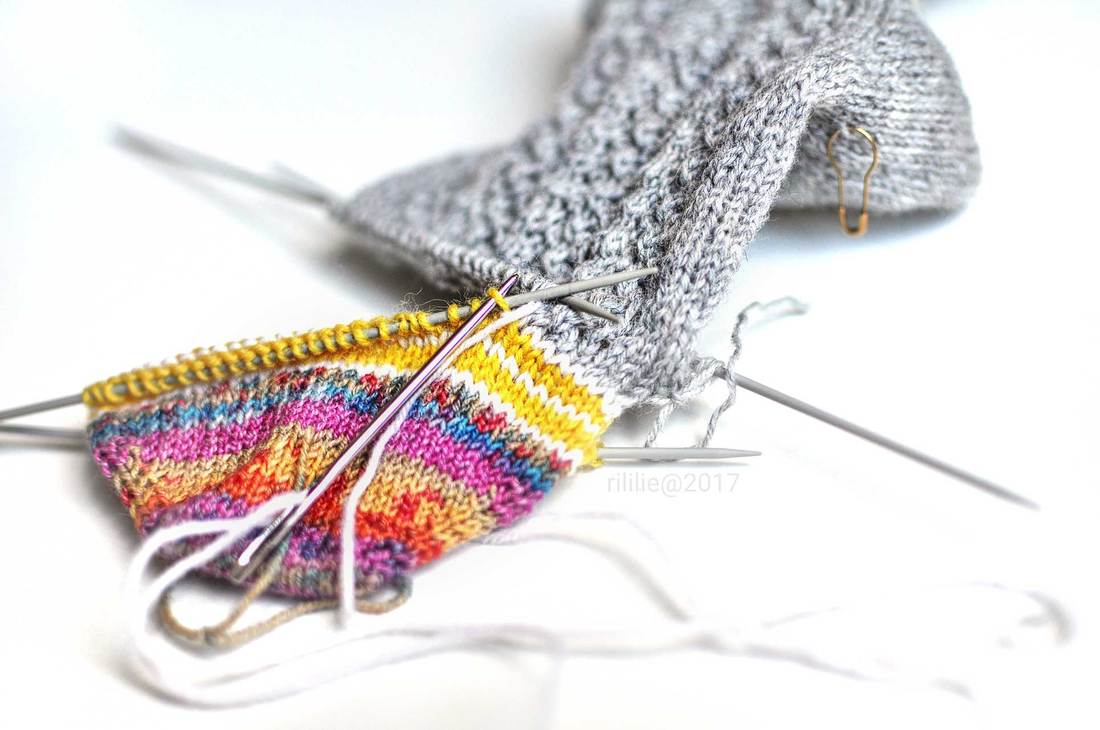
Then the fun part began: The actual grafting and re-connecting of the toe to the foot! If you are one of those knitters that fear this step, rest assured that it is not at all hard to do. You just need to take your time and keep an eye on your tension, while following a good tutorial, if you don't already know the grafting mantra "knit, slip, purl... purl, slip, knit" by heart.
Shortening of a knitted sock: A tutorial on knittingtherapy by rililie
​Here on knitty you can find one of my favourite Kitchener Stitch Tutorials by Theresa Vinson Stenersen!
Shortening of a knitted sock: A tutorial on knittingtherapy by rililie
I also tried to tweak the tension with an extra DPN when I was half-way through and again at the very end, because I am a little neurotic about those things... you don't need to do the same, if you are happy with the look of your grafted stitches.
If you do want to try your hand at my grafting-perfectionism-neurosis, my simple but time-consuming tip would just be the following: Work the grafting more on the loose side and after having completed some sts, tighten them up to the perfect tension by getting into the right leg of each stitch and pulling it out, ever so slightly. 
Then try pulling it's left leg (ha!) and continue to the next stitch, until the extra length of the looser stitches has been eliminated and the new stitches look exactly like their old friends. Just work slowly and carefully to achieve good results.
Shortening of a knitted sock: A tutorial on knittingtherapy by rililie
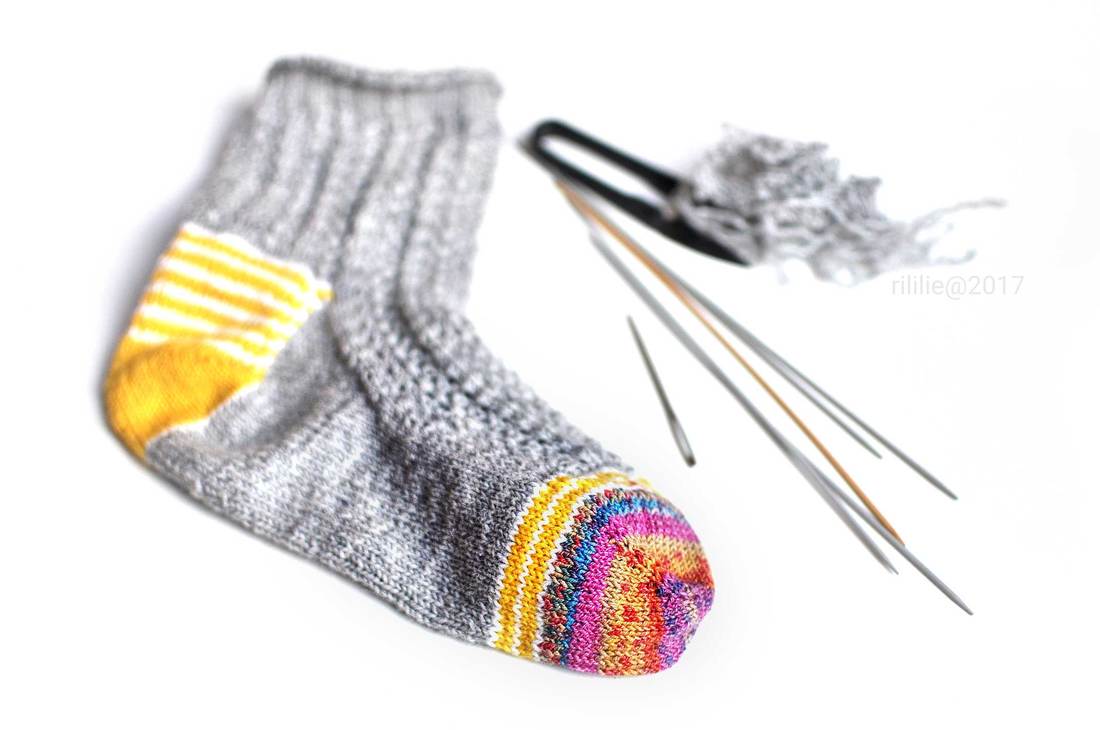
After neatly hiding all tails and such, the old-new shortened sock was ready to be worn for the first time and it successfully had been saved from a dark and boring life in the sock-drawer!
Both me and my favourite knit-recipient were quite glad about it...
You are welcome, mum! 
Do tell me if you have found a different system to make changes to the size of a sock, after having finished it - I am always very interested in new ways to craft stuff and to see what others prefer doing.

Or just leave me a comment anyway!
I am always super happy to hear from you...
On this note I need to admit, that I was stupid enough to accidently delete ALL of the comments I had on this blog some months ago, when I changed to the Disqus system. It still pains me when I remember that I seem to have lost them all!!!
Shortening of a knitted sock: A tutorial on knittingtherapy by rililie

Comments

Tightening up!

24/8/2015

Comments

 
tightening up big and loose stitches during knitting (especially German Short-Row stitches), a tip by La Maison Rililie
Probably the number one question that knitters ask me, is how to tighten up the last double-stitch when working German-Short-Rows in the round. This final turning point from the last short row - the last double-stitch to be worked when starting knitting in the round again - is slightly turned to the other side and ends up big and funny looking when it's knit as usual.
I don't have any mysterious, innovative and smart method to show you this time, but I can tell you what I usually do:
There are two ways I use to "eliminate" those ugly stitches - one employed during knitting and one other I often use to improve the look of all big stitches, not only short-row related ones, after the project is ready.
Sometimes I do both, if needed - sometimes one is enough.
tightening up big and loose stitches during knitting (especially German Short-Row stitches), a tip by La Maison Rililie
1. To immediately diminish the size of the last double stitch  during knitting, work this double-stitch as usually in the next round and then stop before knitting the next stitch. Take a closer look to the area. On the left needle there are many small stitches all cramped up together, since two short rows are coming out of the big double-stitch. On the right we can see that normal sized stitches continue on the same row like our fat stitch - so in this case it is probably the best idea to work towards the left to even out this stitch and give the extra slack where it is needed more.
Insert the right needle (or an extra DPN needle if it's easier to handle) into the right leg of the stitch, that is positioned 2 rows below the first stitch on the left needle (as shown above)...
Now pull this right leg out towards you.
It is often helpful to hold the left leg of the stitch in place with your thumb, so that the extra yarn will come from the big double-stitch and not the left side of the small stitch.
Pull firmly but don't go too wild - just enough to have pulled out a nice length and to have reduced the huge double-stitch in size, because that's what we want to do in this case: Manually transporting yarn from one stitch to the other.
tightening up big and loose stitches during knitting (especially German Short-Row stitches), a tip by La Maison Rililie
This surplus length of yarn needs to be distributed evenly now: Insert the needle in the left leg of the same stitch and bring the extra length of yarn to this side of the stitch.
Again without using too much force, carefully and slowly.
Continue in this fashion to the next stitch on the left and pull first on it's right leg, until the excess length of the yarn has been pulled out and the stitch to the right looks even tensioned again, then on the left leg again.
Work like this towards the left, stitch for stitch and carefully move the extra yarn from one stitch to the other and let the yarn travel to the side in this way. The idea here is to try to pull out a tiny bit less excess while working each stitch, so that your pulled-out loop gets smaller each time because every stitch "absorbs" a small fraction of the excess until it is all gone. You don't want to end up with all the length on the left side of your double-stitch and just transport the huge stitch itself from one side to the other. 
What you need is to have this extra loop of yarn distributed all over the 3-5 stitches towards the left, or until it isn't visible anymore (it doesn't need to look perfect at this stage).
Finally the big double-stitch has just lost some of it's size and the tiny stitches next to it have grown, making them all nearly even:
tightening up big and loose stitches during knitting (especially German Short-Row stitches), a tip by La Maison Rililie
On the picture on the right, where I have continued knitting about 4 stitches more, you can see clearly that the big double-stitch has been transformed into a normal sized stitch, while the extra length of yarn has been "incorporated" into the smaller stitches to the left, making those stitches larger in size and the difference between all of them less pronounced.
There are other methods where you are working this last short row stitch differently as the others before, to "make it behave" (sometimes by knitting each leg of the ds together with other stitches, for example).
I am personally not a big fan of this idea - even if it might be quicker to work.  It can distort the stitch more if not done right, make the fabric pull in at that point instead of letting the natural flow of the stitches open up during blocking, leave the smaller stitches in their tiny misery or add bulk to a section where we want to keep things nice and flat.
Next step: Blocking
This probably is a logical suggestion, but sometimes we forget how the process of soaking, washing and letting air-dry a garment (or steaming, for the more experienced knitters) can not only change the whole look of our garment, but also helps wonders with letting the yarn bloom and even out those problematic stitches. 
So, in the case that the result wasn't perfect after working the above tip, blocking will make a big difference - since we never disrupted the natural flow of the stitches.
DrawingStraws pattern by La Maison Rililie Designs
2. Eliminating larger stitches, even after having completed the project:
Good news is that you can manually repair the tension to get rid of all big, distorted stitches in your knitting - not only the short row double stitches discussed here - but also when you have strange laddering going on in magic loop knitting, strange holes near the underarm cast-on in top down knitting or the occasional giant stitch making an appearance.
If you already have finished and blocked your project and you still want to get rid of any stitch that looks too big, or if you still find that the above tip didn't yield a perfect result, even after blocking, this "Post-Production" process will surely be of interest:

You will need a smaller sized needle, good lighting and some patience to make this work:
Take a look at your knitting to find out if it's better to move the extra yarn to the left or to the right of your holey stitch (or towards both directions, if possible).
Then just follow the same logic as described before: Insert the needle in the right leg of the stitch, carefully pull the excess length out and continue to the left leg of the same stitch, thus transporting and distributing the excess yarn to the next stitches of the same row until the extra loop disappears.
tightening up big and loose stitches during knitting (especially German Short-Row stitches), a tip by La Maison Rililie
I find that we knitters sometimes forget that we are just working with sticks and a long length of string, which makes up a fabric of interlocked loops. A fabric that one can influence at any given time by shifting the amount of length in the finished surface - during but also after knitting.
This fact actually opened up a whole new way of thinking to me; on how to handle my knitted fabric and to understand a lot of things about the flow of the stitches in knitting.

As I said the logic behind all of this is really simple - too simple maybe and not at all dramatic - but it does the trick every time: With just a little patience and an even tension, all "non-conform" stitches, ugly double-stitches or other unwanted distortions in our knitting can be successfully remedied and persuaded into shape.
DrawingStraws pattern by La Maison Rililie Design
This post-production method might probably be an annoying idea to some (as most finishing work in knitting) - but it is one way that will lead to a sure and risk-free success and in case you didn't get it right the first time you can always go back and change things up at a later stage. The important thing for me is that the final fabric of my project can look flawless - even if I didn't notice the problematic area in the first place.
I am sure that this isn't the only way to eliminate this kind of problematic stitches - it is the way I prefer for years now and I am very happy with it because it allows me the freedom to repair any unevenness that might have escaped me during knitting.
But maybe you have another method that works better for you?
Comments

So, when I was in school...

10/8/2015

Comments

 
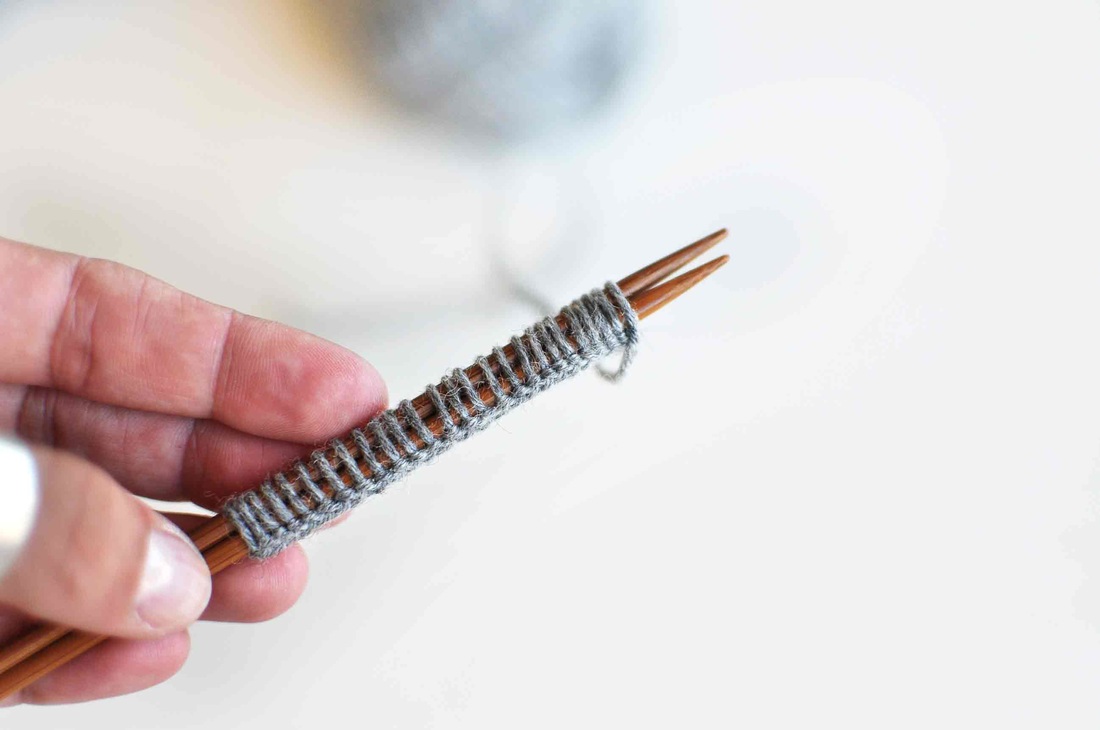
Twin-Needle long-tail CO, www.lamaisonrilililie.com
... our crafts-teacher showed us a very cool and simple method for a looser long-tail cast on. 
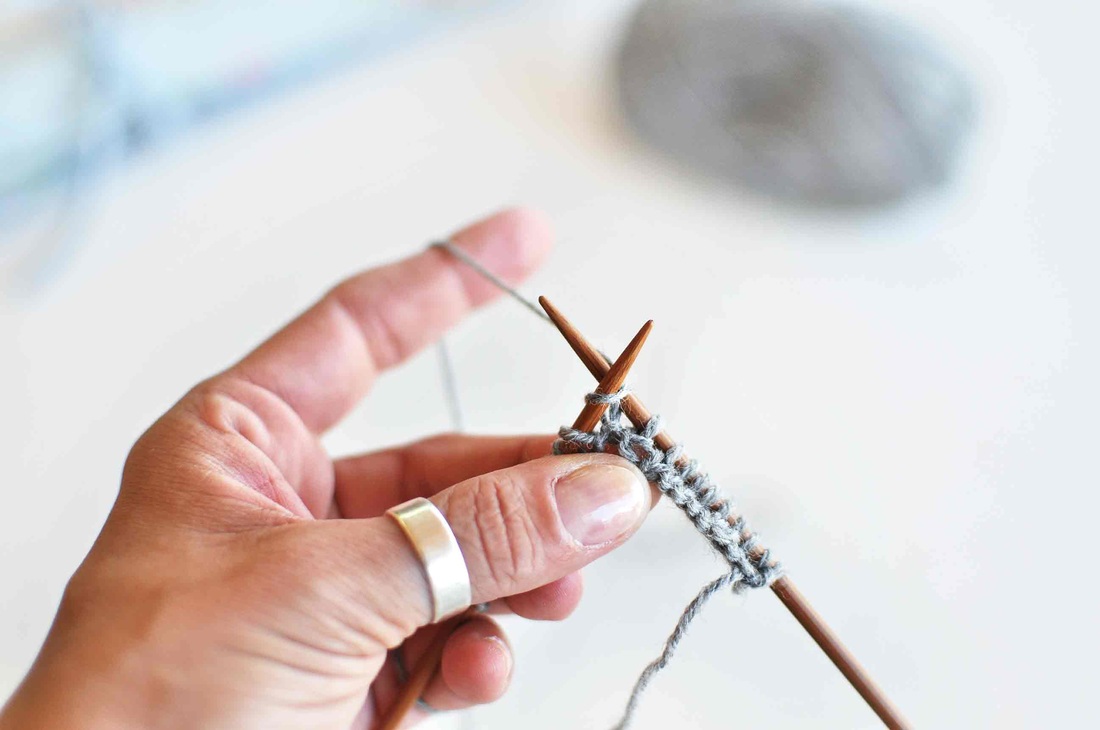
It allows you to work the first row easily without fighting to insert your needle in some tightly wound CO stitches .
I just remembered this recently (together with some other not-so-useful school memories) and thought that maybe not everybody is familiar with this easy trick to achieve a friendly start to their knitting. So I thought I'll share this "fond memory" especially for the ones that love the look of the long-tail cast on, but never get it to be elastic enough...
Twin-Needle long-tail CO, www.lamaisonrilililie.com
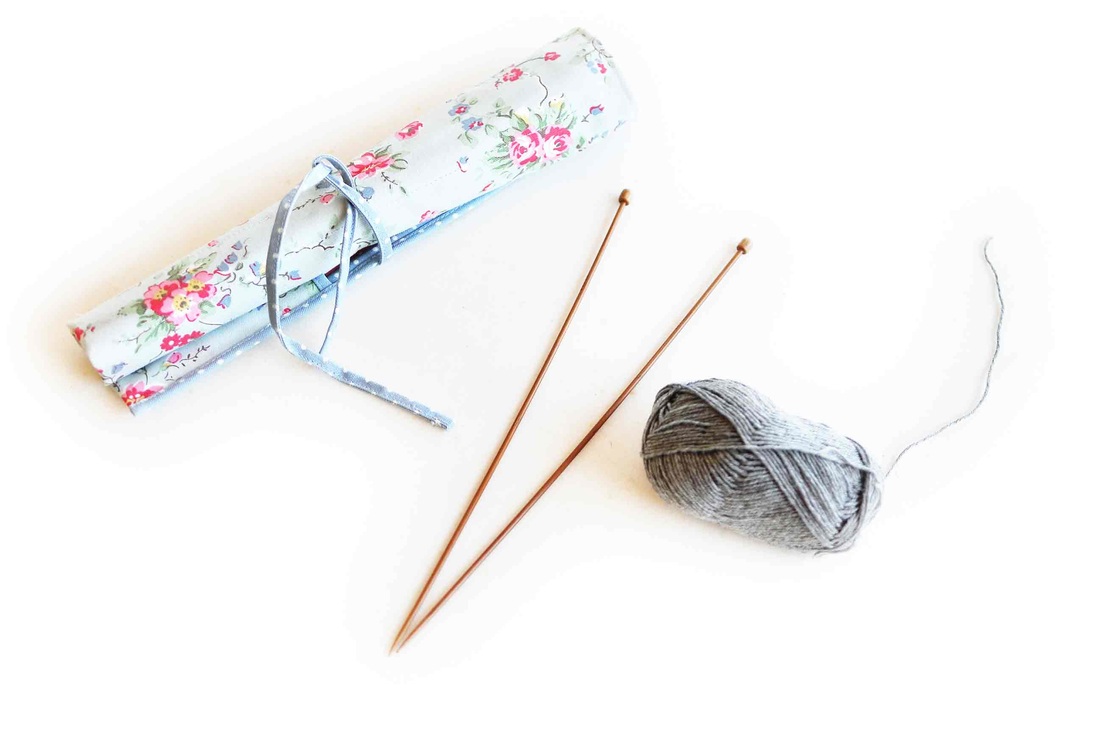
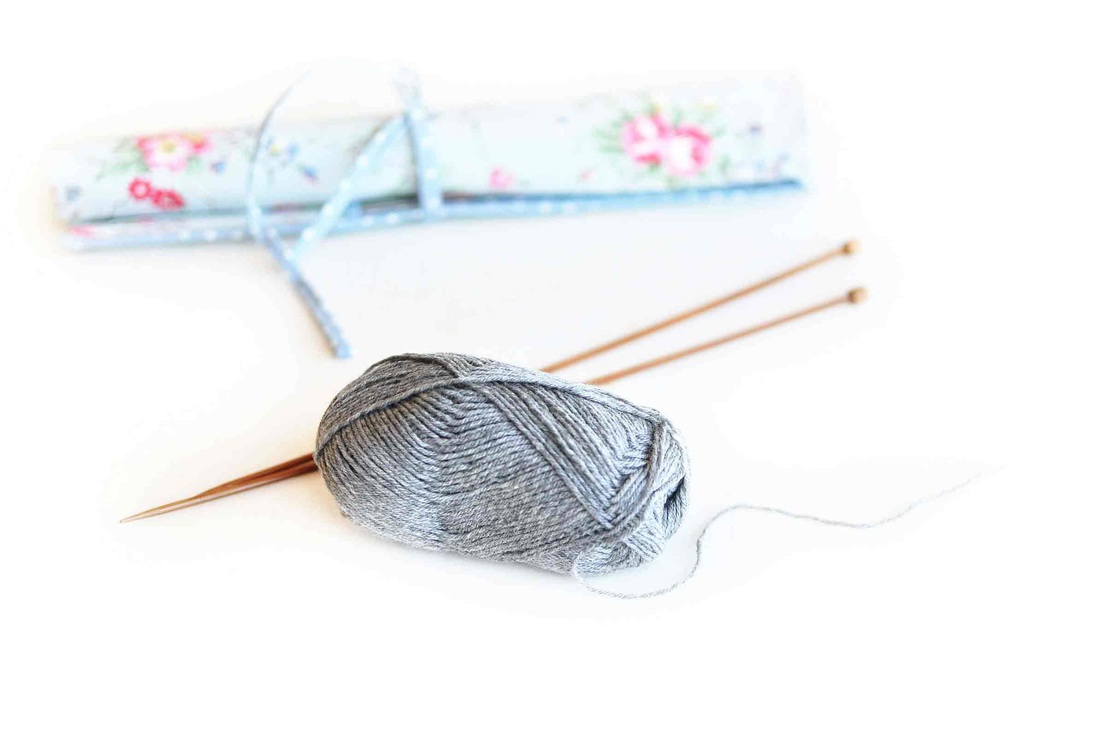
There is really not much to it in terms of technique - you just need your normal set of tools: a pair of knitting needles and your yarn (the cute Cath Kidston needle-case is optional).
To showcase this method I dug up my beautiful wooden straight needles, which I sadly rarely use nowadays... 
It's all gotten circular in the knitting world of today!
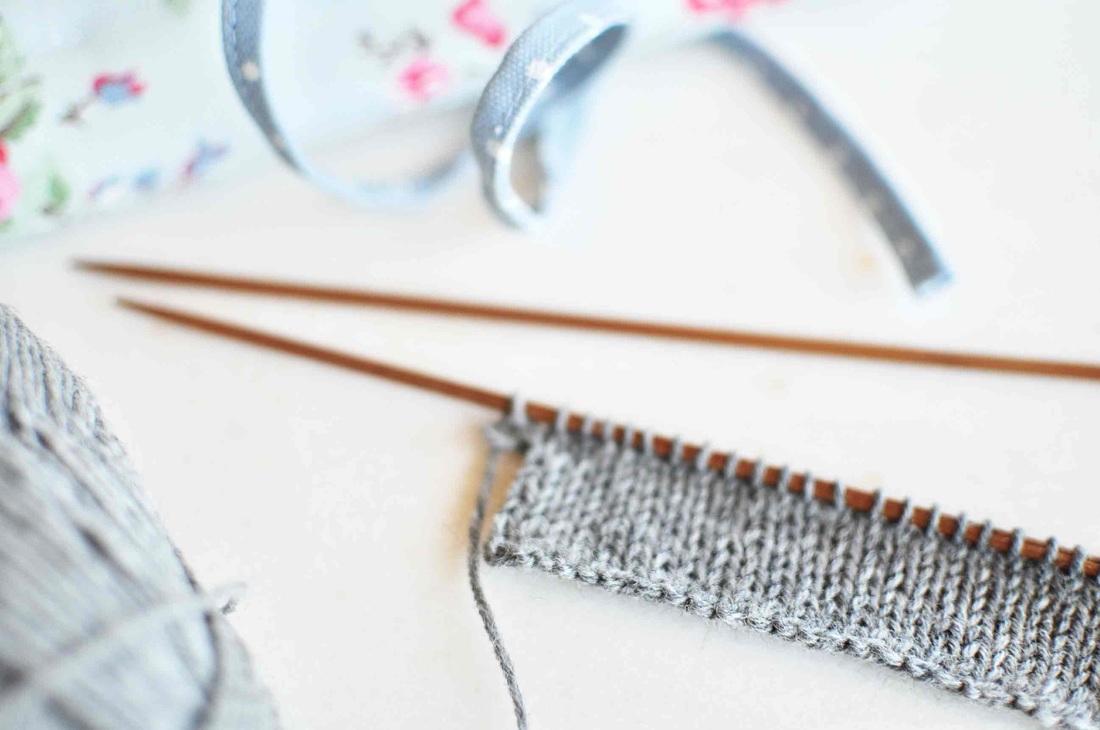
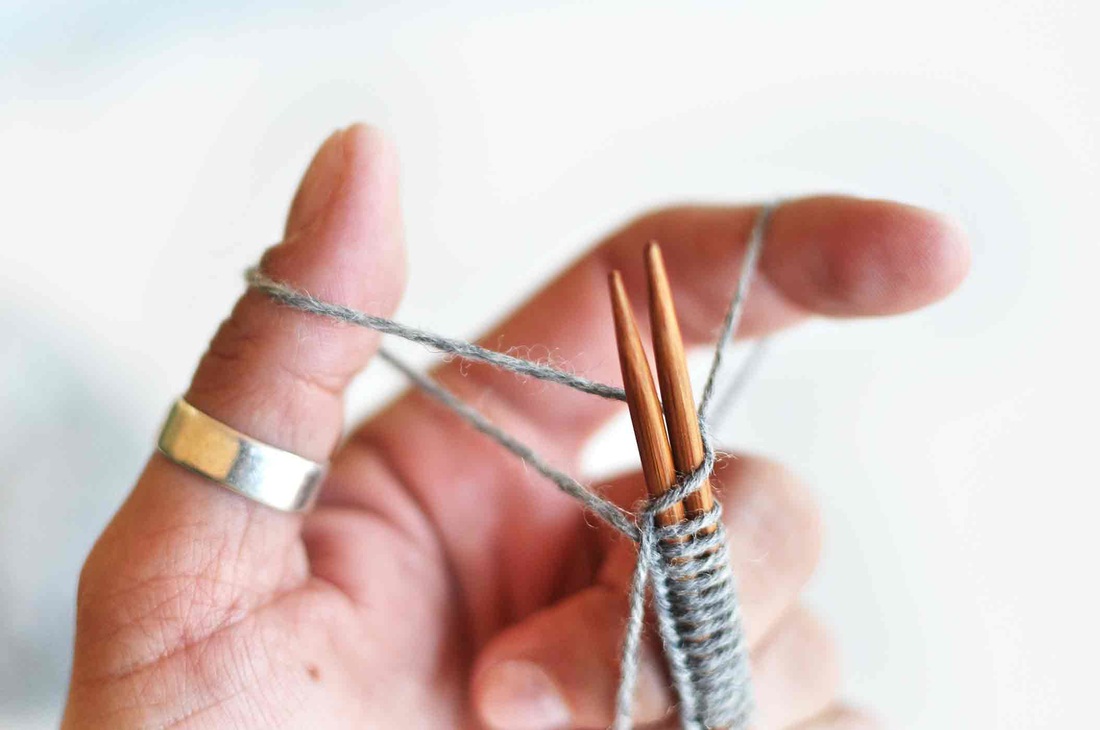
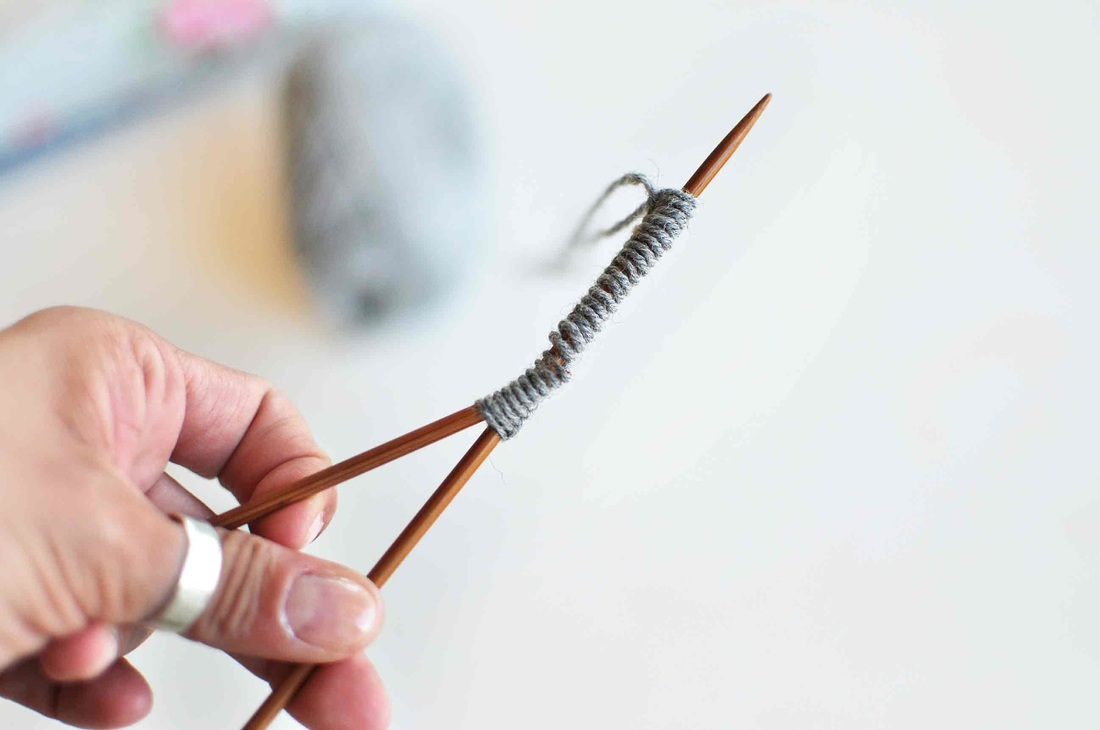
Hold the two needles together- parallel to each other - and just start casting on as you normally would. 
Even if it feels funny at the beginning you'll soon get used to it and forget that it's two needles that you are holding in your hand instead of one. 
As I said, it's really simple!

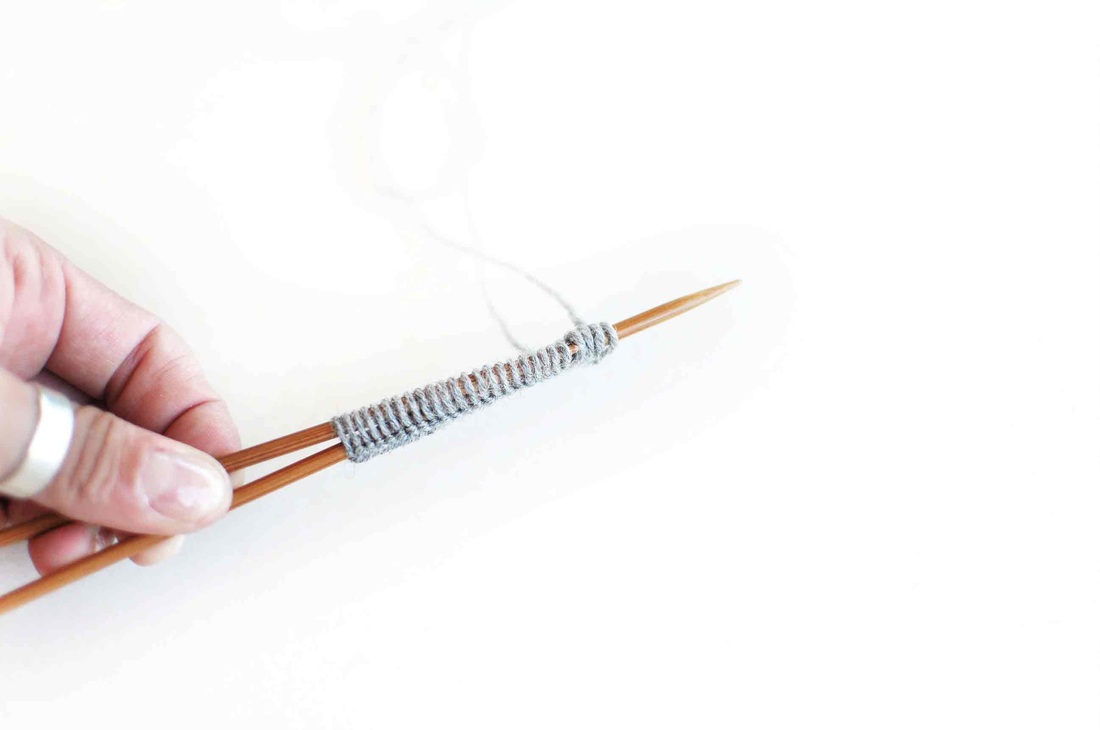
At the end you can see that each casted on loop is double the size than if you would have used the one needle only.

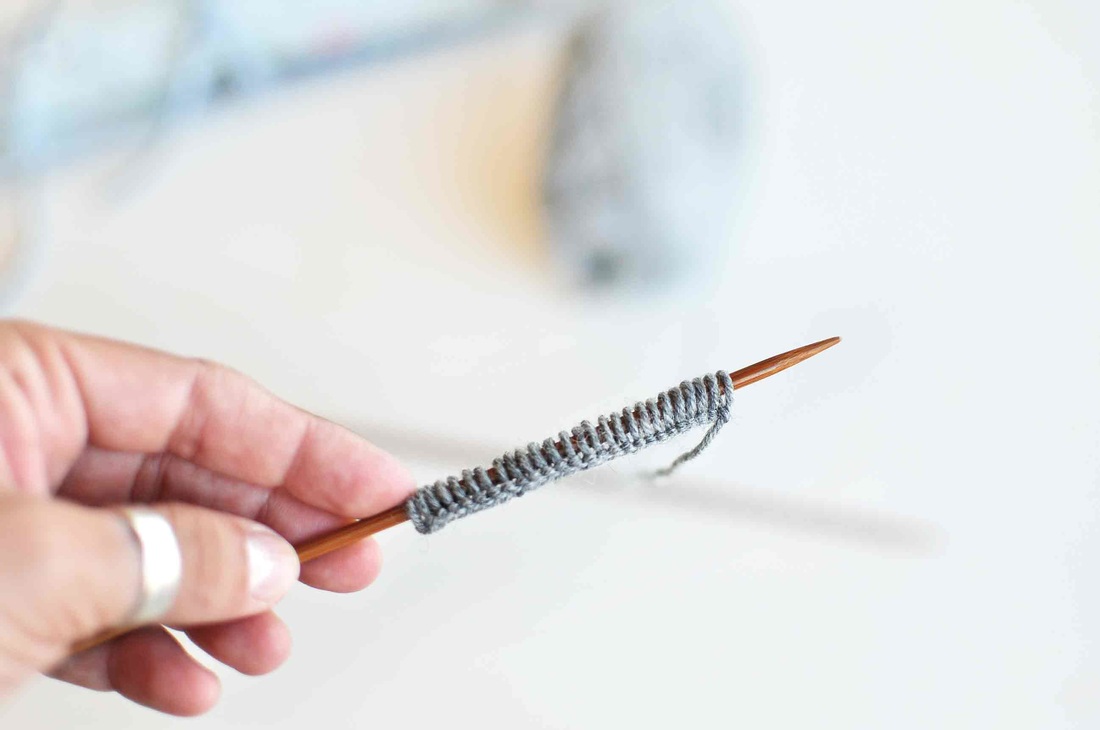
After having cast-on all of your stitches you need to very carefully pull one needle out of the loops in a backward motion. 
It's better to hold the needle tip of the second needle in place with your other hand while doing so, to keep any stitches from falling off.
(If the needles sit too tight in there you can just wiggle them a little bit to give them some room).
Twin-Needle long-tail CO, www.lamaisonrilililie.com
And there you go: The needle that is left inside your knitting is now holding a nice set of loose stitches - that are big, open and stretchy and ready to be worked into.
It's easy to knit this very first row of stitches - even if you are knitting tightly. You will see what I mean when you try this out.

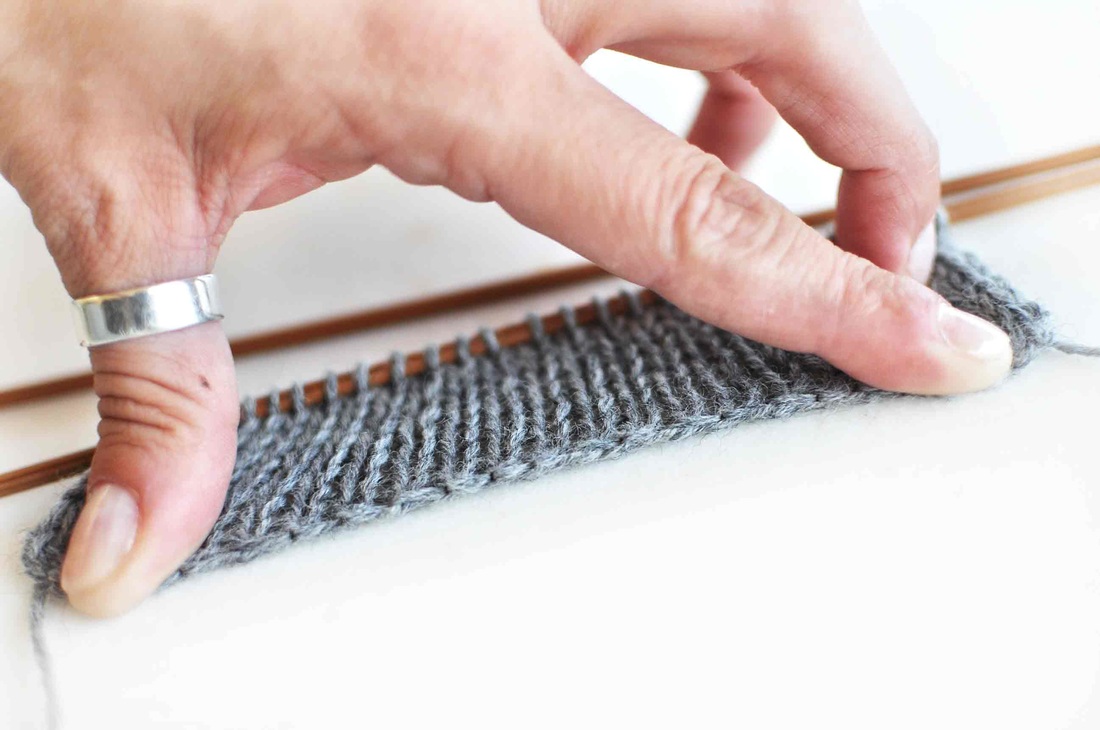
And the edge that has been formed at the Cast-On looks as neat as usually in the long-tail method, especially after having worked some more rows. It is not that incredibly stretchy as some others I guess, but it is quite elastic and beautiful - and still quick and easy!
Twin-Needle long-tail CO, www.lamaisonrilililie.com
Well - that was all there is actually... 
You could of course do your cast on a needle that is at least 2 sizes bigger instead of the Twin-Needle thing to make a stretchier cast-on, but since we all have a set of 2 straight needles (or 2 needle tips in the case of circular needles) it is a handy trick and you don't need to search for bigger ones - besides, you'll get the added bonus of having loose stitches to work into in your first row.
Apropos circulars: 
If you use long circulars for a smaller project you can "fold" them in half and use the two needle tips as the straight pair above. Just make sure that you don't loose the stitches when you try to get the one needle-tip out of them by pulling on the cord end... for larger projects this might get very fiddly!
You theoretically need a cord that is a little longer than double the length of the casted on stitches to accommodate them when folded in half, so this is why an extra pair of circular needles in the same needle-size would probably be a better idea for a larger project (and much easier to pull out of the CO after it's done).  

This Twin-Needle system is producing a kind of an elongated, oval needle tip and not a round one - so your loop is long while the stitch underneath rests still neat and less bulky  - that's really a detail though and probably too much of information.
So there goes today's school-memory of yore, not at all appropriate during the holidays, I am afraid... 
It's horrible, but I don't even remember my craft-teacher's name! 
I do remember what she taught us though, I hope that counts for something...
Twin-Needle long-tail CO, www.lamaisonrilililie.com
Comments

Textural Augmentation Issues

11/3/2015

Comments

 
How to increase at the sides of a flat knitted chart , by La Maison Rililie
In Pictures:
This little post might be helpful if you need to work increases on the sides of an existing textured piece, a patterned shawl or any other project that wants to grow at the sides outwards  and you don’t know how to continue working your stitch pattern or chart when adding new stitches to each side of your work.
It might get especially difficult to work armhole increases in a top-down textured sweater that needs you to follow a chart with pattern repeats and extra stitches and edge stitches (as often encountered in flat knitted patterns).
Does this description already induce a headache? 
Well, lets say that you might encounter the following issues:
  • How to continue working a given pattern or chart, while adding new stitches to each side and not loose the overview of your stitch pattern? 
  • What shall one do with all these new stitches and how can those be integrated in the motif?

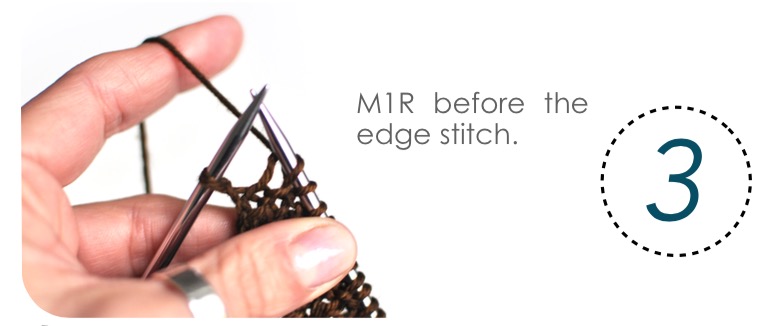
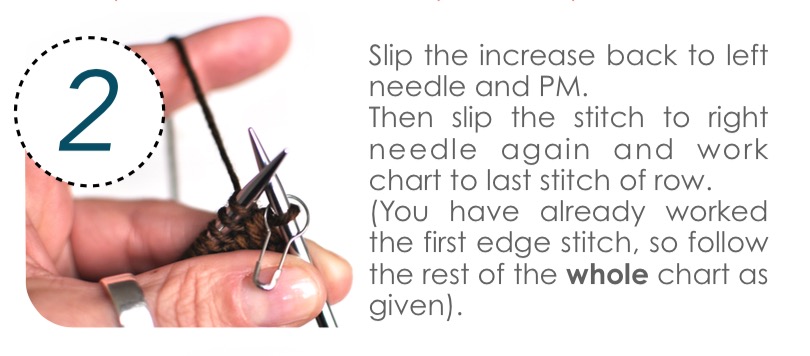
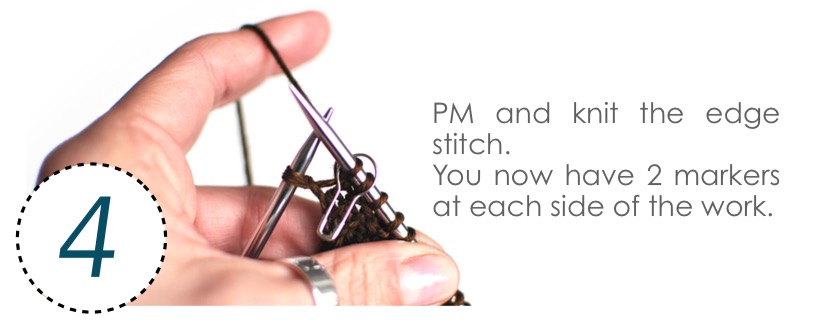
The whole process becomes quite easy if you visually separate your newly increased stitches with the help of removable markers until you can safely integrate them into your existing pattern repeat!
The idea is to use markers to separate the complete chart you have been following before (not only the pattern repeat itself, but the whole thing) from those increases that are worked gradually and over quite some rows, so that you can continue following the chart instructions without worrying about how to start each row, since you are increasing the needed amount of stitches on the outside of your chart.
How to increase at the sides of a flat knitted chart , by La Maison Rililie
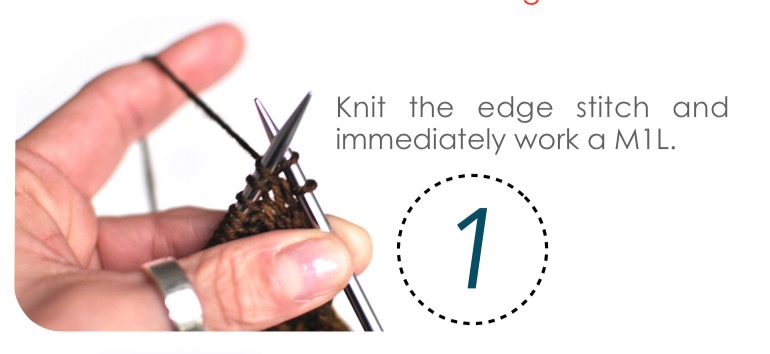
So now you might wonder why in this first increase row the M1L and M1R increases are placed at the “inside” of the markers and not at the outside: It is so that those newly increased stitches can safely replace the edge stitches of the chart.
This allows you to just follow your chart as a whole and as written in between the two markers and to increase at the outer edges of the markers on the following rows: 
How to increase at the sides of a flat knitted chart , by La Maison Rililie
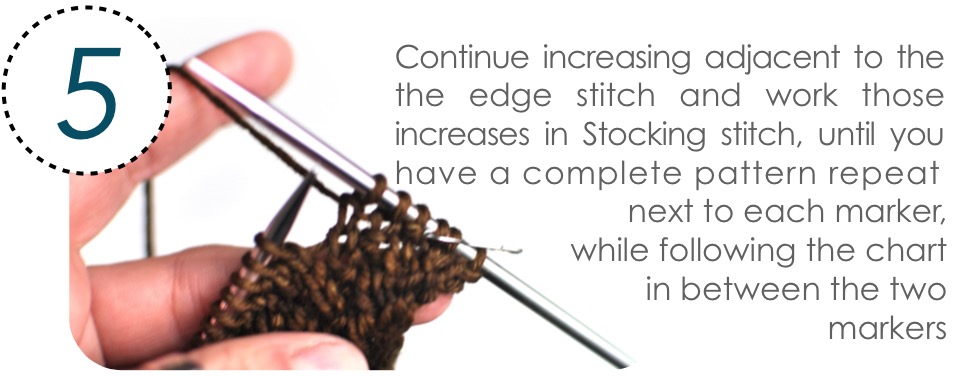
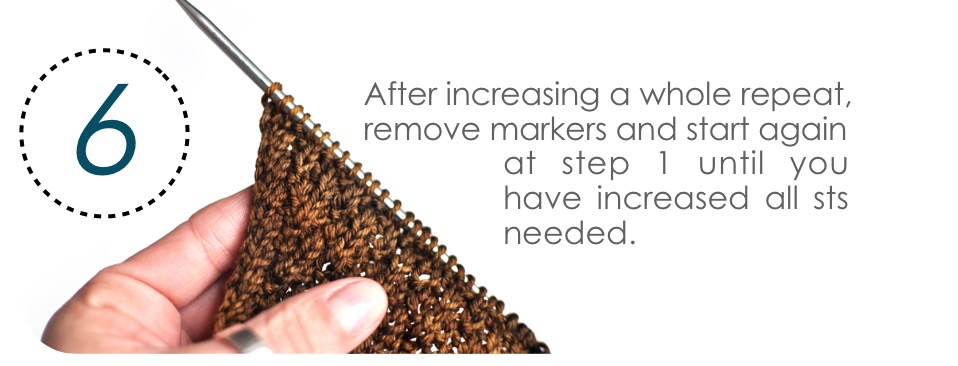
Like this you can actually see how many new stitches have been added at the beginning and the end, next to the markers. These increased stitches are worked in Stocking stitch until a whole pattern repeat is added at each side (in the pictures it’s a 4 sts repeat), which we can then safely integrate into our existing textured pattern and start again with the next set of increases, where the markers are placed once again as in step 1-4. 
So the whole idea is that with the help of the markers you don't bother about the increased stitches until you can add those to your growing textured section. The markers also help you to work the chart normally during the increase section (since they show you where to start and end the complete chart), so you don’t need to "read your knitting" at all and to guess which stitch goes on top of the other, if you aren’t comfortable in doing so.

While working the increased stitches next to the markers in Stocking stitch you get a wide and clean band on the sides of your work, as you can see in picture 6. If your pattern repeat is much more than 4 sts wide though, you might want to start getting comfortable with "reading your knitting" after all, so that you learn to immediately integrate the new stitches in your stitch pattern and don’t need to wait until you have enough new stitches to work with.

But that’s totally up to you, to work it as you like and feel comfortable with.

So, there is no reason to avoid any instructions that are asking to work complicated stitch patterns and giant charts at the same time with side increases!

With the help of two little markers it'll be all done in no time...


Rhombing Around Pattern by La Maison Rililie

Comments

Neat & Simple I-cord Grafting

20/12/2014

Comments

 
Tutorial: i-cord Grafting; How to invisibly connect the ends of an i-cord together, by La Maison Rililie
About two weeks ago I showed you a method of working a stretchy applied i-cord (or i-cord bind off) which doesn't involve going up a needle size or change the look of your stitches. 
That technique can also be used to work with finer yarn than the one of the main project. 
I called it the "spaced-out" applied i-cord and I am glad that so many of you liked it!

So, let's imagine that you finished up your i-cord bind off on your neckline, hem or cuff - and it thankfully looks great and doesn't pucker - and now you want to close it up to finally be able to try your garment on and admire your hard work...
What do you do? Don't say that you are going to sew the ends together like that, hoping that nobody will notice the harsh line or bump right in the middle of your perfect, smooth, round and even i-cord edge??!!??

Well, as the title already gave away, in this post you can find the answer about how to graft the two ends of an i-cord invisibly together. 
For the ones that aren't already familiar with this technique, I prepared the following photo-tutorial to round up on the i-cord subject (for now): 

(Click on the pictures below to read the high-resolution PDF and download it for further reference if you like and find more tutorials here)
Tutorial: i-cord Grafting; How to invisibly connect the ends of an i-cord together, by La Maison Rililie
So... no more unsightly sewing lines, gaps or bulky connections in our i-cord universe anymore! 
And no need to avoid i-cords in general. This method might take much more time than a simple bind off, but it is so much more beautiful, isn't it?


Comments
<<Previous

    show cart


    Rililie

    This is a blog about knitting stuff - patterns and the like (the therapeutic part will come after diving into the needles... promise!)


    affiliate links:


    Categories

    All
    Chatter
    Discount
    Fingerless
    Fo
    Free
    Game
    Giveaway
    Hat
    Imported From Old Blog
    Indy Yarn
    La Maison Rililie Designs
    Me
    Needles
    News
    Pattern
    Polo&CO
    Print
    Review
    Shop
    Socks
    Technique
    Tools
    Toy
    Tricks
    Tutorial
    Workshop
    Yarn
    Yarn Kits


    RSS Feed
    Follow on Bloglovin

    affiliate links:


    Patterns:

    Funky Grandpa Cardigan by La Maison Rililie
    Funky Grandpa Cardigan
    Winston Cardigan by La Maison Rililie Designs
    Winston Cardigan
    Dessine-Moi un Mouton by La Maison Rililie
    Dessine-Moi un Mouton Pullover
    BeauB Cardigan, by La Maison Rililie Designs
    BeauB Cardigan
    OberLandForstMeister Cardigan by La Maison Rililie Designs
    O L F M
    Picture
    STYX heel socks
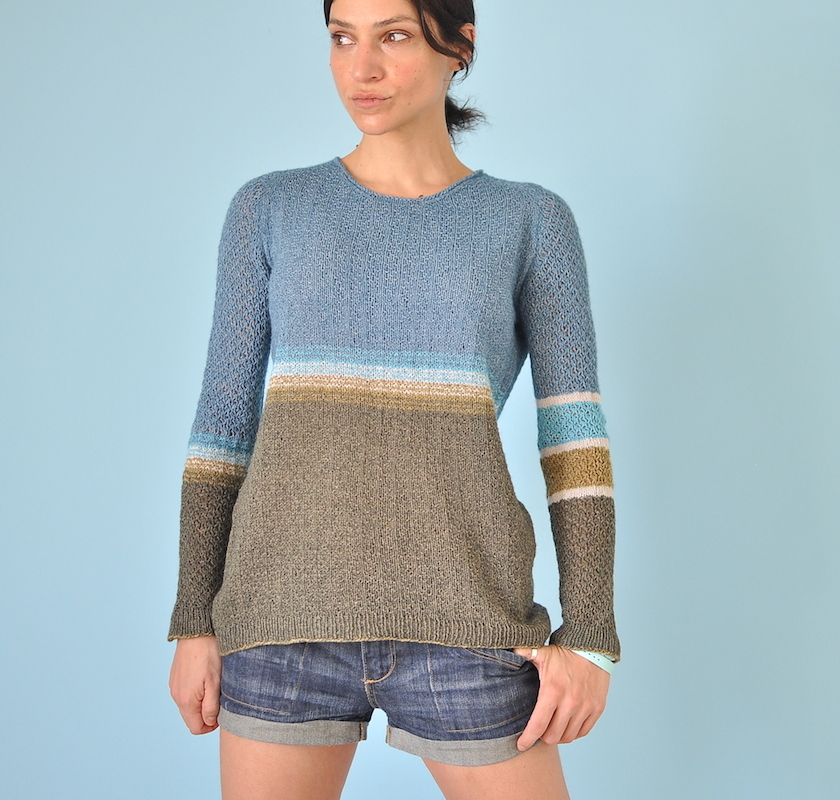
    La GeKka pullover by La Maison Rililie Designs
    La GeKka
    VulcanSpy Hat by La Maison Rililie
    Vulcan Spy Hat
    Diane Cardigan by La Maison Rililie Designs
    Diane
    GILDA pullover + armwarmers by La Maison Rililie
    GILDA jumper + gauntlets
    SpliTTop by La Maison Rililie
    SpliTTop
    LeScarabéeBleu Cardigan by La Maison Rililie Designs
    Le Scarabée Bleu
    zipf hat
    ZIPF hat
    Orza Pullover by La Maison Rililie
    Orza Pullover
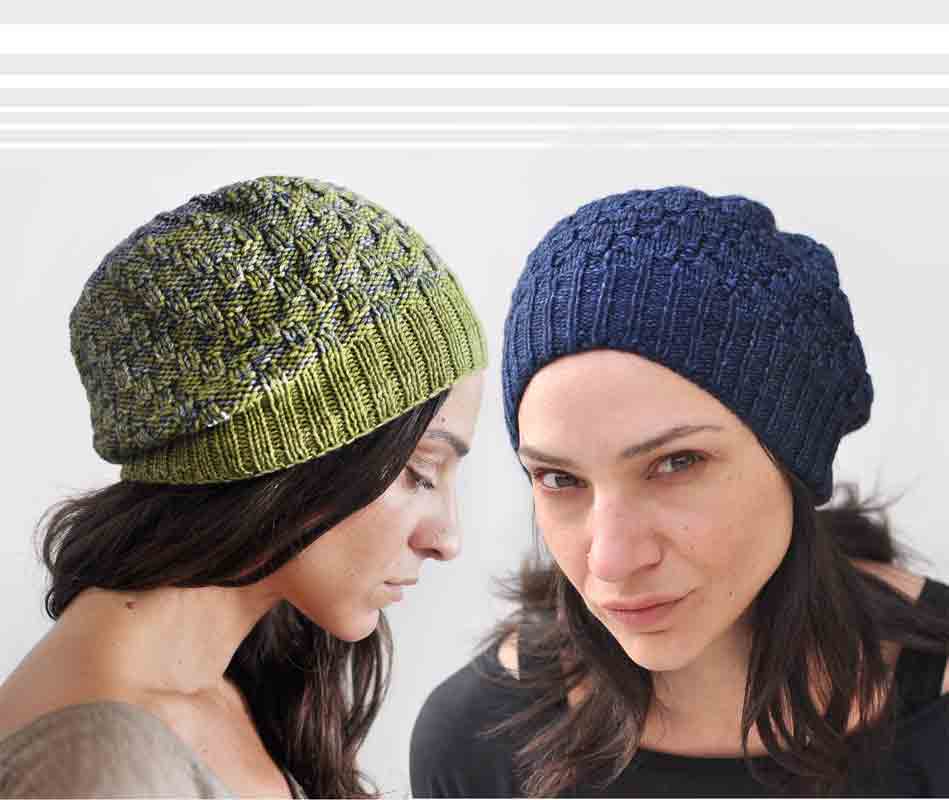
    Mrs.Jekyll & Little Hyde by La Maison Rililie
    Mrs.Jekyll & Little Hyde reversible hat
    Moroccan Nights by La Maison Rililie
    Moroccan Nights Pullover
    NoShow Socks by La Maison Rililie
    NoShow Sock
    Reverse&Shift Hat by La Maison Rililie
    Reverse&Shift Hat
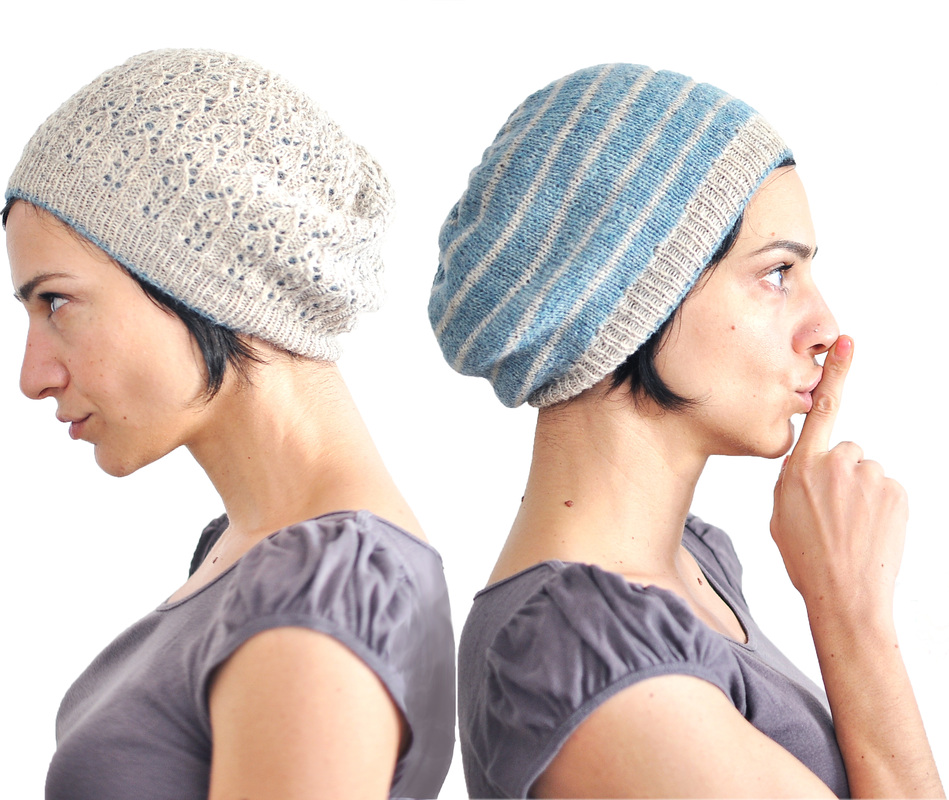
    Mitsouko+Mitsouko's Lover, a customizable hat pattern by La Maison Rililie Designs
    Mitsouko+Mitsouko's Lover
    Casazul Hat by La Maison Rililie
    Casazul Hat
    Granemones Shawl by La Maison Rililie
    Granemones Shawl
    Green Memories by La Maison Rililie
    Green Memories Hat & Armwarmers
    MissBrummell Cowl, by La Maison Rililie Designs
    MissBrummell
    MarlOn Pattern by La Maison Rililie Designs
    MarlOn Cardigan
    Menage à Trois Shawl by La Maison Rililie Designs
    Menage à Trois SHAWL
    DrawingStraws Pullover by La Maison Rililie Designs
    Drawing Straws
    RhombingAround by La Maison Rililie Designs
    Rhombing Around
    Spring Lines by La Maison Rililie
    Spring Lines Pullover
    NoFa Shawl by La Maison Rililie
    NoFa Shawl
    BlueSand Cardigan by La Maison Rililie
    BlueSand Cardigan
    Cocktail(Dress) by La Maison Rililie
    Cocktail(Dress)
    Cocktail(Jumper) by La Maison Rililie
    Cocktail(Jumper)
    Shaken, Not Stirred e-book by La Maison Rililie
    E-BOOK: Shaken, Not Stirred! (Collection of Cocktail Dress+Jumper)
    InBetween Bolero Pattern by La Maison Rililie
    InBetween Bolero
    Quadrifurcus by La Maison Rililie
    Quadrifurcus Hat
    CineCittà Top by La Maison Rililie Designs
    CineCitta Top


    Archives

    August 2019
    March 2019
    December 2018
    August 2018
    April 2018
    January 2018
    December 2017
    November 2017
    August 2017
    April 2017
    March 2017
    February 2017
    October 2016
    September 2016
    February 2016
    October 2015
    September 2015
    August 2015
    May 2015
    April 2015
    March 2015
    February 2015
    December 2014
    November 2014
    October 2014
    September 2014
    August 2014
    July 2014
    June 2014
    May 2014
    April 2014
    March 2014
    February 2014
    January 2014
    December 2013
    November 2013
    October 2013
    September 2013

    RSS Feed Widget
    I'm on ravelry

    ravelry button
    ravelry button

All text and pictures on every page of this site is protected by copyright.

La Maison Rililie © 2013-2019
knittingtherapy blog, La Maison Rililie Designs