Today I want to talk about an easy and simple method to work the classic 1x1 ribbed tubular cast-on, that uses a simple rectangle as a base, knitted out of waste yarn.
|
|
I have posted a video that shows how it is done, but if you like to find out more about the technique and why some things are worked a specific way, then this blog post might be for you.
Of course you can skip directly to the video in the centre of this page, if you are not interested in the (k)nitty-gritty details!
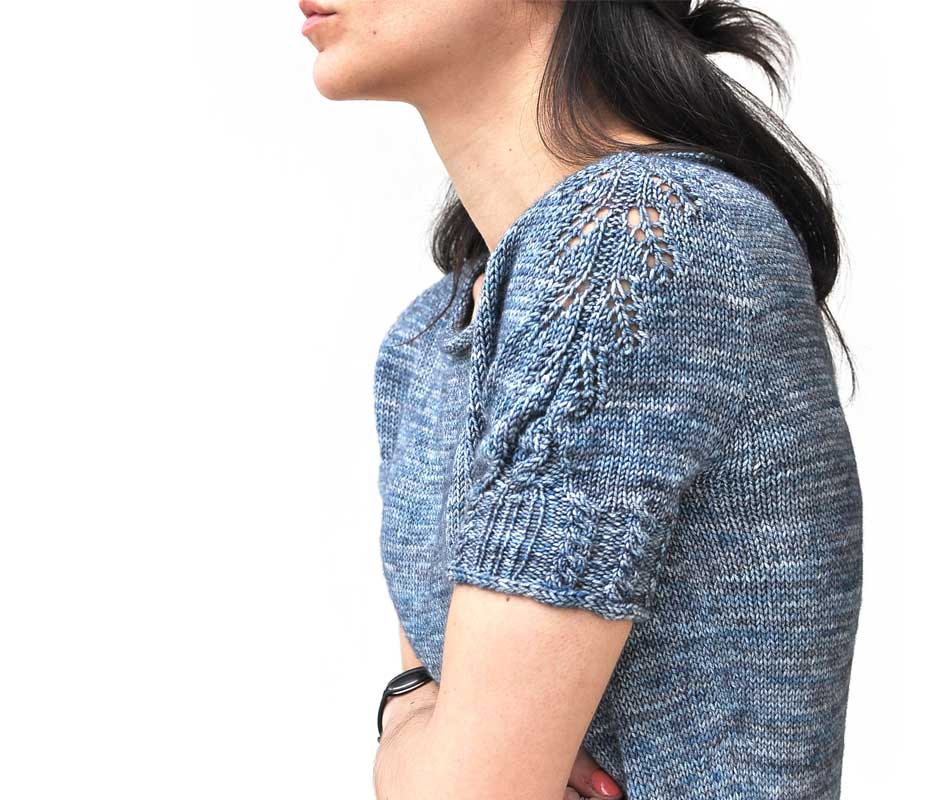
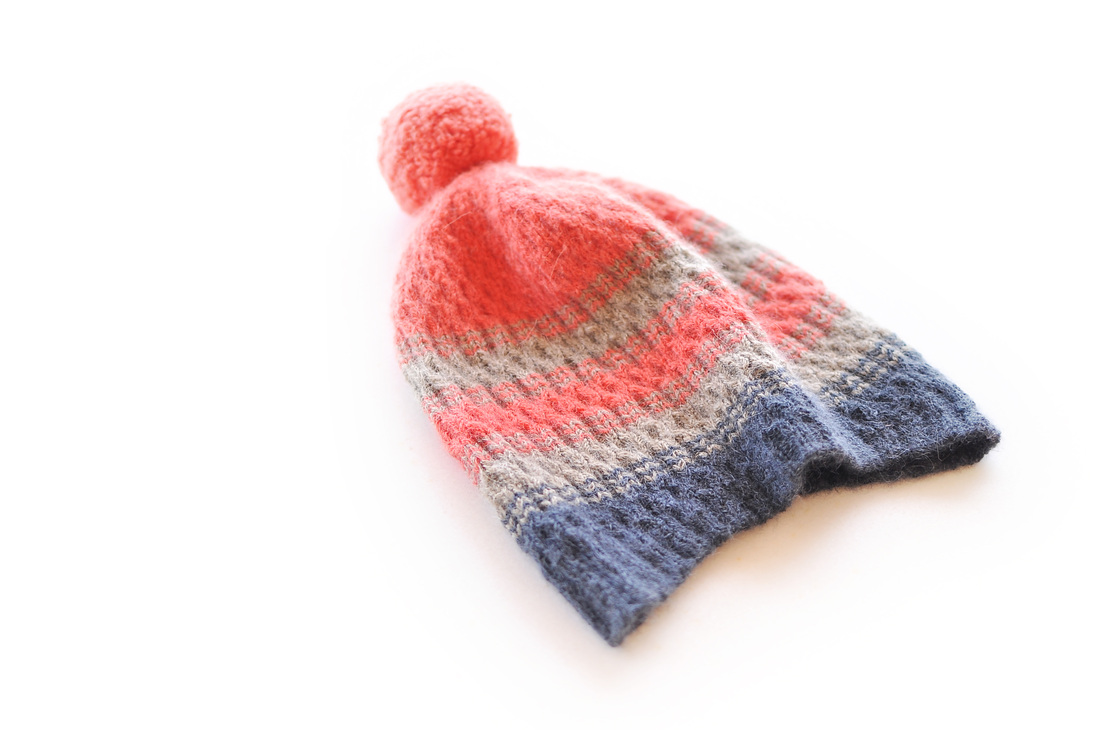
So what is so special about the tubular cast-on? It gives a professional, finished look that resembles ready-to-wear machine knitting: Knits and purls flow seamlessly around the edge of the knitting and have the same amount of stretch as the ribbing itself. This is why it has quite a lot of elasticity and is one of the more flexible cast-ons. It can be worked flat or in the round (the latter being the version this blog post is dedicated to).
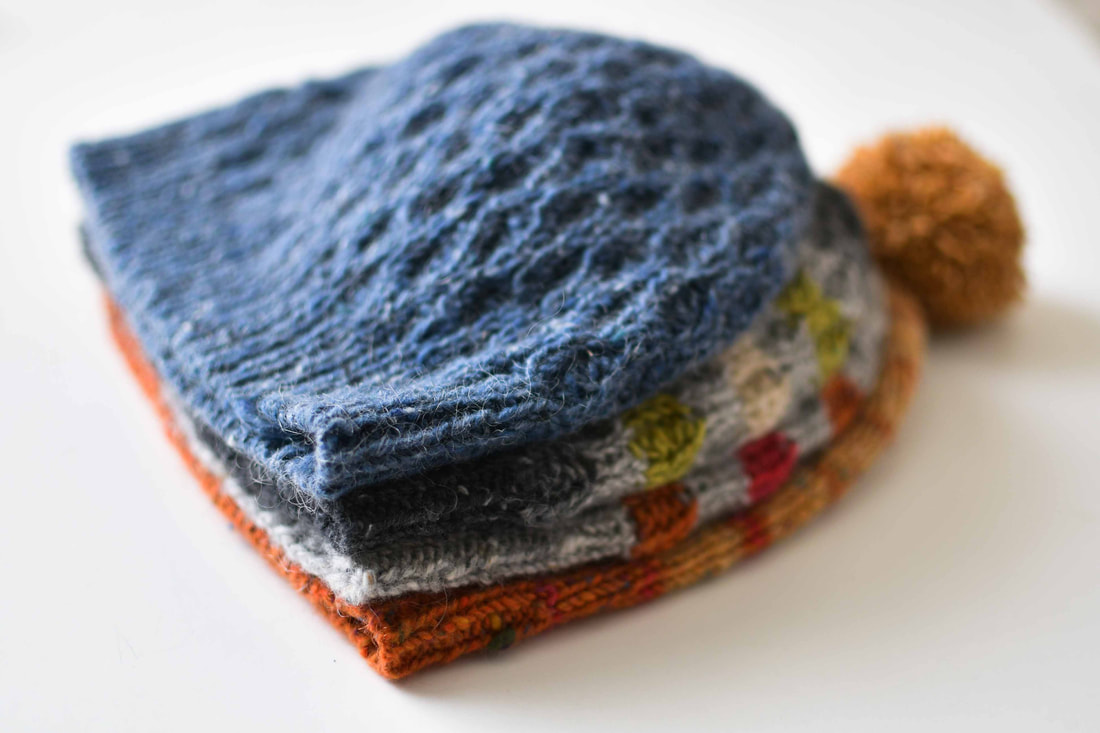
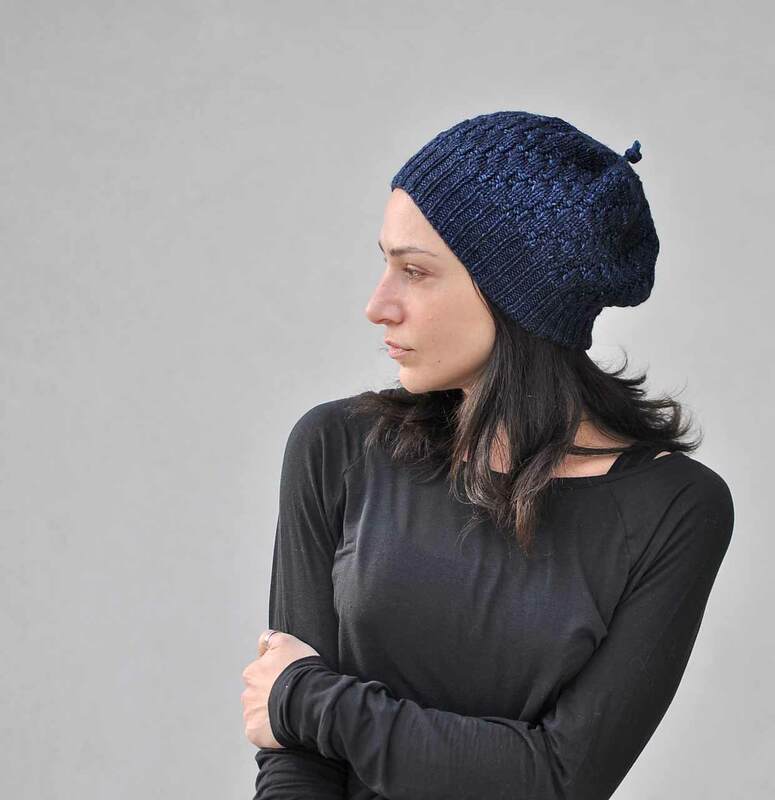
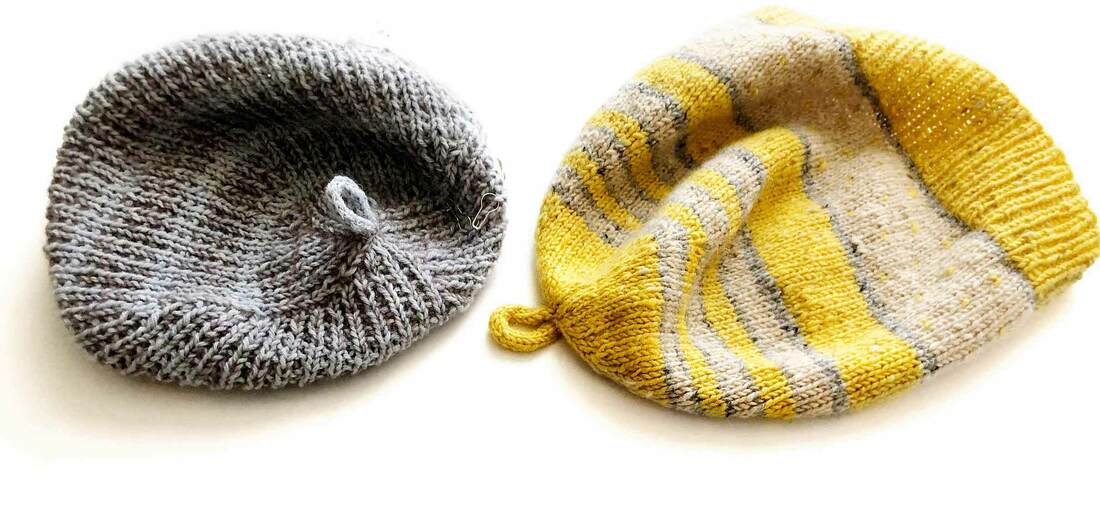
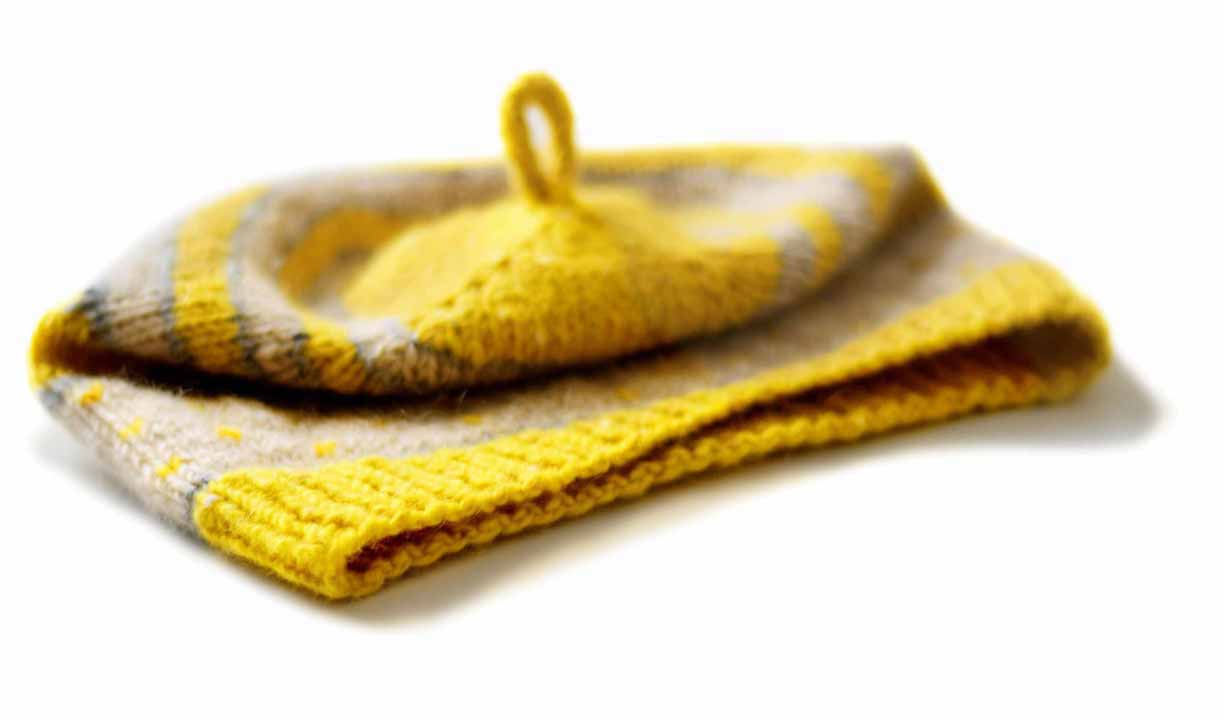
One can use it in any project for a neat, elegant and stretchy edge: In clothing - on any neckline, cuff or hem - but also in many accessories worked in the round, like hats or mittens.
Of course you can skip directly to the video in the centre of this page, if you are not interested in the (k)nitty-gritty details!
So what is so special about the tubular cast-on? It gives a professional, finished look that resembles ready-to-wear machine knitting: Knits and purls flow seamlessly around the edge of the knitting and have the same amount of stretch as the ribbing itself. This is why it has quite a lot of elasticity and is one of the more flexible cast-ons. It can be worked flat or in the round (the latter being the version this blog post is dedicated to).
One can use it in any project for a neat, elegant and stretchy edge: In clothing - on any neckline, cuff or hem - but also in many accessories worked in the round, like hats or mittens.
There are many different ways to work this beautiful cast-on, but I wanted to showcase this specific one, since I do prefer the waste-yarn technique for three reasons:
FIRSTLY: No special knowledge is needed for this technique: You just need to know how to knit and purl - there are no specific finicky cast-on movements involved and one doesn't need to get back to the video instructions every time to do it. In my eyes it's a true no-fuss method!
SECONDLY: The stitches don't get distorted, to make knitting the first row or joining in the round problematic later on. Since there is a good chunk of the worked cast-on already on the needles, this method makes it much easier to join in the round without twisting your stitches around the cables. An especially useful feature, if you have many stitches to cast-on: When starting a sweater or a hat in fingering yarn.
THIRDLY: I prefer to work some rows in waste-yarn to produce a good sized rectangle instead of using just a crochet cast on (as is done in other waste-yarn methods), because it allows to easily see the stitches to work into (and without having to put them on a needle before) + it keeps them in a good and even tension, since they are nestled in all this stocking stitch fabric. One has something to comfortably hold onto while working (which - again - is especially nice when working many stitches) and the working yarn stitches are kept nicely in shape until the end.

|
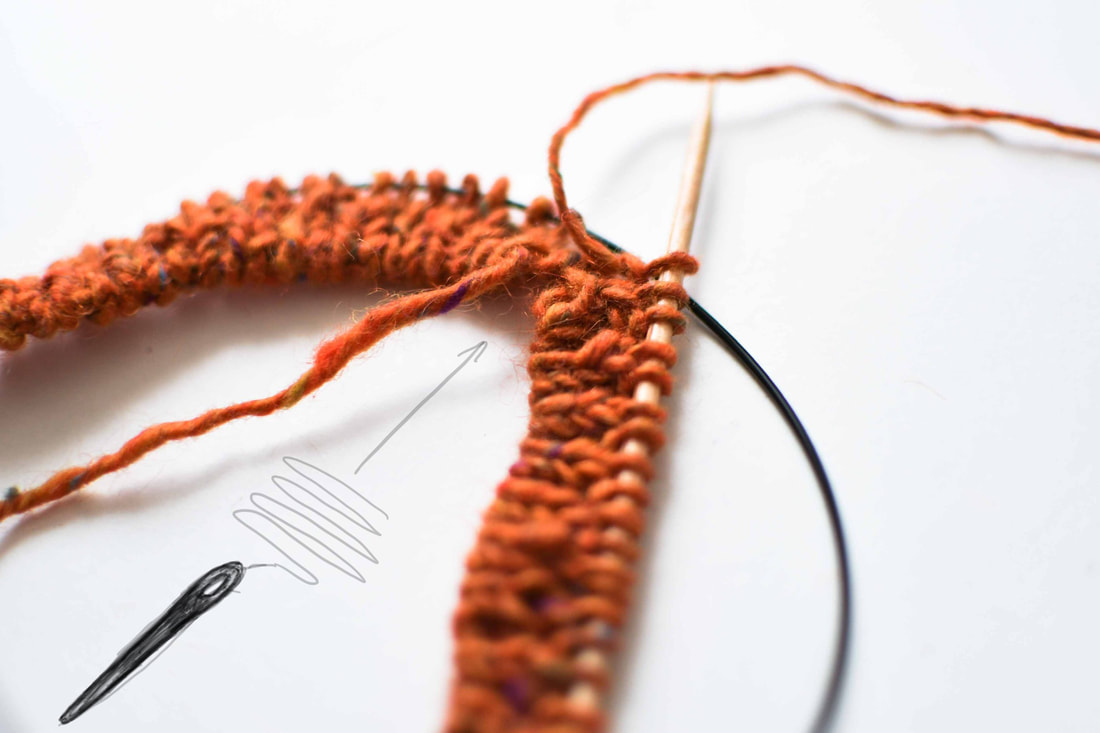
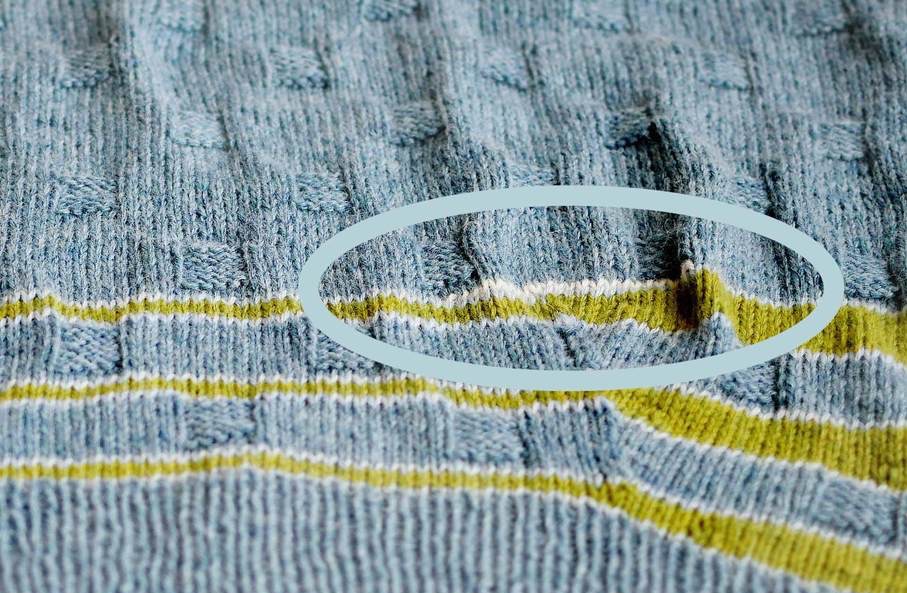
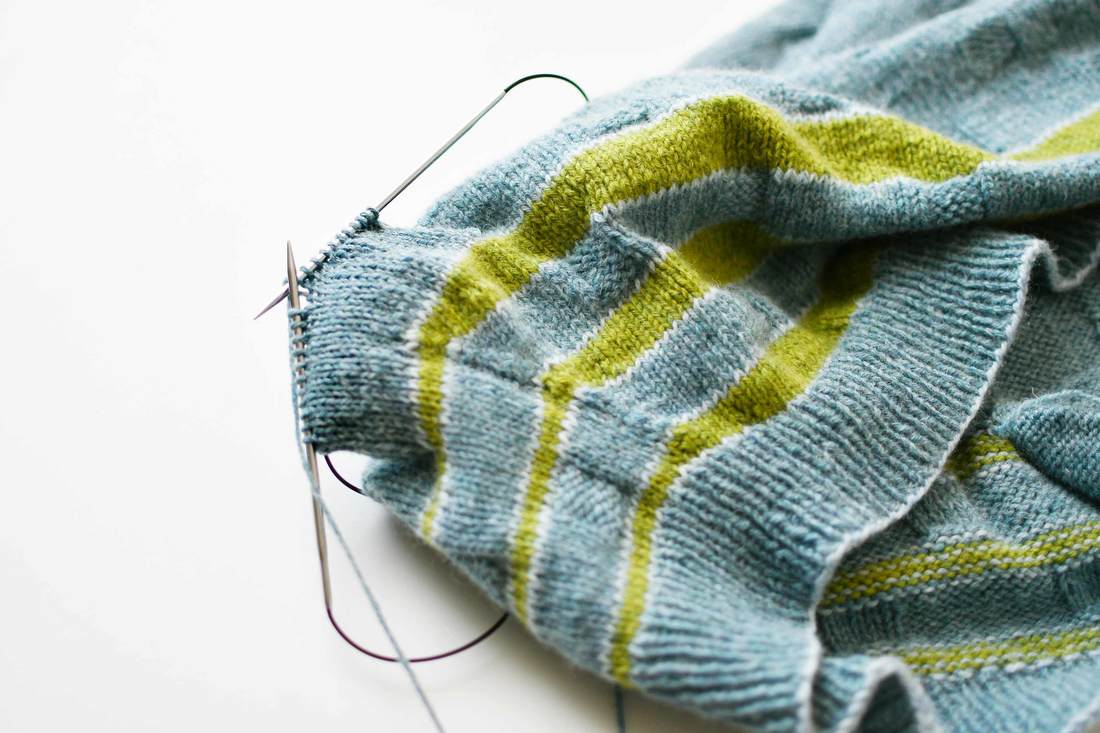
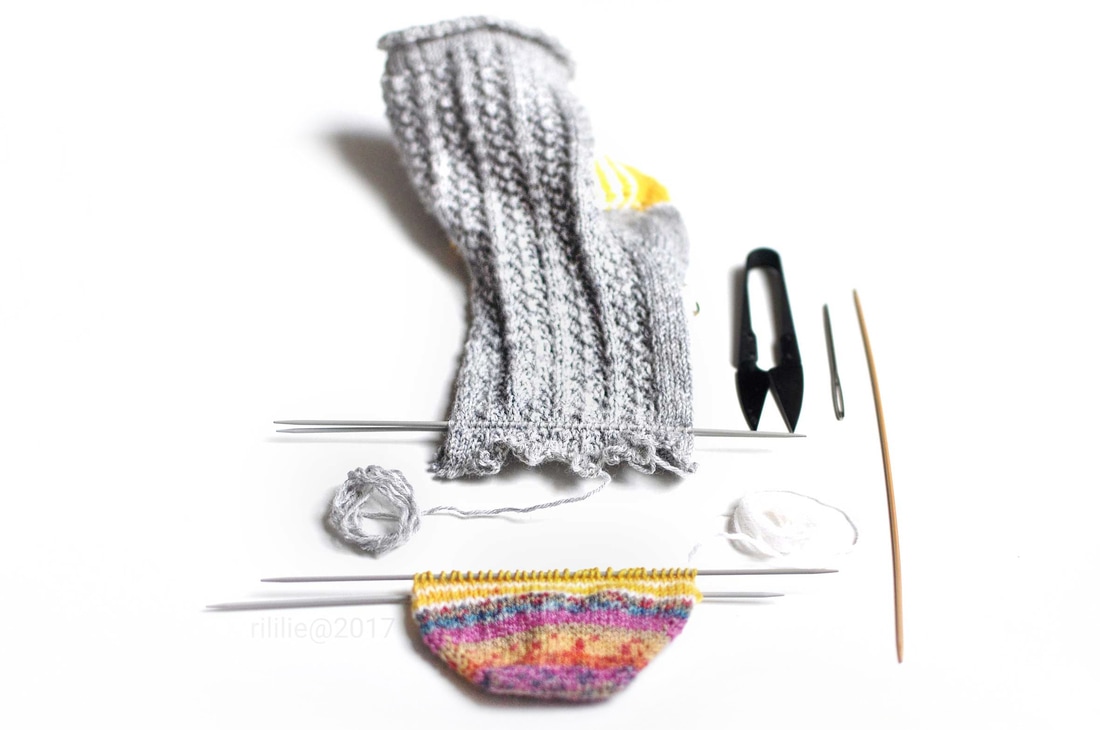
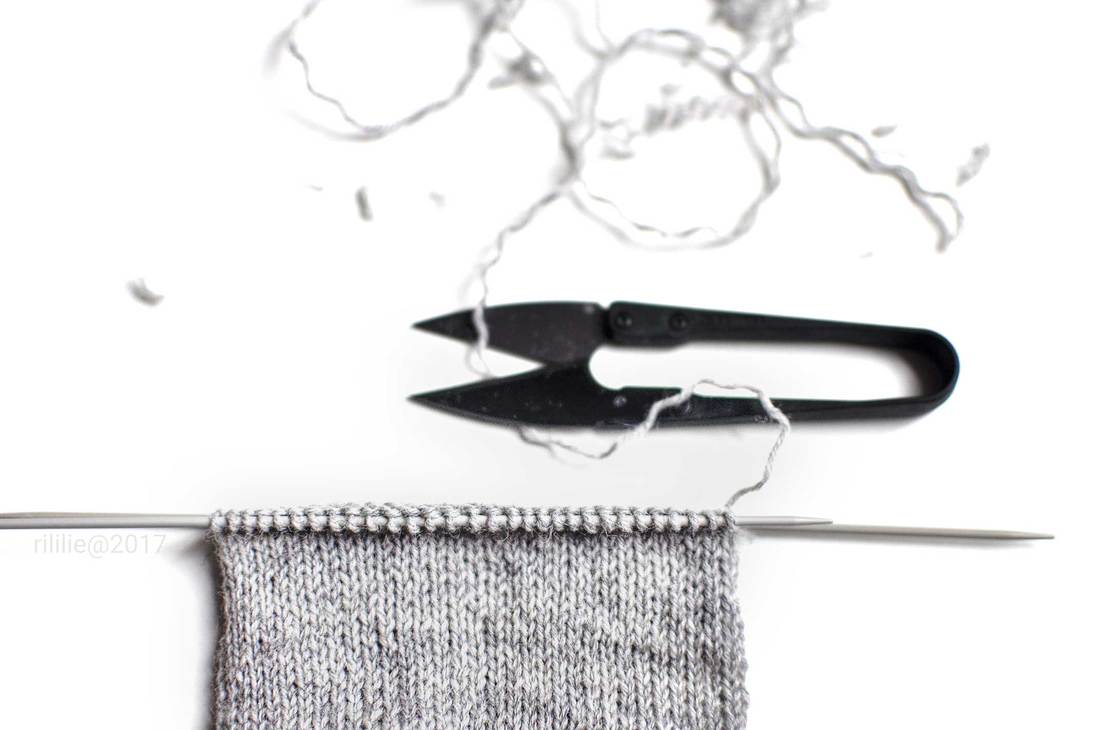
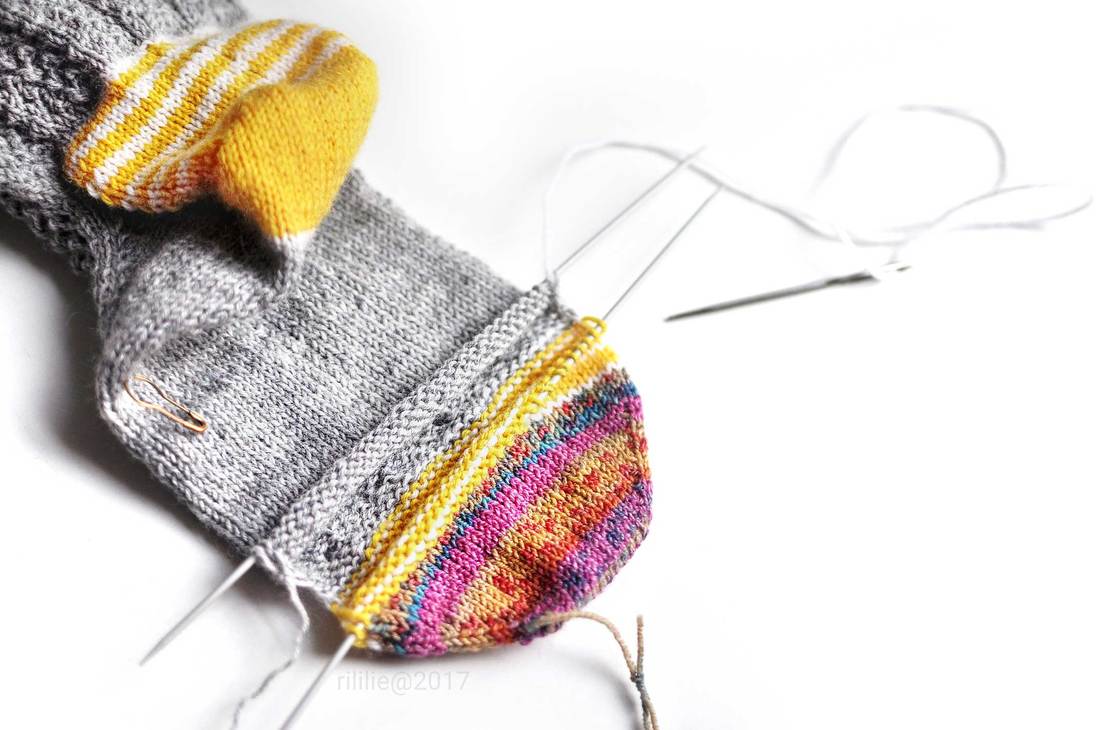
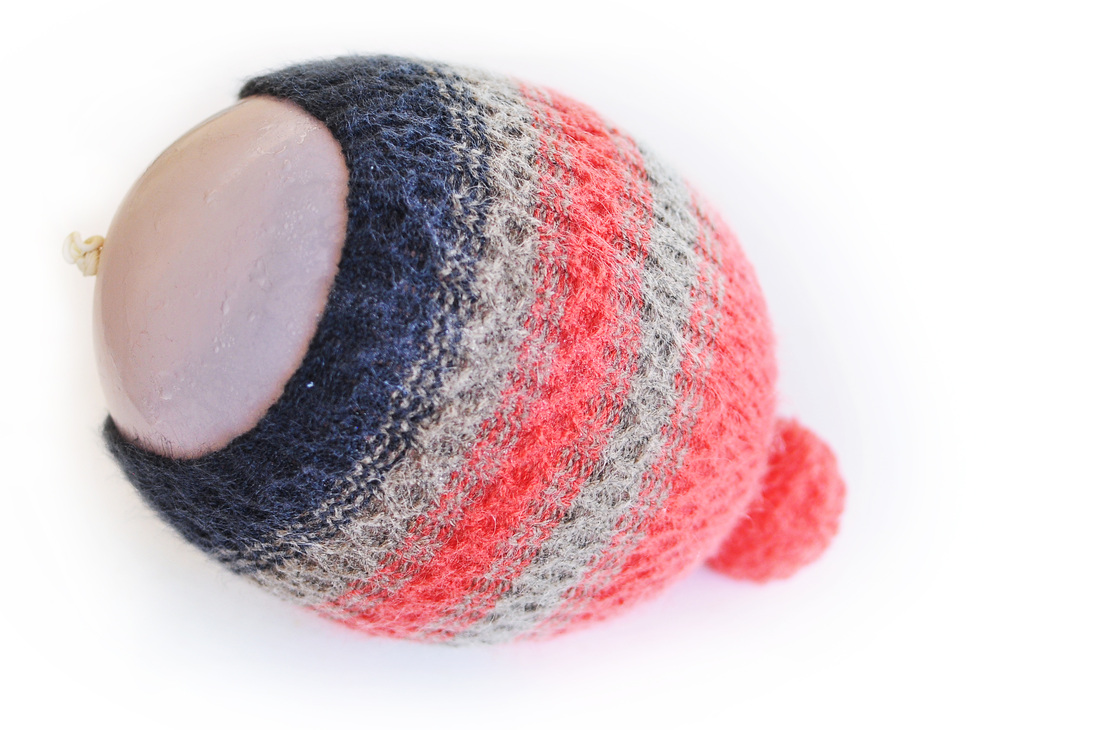
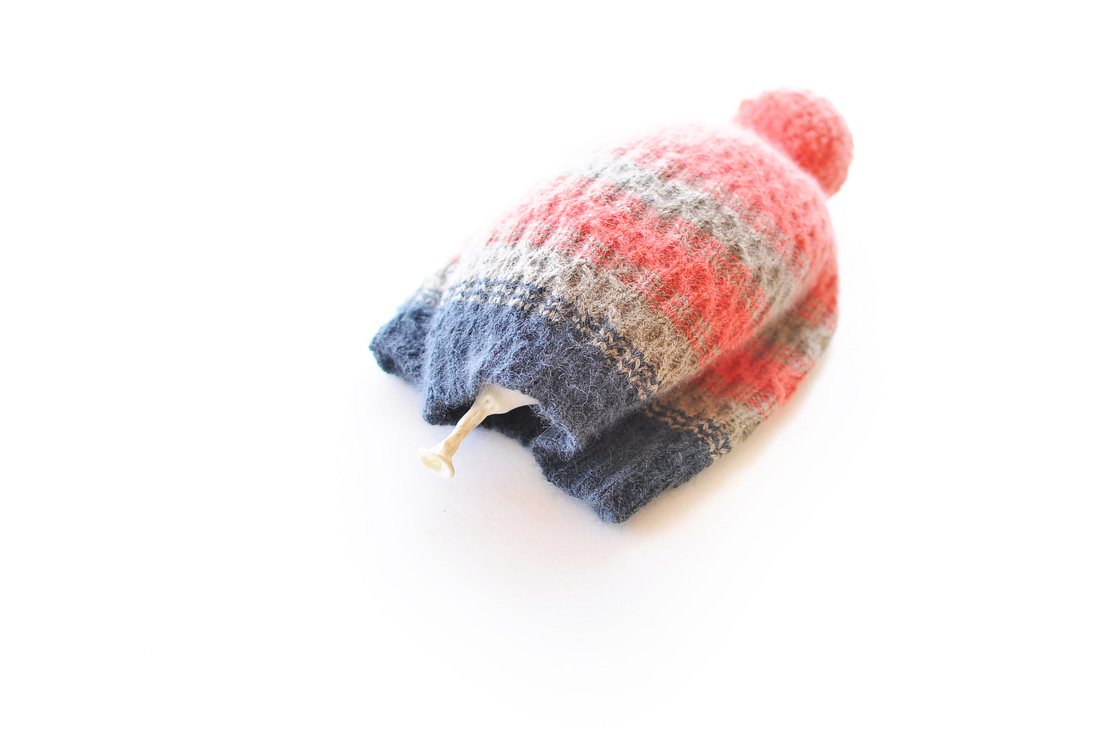
You need to choose the right kind of waste yarn for this project: I found that a round, non-fuzzy waste yarn in similar weight and a contrasting colour and hue to your working yarn, is your very best choice. Believe me when I tell you that you will most likely be thankful to have taken the time to choose the right kind of waste-yarn.
You want to be able to quickly and securely see where to cut into at the end and you don't want to have random yarn-fuzz in another colour peaking through your project! |
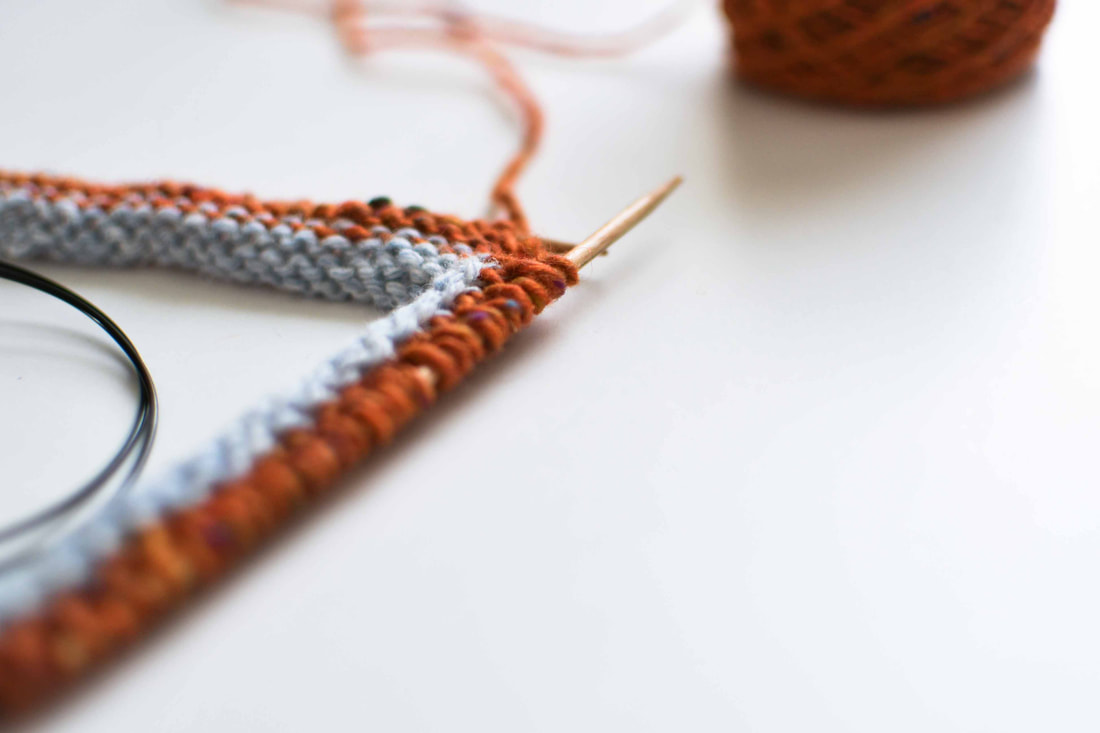
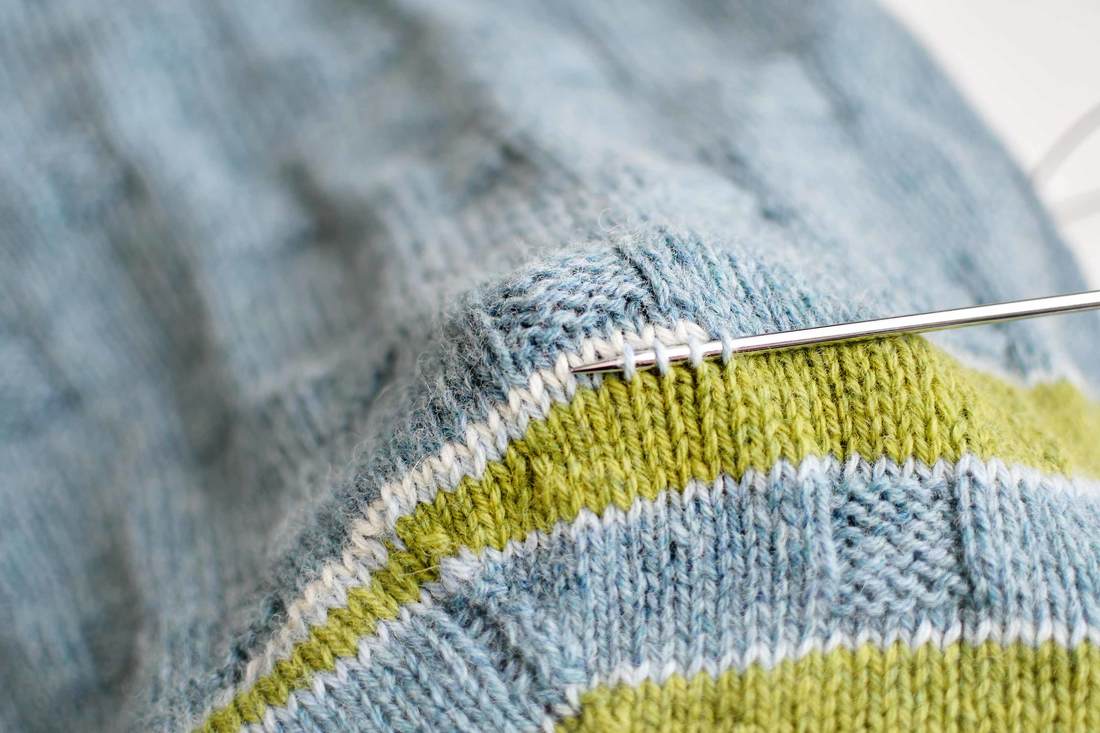
Now that you have found the perfect waste yarn, you start by casting-on half the amount of the needed stitches for the project + 1 stitch. (For this you can use any cast-on you like and feel comfortable with. It really doesn't matter). Usually patterns will give you an even number of stitches for a 1x1 ribbing worked in the round. So we shall cast-on half of this instructed number + 1 extra stitch.
We then work even in simple stocking stitch in the waste yarn. The main idea is to have enough rows to hold onto while working the actual cast-on, without distorting the working yarn stitches, and to end this section on a RS. (I worked around 4-5 rows, judging by the video).
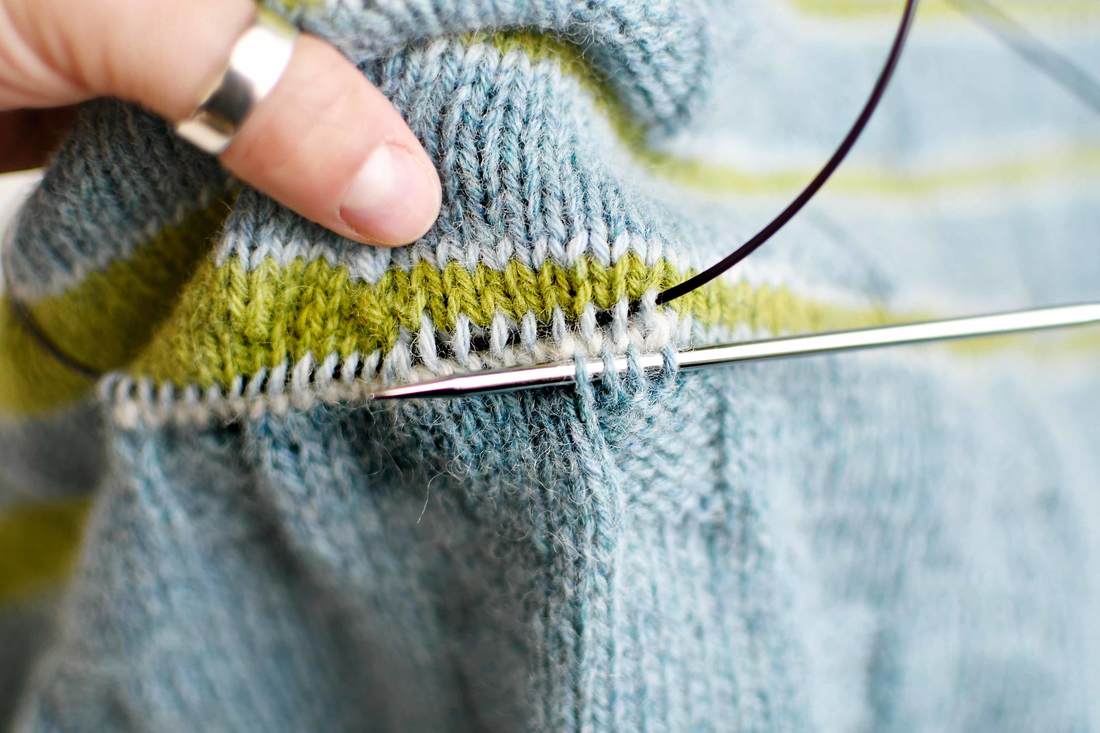
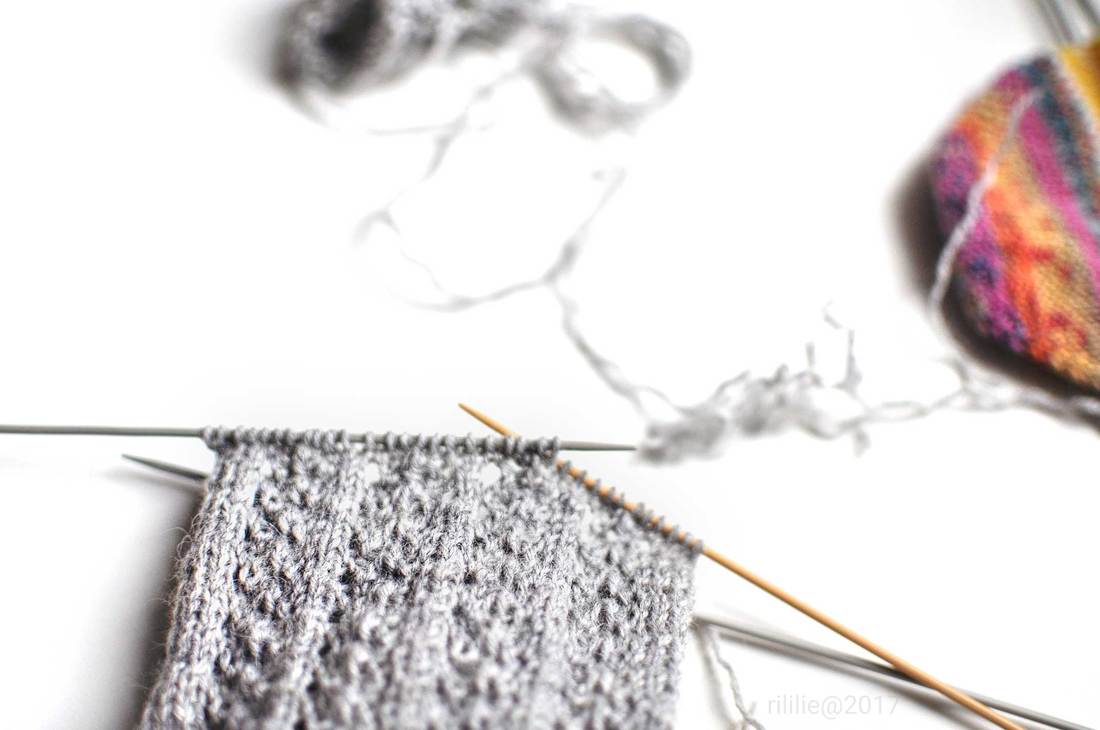
Then take the working yarn and start on a WS to work 4 rows, since we have to end the working yarn section on a RS (we need to be able to work the tubular cast-on on the WS, to fold over the purl stitches by connecting the top to the bottom stitches). This will all make more sense when you watch the video:
We then work even in simple stocking stitch in the waste yarn. The main idea is to have enough rows to hold onto while working the actual cast-on, without distorting the working yarn stitches, and to end this section on a RS. (I worked around 4-5 rows, judging by the video).
Then take the working yarn and start on a WS to work 4 rows, since we have to end the working yarn section on a RS (we need to be able to work the tubular cast-on on the WS, to fold over the purl stitches by connecting the top to the bottom stitches). This will all make more sense when you watch the video:
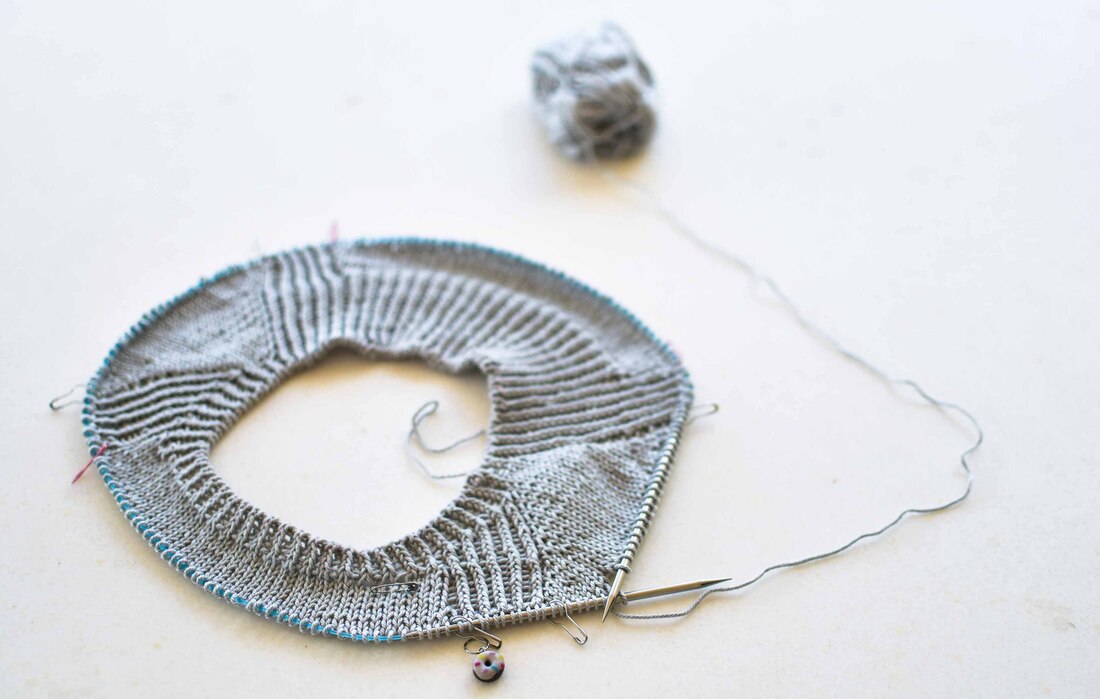
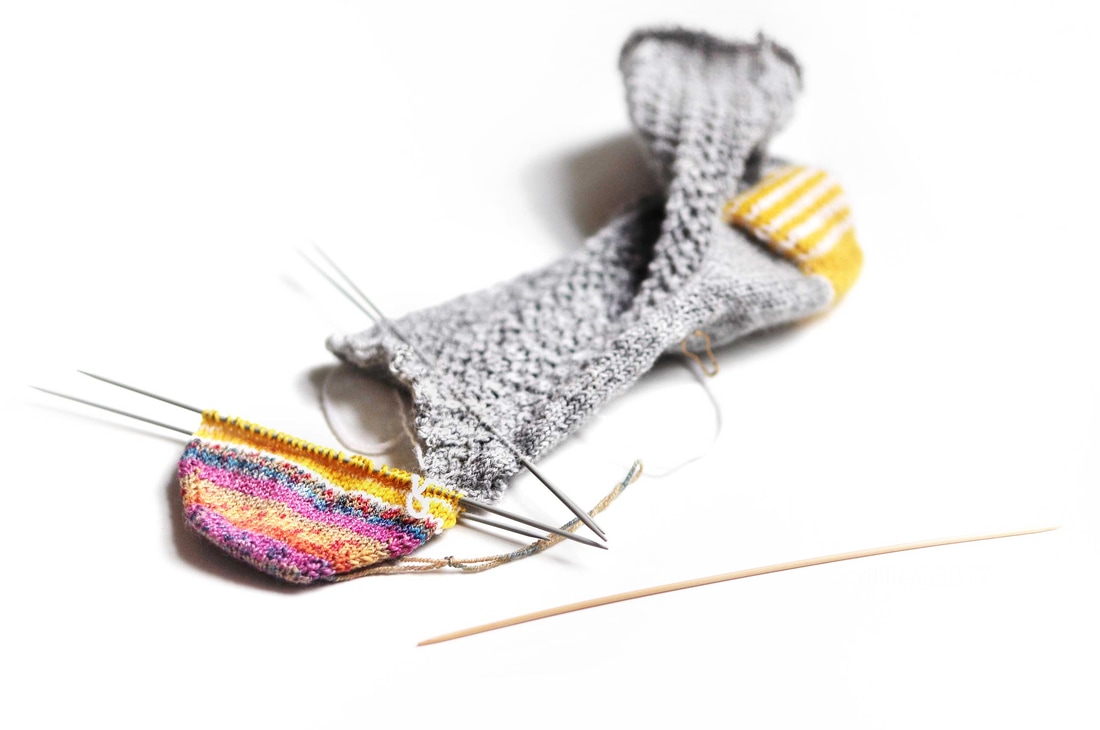
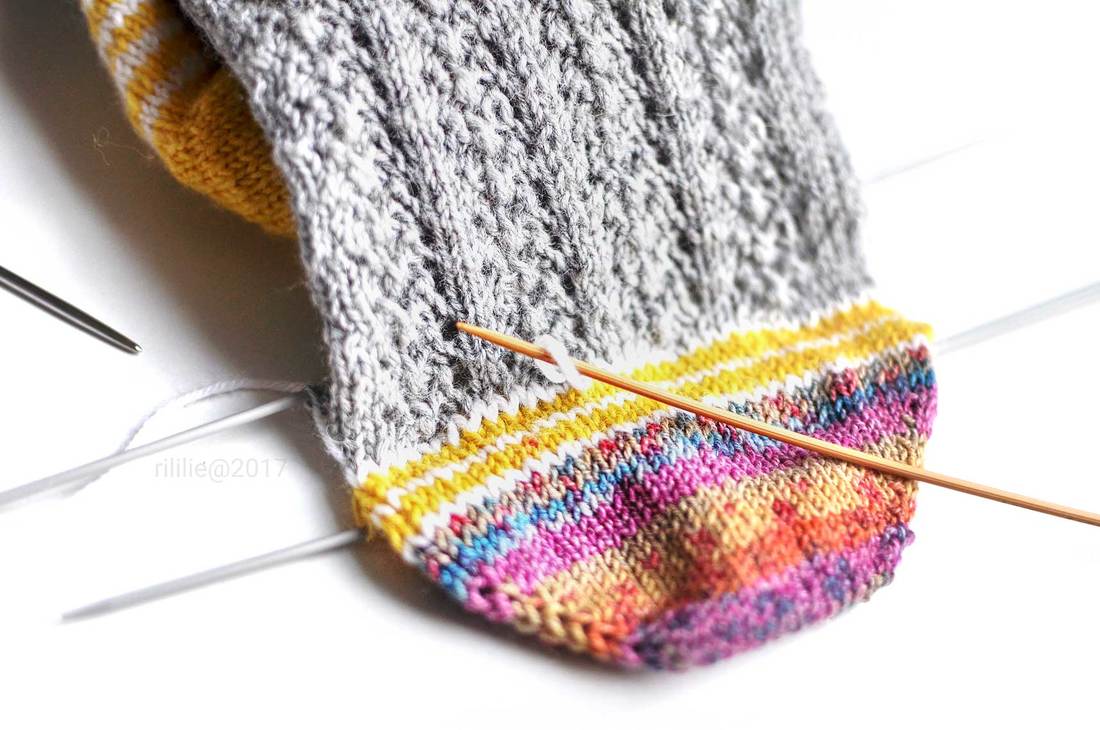
- The idea here in this variation is to use a knitted rectangle in waste yarn to serve as a base for working another rectangle over 4 rows in our main project yarn.
- Because the stitches are worked from both sides of the working yarn section, we effectively double the amount of our end stitches in the tubular cast-on. This is why we start with only half the amount of the needed stitches of any given pattern.
- We add the + 1 extra stitch at the beginning to anchor the final purl bump stitch and keep the ribbing neat and straight (it will be worked together with the last purl bump in psso fashion, so we decrease it at the very end and are left with the correct amount of stitches).
Since we start our actual CO with 4 rows already worked and we double the amount of stitches in the same area, we end up with more volume and a very elastic edge with lots of stretch.
|
Tipp: If you want to adapt this technique for a 2x2 ribbing, you just need to work the instructions twice: Work 2 p sts from two live sts and then 2 knit stitches from adjacent purl bumps (or vice versa, if you want to start with knit stitches). Repeat until the end of the row and then continue with a 2x2 ribbing after joining in the round. |
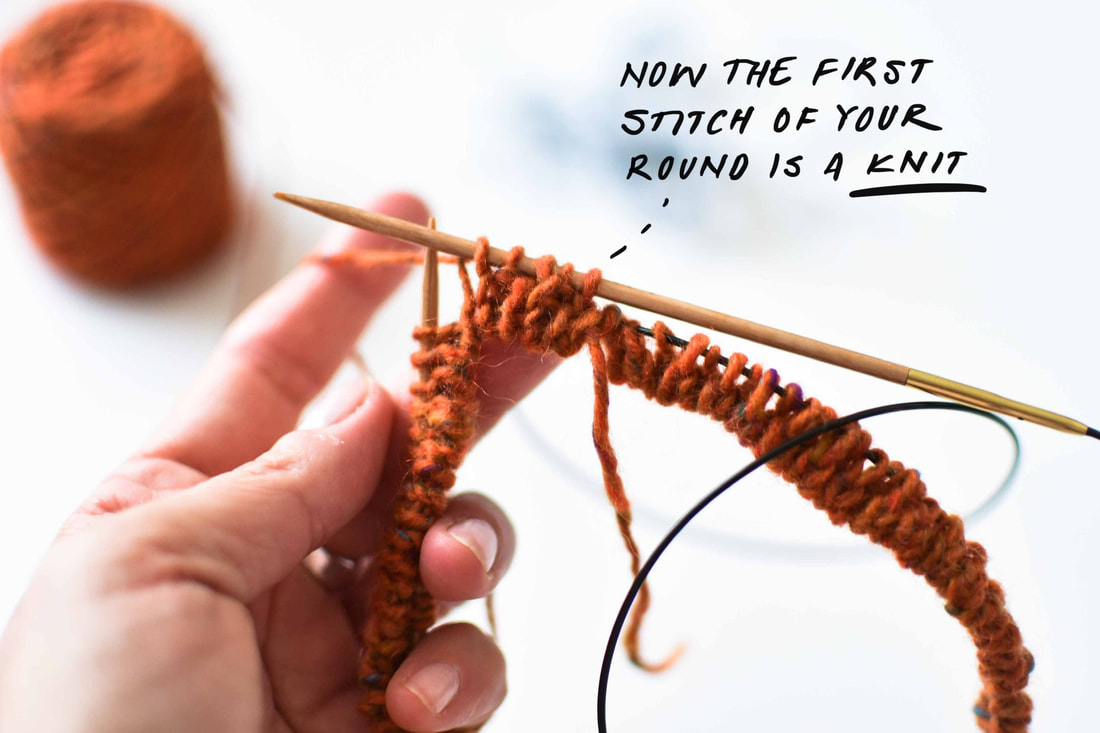
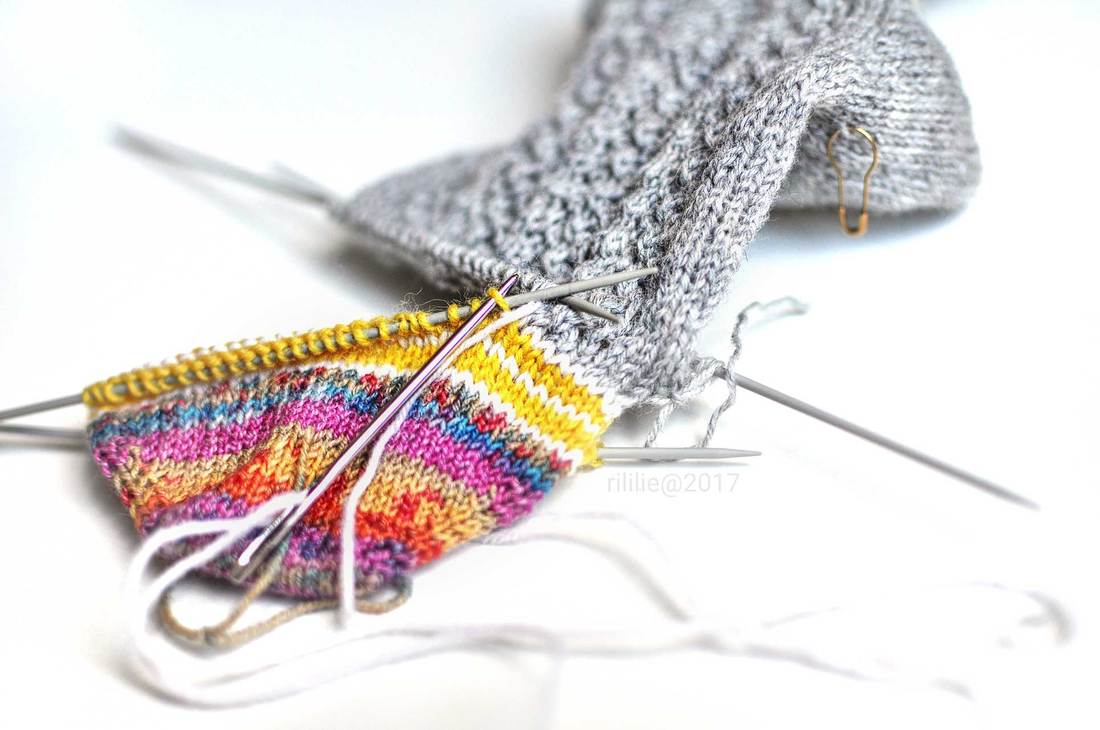
The final stitch position might seem a bit confusing in this technique, but it's really not too complicated, if one understands why they end up where they do when changing to knitting in the round.
Because they are doubly opposite in terms of both back to front and left to right, our round will end up starting with the same kind of stitch that we used when beginning the tubular cast-on..
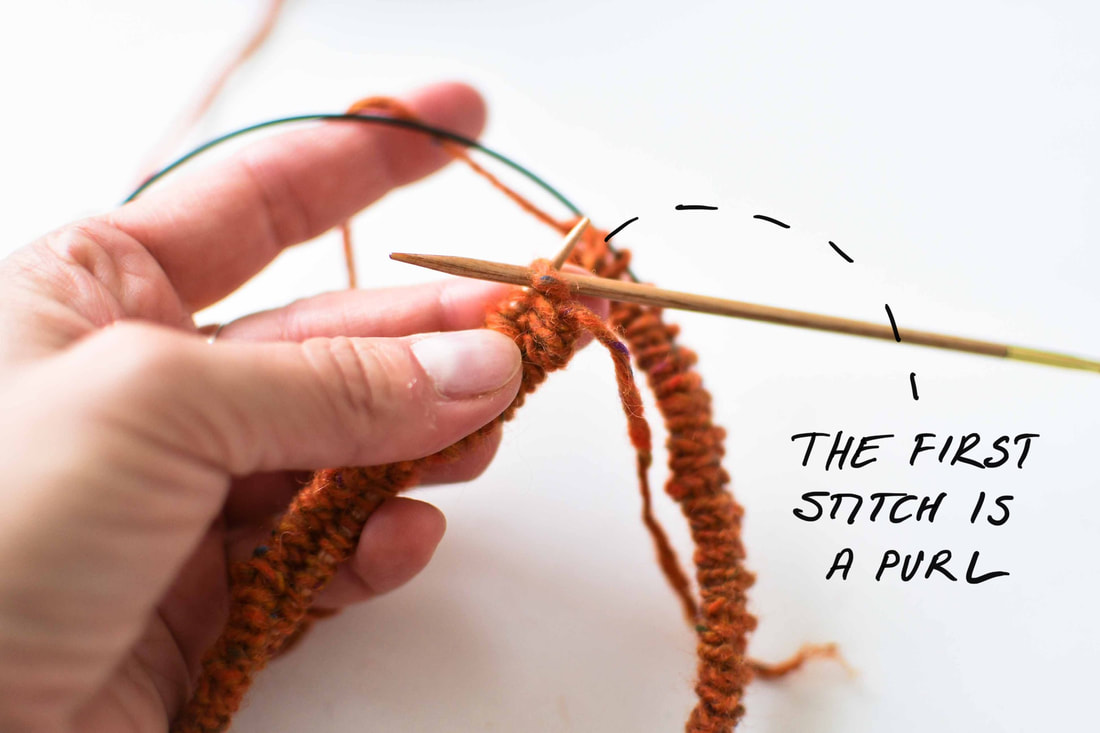
(You can see in the video, that I started with a purl stitch on the backside (WS) - and that would be a knit stitch on the visible side (RS) - but because it ends up being my last stitch and I work a 1x1 ribbing in the round with a knit stitch at the very end of the tubular CO row - I end up with a purl stitch again as my first stitch!
Complicated? Don't worry...
...the only important thing to remember is this: If you start with a purl in this tubular cast-on technique, you will have a purl at the start of the rnd after finishing.
--- BUT WHAT IF YOU REALLY NEED TO START WITH A KNIT STITCH?
The simplest way to change your very first stitch to a knit stitch, is to just place your marker one stitch next to the actual start of round after having joined and worked one round of 1x1 ribbing. This one stitch jump will not show in the final project and is a much simpler solution than to try to calculate how to reverse all the stitches in the video.
Because they are doubly opposite in terms of both back to front and left to right, our round will end up starting with the same kind of stitch that we used when beginning the tubular cast-on..
(You can see in the video, that I started with a purl stitch on the backside (WS) - and that would be a knit stitch on the visible side (RS) - but because it ends up being my last stitch and I work a 1x1 ribbing in the round with a knit stitch at the very end of the tubular CO row - I end up with a purl stitch again as my first stitch!
Complicated? Don't worry...
...the only important thing to remember is this: If you start with a purl in this tubular cast-on technique, you will have a purl at the start of the rnd after finishing.
--- BUT WHAT IF YOU REALLY NEED TO START WITH A KNIT STITCH?
The simplest way to change your very first stitch to a knit stitch, is to just place your marker one stitch next to the actual start of round after having joined and worked one round of 1x1 ribbing. This one stitch jump will not show in the final project and is a much simpler solution than to try to calculate how to reverse all the stitches in the video.
|
|
|
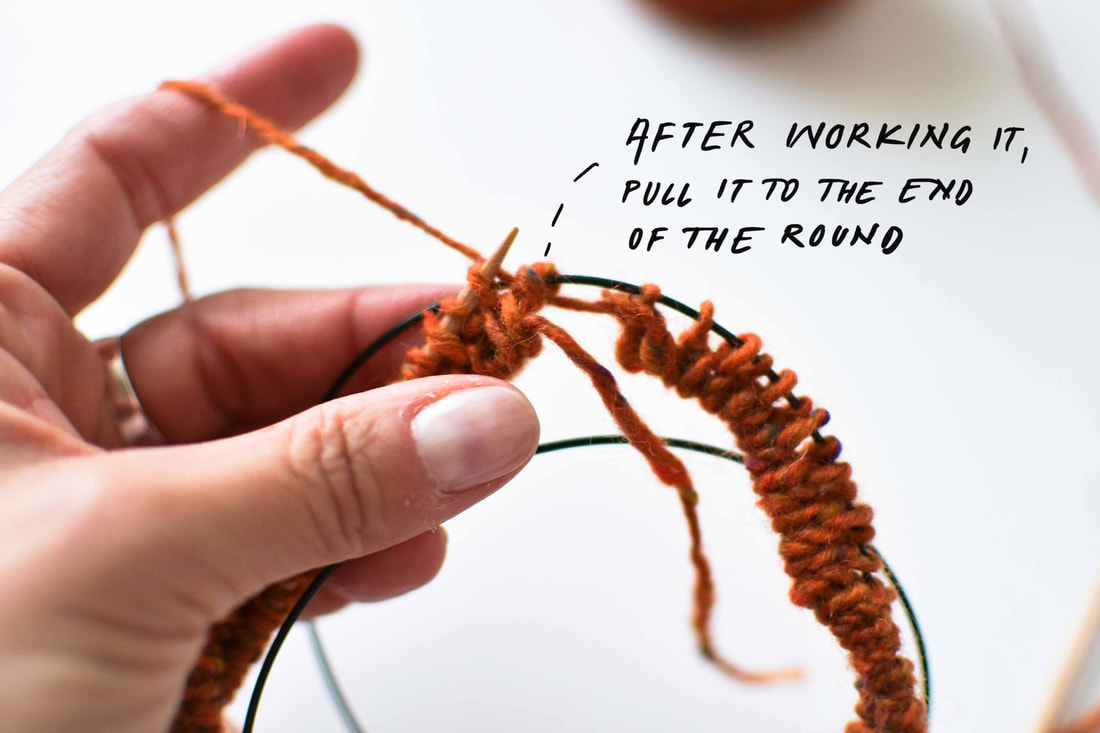
You could of course work the sequence of knit and purl in reverse (first k one stitch out of the purl bumps and then purl the first live stitch) and then end with a slipped purl stitch and a purl worked out of the bump - but if you just want to follow the sequence shown in the video, the quick and easy way to change it up is to just skip one stitch when finally placing the marker.
...and you are good to go!
...and you are good to go!
Tipp: For a flat tubular CO version in this technique you would like to mirror both edges - so you should end the row in a similar stitch as the one you started it (+ with added selvedge stitches at the start and at the end). So for a 1x1 ribbing you would need an odd number of stitches, to finish the row with the same stitch as the one you started.
|
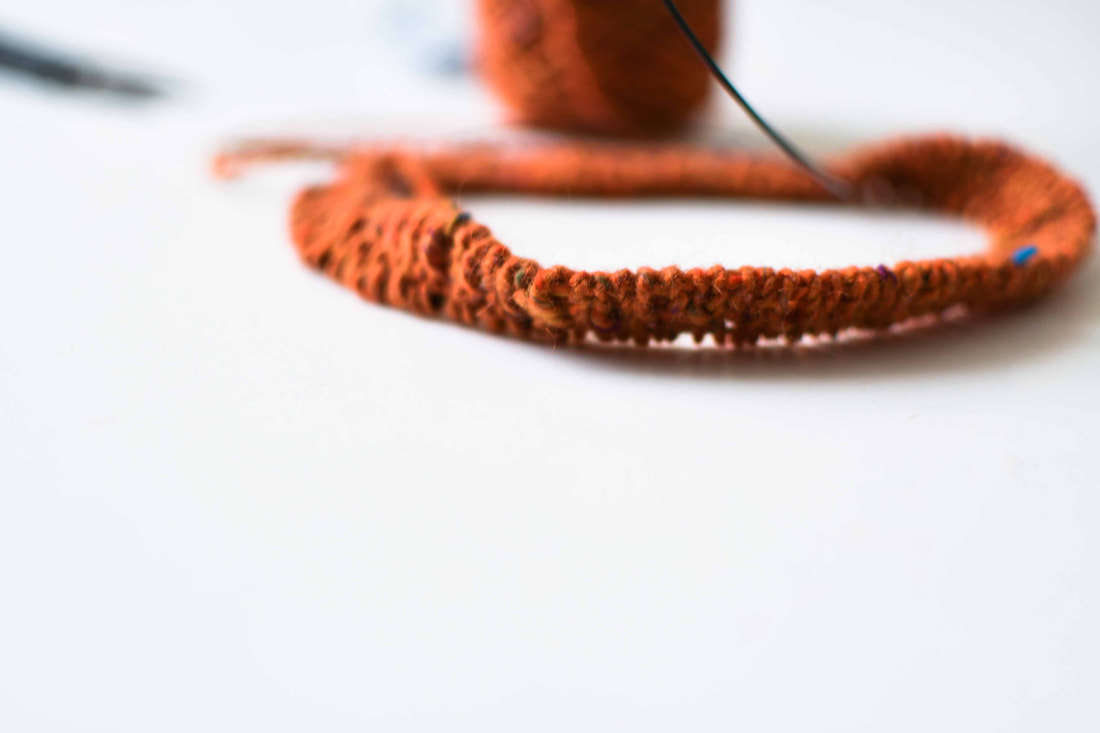
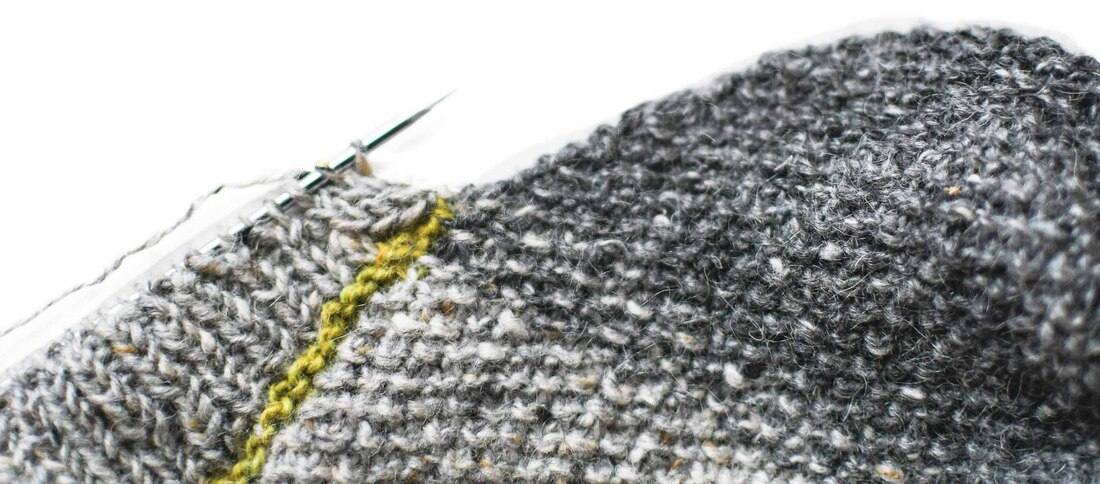
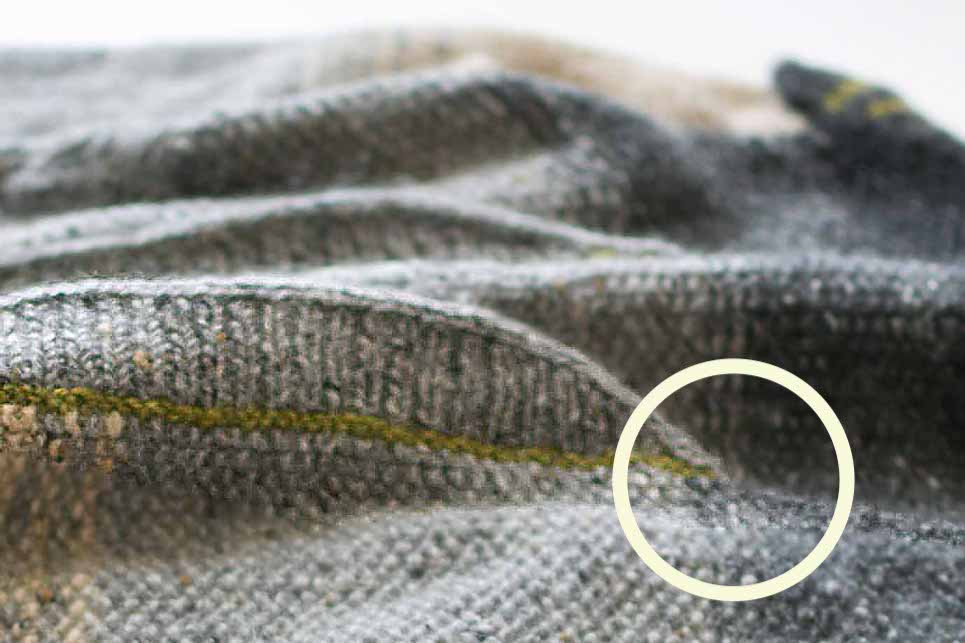
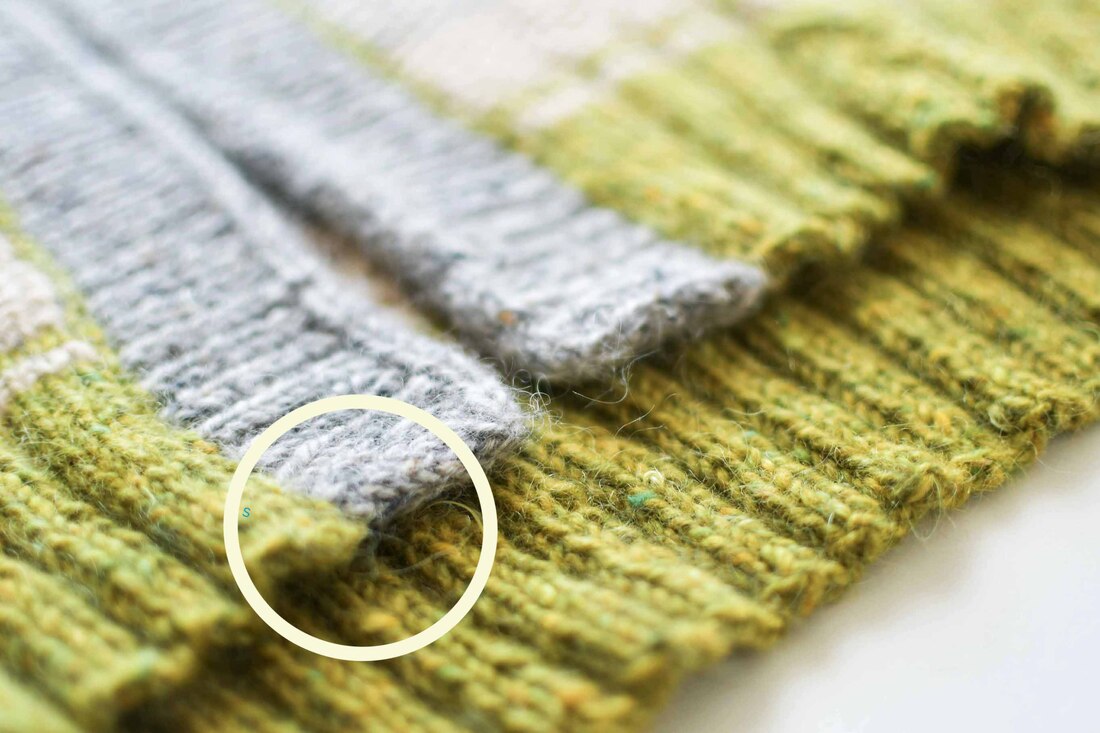
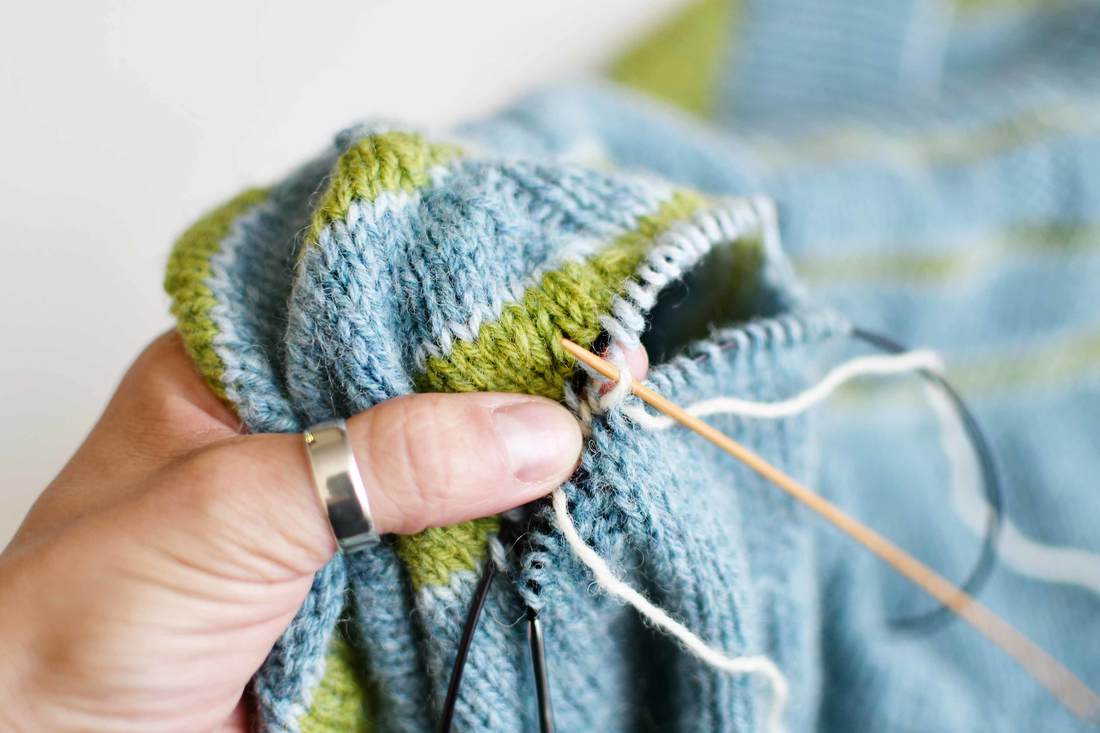
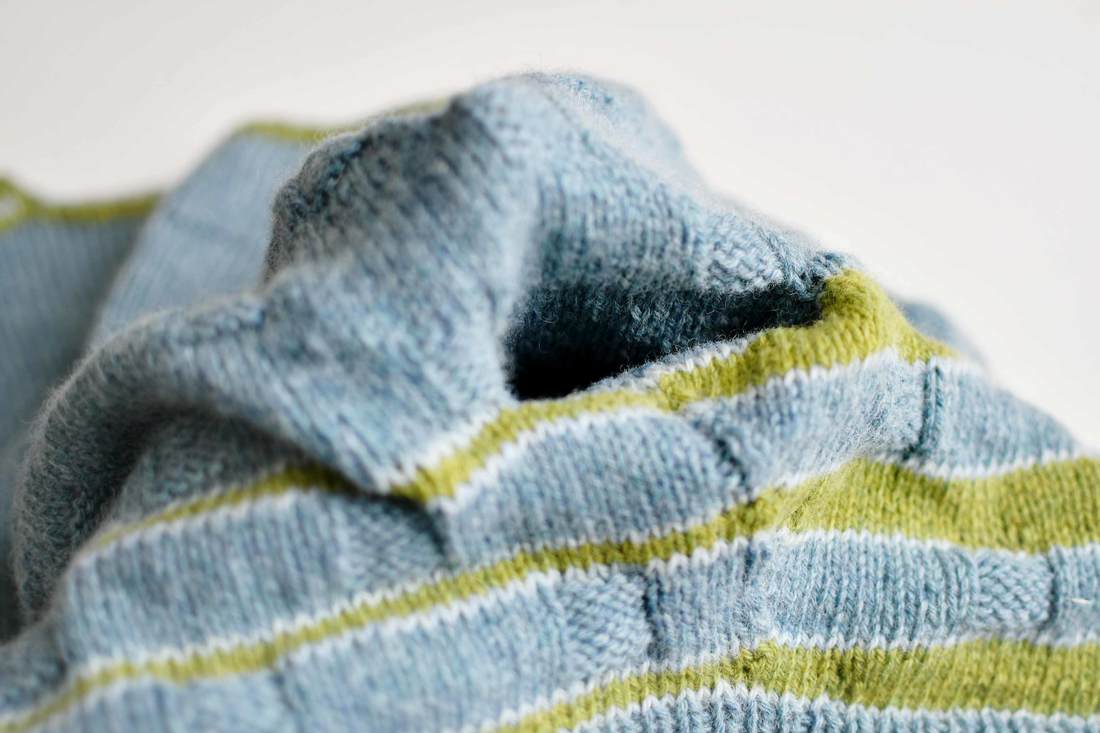
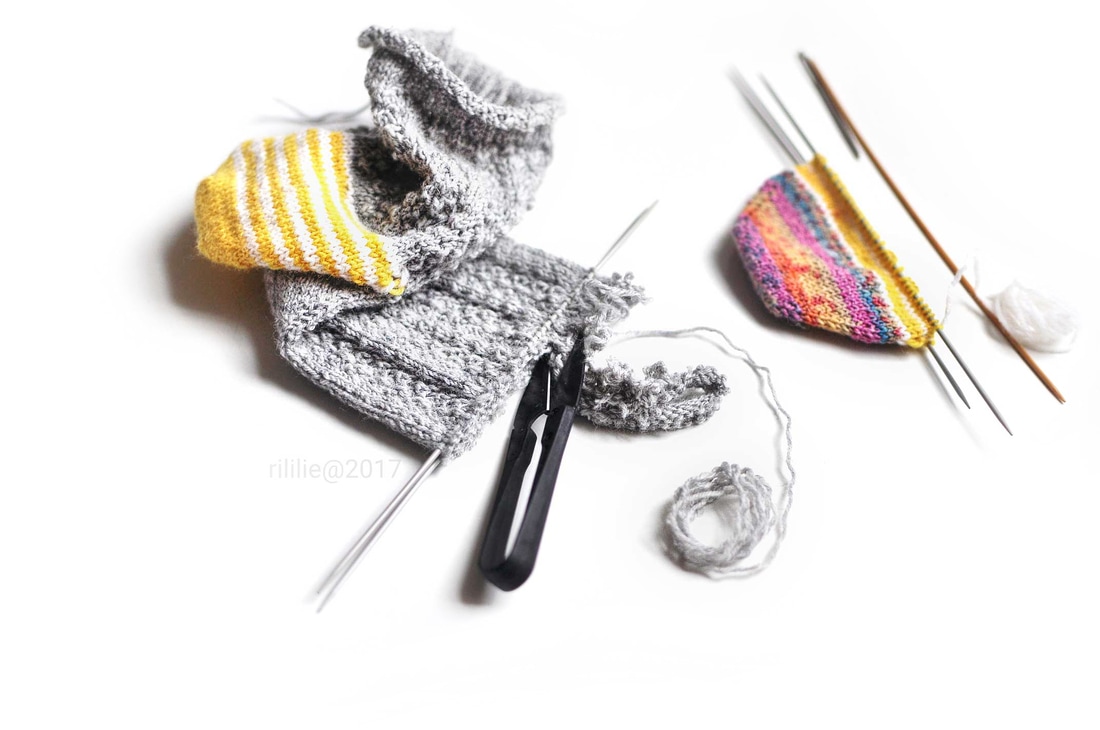
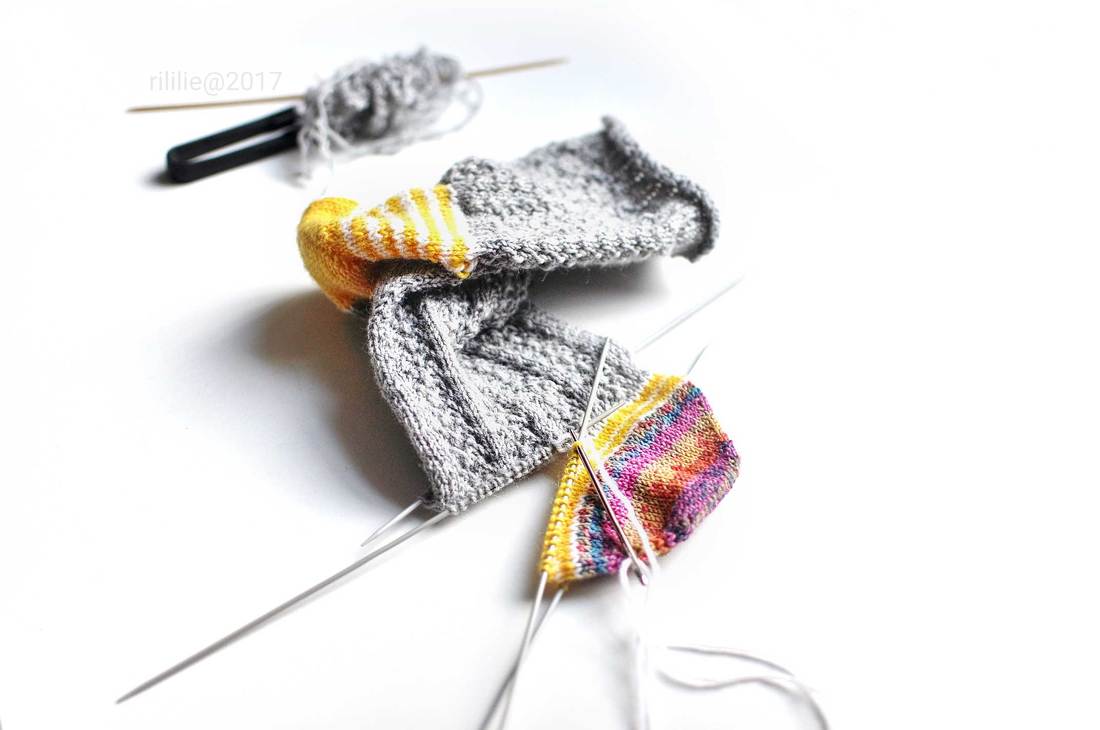
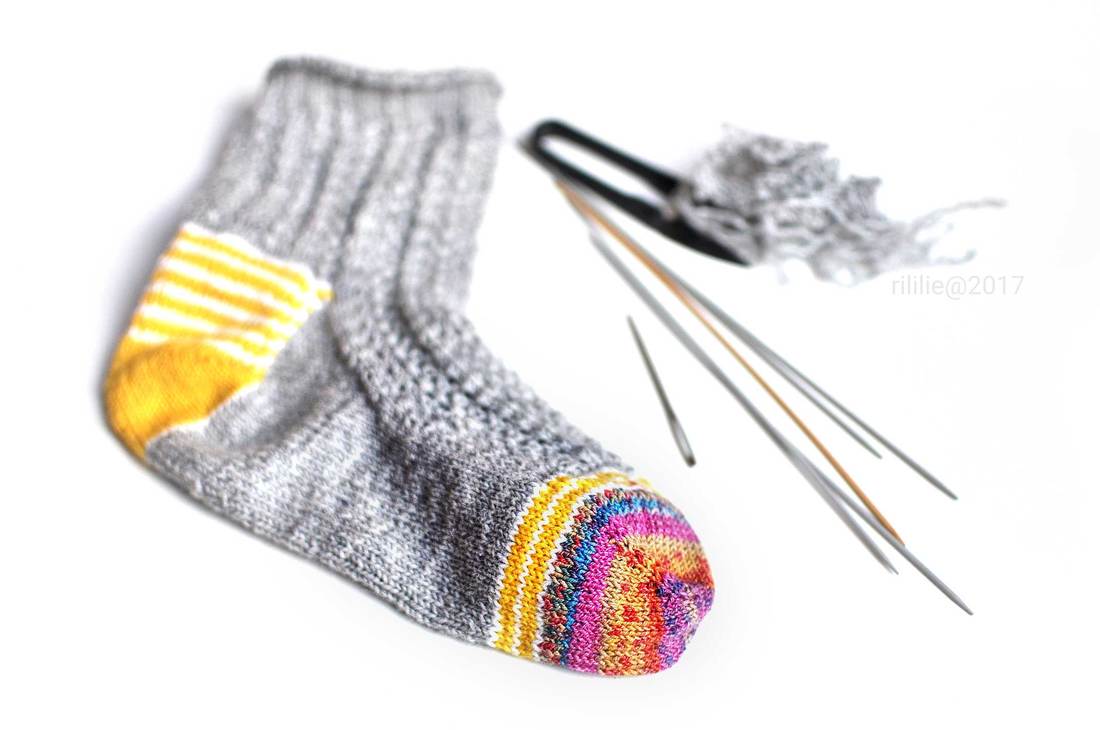
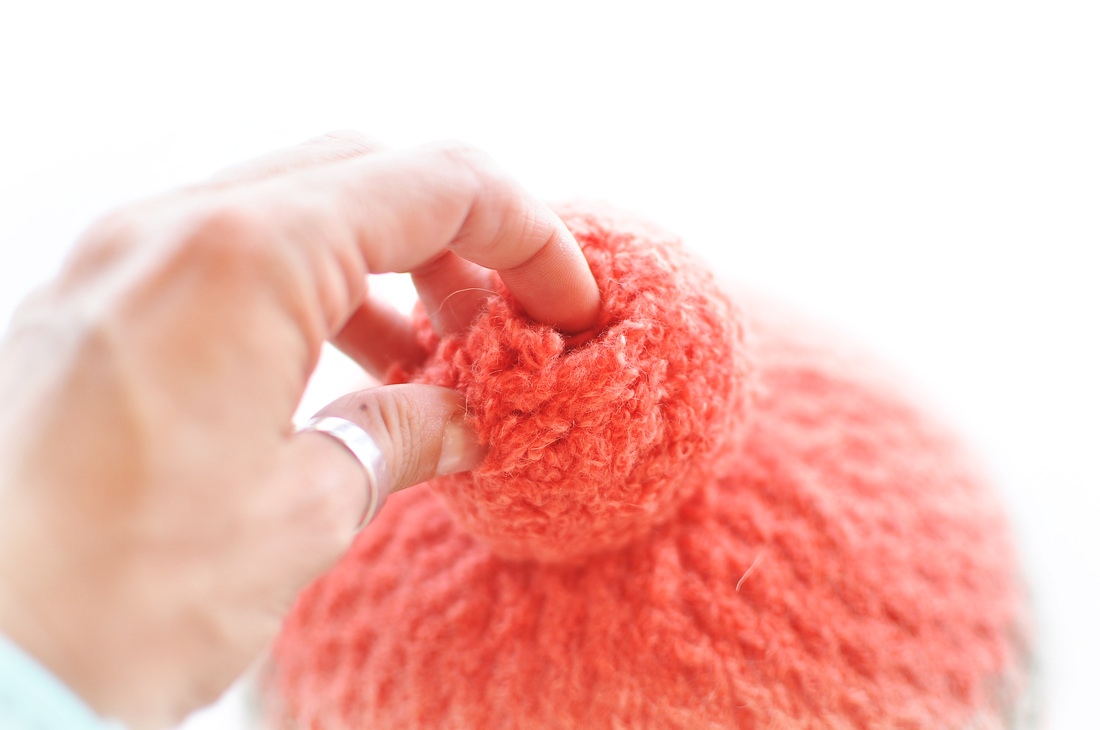
After joining and finishing your rib section, you will end up with a funky looking gap at the start of the round. Thankfully the tail is right there, to sew it close by following the flow of the stitches around it. Just make sure to keep this area flexible and to not sew it up too tightly when closing the gap. |
|
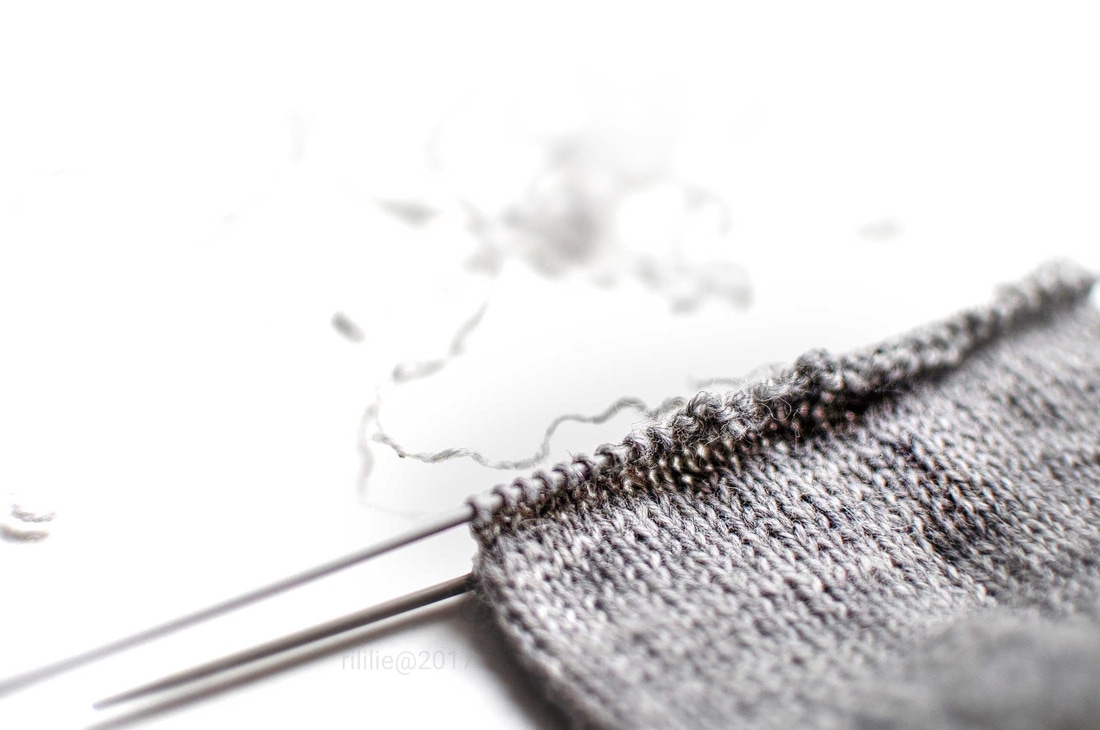
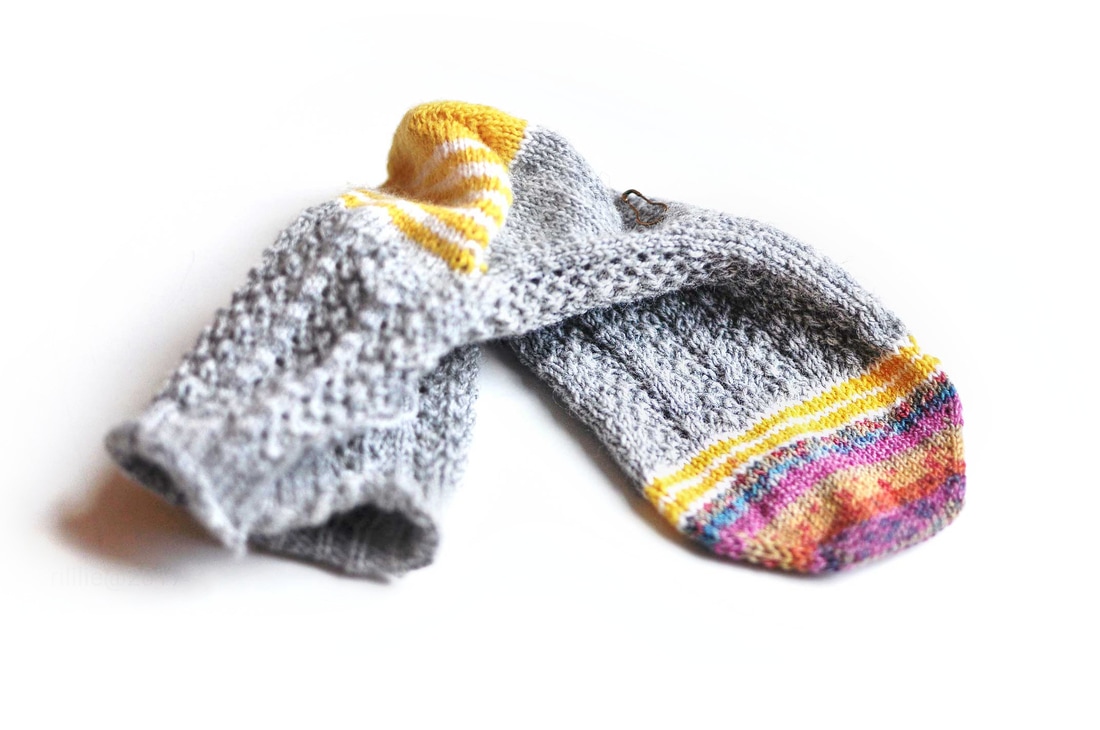
In believe that the only downside in comparison to other techniques is, that you need some extra waste yarn to do it, the time to knit 4-5 rows with it and to separate it at the end. I found that I like it better for larger projects and ones in fingering yarn, but you can check out for yourself if you prefer another method to the one discussed here…
There are many other tubular cast-on styles out there and a nice blog post, that showcases them is this one here from Ysolda, where many different versions are explained in minute detail.
There are many other tubular cast-on styles out there and a nice blog post, that showcases them is this one here from Ysolda, where many different versions are explained in minute detail.
Please note that none of the above third party links are affiliate links and that La Maison Rililie Designs is not having any financial gain on any of them.


 RSS Feed