|
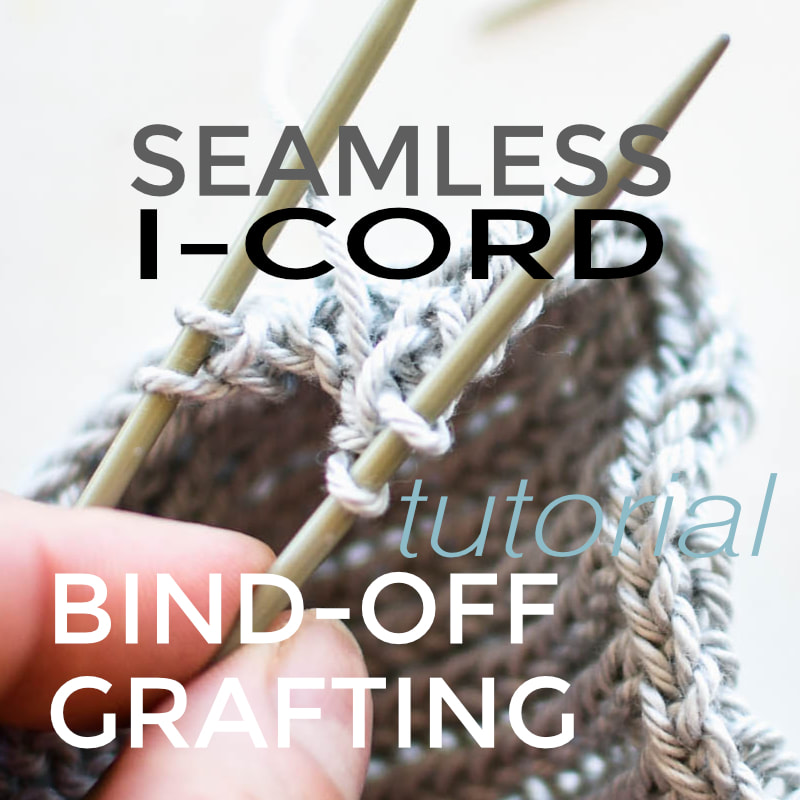
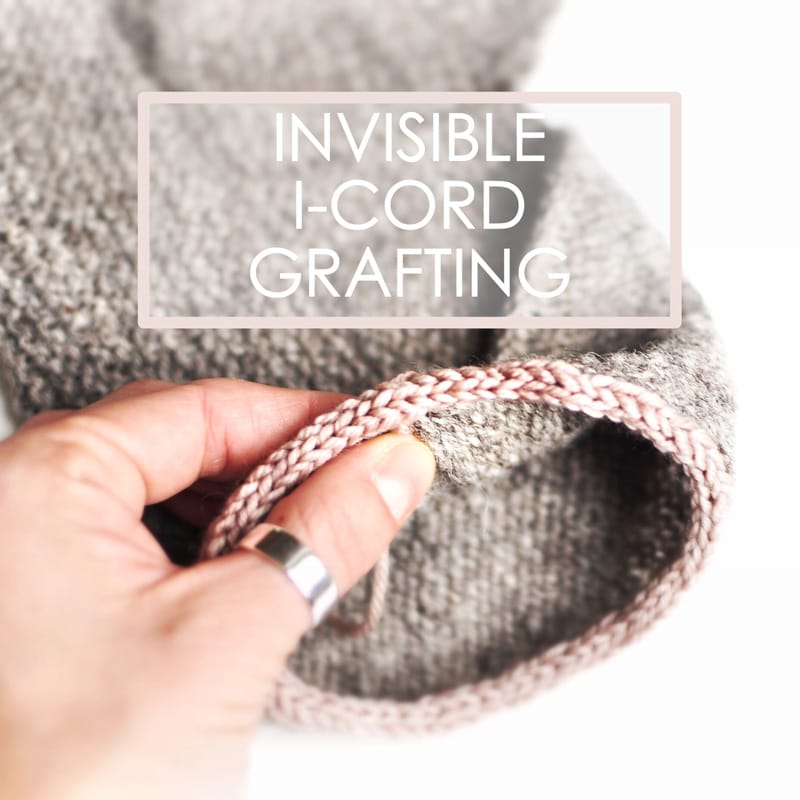
With this method the i-cord end is connected to stitches on your needle, so as to produce a continuous, smooth result without any bulk for the perfect neckline or cuff, So if you want to invisibly connect the final sts of an i-cord bind-off to the very last (live) stitches of a row and not end up with a huge blob, then this photo-tutorial will show you step by step how to do it. (FOR THE CONNECTION OF STITCHES TO A KNITTED EDGE scroll down for a different tutorial) invisibly connect live i-cord stitches |
|
An easy, simple and no-fuss method to work the classic 1x1 ribbed tubular cast-on, that uses a simple rectangle (knitted out of waste yarn), at the start of the project.
You just need to know how to knit and purl for this technique - there are no specific finicky cast-on movements involved and the stitches don't twist around the cable to make joining in the round problematic. Tubular Cast-on in the round with waste yarn |
|
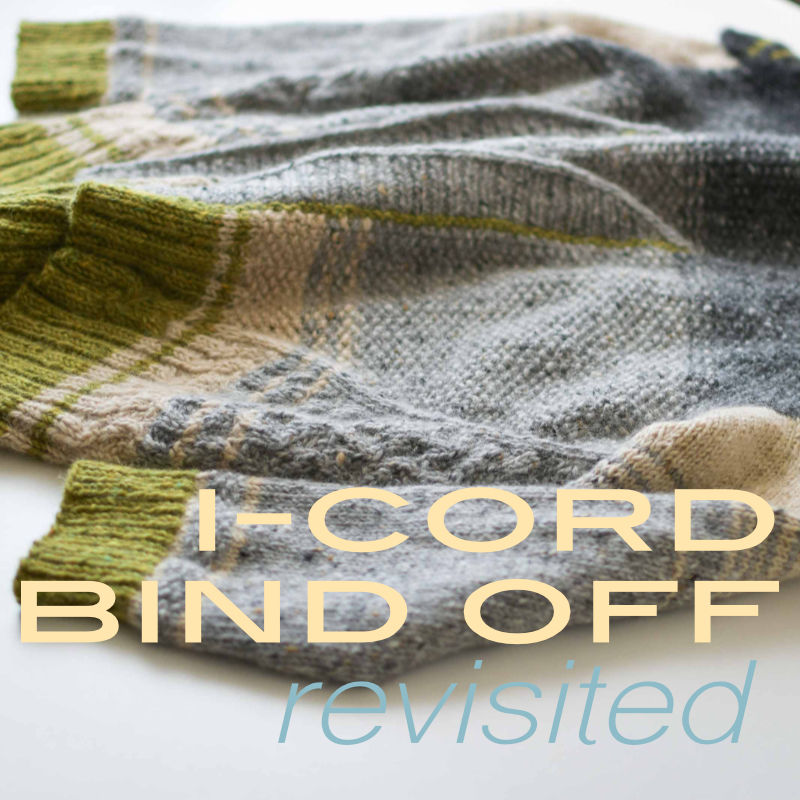
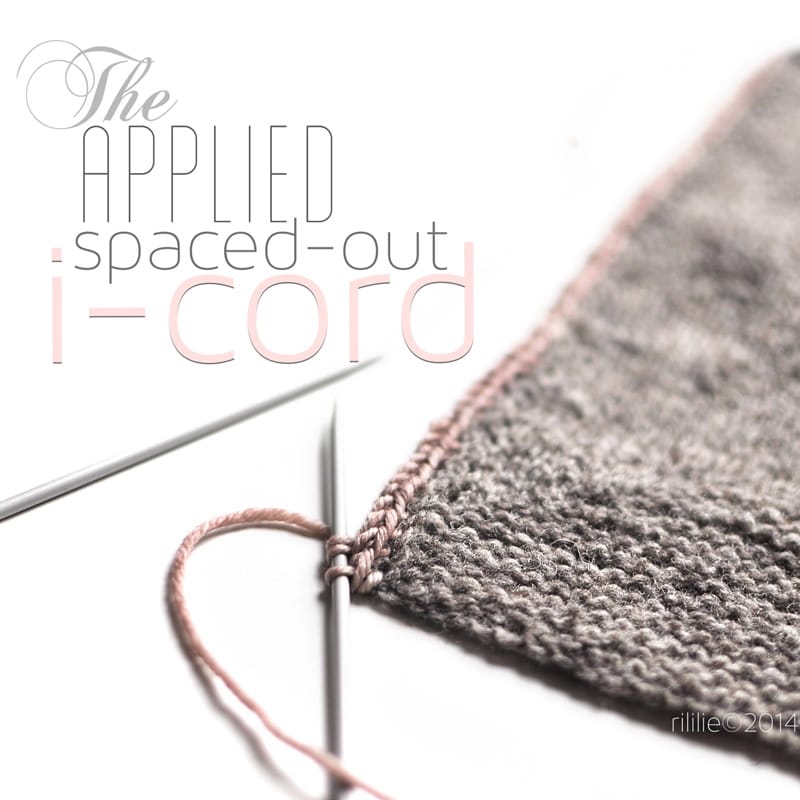
For the Oberlandforster pattern I found a way to start and end an i-cord bind off without any bulk at all... to have it elegantly flowing out and into the fabric of the cardigan.
This is what I came up with: a soft start and end to
|
|
This photo tutorial might be helpful if you want to learn (or remember) how to work crossed or twisted stitches. A method I always prefer to cabling for more elasticity in the resulting fabric. How to work twisted / crossed stitches
|
|
The i-cord loop is the perfect topping to your hat: it's easy and quick and uses very little yarn to make! The first button below will bring you to the blog post that talks a bit more about this technique.
There you can also watch the video that showcases this method step-by-step or watch it directly by pressing the second button! The i-cord Loop |
|
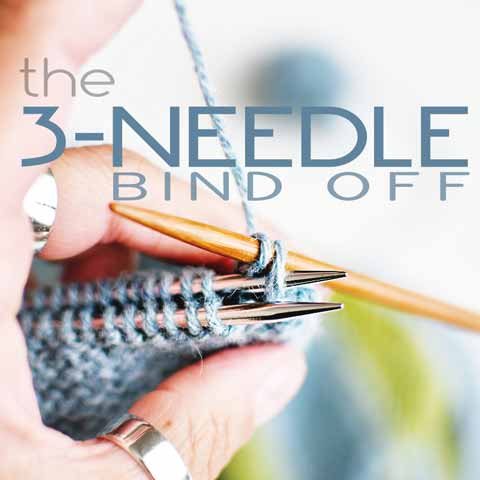
Check out this quick photo-tutorial on how to work a three needle bind off. This method is perfect for closing any tube (like in pocket or bag construction) and for quickly connecting two pieces of knitted fabric that are still on the needles. The 3-Needle Bind Off |
|
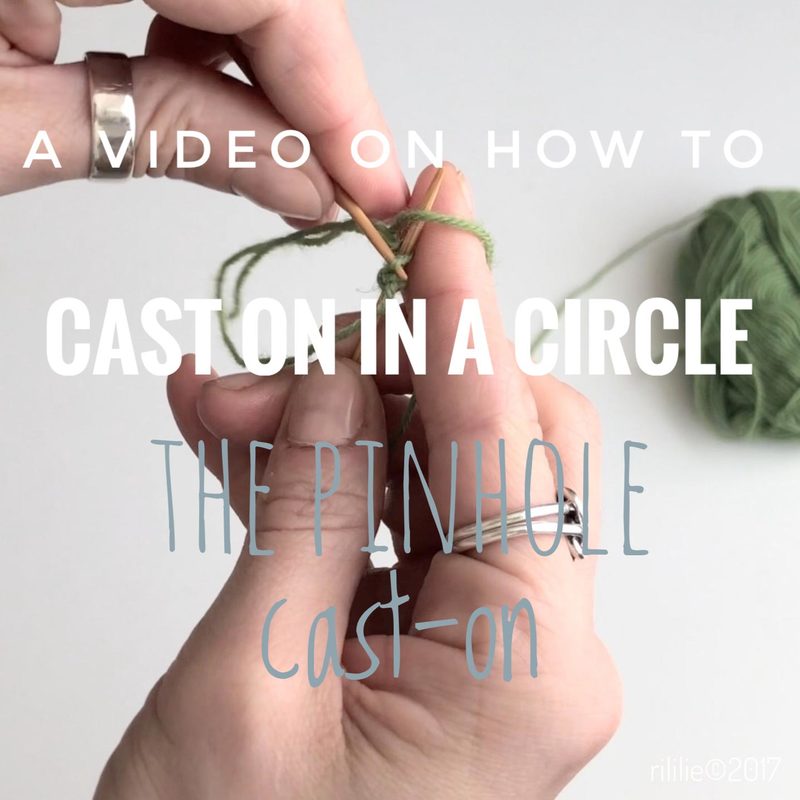
Watch a video on how to work the pinhole Cast-On: The first button below will bring you to the blog post that explains the usage of the mounting of stitches in a circular way.
There you can also watch the video that showcases this method step-by-step or watch it directly by pressing the second button! The Pinhole cast-on |
|
This is not as much a tutorial as it is a "visual explanation" of some steps that can be followed to invisibly shorten the length of a knitted sock's foot section.
(The blog post also has links to the pattern that was used to make this sock in the first place). How to Shorten Hand-knit socks |
|
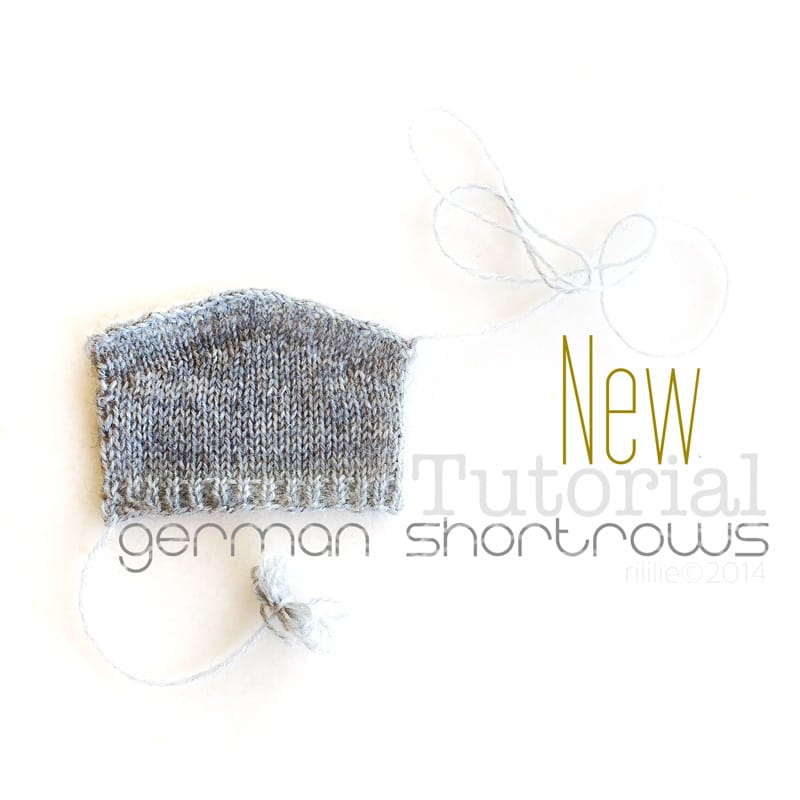
Short-Rows allow for a simple way to add three dimensional shaping to your knitting - but are also often used for a different take on shaped stripes or other decorative additions in contrasting colours.
This way of working short-rows is known as "Verkürzte Reihen" in german speaking countries and the traditional, most common method used there - hence the name. This 3 page picture tutorial explains this intuitive and easy technique in detail. Don't be afraid by the size of this tutorial: the method itself is very quick to work and to remember! GERMAN SHORT-ROWS (neat & Simple) |
|
|
Some thoughts on how to diminish the size of huge stitches that can look like holes in a finished knit.
In this post we are especially tackling the case of wonky double-stitches that can arise after working short rows, but the proposed method can be used for all the stitches that look larger than their adjant counterparts. How to tighten up stitches |
|
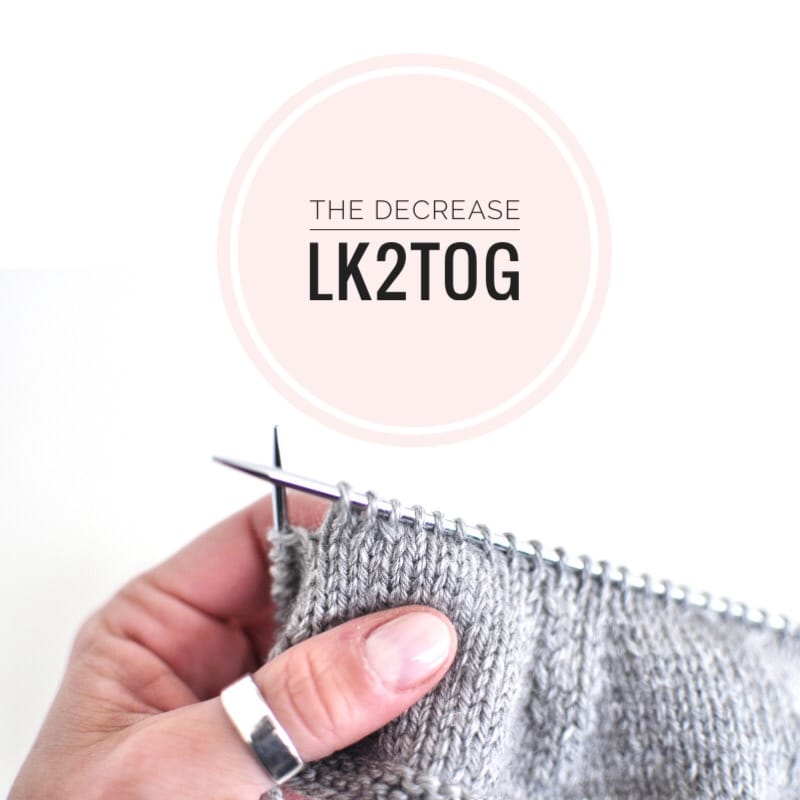
A new way of making left-leaning decreases that looks exactly the same as the K2tog (the go-to right leaning decrease we all love to use).
This method of mirroring the K2tog is showcased in detail in a 3 pages long PDF file with pictures. I called this decrease LK2tog, because it is simply a K2tog that leans to the left and a stitch that's quite simple in it's conception, as explained in the tutorial. . After getting used to the mirrored movement, this stitch is intuitive, very quick and easy to do! A neat way to work left leaning decreases |
|
If you need to close up an i-cord that is worked in the round, as often needed in cuffs or necklines, or for connecting the front edge of a cardigan to the hem - without a visible sewing line - this tutorial will show you step by step how to graft the last live stitches of an i-cord to the first cast-on stitches.
With this method the two ends are connected invisibly together so as to produce a continuous, smooth result. This quick and easy technique can be used to attach an i-cord end to any knit stitches, not only to close the existing i-cord in the round. INVISIBLY CONNECT THE ENDS OF AN I-CORD |
|
This tutorial offers a solution for a stretchy bind-off that still keeps its shape, even after being stretched out multiple times. An easy method that doubles the stitches before casting them off with the same needle size, so that there is enough elasticity in the fabric without too much added bulk. It is a simple and straightforward technique, perfect for ribbed sock cuffs and small circumference openings. You can also try out this method for Stockinette fabric edges or other projects which need an elastic finishing. THE INCREASE BIND-OFF
|
|
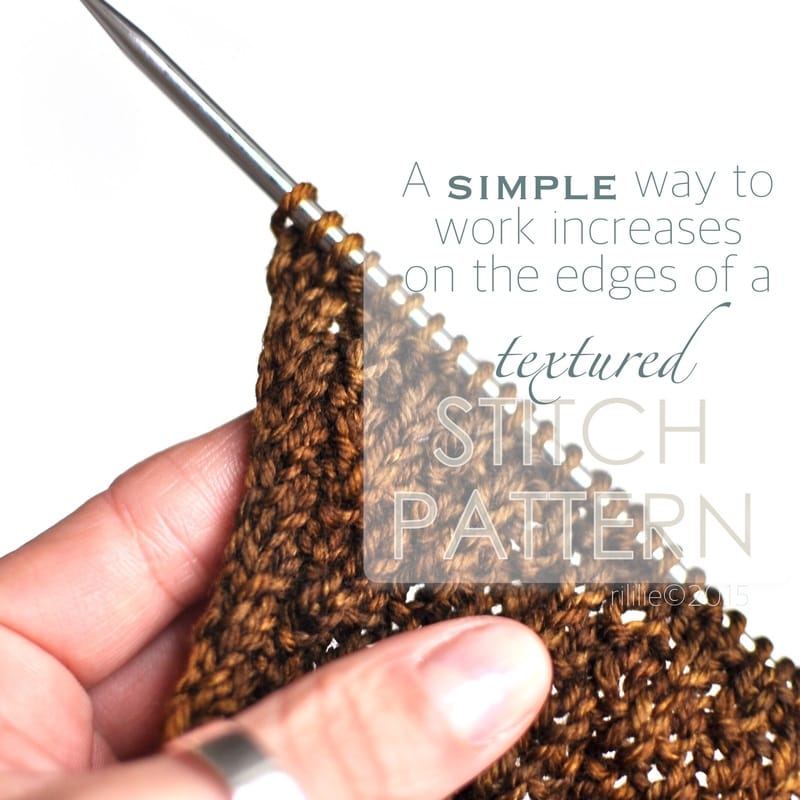
This little idea might be helpful if you need to add increases to the sides of an existing textured piece, a patterned shawl, armhole increases for a textured garment or any other project where you need to work side increases at the same time with your charted pattern motif in flat knitting.
So if you don’t know how to continue working your stitch pattern/chart while adding new stitches to it, you can follow this easy method that doesn't require you to "read your knitting". INCREASes in STITCH PATTERNS |
|
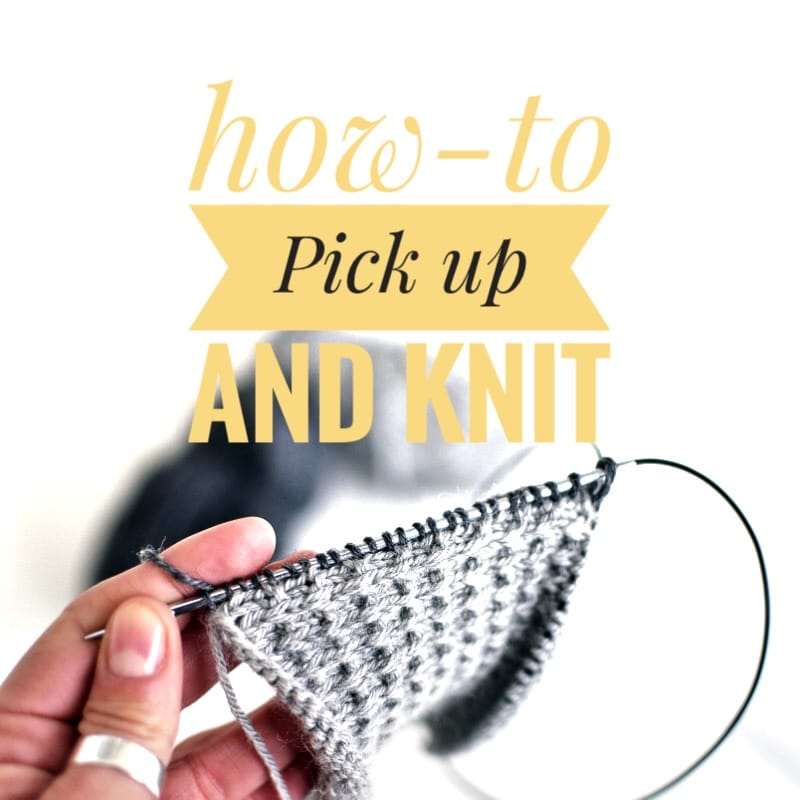
A picture tutorial to show how I personally like to pick up and knit stitches, when a new piece of knitted fabric is seamlessly added to the edge of another one, in a 90˚ angle.
This method is useful for top-down set in sleeves or for the underarm stitches that are added at the CO in raglan or contiguous sleeve constructions. It is also perfect for necklines. To close up a larger neck or to just give it a neater finish. Also for neckbands in cardigans, pockets, toys and many other projects where one needs to create a new set of live stitches that grow out of knitted fabric. Picking up & knitting stitches |
|
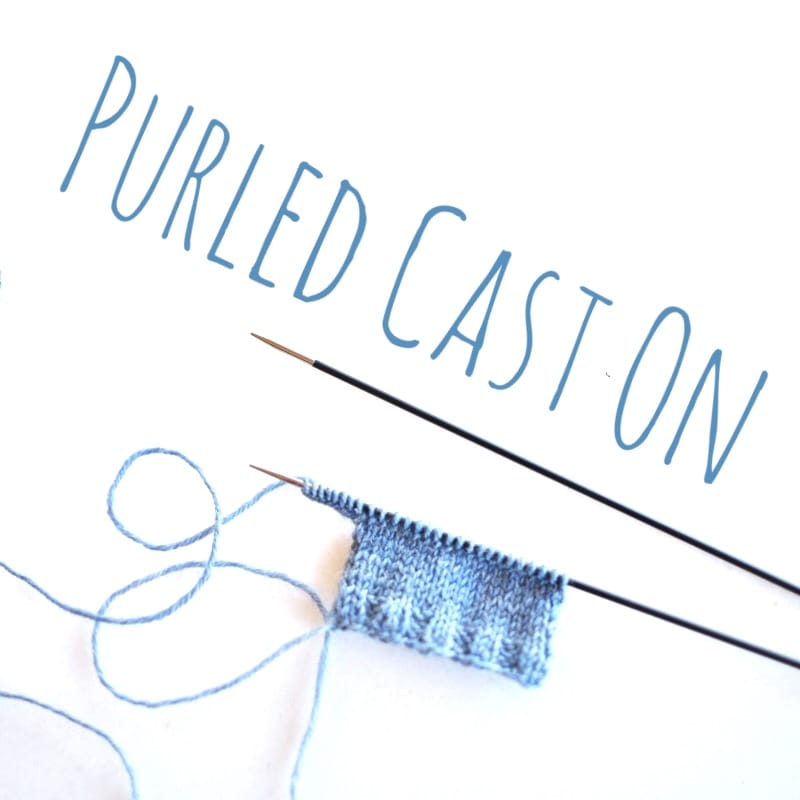
A simple method to cast on new stitches at the edges: I especially use this technique for the underarms, when separating the sleeves from the body at the end of the yoke, or to connect two fronts at the neckline - in top down and seamless constructions.
This CO gives neat and sturdy stitches, needed for the underarm area and is extremely easy and quick to make. Purled Cast-On with a twist |
|
A super simple and easy "old-school' trick that provides an elastic version of the long tail Cast-On.
This method does not produce a super stretchy CO, but maintains the firmness and sturdiness of the Long-Tail - it is just a slightly springier version of it. Perfect for all the edges in a knitted garment! A stretchy Long Tail Cast-on |
|
Here you can find a description for a successful way to block out any hat perfectly - all while having the best fun!
This method allows you to neaten up the stitch pattern of your knitted hat and to make it look more even - but also to remedy any too small sized outcome so as to enlargen the hat and to "overblock" it on purpose, if needed. How to block a Hat |
|
A tutorial about a different way to make the kfb increase: The handy, old kfb (knit through front and back loop) is quick and easy to do, but usually it leaves a tiny little purl bump visible at the increase point...
Now there is a method to do the same increase without having the unsightly purl bumps: This method is not something I came up with myself: I read about it somewhere and when I designed my pattern for the Green Memories Set I needed a visual to illustrate it - but I just could not find anything usable on the internet... so here you go! SPECIAL (no-Bump) KFB INCREASE: kfSLP |
|
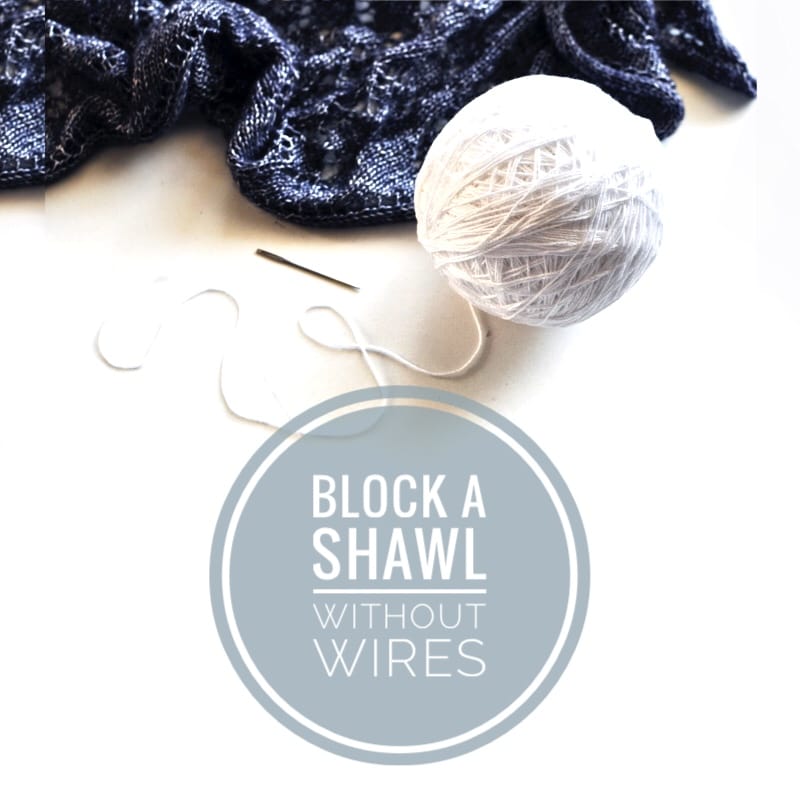
This old tutorial of mine shows how to perfectly block out a shawl by using things you most probably already have at home: You only need some DK cotton yarn, a tapestry needle, scissors and pins for this method.
No expensive blocking wire kit or other special equipment is required! How to block a shawl |

