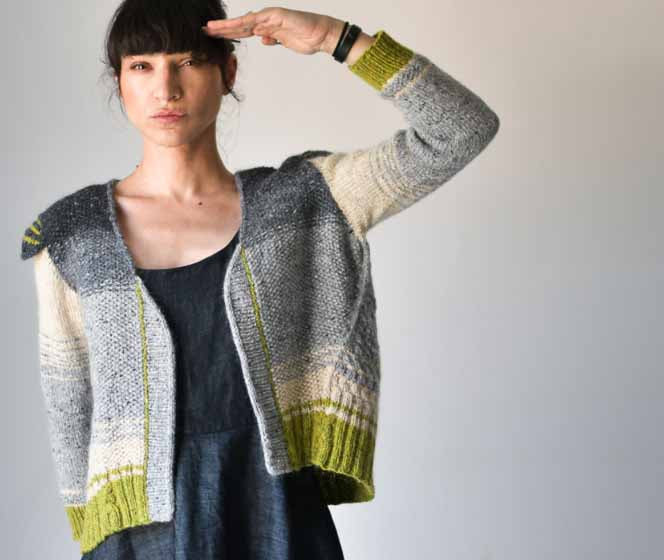
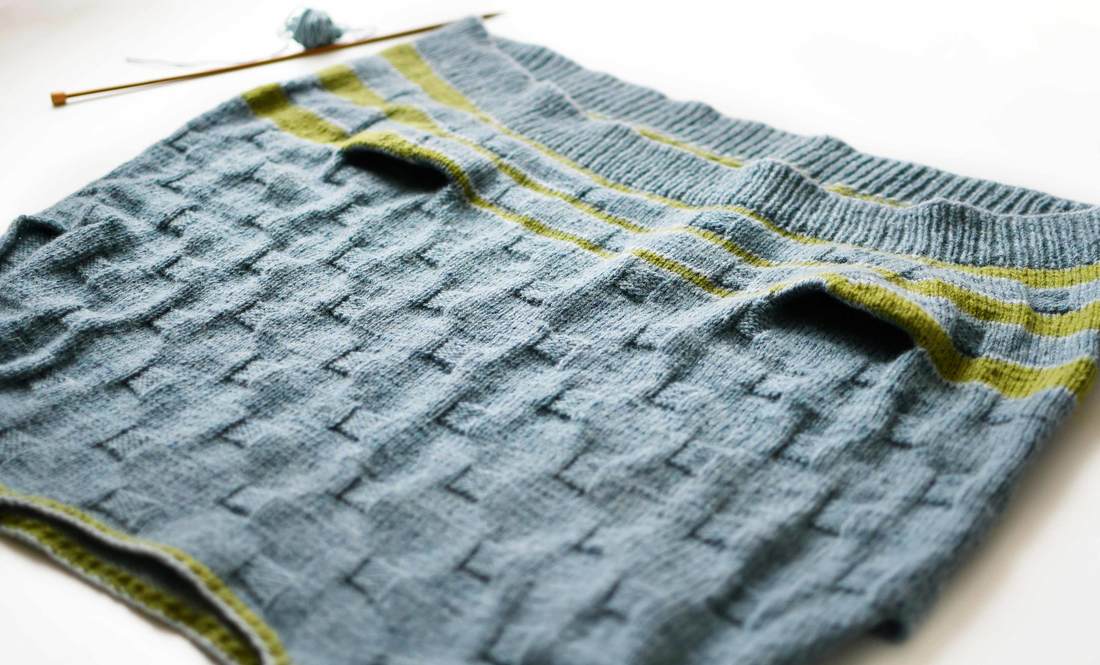
Not everybody has yet tried this easy peasy way of adding pockets in knitted garments.
|
These pockets might be called "after-thought", but you definitely have to give them some thought before hand, if you use the more common and risk-free waste-yarn-way*¹.
But if I say that you need to give them some thought, I mean easy stuff. There are no rocket science calculations involved here: The things to consider when deciding on the placement of the opening are logical factors, like the height and width of the pocket in relation to the garment itself and to the wearer's hand. |
At the same time they need to be wide enough to comfortably fit the wearer's hand as also deep enough to fulfil their purpose.
But careful: We do not want the lining to be peeking below the hem when we use them! We all know how much give in length a knitted fabric can have and pockets can "grow" to nearly double their length when lounging hands are pushing downwards.
|
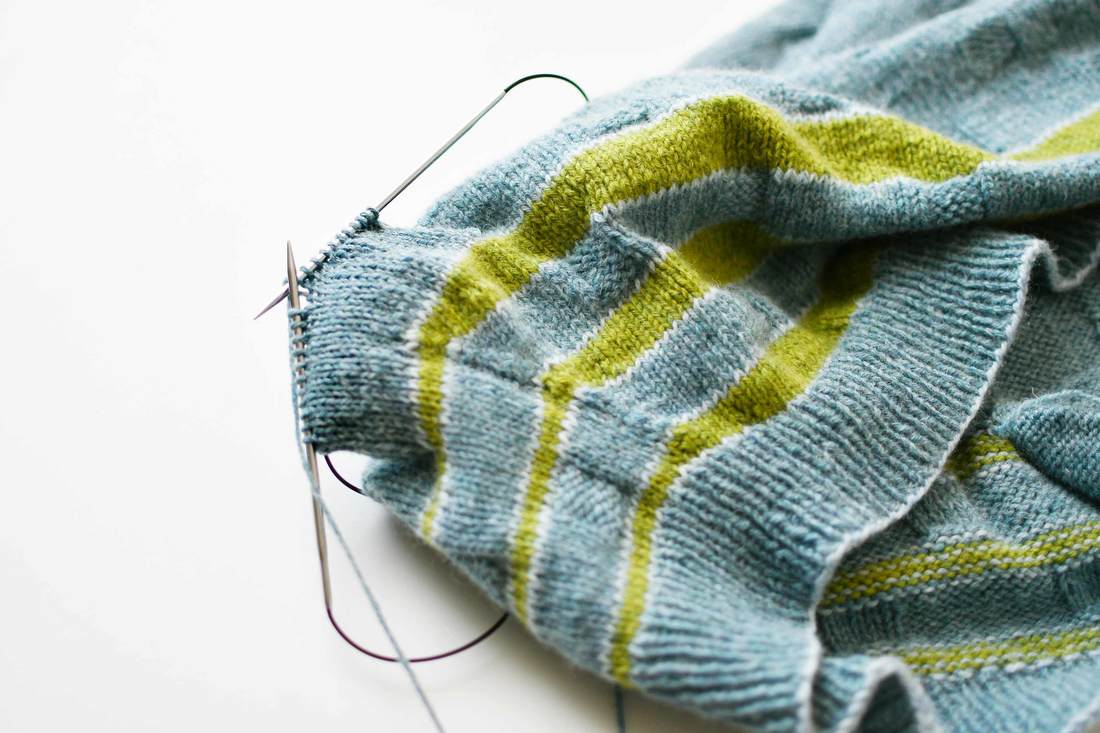
More often than not these decisions can be quickly made by simply placing the hand on the area we would like the pocket to be - and by counting the width of our hand in stitches. Add to this about ½ to 1 inch more, for a comfortable opening and there is the needed width. Now we just need to work these openings in waste yarn, slip the stitches back to the left hand needle and work over them in our project yarn again. (Oh, and I do apologise for my stupidity to have chosen white waste yarn that hardly shows in the picture on the left.)
|
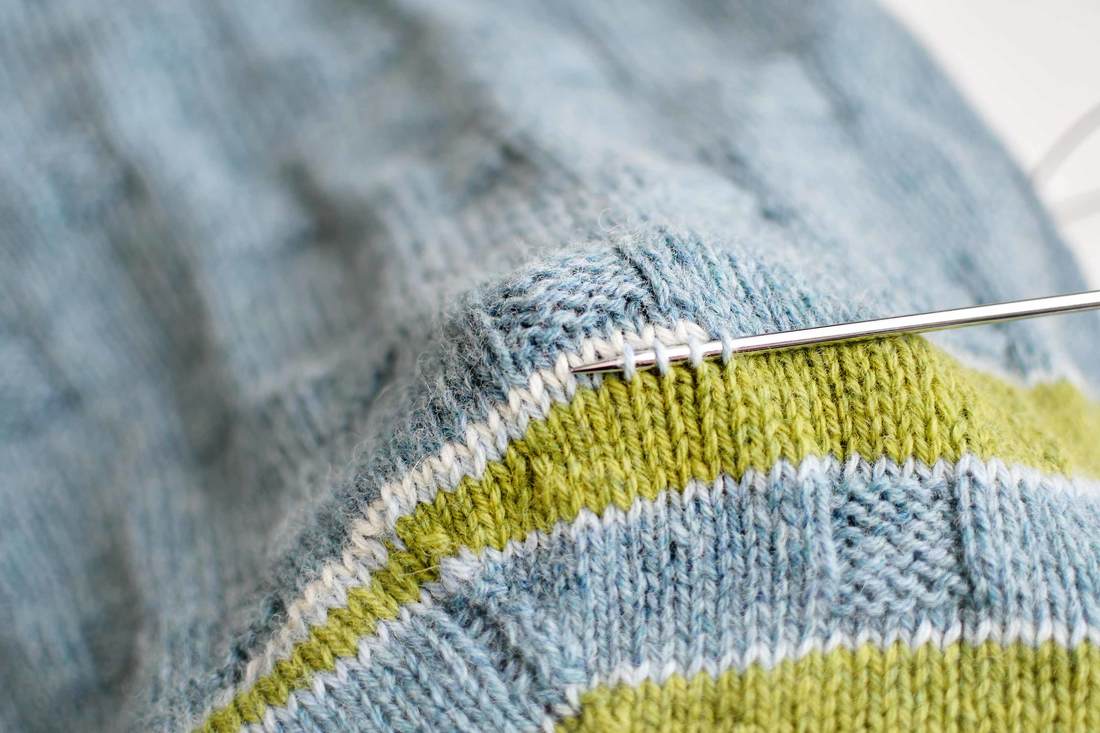
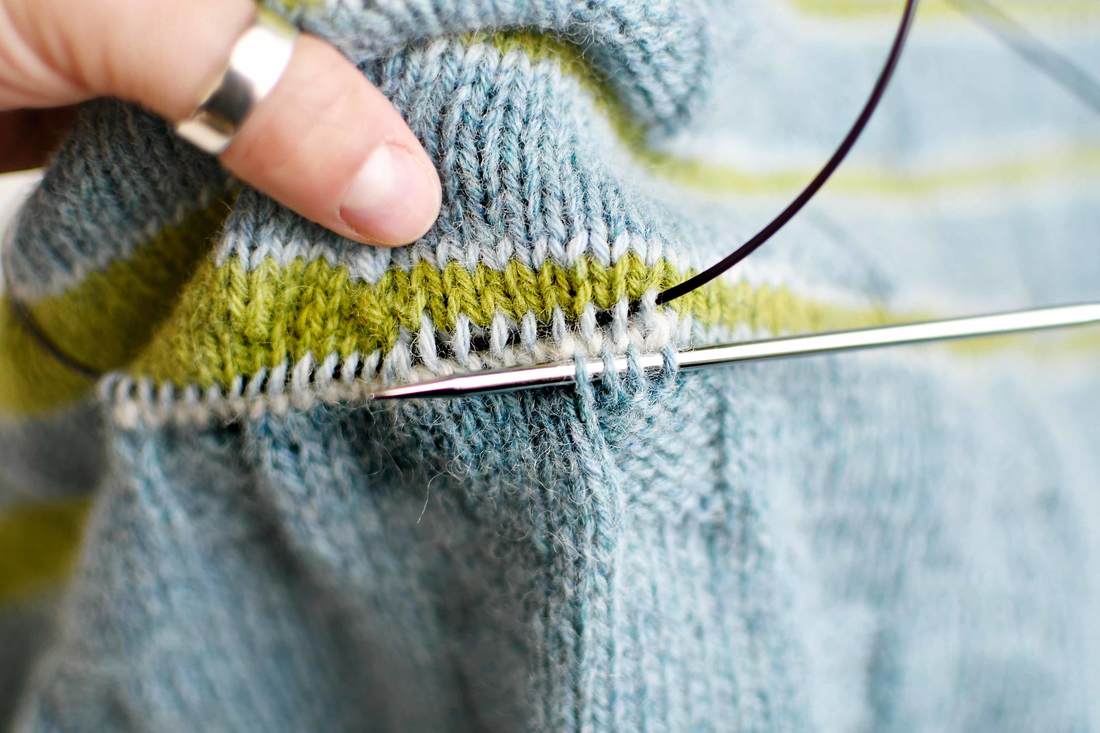
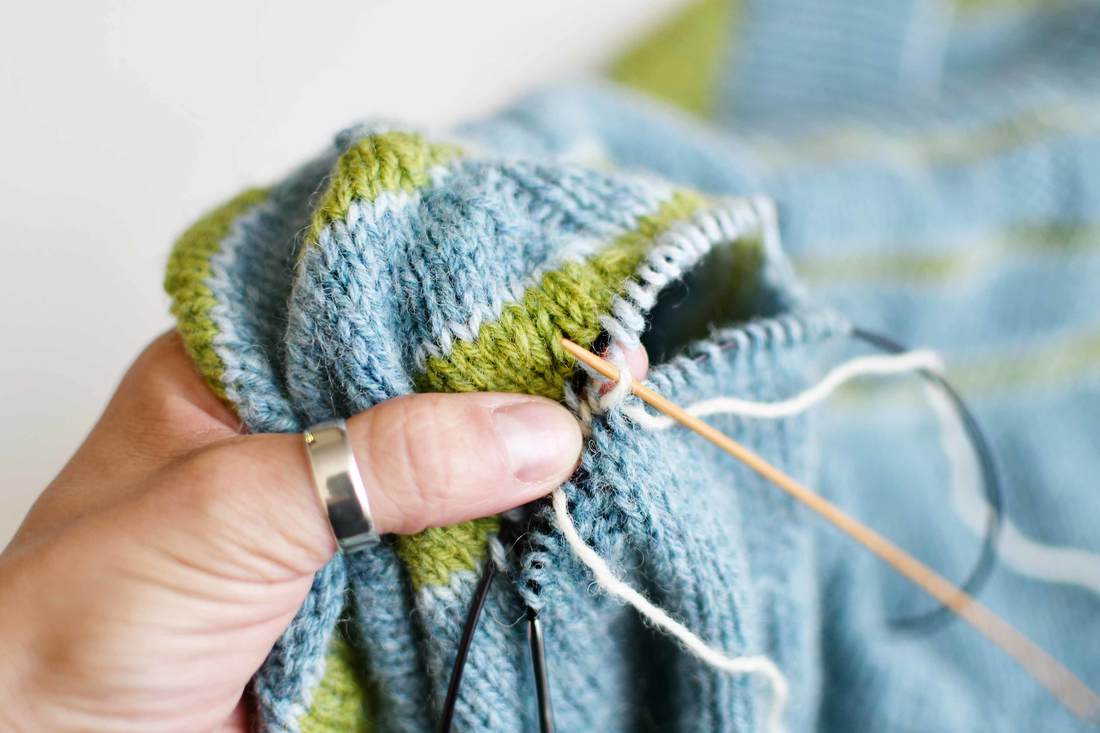
After finishing the rest of the garment, we can go back and work on the lining of the pocket:
Be careful to not twist the stitches and do try to always pick the right "leg" of each stitch.
|
Here I used the exact same yarn as for the main body, but one could try a contrasting coloured yarn in a finer weight for a more delicate version or play with stripes or other ideas that might make for a cute lining.
Work in rounds to form a tube for the lining and knit it to your desired length. If you are working a pocket for a seamless top-down-jumper like I did, then you can simply try the pocket length out while wearing the garment and just stop when you have reached a comfortably fitting length that still remains hidden 1 or 2 inches above the hem. |
Finishing
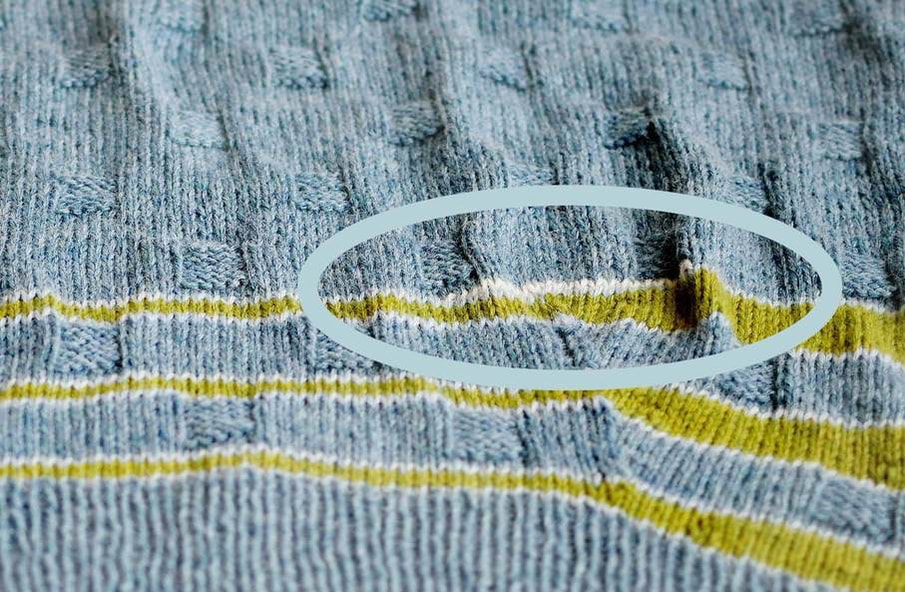
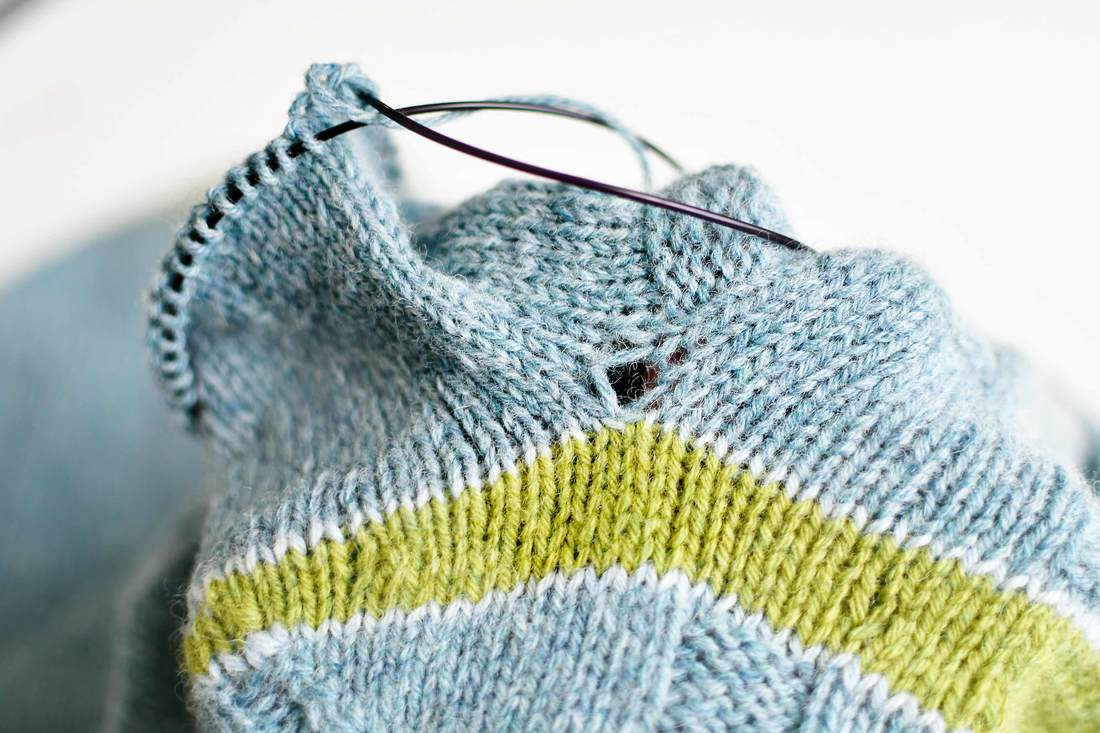
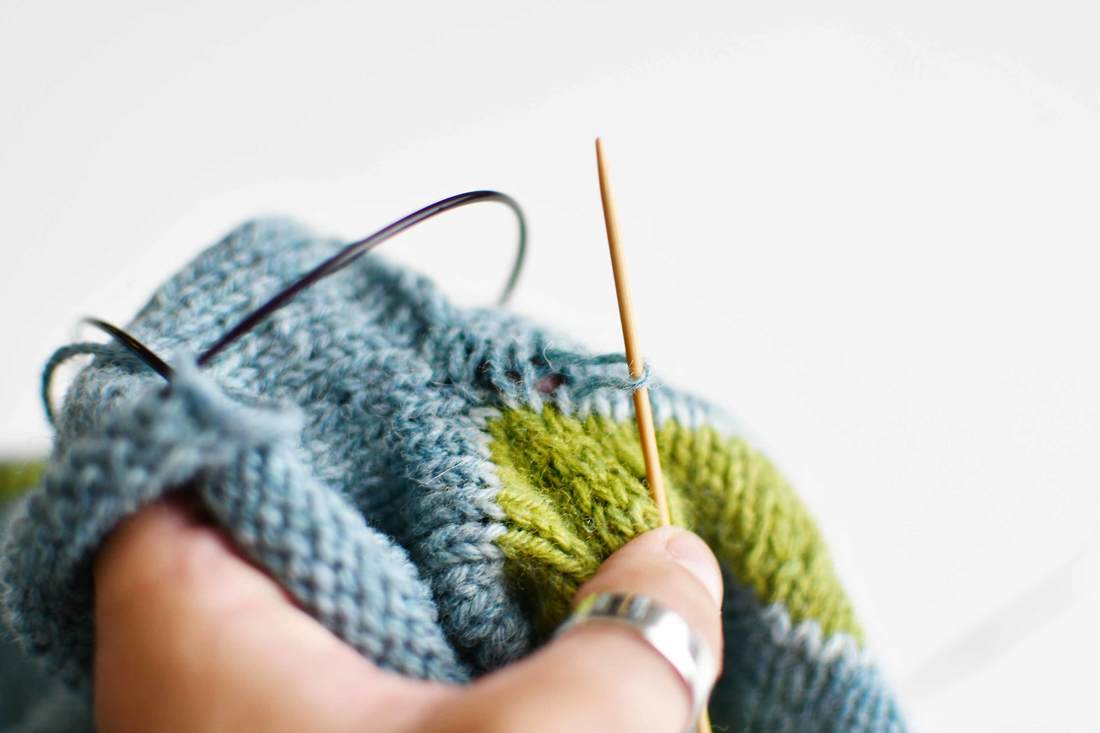
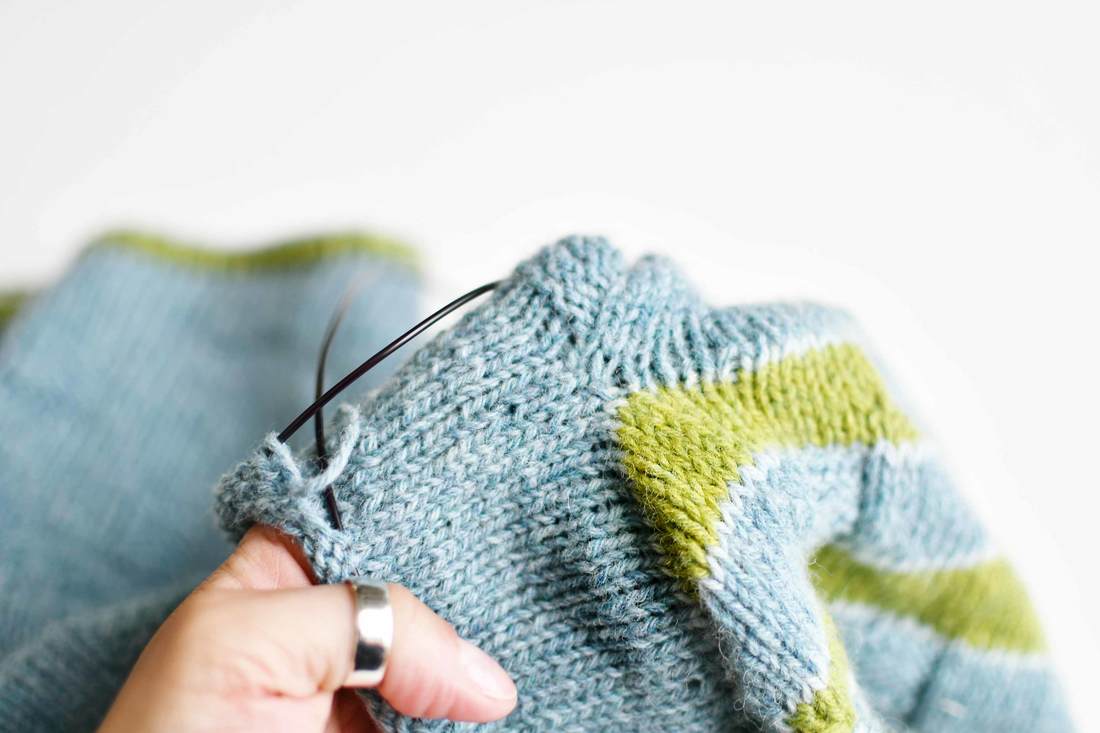
Often there can be two big holes on each side of the pocket (where the stitches were picked up at the "corner" of the waste yarn row).
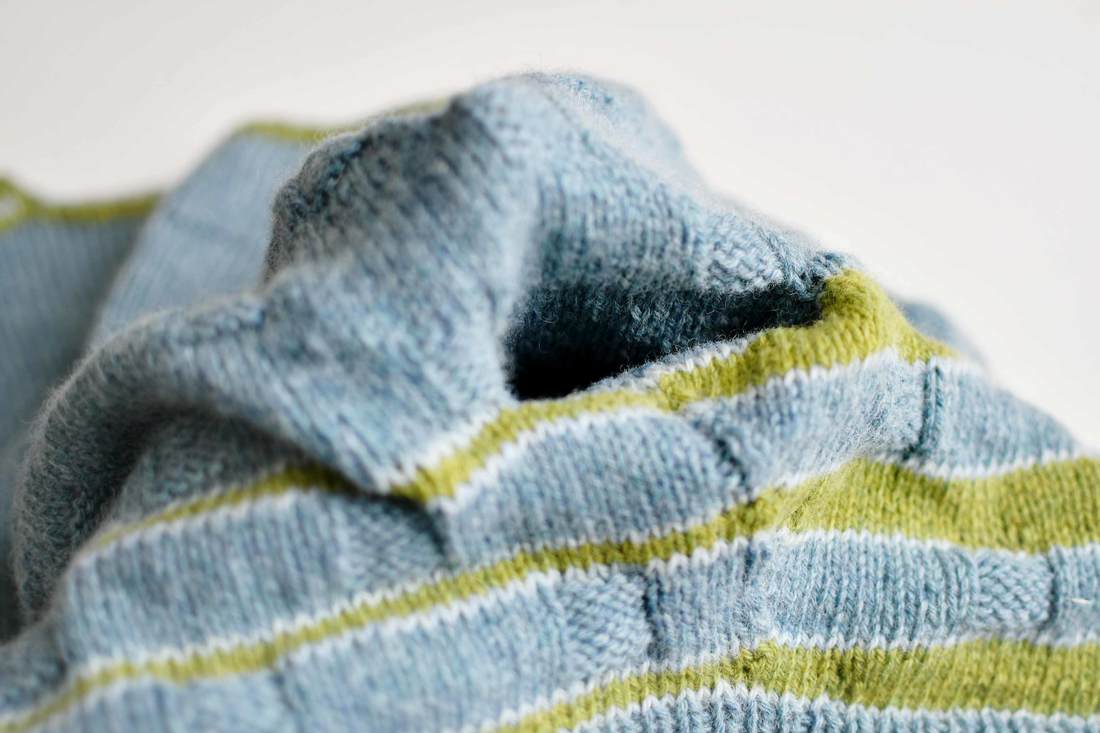
It is very easy to manipulate them into place and shrink them as shown in the pictures (if you need more info on this subject check out this older blog post, explaining this in detail) Finally the pocket can be formed into perfect shape during blocking by pinning the edges of the pocket's opening. |




 RSS Feed

