Entrance....
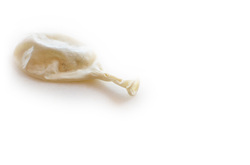
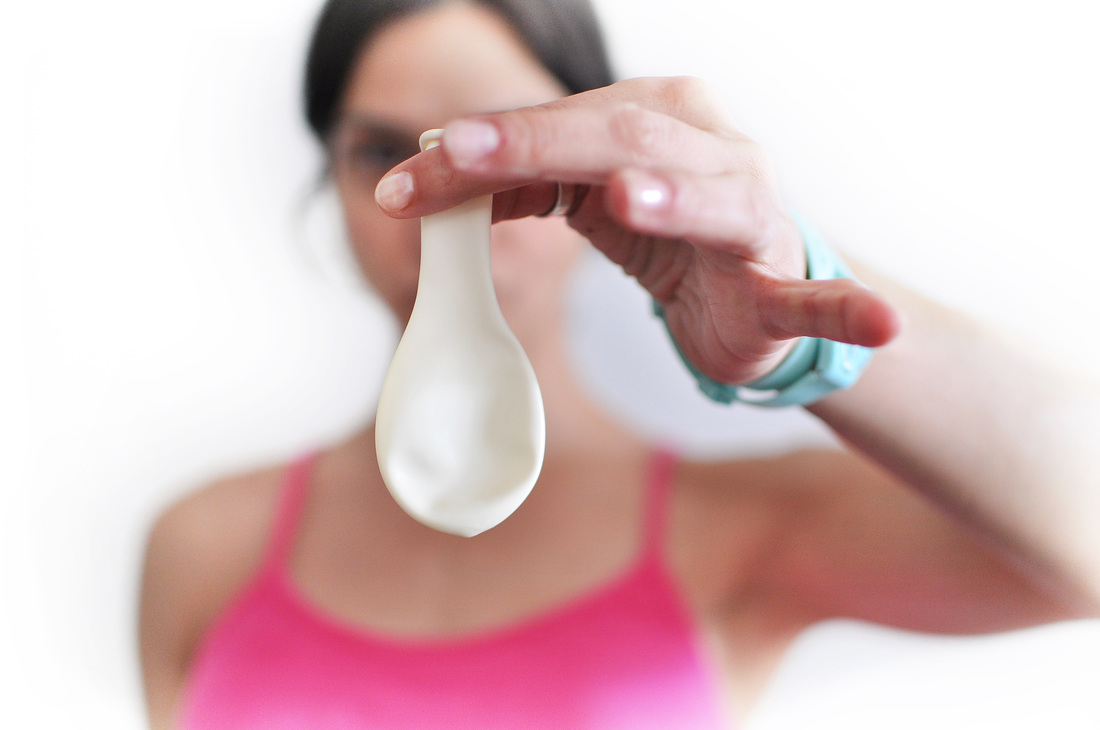
The balloon!
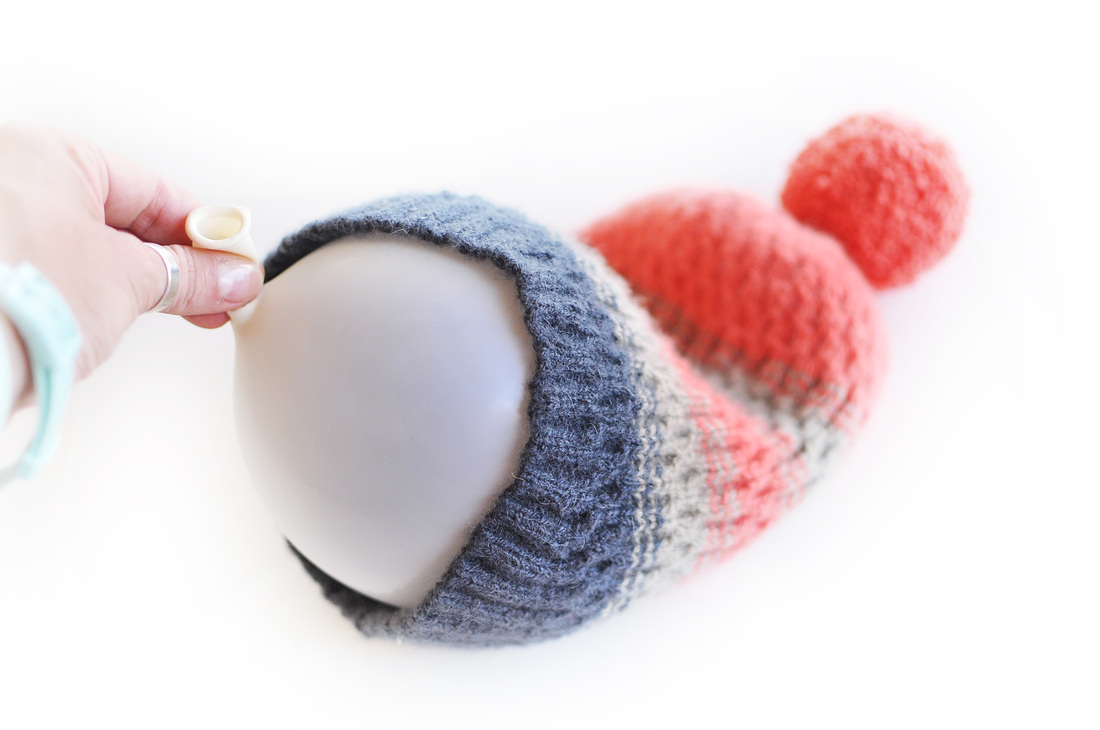
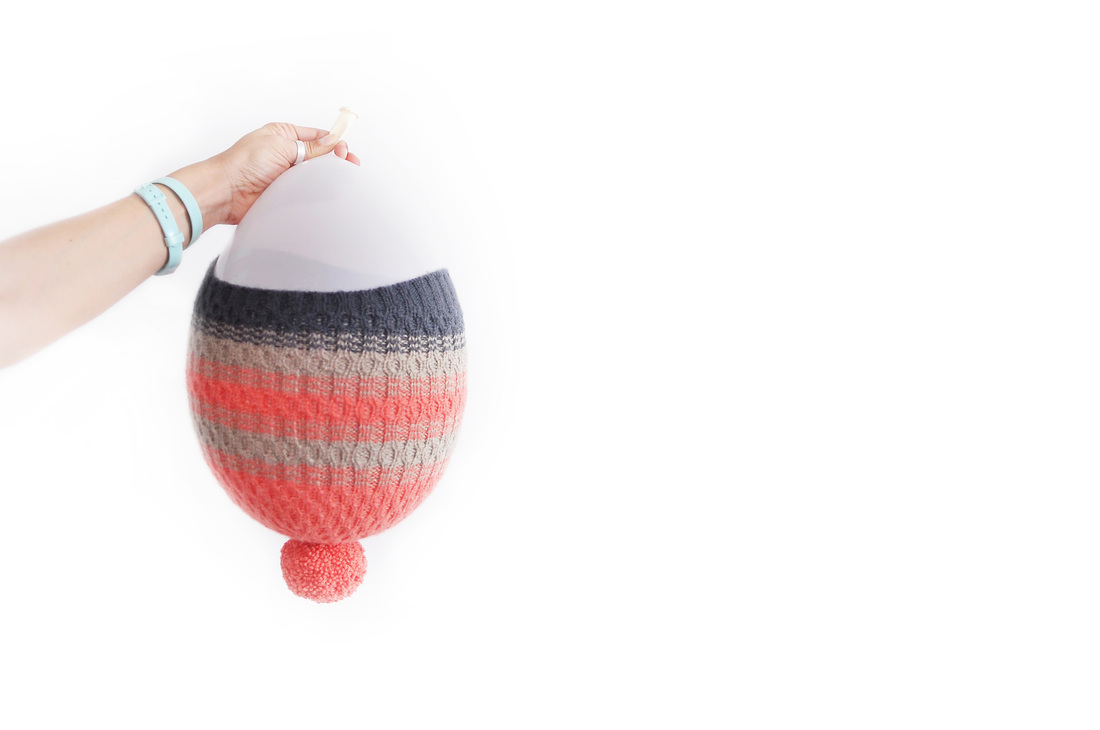
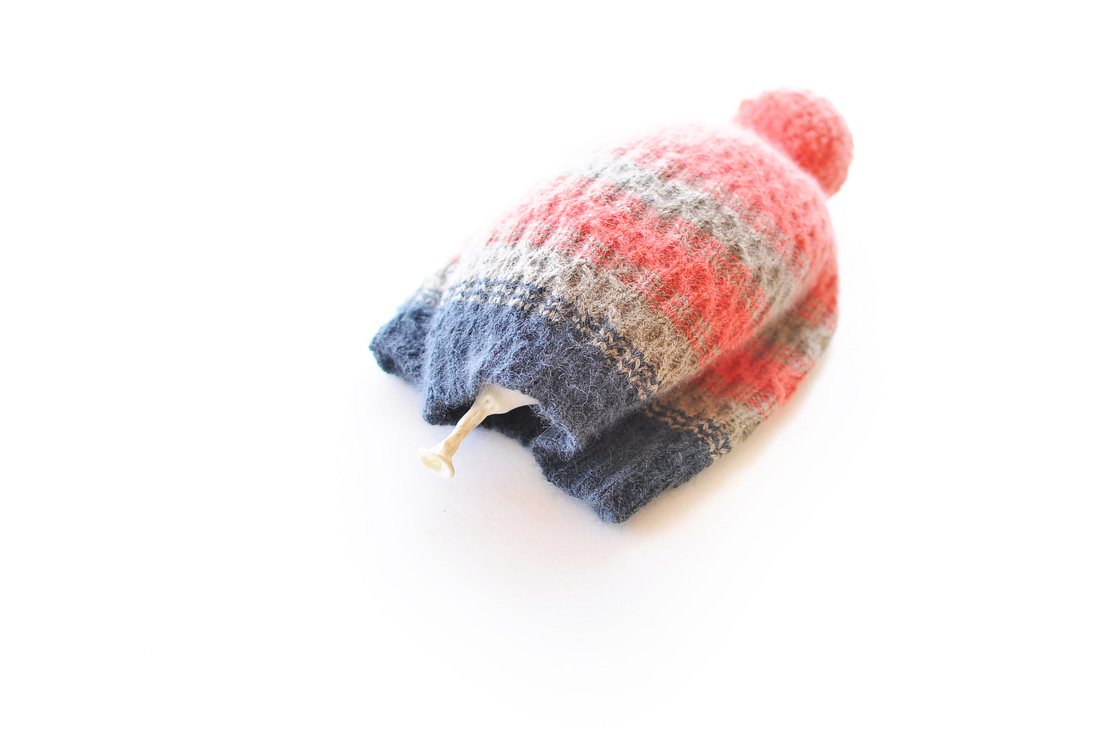
| So you find yourself one of these (I bought mine at the supermarket) and start blowing it up just a little bit, so that you can easily fit your hat onto the balloon. Then, with the ballon already inside, you continue blowing it up until it's filling out the whole hat - you might need to adjust the position of the hat by sliding it deeper into the balloon: The point is to have the top of the hat opened up without distorting the stitches too much! |
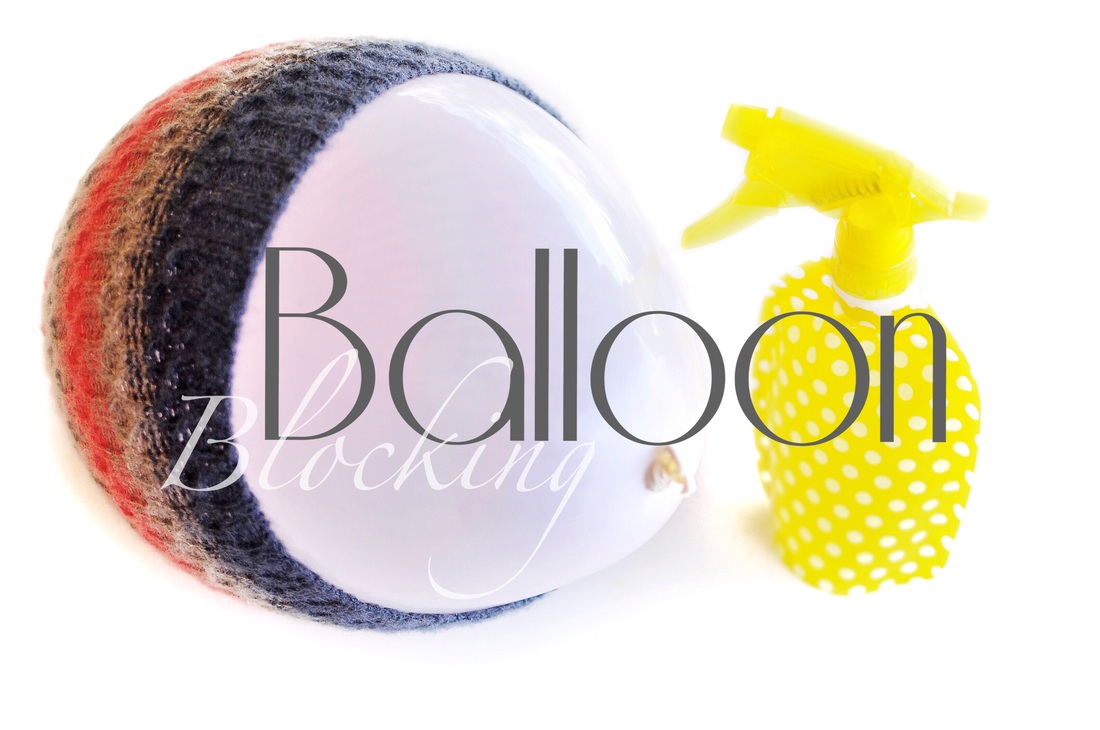
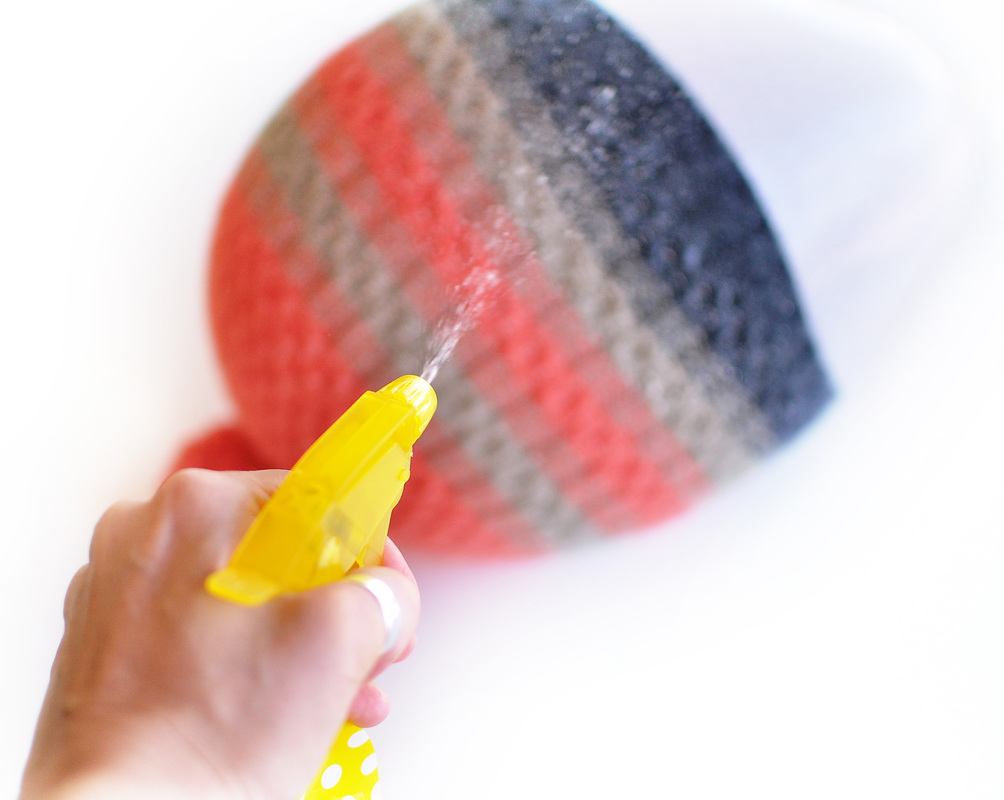
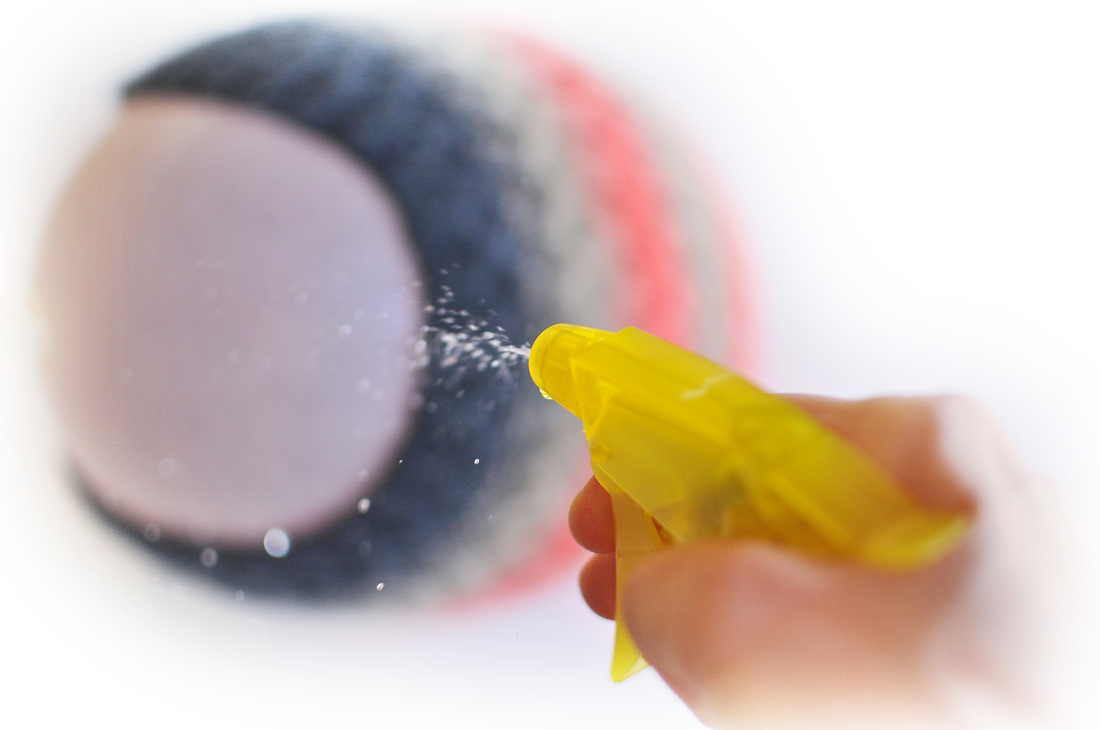
| Tie a knot into the mouth-piece, but don't tie it up too tightly! Being overzealous, I had overfilled my balloon and then needed to open it up again to let some air out and make it much smaller (and it's not easy to re-open a wet balloon, believe me!). In my giant balloon, I noticed that not only the stitch pattern got too lacy for my taste, but the whole hat would have been huge in the end if it stayed on there to dry. To continue with the actual blocking, go and get one of those water-spritzy-thingies, like the one pictured on the right! |
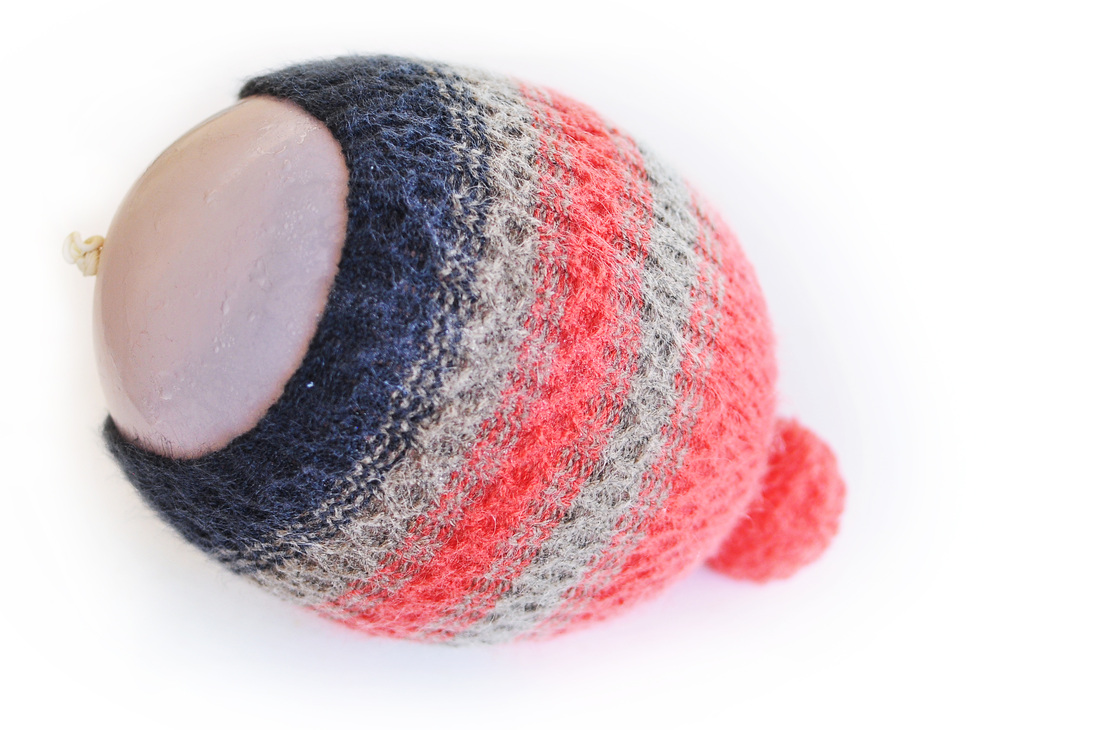
| And then, just let it dry in a shady, well aired spot. | Find some bowl that allows the balloon to stand upright, without the hat touching the ground. Especially if you have a pom-pom attached to the hat you don't want it to lie down on one side and have a flat part at some spot, after blocking. Besides, it will dry quicker this way with all the water flowing away from the pom-pom... Try to leave the ribbing hanging freely at the bottom, so that it won't get too stretched out. (in the picture on the left you can see that I already had taken out some of the air to make the balloon much smaller in size). |
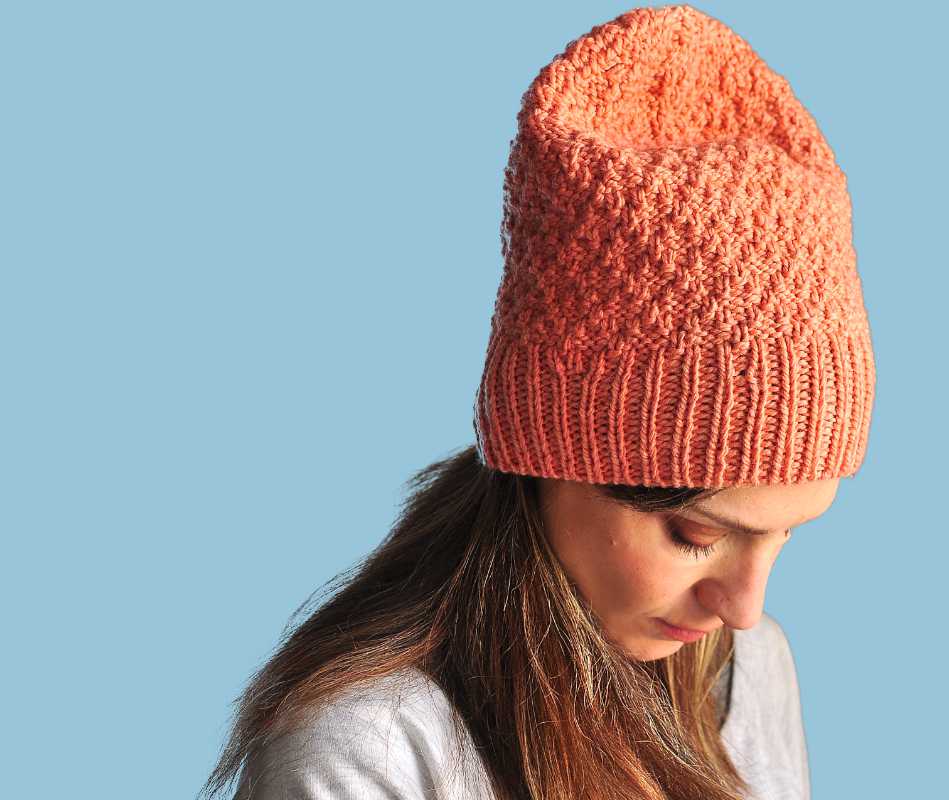
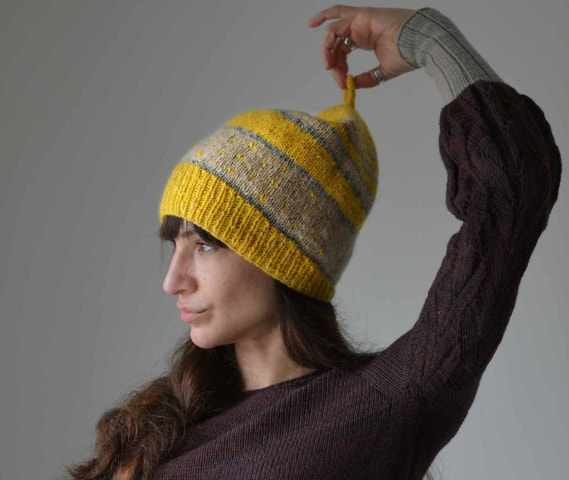
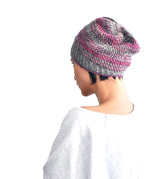
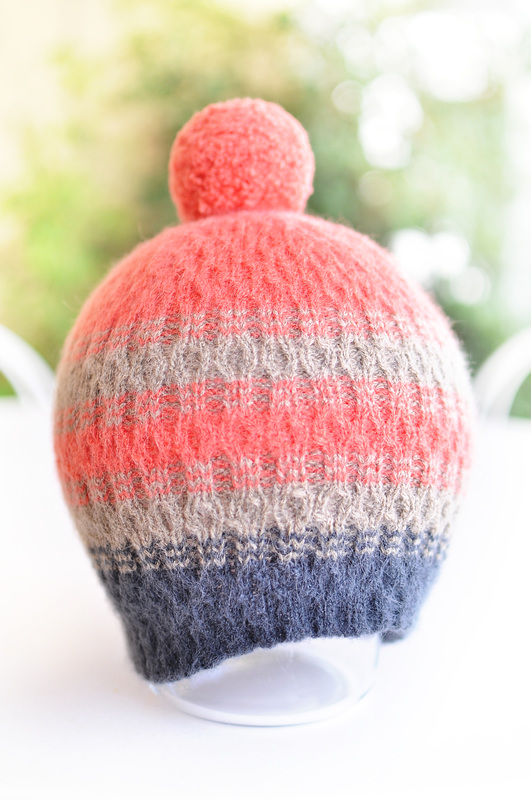
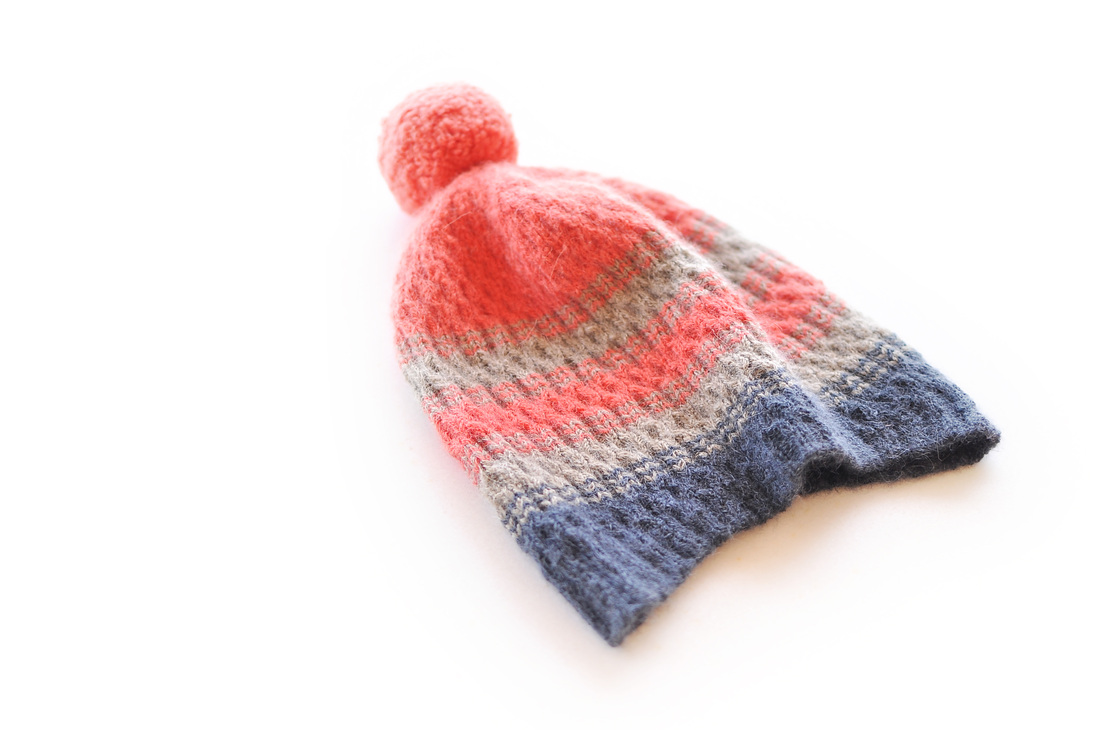
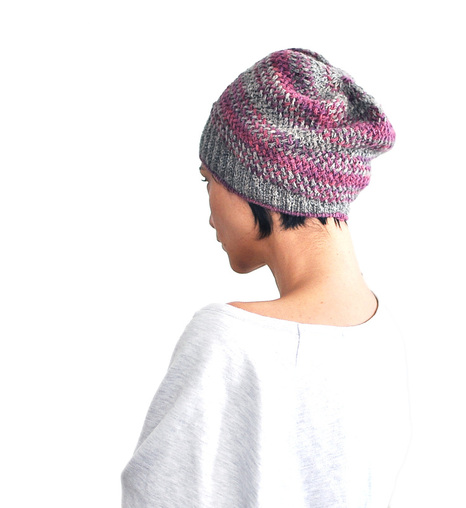
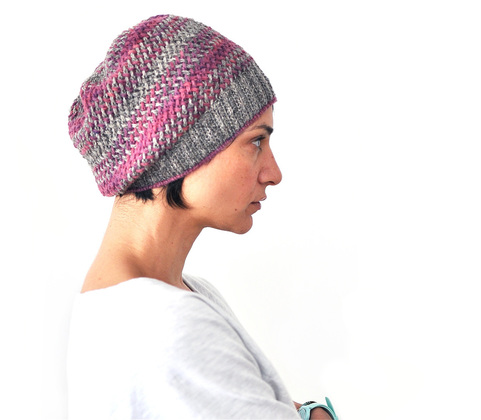
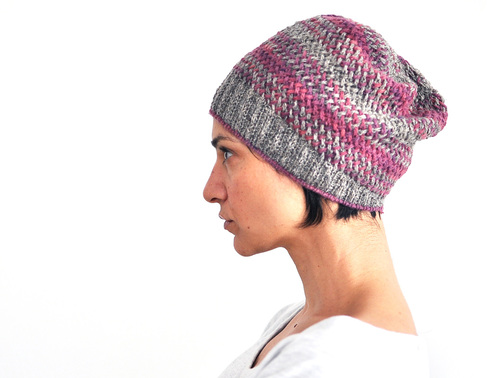
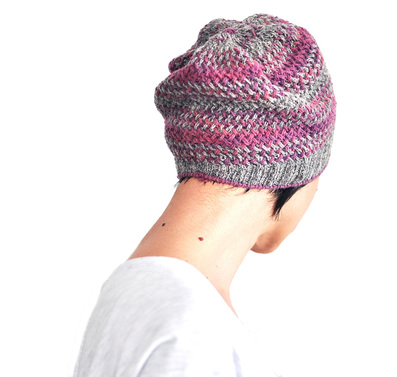
The hat is worked in Shibui yarn (Maai) and will probably become a pattern soon...
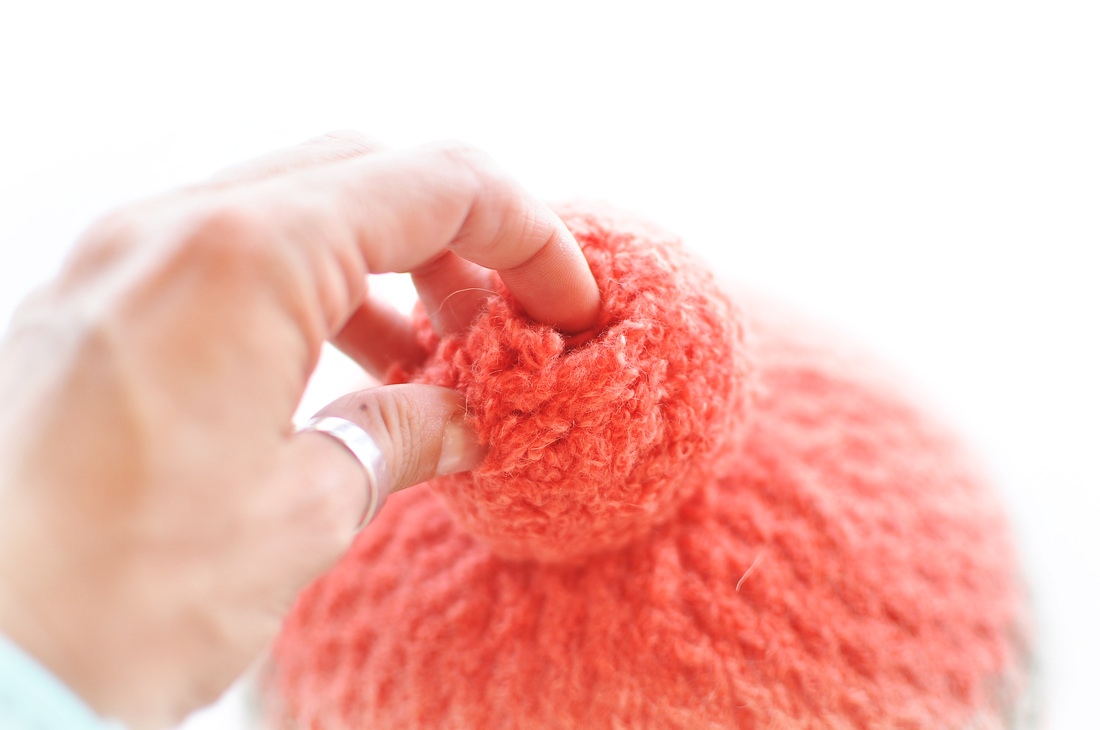
The pom-pom was made by following my latest tutorial crush in this youtube video.
The balloon on the other hand has been thrown away quite unceremoniously...




 RSS Feed


