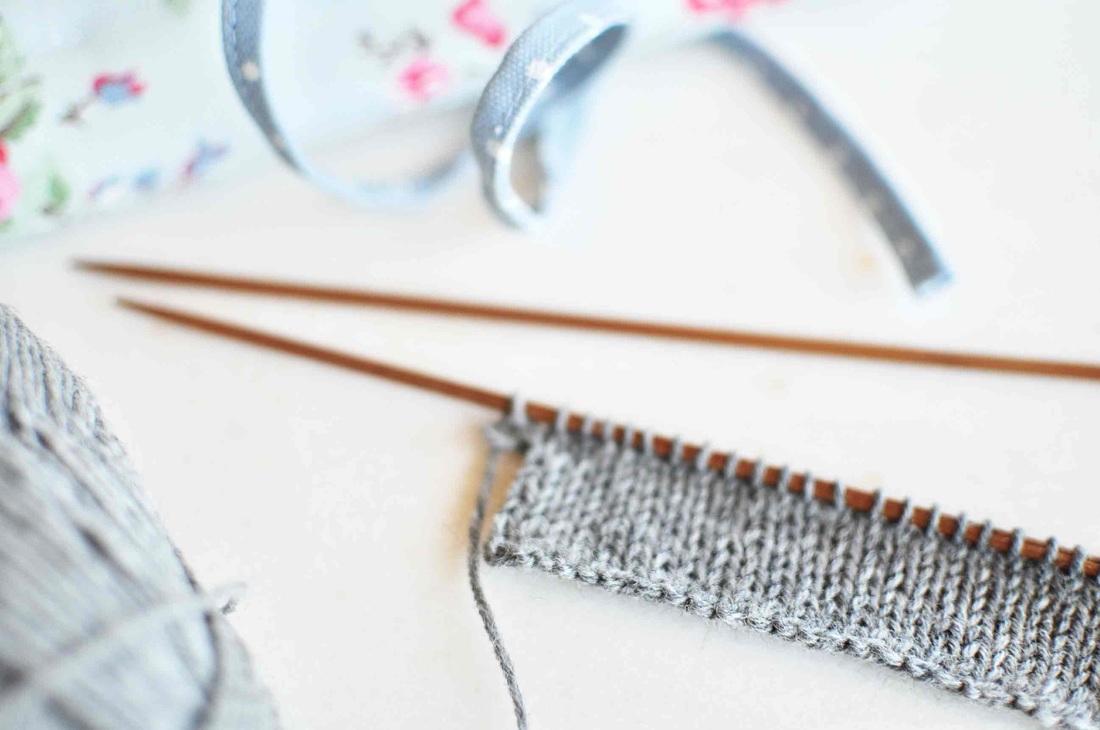
It allows you to work the first row easily without fighting to insert your needle in some tightly wound CO stitches .
I just remembered this recently (together with some other not-so-useful school memories) and thought that maybe not everybody is familiar with this easy trick to achieve a friendly start to their knitting. So I thought I'll share this "fond memory" especially for the ones that love the look of the long-tail cast on, but never get it to be elastic enough...
|
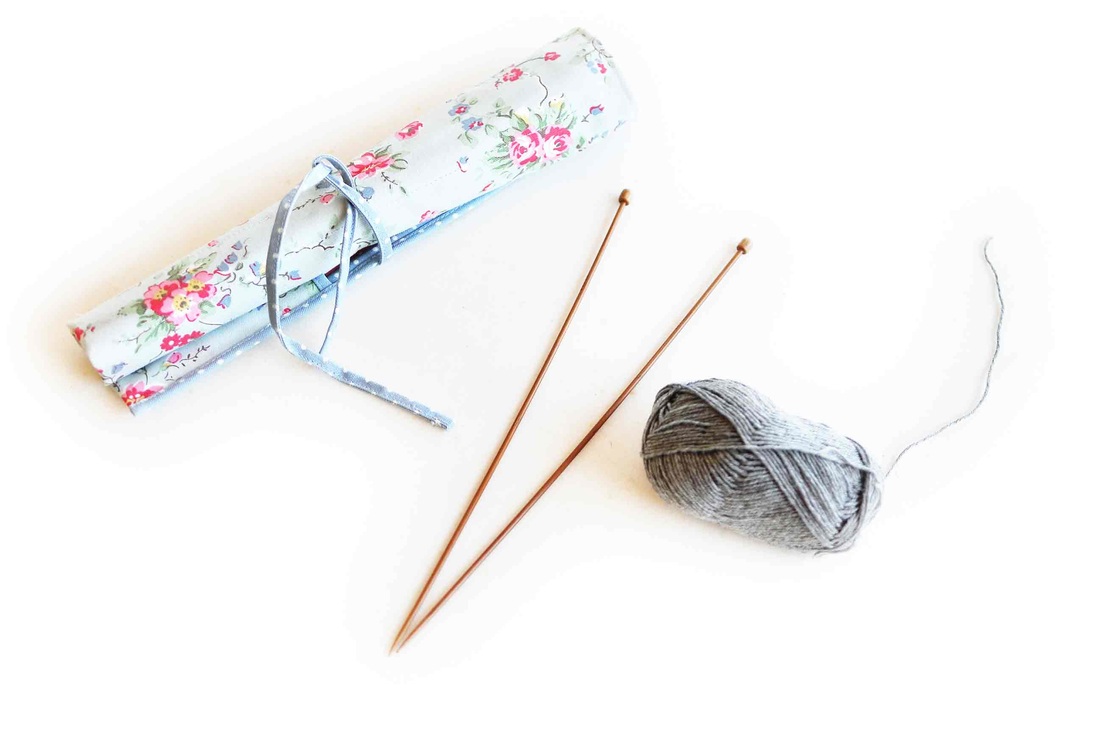
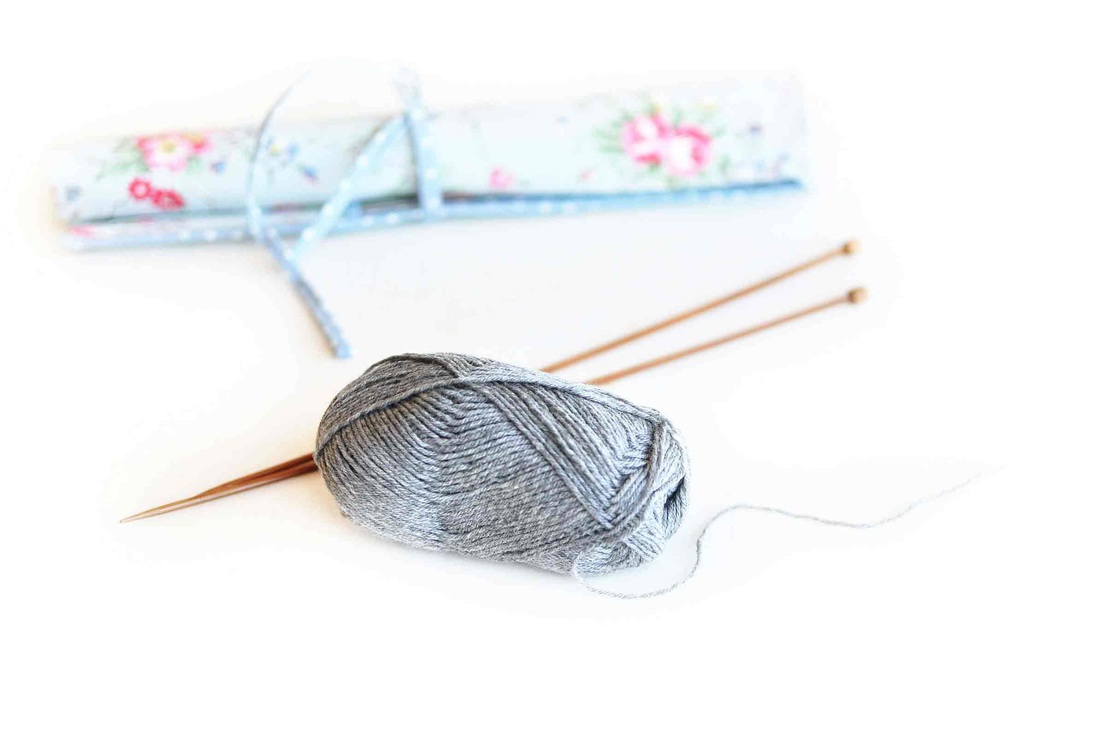
There is really not much to it in terms of technique - you just need your normal set of tools: a pair of knitting needles and your yarn (the cute Cath Kidston needle-case is optional).
To showcase this method I dug up my beautiful wooden straight needles, which I sadly rarely use nowadays... It's all gotten circular in the knitting world of today! |
|
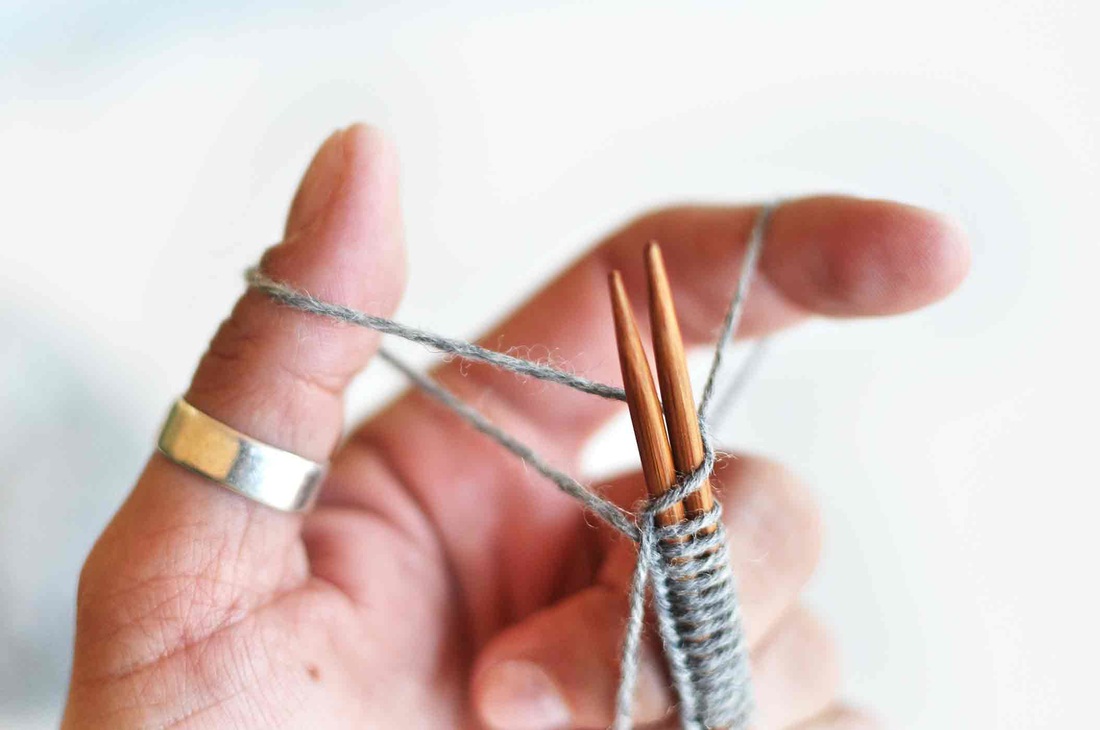
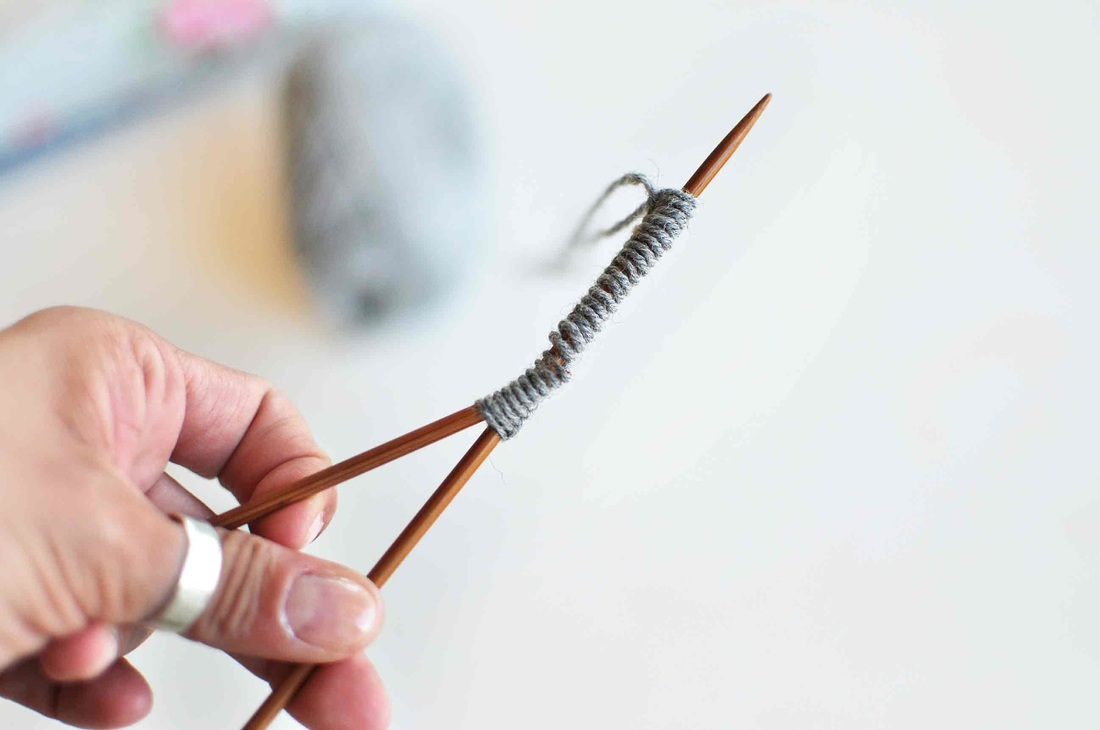
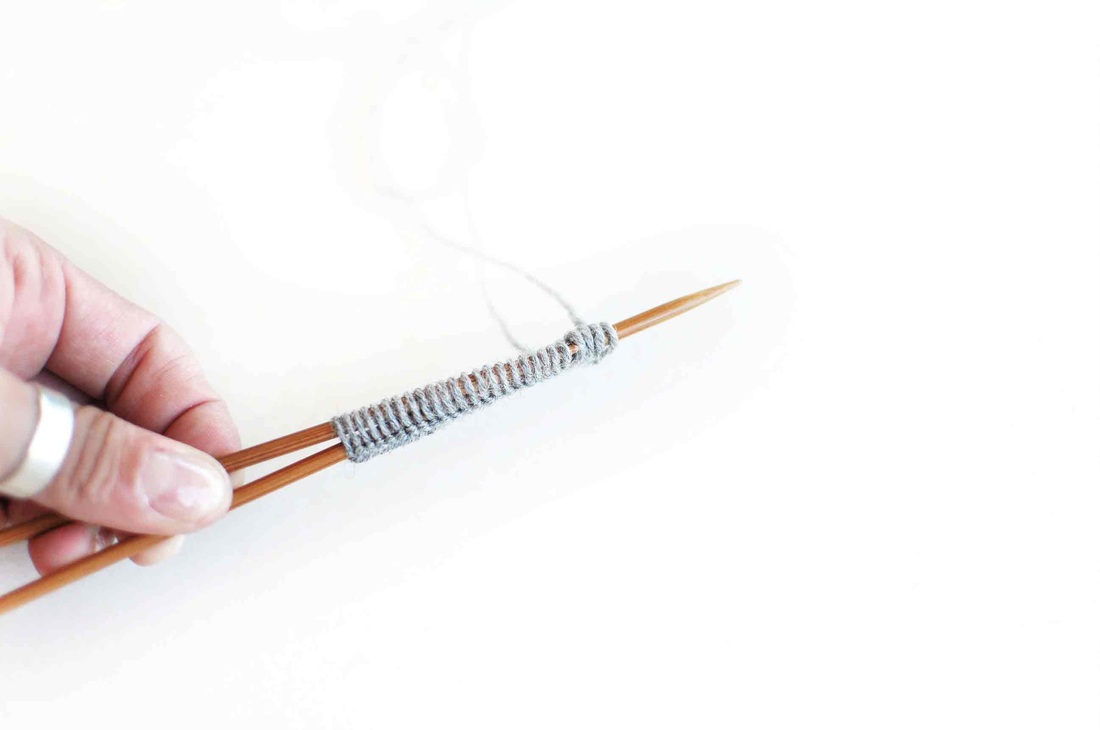
Hold the two needles together- parallel to each other - and just start casting on as you normally would.
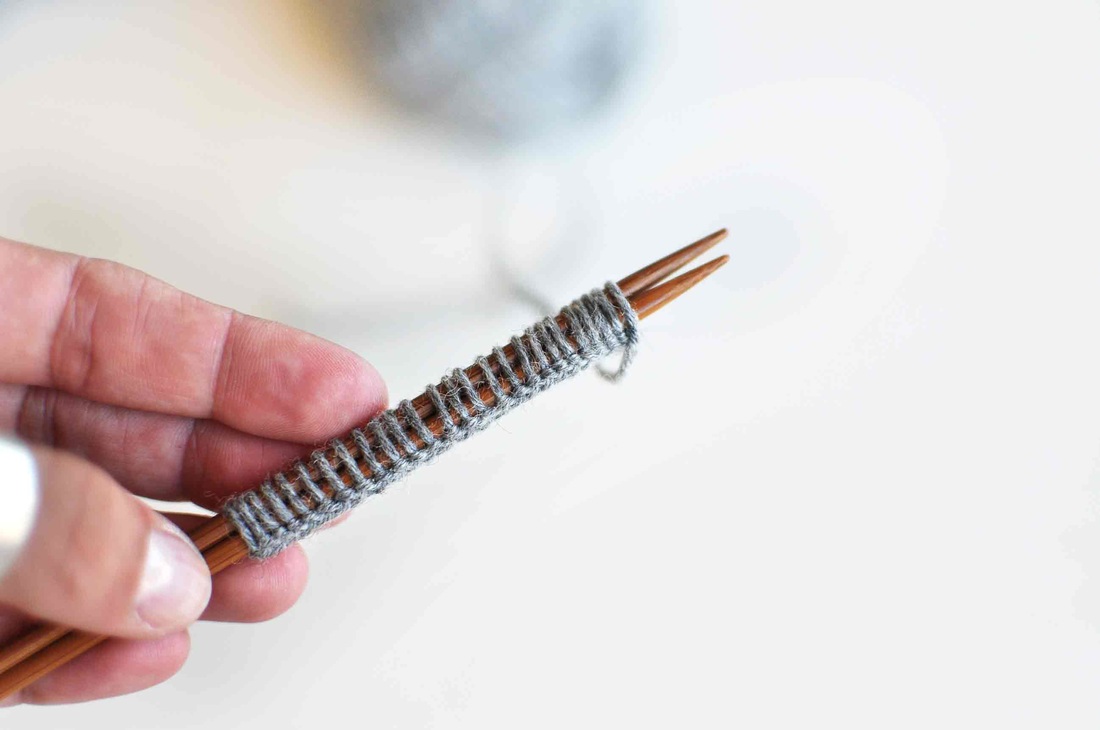
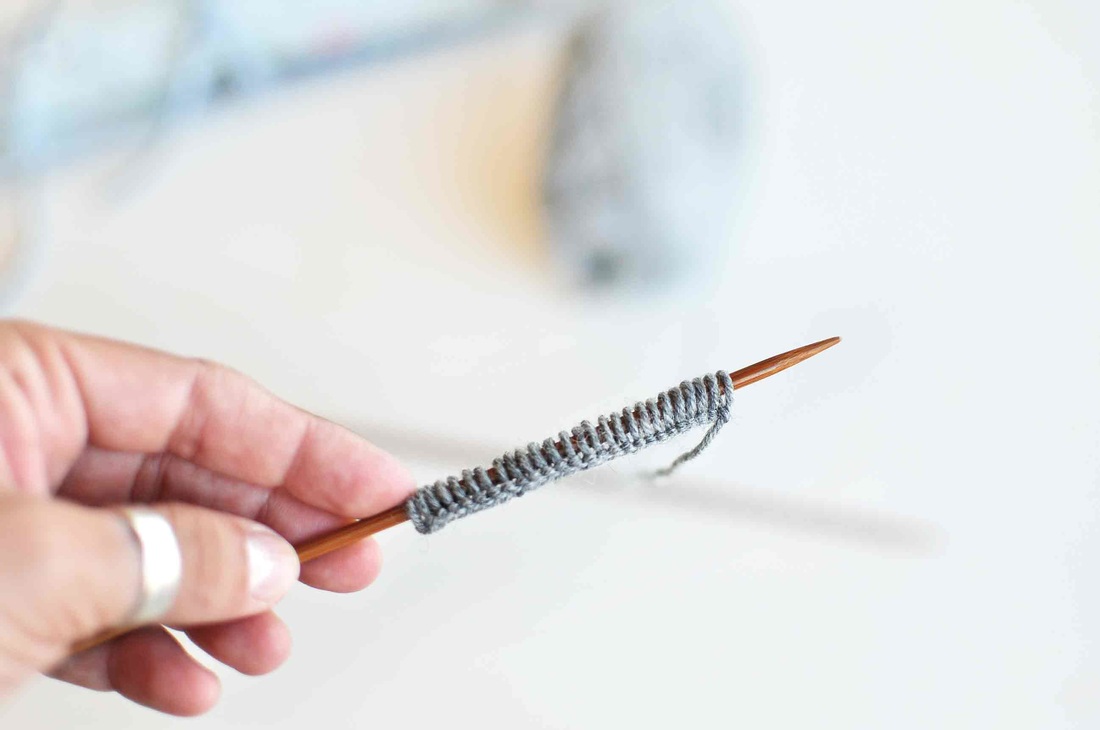
Even if it feels funny at the beginning you'll soon get used to it and forget that it's two needles that you are holding in your hand instead of one. As I said, it's really simple! At the end you can see that each casted on loop is double the size than if you would have used the one needle only. After having cast-on all of your stitches you need to very carefully pull one needle out of the loops in a backward motion. It's better to hold the needle tip of the second needle in place with your other hand while doing so, to keep any stitches from falling off. (If the needles sit too tight in there you can just wiggle them a little bit to give them some room). |
|
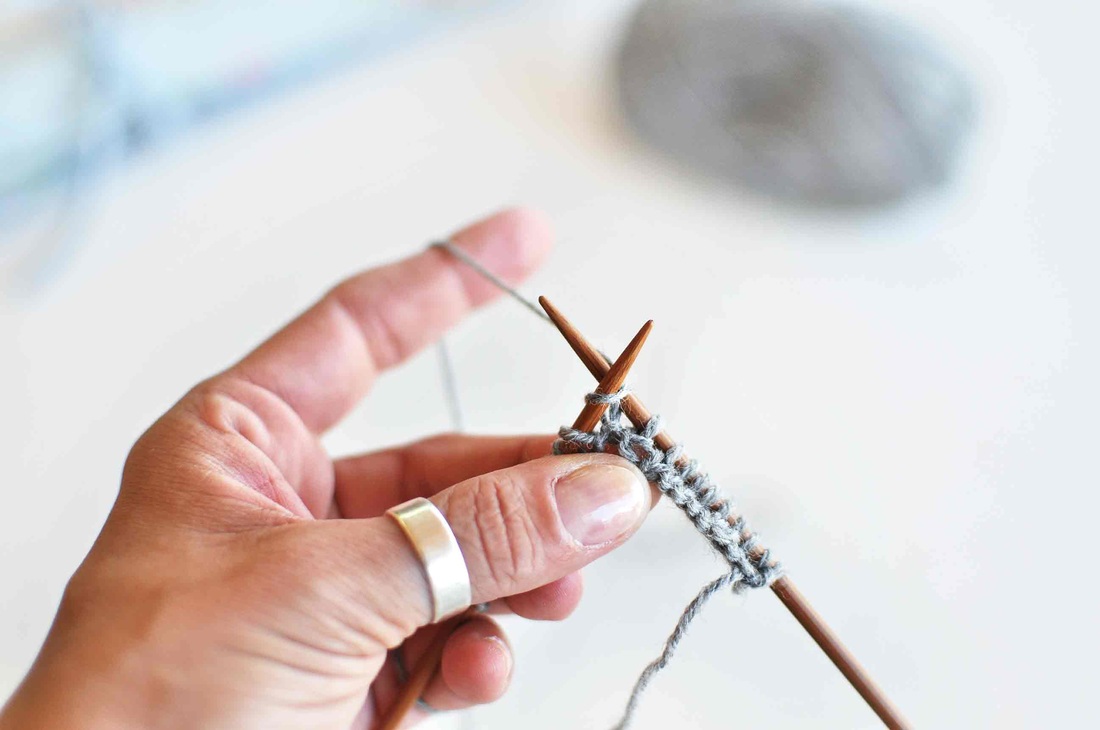
It's easy to knit this very first row of stitches - even if you are knitting tightly. You will see what I mean when you try this out.
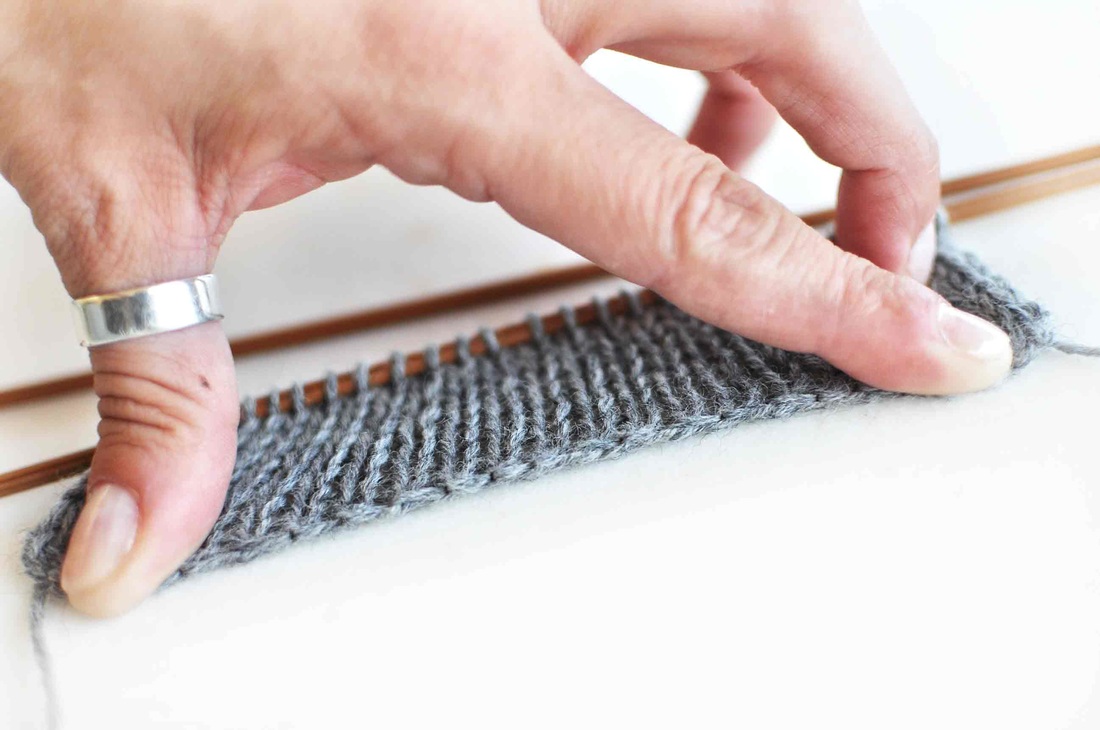
And the edge that has been formed at the Cast-On looks as neat as usually in the long-tail method, especially after having worked some more rows. It is not that incredibly stretchy as some others I guess, but it is quite elastic and beautiful - and still quick and easy! |
Well - that was all there is actually...
You could of course do your cast on a needle that is at least 2 sizes bigger instead of the Twin-Needle thing to make a stretchier cast-on, but since we all have a set of 2 straight needles (or 2 needle tips in the case of circular needles) it is a handy trick and you don't need to search for bigger ones - besides, you'll get the added bonus of having loose stitches to work into in your first row. |
If you use long circulars for a smaller project you can "fold" them in half and use the two needle tips as the straight pair above. Just make sure that you don't loose the stitches when you try to get the one needle-tip out of them by pulling on the cord end... for larger projects this might get very fiddly!
You theoretically need a cord that is a little longer than double the length of the casted on stitches to accommodate them when folded in half, so this is why an extra pair of circular needles in the same needle-size would probably be a better idea for a larger project (and much easier to pull out of the CO after it's done).
This Twin-Needle system is producing a kind of an elongated, oval needle tip and not a round one - so your loop is long while the stitch underneath rests still neat and less bulky - that's really a detail though and probably too much of information.



 RSS Feed

