La Maison Rililie
  • Knittingtherapy
  • Patterns
  • Tutorials and Knit-Stuff
  • Free patterns
  • About Me

An excuse to doodle or How To Knit A Colouring Book: Mitsouko

16/1/2018

Comments

 
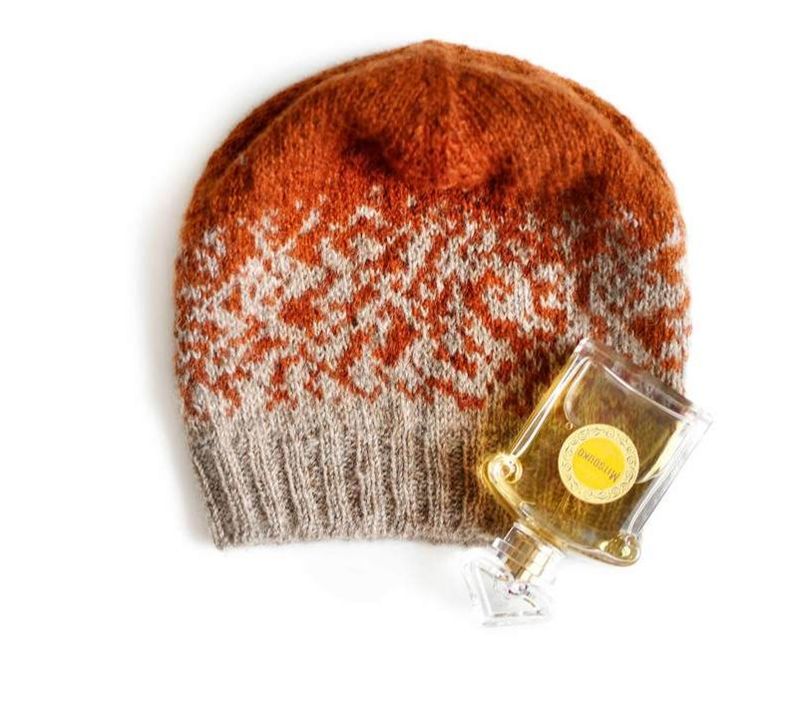
Mitsouko + Mitsouko's Lover by La Maison Rililie Designs
Who is in the mood for drawing and painting?
Who wants to play with yarn and colour?
Imagine a fun and yarny colouring book experience: But with absolute freedom of abstraction.


If, like me, you are a bit bored of the usual motifs used in Fair Isle knitting, Norwegian colour-work or traditional embroidery throughout the world and want something you created by yourself, you can get inspiration from any shape or form around you - try to see the lines and surfaces in an abstract design.
There are so many different ways that colours can interact with each other that go beyond what we already see in knitting..
​..but I digress...
​let me start at the beginning:
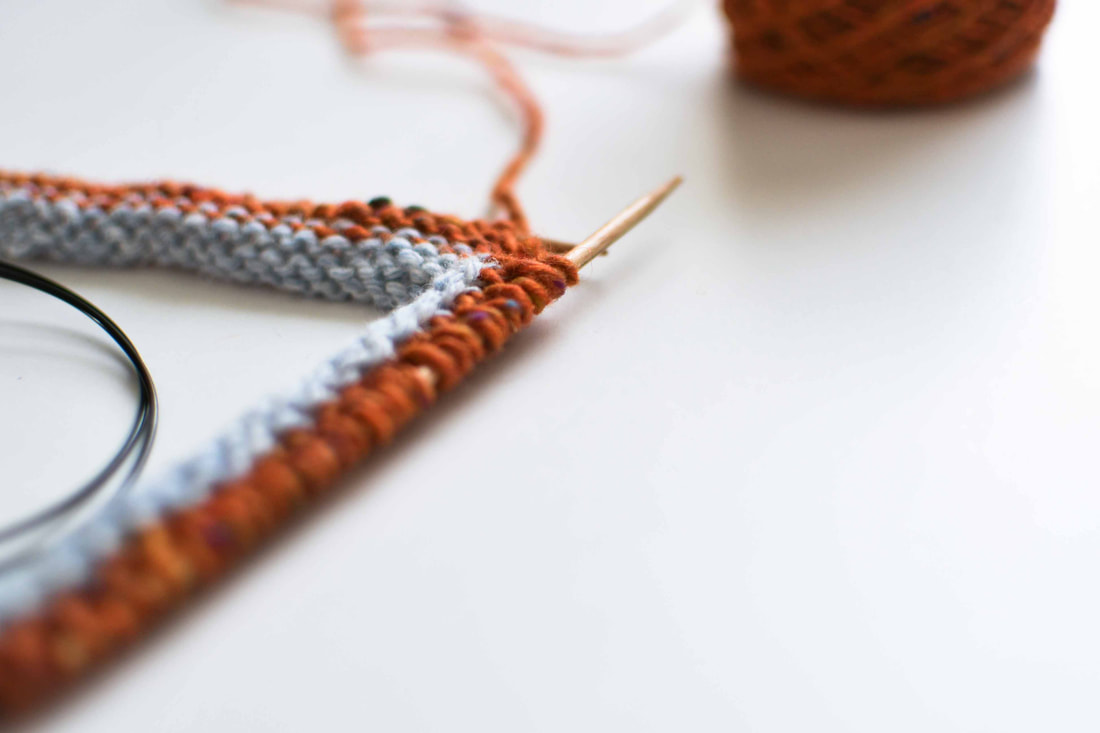
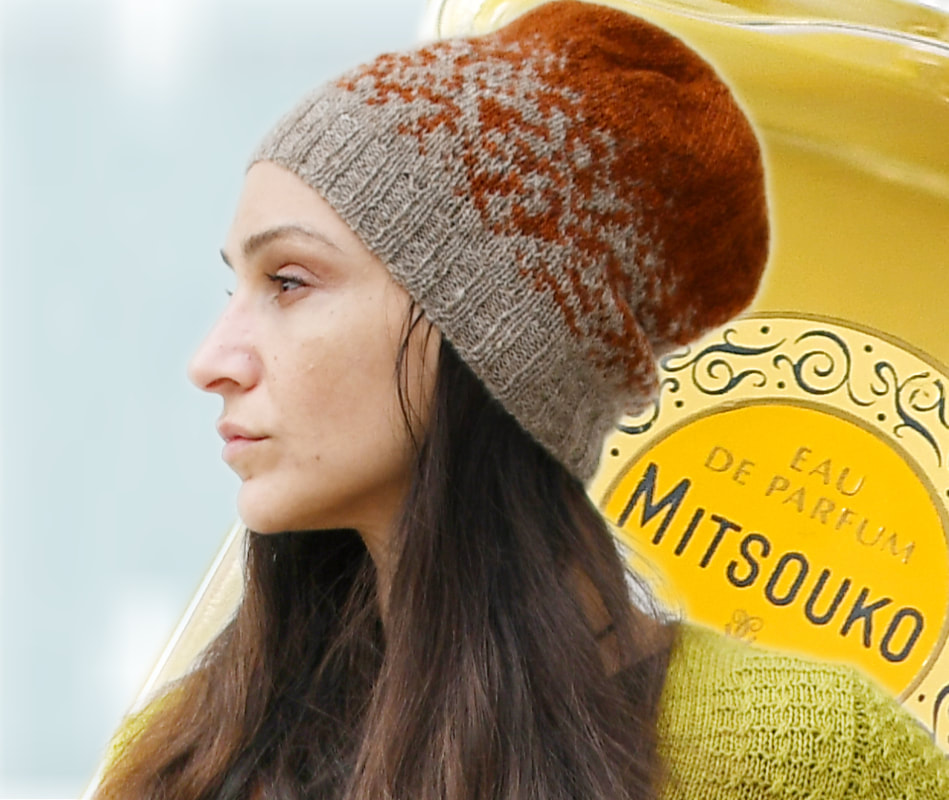
After travelling back from a super fun workshop in Italy, last autumn (where the lovely owner of the Unfilodi Knit-House, Luisa gifted me the perfect tukuwool in the most gorgeous rusty shades), I strolled around in the perfume section of the Malpensa airport and re-discovered an old love of mine: Mitsouko! Guerlain's famous perfume from 1919.
When I got the yarn a couple of hours earlier I knew that it was perfect for a colourwork hat, but I also knew that I wanted to escape the ubiquitous, repetitive and small motifs and explore something a bit more experimental, large-scale and abstract.
Mitsouko pattern by La Maison Rililie Designs
​Now, by looking at the early 20th century perfume bottle, I had my answer:
​I allowed myself to get influenced by the delicate scrollwork pattern from the label design and played with it to create an interesting motif that also provided a gradient of colour, deliberately set up to go from light to dark. I'd like to think that you can still see a bit the influences of Art Deco and Japonesque elements that were the rage when the perfume was launched!


This pattern tries to explore stranded knitting by tackling the subject with a different approach:
Mitsouko wants to explore something a bit more experimental, large-scale and conceptual.
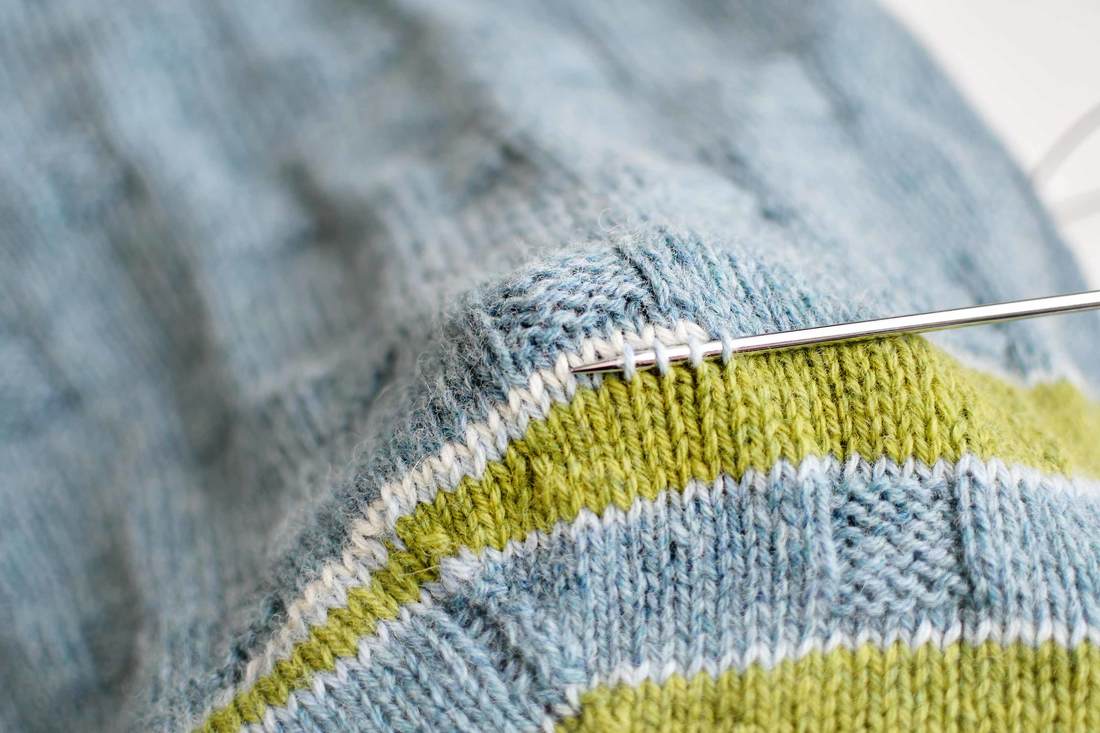
The idea is mostly influenced from abstract large scale paintings in general, while only the specific interpretation is drawn from the famous scrollwork pattern. 
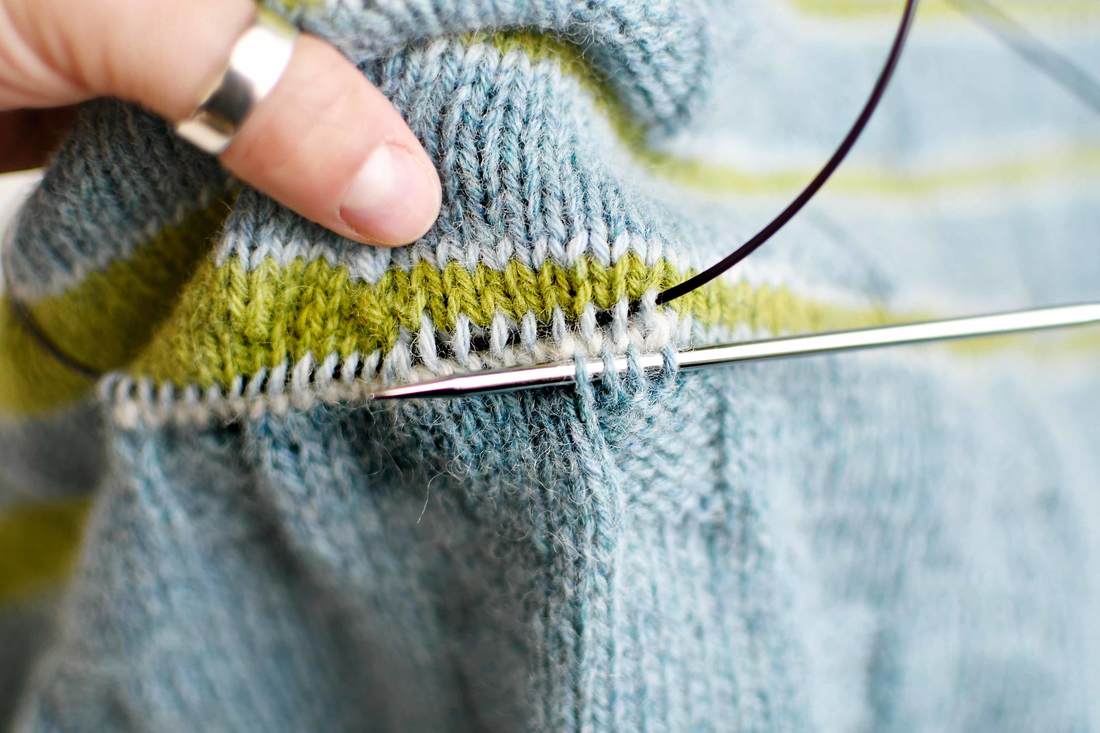
You can knit this Mitsouko pattern as is and I have prepared charts that match three standard sizes to create these colour interactions with your yarn and colours of choice.
But if you’d like to go a bit further and be a bit experimental and unleash the abstract designer or graphic artist inside, I have also provided empty charts in three sizes for you to play with, without having to bother to do all the math or think about construction.

​This could be a design or 
drawing of your very own. You can customise this hat while getting an excuse to doodle… and get to unleash your (inner?) kid!

So how would this work? Well you can choose something you want to make as a pattern. Like me, you can allow yourself to be inspired by any form you find intriguing. You could blow up and digitise a photograph that has interesting colour interactions. You could take up crayons and have some fun. You can blow up a segment of a design you like or even a lace design and transform it into colour-work. You can also give the provided charts to your friend, child or loved one and have them come up with a colour design for a unique custom knit they have put their own creativity into.
And then you can knit their custom-motif up for the perfect gift... a project that came out of your very own creative collaboration.

You can use this as a fun experimental place to try out something new. Take a walk on the design side, or the fashion side and come up with a fresh take on your knit-work for a truly one-off hat nobody else has – this way, you are the master of your project.

...If on the other hand you prefer taking the safe route and also don't like the spirals of the original Mitsouko? Then, well... then Mitsouko's Lover is for you...  
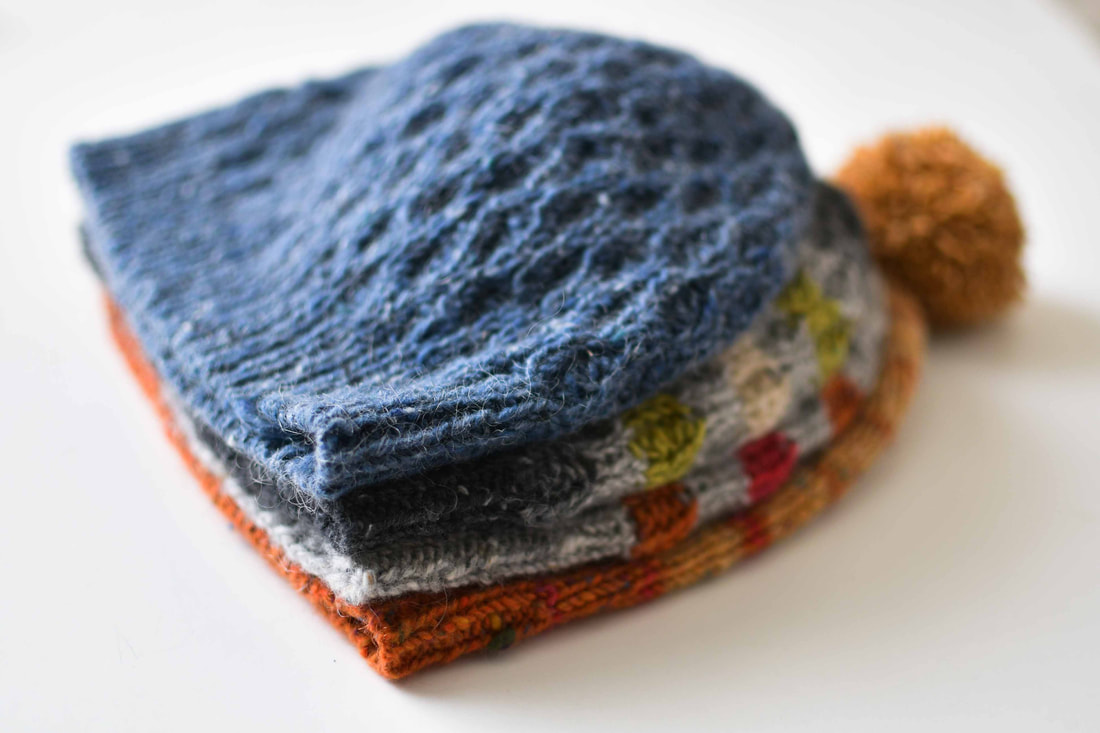
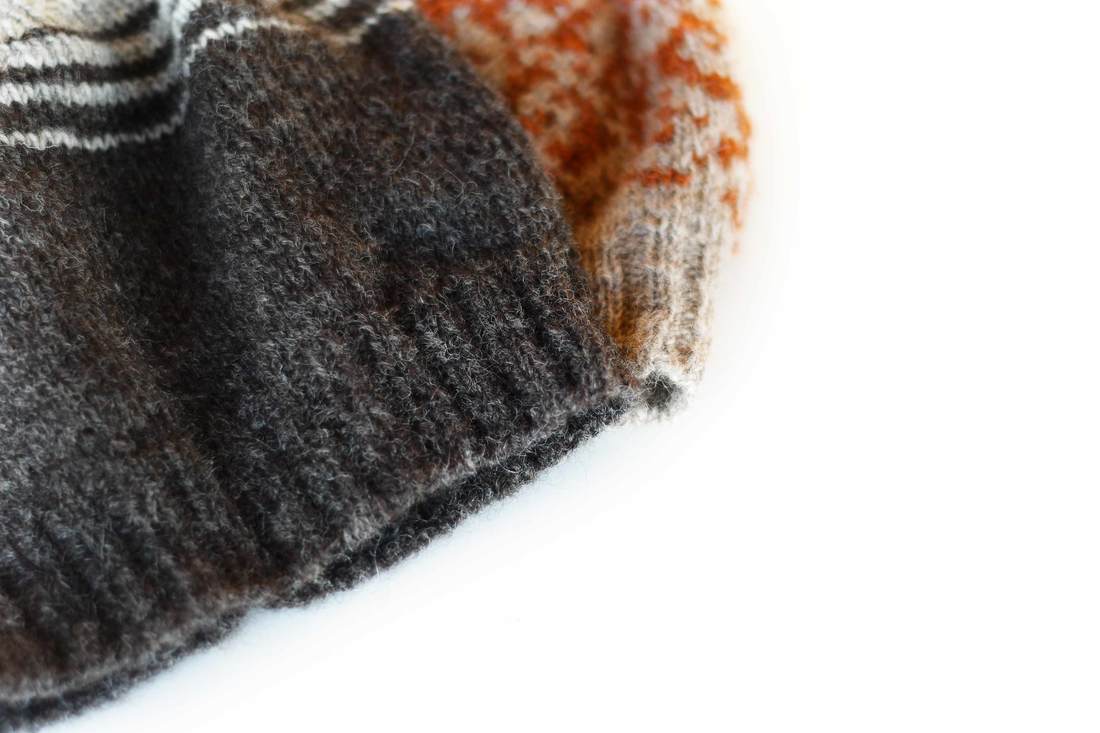
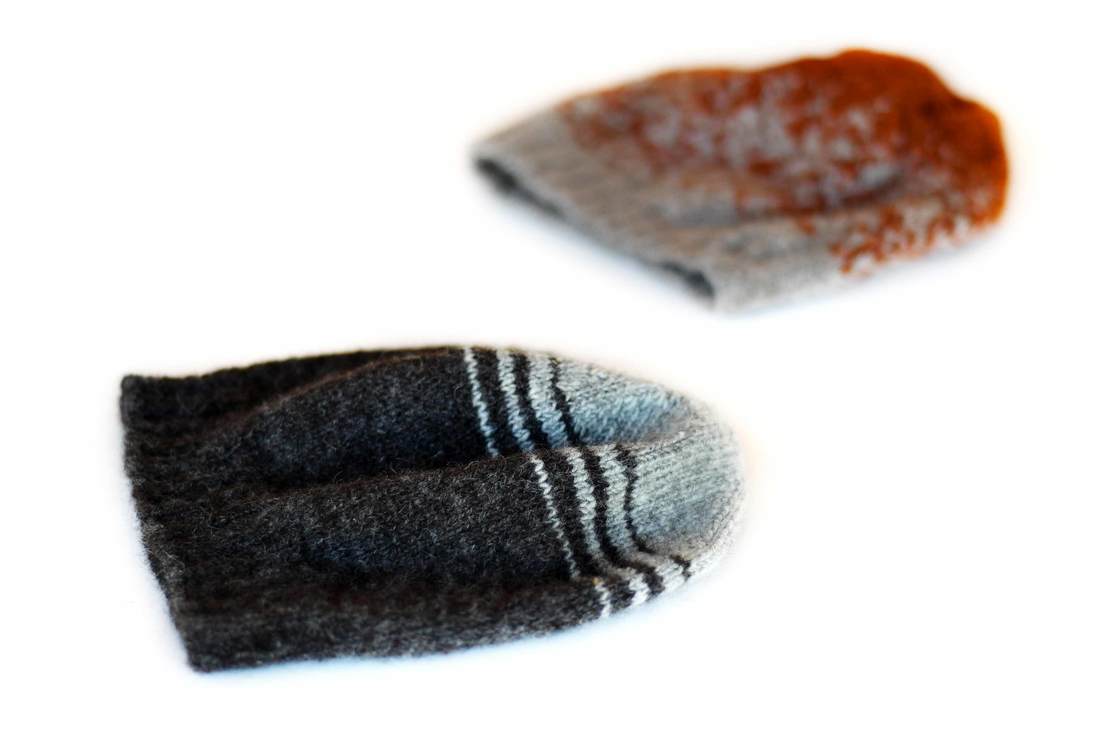
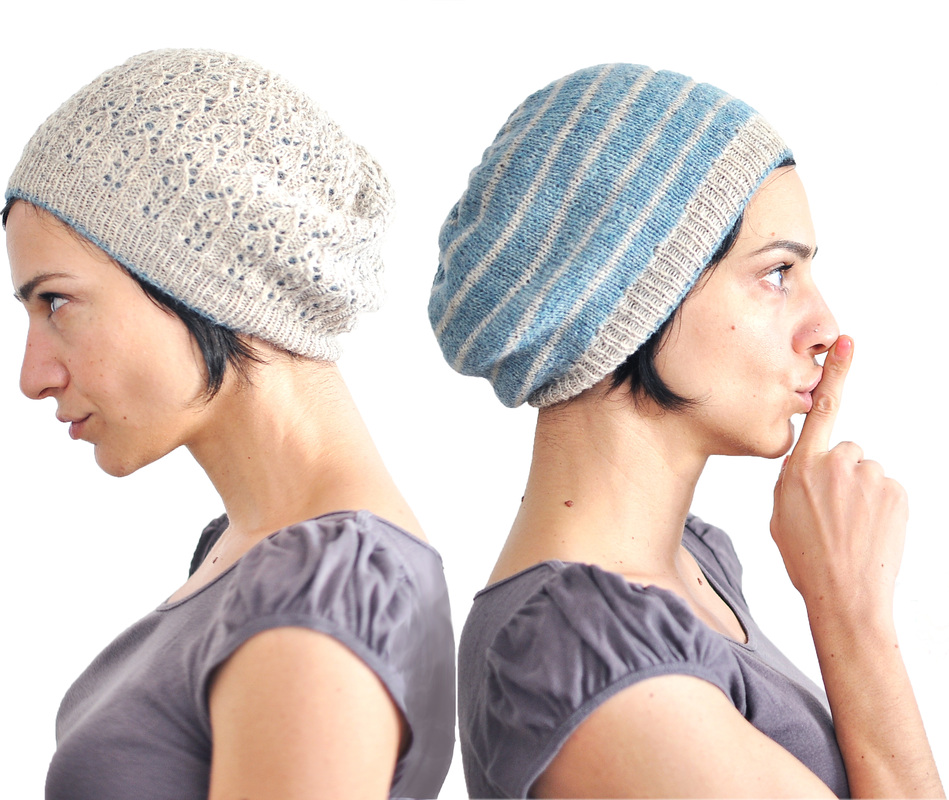
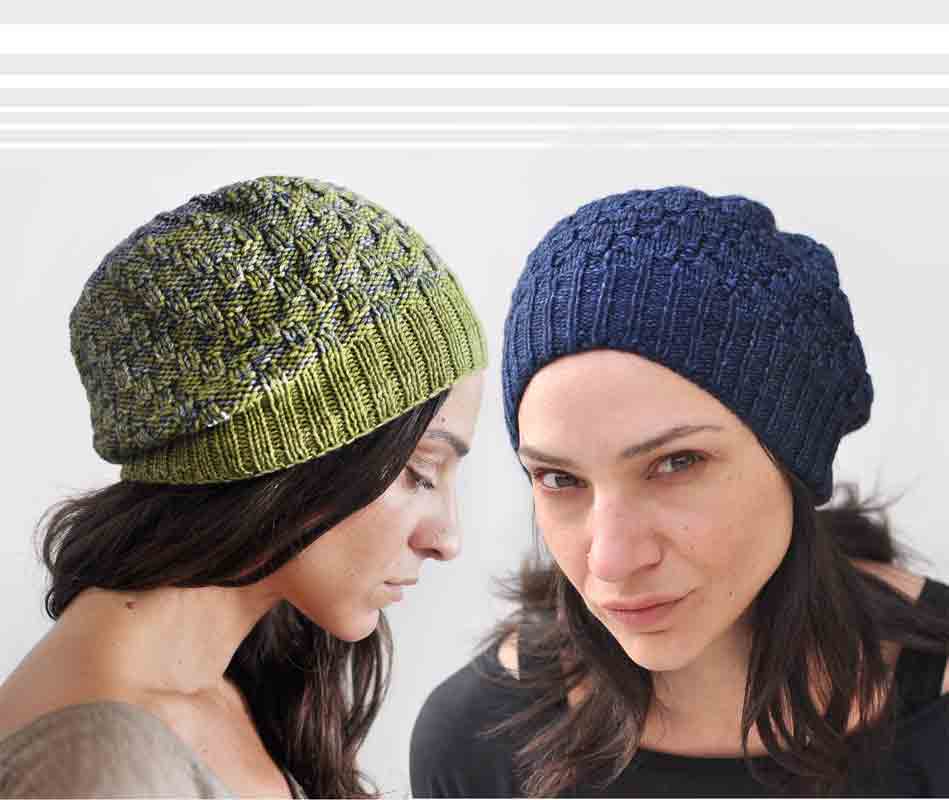
MIstouko + MItsouko's Lover hat pattern by La Maison Rililie Designs
Mitsouko's Lover is the cheeky name of the "minimal and simple" striped version which is probably more unisex and easy to wear than Mitsouko, although this all depends on personal style anyway. For this version I tried the Ovelha Negra Victoria yarn for the first time and it really is an absolute joy to work with!
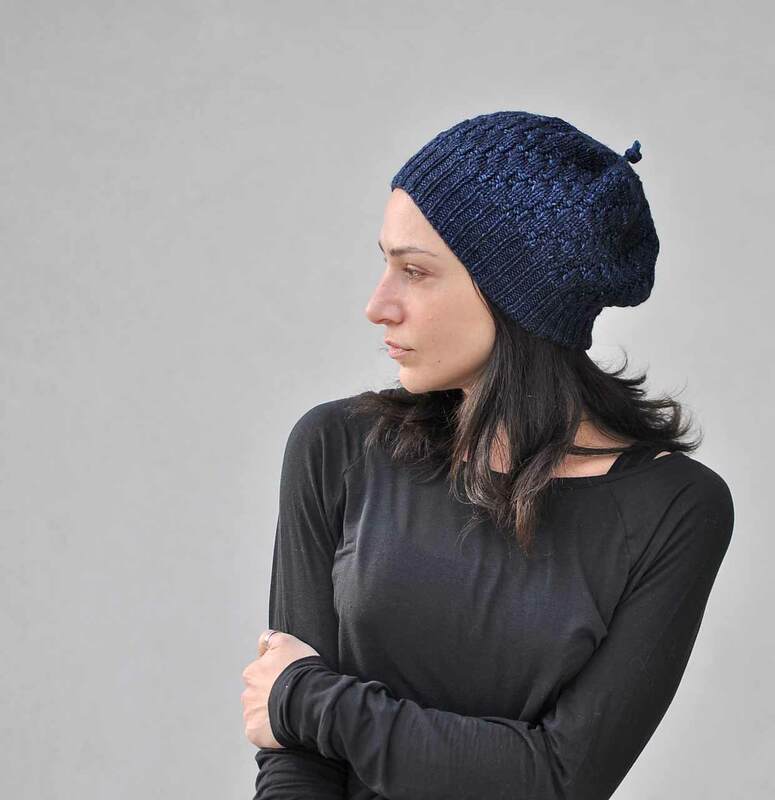
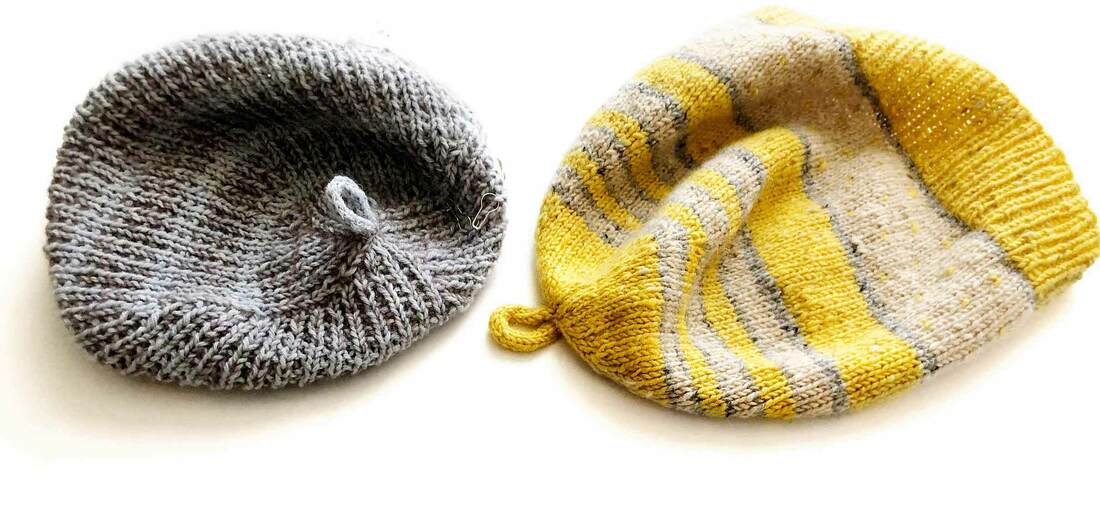
The longer ribbing and slightly larger body of the actual shape of all versions can be worn slouchy or tucked in for a more elegant beanie effect. You get a dense and warm hat, that is still light and easy to wear and to take with you, since it is knitted in fingering weight yarn.

Find the pattern on this site or go to ravelry.
(Until midnight of 23 of January 2018 (CEST), you automatically get a 20% discount)​
Also stay tuned to find out about some news out of Italy.... a surprise collaboration with Unfilodi knit house that will interest all Italian speaking friends and many more...

Check out the KAL:

Since the whole hat pattern is so adjustable and open to personalisation, it is the perfect project to have a fun and interactive KAL together with other colour-drawing-exploring knitters - or to get some help in deciding on how to combine one's own ideas of design, motif and colour - or to just show off different versions from clean-cut minimalism to totally out there, baroque styling!
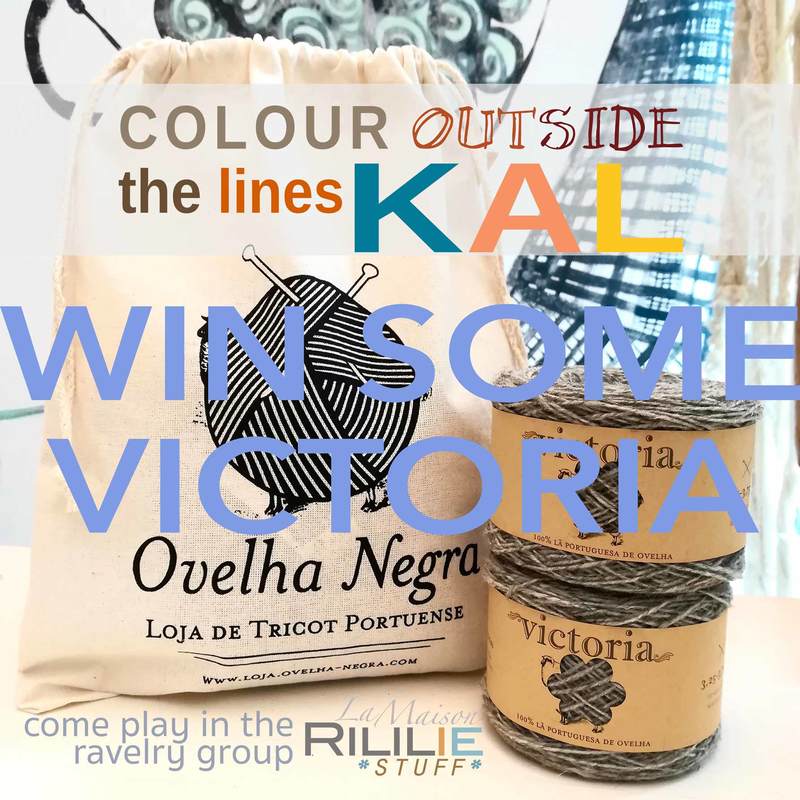
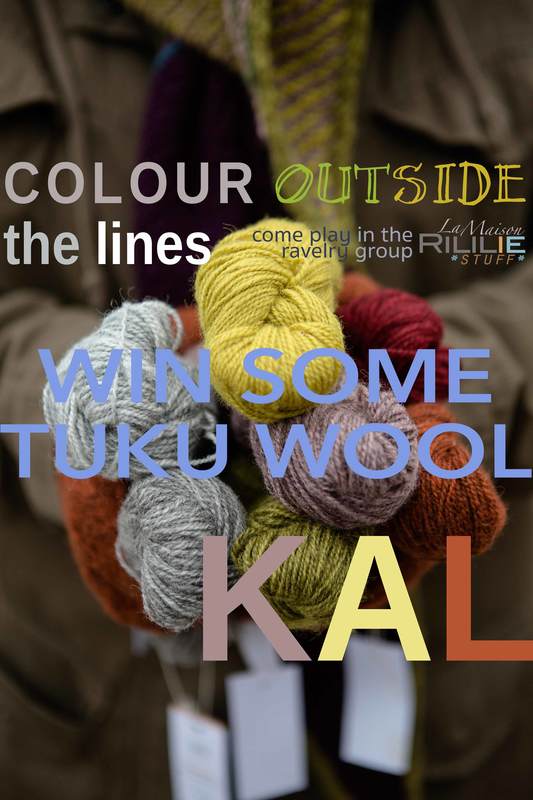
Check out the ColourOutsideTheLines knit-along (or KAL in knitter's terminology) to find out more...
come and play: Rililie's ColourOutsideTheLines KAL
Click on the Banner above to open up the KAL page and participate in this fun game!
OvelhaNegra yarn prize at the ColourOutsideTheLines KAL. picture©Joana Nossa
At the end of the KAL there will be beautiful yarn prizes and project bags to be won and many patterns will be given away, too!
​Thank you so much, Tukuwook and Ovelha Negra!
Tuku Wool yarn prize at the ColourOutsideTheLines KAL. picture©Jonna Hietala

Comments

star(t)s and pinholes

4/1/2018

Comments

 
Star-Toe socks and pinhole CO technique, by La Maison Rililie on knittingtherapy
I know I know...
It seems as if I have been in a sock knitting frenzy lately - but my sock ramblings shall be kept in check for the next year (here you have quite the original New-Year resolution)!
But I really had to post this follow-up article on my latest one,  the free SpiralSock Pattern!

My good friend and tech-editor Kate, actually made a great suggestion after she checked the first version of the pattern ( the one published this Christmas). There was not time to rewrite the pattern back then, but I really wanted you guys to know about Kate's great idea!
(Quick disclaimer:... It seems that her idea is a known adaption to heel-less sock patterns, but we both didn't know about it and re-discovered what others will most probably already know for decades!)
Anyway, since I know that there must be other sock-ignorant people out there like me, who are very entertained by this kind of knitting-technology, I still thought that this follow up post and addition to the pattern itself, might interest some of you.
So, well... Kate's new and improved method was to work a Star-Toe (or also a round toe) with the SpiralSock, so that it can be worn without having to adjust the toe in any way, since there is no need for any adjustment in any direction because there simply isn't any - the star toe is the same on all sides, as is the tube for the heel-less sock!
With this toe, one would be able to keep the heel part of the sock even longer in shape, since it never will be put on in the exact same way and therefore the whole area will be worn out over a longer period of time.
Cool, isn't it?


So I played around with a star-toe with a progressive ratio of increase and even rounds and of course I have updated the sock pdf and now there are both toe variations in there for you to choose!
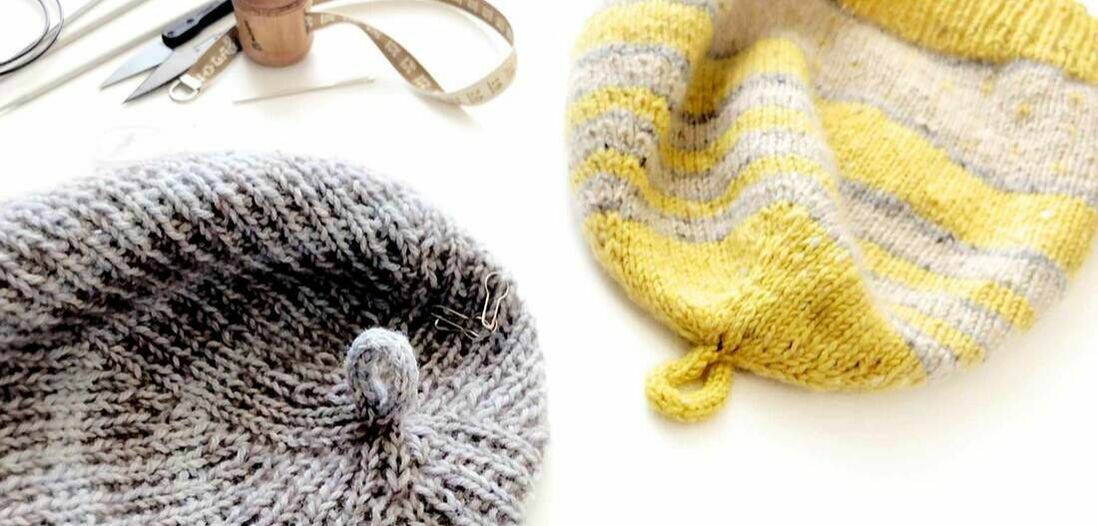
Star-Toe socks and pinhole CO technique, by La Maison Rililie on knittingtherapy
To work this star toe though, we need to cast on our stitches in a circle and there are many ways to work the same circular cast on techniques: One is the crochet technique, which uses (as you have already guessed) the extra tool of a crochet... not a problem in itself, if you can be bothered with looking for it in your messy studio (not that I speak out of experience here....)
Or then there is the excellent "disappearing loop method" by the famous techknitter, whom I consider my biggest teacher and mentor, that also uses knitting needles only and is using a similar technique as for the tubular or invisible cast-on.
 
But I do prefer the one I am showcasing below, since it not only has the advantages that no extra tools are needed (and the messy studio can be sufficiently ignored) - but it also does immediately provide the knitter with two casted on rows. Therefore there is an actual "lower row" stitch to work into right away - a feature, which is especially handy for hidden increases in the very first round after casting on.
(Here I like the hidden increases because they provide a discreet way to work immediate repeat augmentations - on every stitch and/or directly on top of each other on subsequent rounds, as we are doing here to provide a less pointy toe)

Pinhole Cast-On

The main usage for this technique is to mount stitches around a circle (which will later be pulled shut), so as to be able to elegantly start a piece of knitting from the centre outwards - either for round or square shawls, blankets or coasters - or as a start for many other geometrical 3D shapes, like a cone or the bottom of a cylinder or sphere (for toe-up socks, top-down hats, bags or other similar shapes).
Since this technique looks much more complicated in a picture-tutorial than it is in reality, I found that a video is a better way to show how it is done.


To keep things simple, the sts are all cast-on on one DPN and then distributed while working the first increases, for a less fiddly experience.
This is why in the first worked round, the yarn will come from left to right (as is happening when we work an i-cord). But don't worry: It is not going to be at all visible afterwards.

I tried also to showcase, that it is not too important how one is wrapping the yarn around - or if one likes to use a second needle or just fingers to pass the stitch over.
The result will not differ, really. 
​
So do try all methods out and choose what ever feels most comfortable to you!
I hope you'll enjoy it!
Star-Toe socks and pinhole CO technique, by La Maison Rililie on knittingtherapy
On another note: I wonder, do you guys prefer my printable photo-tutorials (which I find are easy to reference later on or to file) or do you like videos better?
Is there one medium you strongly prefer over the other, or does it all depend on the technique itself (like in this case, where the tutorial is easier to understand when actually seeing the movement)?
Please do tell me and I will try my best to adapt to what you guys like most!
oh...
​...and have a wonderful and strong New Year! ✨⭐️

Comments

VANILLA JUST GOT A NEW VARIETY

20/12/2017

Comments

 
FREE No Heel Spiral Sock pattern by La Maison Rililie Designs
Free sock knitting pattern by La Maison Rililie Designs

MEET THE ULTIMATE - SMART - Adaptive Sock!

But before we dive into this new/old sock wonder, allow me to read to you a passage from "Mary Thomas's Knitting Book" , published in 1938.
​On page 230 it says:
HOSE WITHOUT HEELS
"Socks and stockings are often knitted straight and without heels, the foot finding its own heel by adjustment. This stocking can be very uncomfortable at the instep unless knitted correctly, and then it is as comfortable as any other, the best fit being derived in Spiral Ribbing.
A stocking knitted in this manner is adjusted on the foot by twisting it round until the ribbing appears straight. The heel then takes its position with comfort, and the instep is smooth and smart. Bed-socks made in this manner remain in position all night."
So Mary proposes a scientific, traditional method for an automatic-adjustment-sock, constructed like a Helix that adapts to the shape of the ankle, foot and heel and that does not budge at all, if put on correctly...
Mary Thomas's Knitting Book & Free sock knitting pattern by La Maison Rililie Designs
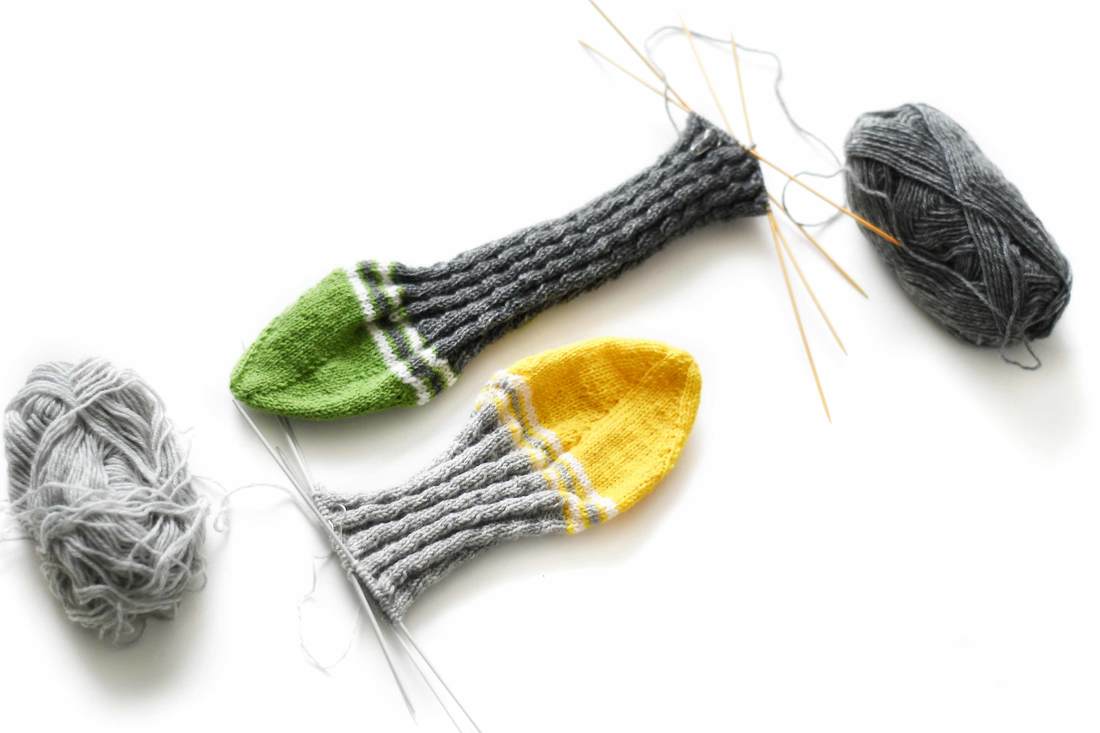
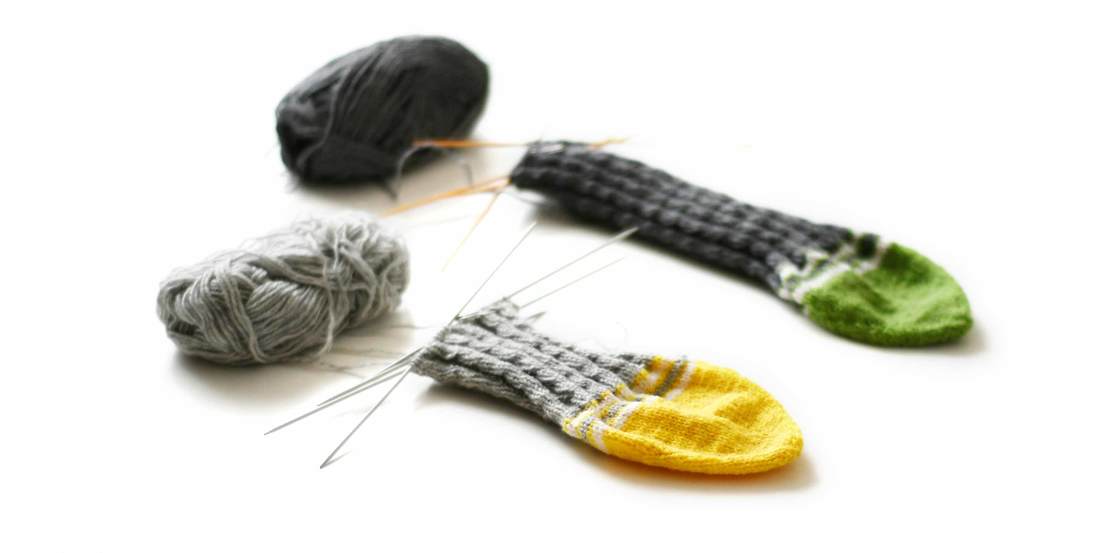
Almost 80 years later our funnily shaped Spiral Sock pattern differs with a contemporary toe-up construction from it's grandpa version and features a fun, striped contrast toe as also a mirrored stitch pattern. It also provides you with all the needed calculation for 6 different sizes. 

​I was immediately smitten with this cool idea and had to try it out to see for myself if it works or not (while adapting it to my favourite toe-up method and play around with colours and the stitch pattern). I loved the result so much, that I had to make my notes on my adaptions available to you guys. 
And since the smart idea was not originally mine, but an old tradition as Mary says herself, I found that it would only be fair to offer my updated version for all my fellow
 beginner / curious or maybe just simply “lazy” sock-knitters out there as a gift for the Holidays!
Free sock knitting pattern by La Maison Rililie Designs
This smart sock needs to be tried out by as many needles as possible, because:
➤ It really is the perfect beginner sock, since there simply is no heel to construct at all!
➤ It can be worked as a perfect gift for a person which cannot try the sock on while it is knitted: There is no heel - so no specific foot length we need to know about, while the stitch pattern makes for a very elastic width, which means that an approximate guess on size might be enough for a perfectly fitting sock! Add to this the fact, that everybody is impressed with magical tricks ...and the scientific background will immediately elevate this sock to "cool gift" level!
➤ The toe-up version allows for us to use up nearly any amount of yarn, by just halving the weight for each sock.
➤ And then, after knitting the toe, we work the same, super easy repetition of a stitch pattern: So this is a wonderful project when mindless knitting is needed: not much can be done wrong in this sock.
➤ The only thing that might need adjustment is the width for a smaller or larger sock (although 6 sizes are already included in the pattern!) - it is very easy to work any adjustment in our toe up construction.
➤ And it is really quite hard to outgrow this sock, even for quickly growing children feet!

Finally and because of all the above features, this project is the perfect introduction to sock knitting for any beginner or even advanced knitter that is afraid of knitting a sock.
Free sock knitting pattern by La Maison Rililie Designs
...but stay tuned for an update on this sock next week! Who knows, it might make the smart sock even smarter….
​... and now the update has been published, too! Read it here, if you like.

Find this pattern for free online-viewing, here on this site, as a gift - from me to you!
​Happy Holidays!
Free sock knitting pattern by La Maison Rililie Designs
​On the right you can find a video I filmed - there you can see exactly how the sock should be put  on to make the twisted helix work it's magic!

Comments

Catching up.... and touching base (+ a givaway and code)

25/11/2017

Comments

 
The last couple of months have been quite busy here and I thought that an update on what is happening on the La Maison Rililie front is overdue!
Picture
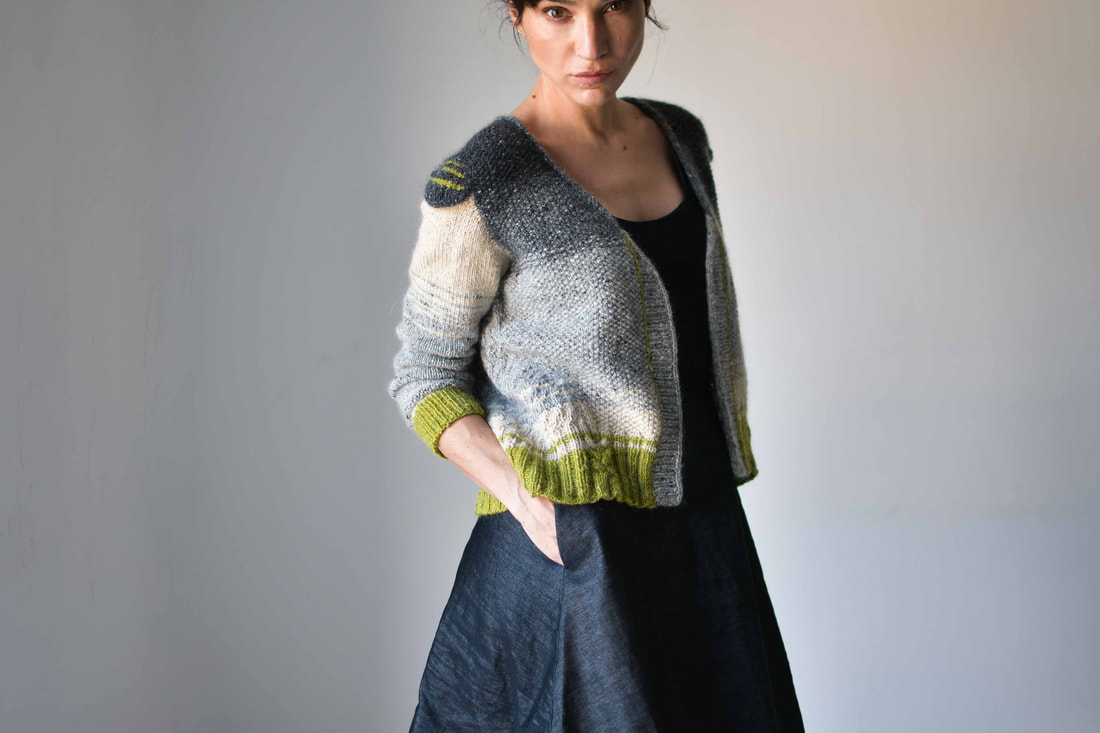
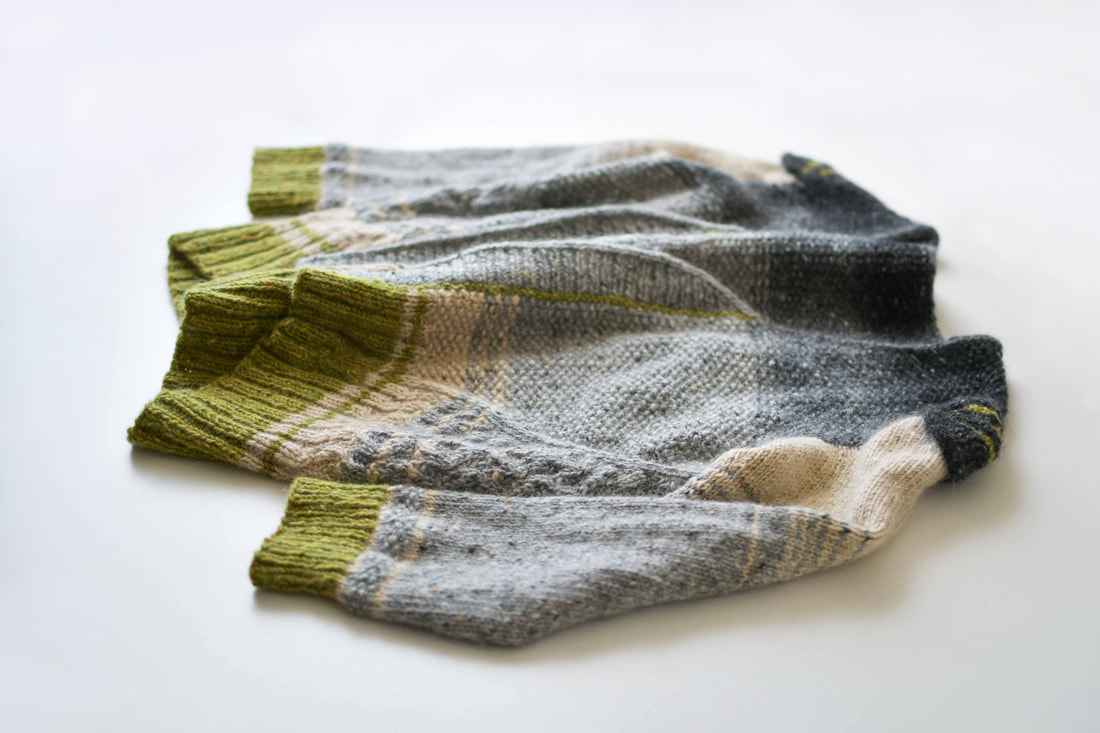
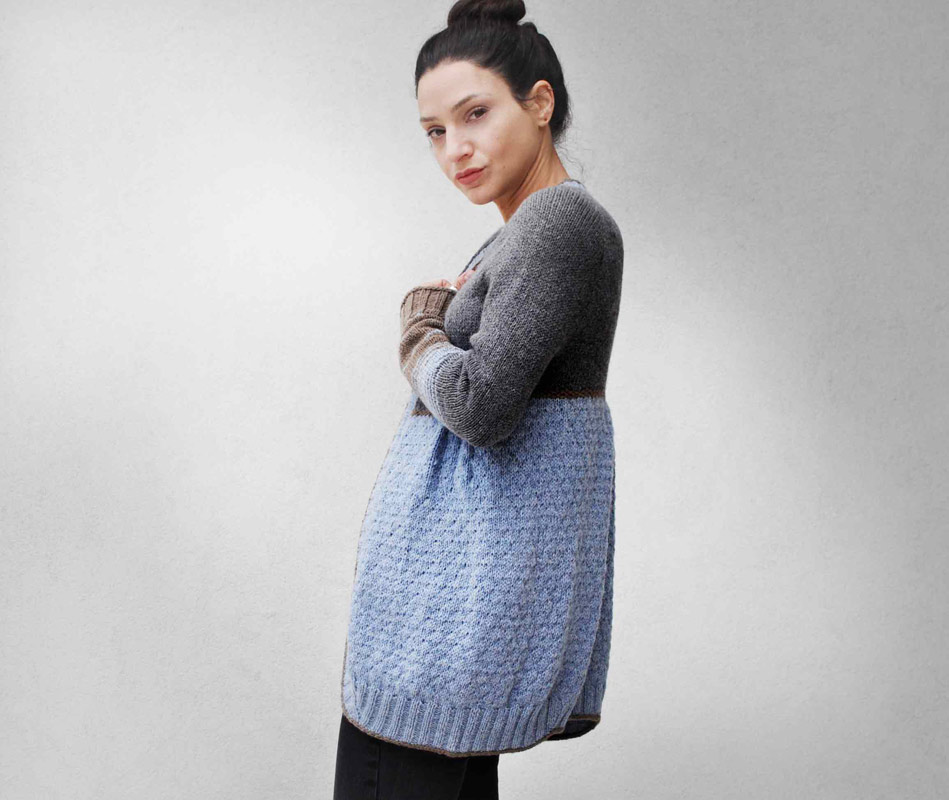
First things first: You might have noticed that my new cardigan pattern (Diane) has been published a fortnight ago!
​If you want to take a closer look, here is the link to my own pattern page on the site + to the ravelry pattern page. There is also a KAL happening on my group, for anybody that is in the mood to work this cardigan together with others in a fun and cozy knit-along.

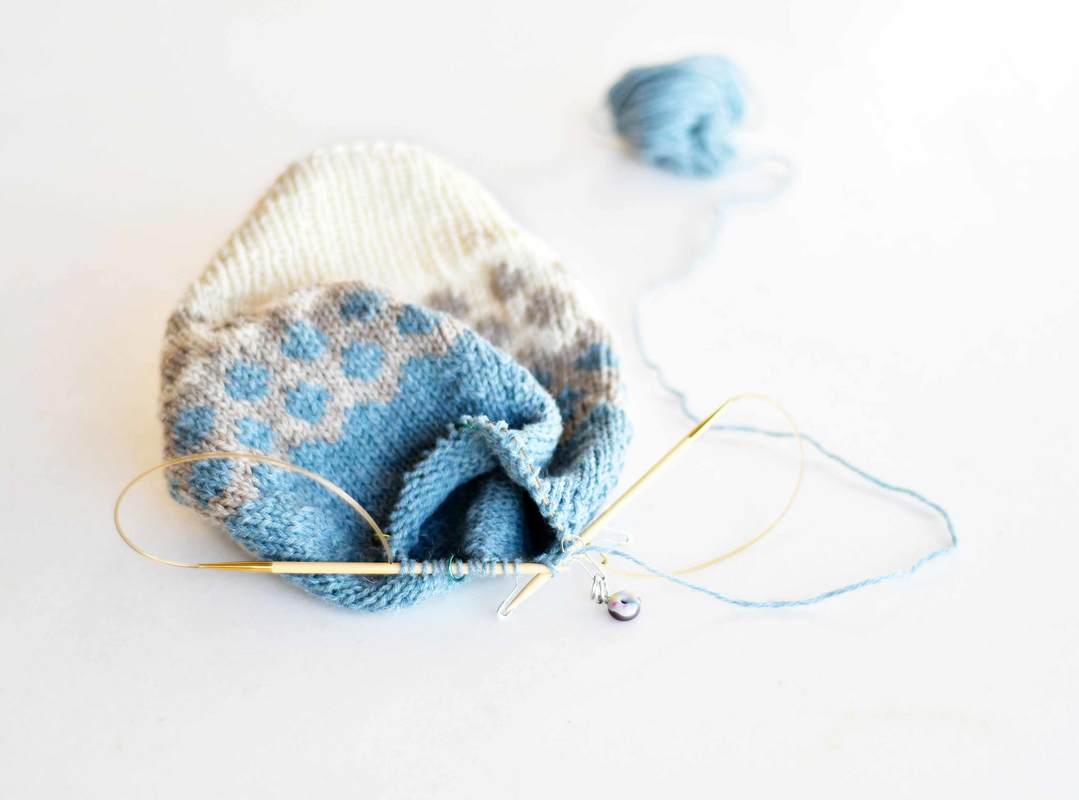
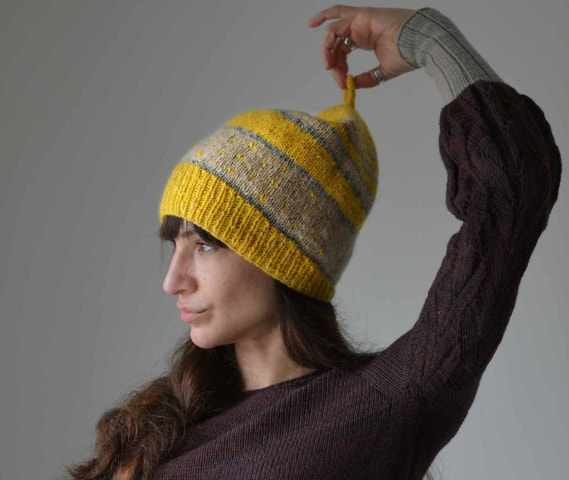
But... In the above picture you might also have noticed the new hat that is in the works... Mitsouko shall be in test phase soon and... she is not as tame as one might think!
There is more to her than meets the eye....
(and yes, this lady definitely likes some mystery!)

Not only that, but Rachel from YarnLoop is having aBlack Friday giveaway for all NoShowSock-Kits (don't miss the chance to win this giveaway until the 27th of November 2017! Just click on the link above.)
And if you missed this opportunity, don't worry... she is providing everybody for the duration of the next 6 months with a generous kit discount coupon code: 
Simply write MAISONCOUTURE15 for 15% off the NoShowSock-Kits at check out when shopping at Yarn Loop.

Oh! I also had the honour to be featured in Rachel's Designer-Spotlight interview, where I talk a bit about my work and myself.
Thank you so much, Rachel for the article!

Let's see, what else? There is a new shawl in the works as also a sock... and some workshop preparations!
And I have to publish so many blog posts that are still in Draft modus - Tutorials, tips and tricks mostly, but also other stuff... it shall all unfold in the upcoming weeks, if all goes well!

The year will end and start with lots of inspiration and creativity - at least this is what we hope!
...here in the La Maison Rililie headquarters!


Comments

The invisible sock

18/8/2017

Comments

 
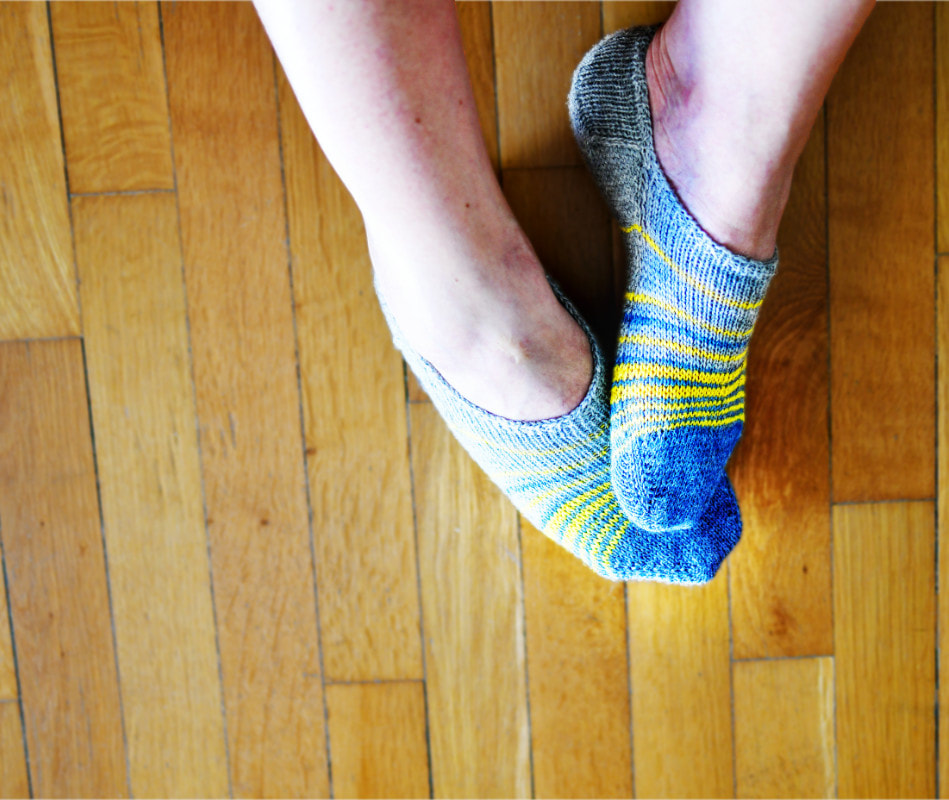
NoShow Socks by La Maison Rililie
... or, otherwise known as the NoShow Socks!
They aren't technically real "socks" though, more something like socklets, or short socks or even a liner sock (as Google just informed me): 
All words to describe this coveted tiny piece of well fitting fabric, which protects your foot from scuffs and keeps you warm - BUT still remains invisible when worn with shoes.
Allow me to describe my though-process and incentives about this pattern in this lengthy post:
I was searching for this perfect but elusive accessory for years!
It must have been right after I learned knitting socks, when I whipped up my first typical run-of-the-mill shorty. I was and remained disappointed while periodically continuing with experiments to knit a sock with a low top section, that not only would hide perfectly in my shoes, but also remain put and make for an elegant and flattering footwear, if I'd needed to take my shoes off while visiting friends. (I don't know about you, but I did find that all those other short socks with the horizontal "cut" across the ankle were not the best option for a long-leg-and-slim-ankle look).
Then I started to notice and love the look most "youngsters" were sporting around me: In midst of the coldest winter, they all seemed to wear sneakers without socks! But my not-so-young feet were revolting against the idea of being rubbed against the lining of my Adidas at sub-zero degrees.
Even at warmer temperatures, blisters had me quickly convinced that I needed to find a way to knit these NoShow Socks, so as to protect my wimpy but fashion-forward feet!
NoShow Socks by La Maison Rililie Designs
Only after many trial socks later, I finally had found a way to produce a low top sock with my favourite kind of heel (a gusseted short-row one). This sock was constructed with a new kind of decrease - especially developed for this pattern, because I didn't like the look of the gusset stitches after turning the heel. I therefore tried to produce sturdy and symmetrical decreases that still had some "plush" feel and style at the gusset-heel edges.
But all of these ideas and new systems, as also the extensive (ab)use of german short-rows in the pattern made me insecure and afraid that people would hate my construction and find it much too cumbersome for such a tiny sock! So I did hold off with publishing it for quite some time and only after getting wonderful feedback from my talented testers I felt brave enough to make this strange little sock pattern public. I was immediately blown away by the amazing response and my fears were completely quelled! I even noticed that many of the other knitters out there shared many of my own quirks and slightly neurotic "preferences" in relation to short socks.... who knew!
NoShow Socks by La Maison Rililie Designs
To make this pattern fun and easy to knit, I had gone through great lengths to showcase all techniques in a comprehensible way:
Many tutorials, some with pictures and others as direct links have been included and are explaining old and new techniques in detail, while there are many tips and tricks scattered throughout the pages.
No recommended yarn was used for this pattern either, although there were many options of beautiful sock yarn for me to choose from!
The reason was simply that I wanted to showcase that this pattern lends itself wonderfully to use up any of the accumulating bits and pieces, that seem to take up our yarn stash. Small lenghts of yarn, which we don't want to through away but still don't know how to use up!.
It's quite easy to use yarn rests of similar weight here: First find the colours you'd like to combine and then just weigh the yarn rests. Work half or less for one sock and you'll have enough for the second sock!
The stripes here are playfully showing off the construction by getting wider and opening up on the longer sole. Of course you don't need to follow the given stripe sequence at all, if you don't feel inclined to do so. There are immense possibilities in colouring and even the smallest amount of yarn can be used up in this super quick project.
This pattern is also a very good training pattern for German Short Rows, since they are used extensively here and even a special increase is included that was developed during my search for the perfect gusset heel: It rarely happens that you might need to work an increase in a double stitch, but here you have one (as a photo tutorial included in the pattern), so that you are equipped, even for very "rare knitter's problems"!
NoShow Socks by La Maison Rililie Designs
Finally the last technique that provides a good fit to this special little sock is the customisable cast off, which securely hugs the backside of the ankle while giving a looser fit at the instep section, which needs to be more elastic.

As you can see from the pictures, I have already knitted up quite a variety of those socks - and I have only worn this kind during all of last winter! Standing next to all the youngsters on snowy pavements, wearing sneakers and even short booties - I too, kept my ankles fashionably naked!

You can find the pattern either on ravelry or here on my site
(on ravelry you can even check out many of the wonderful socks that have been already knitted up by knitters all over the world)
NoShow Socks by La Maison Rililie Designs
I wanted to celebrate my finally posting this pattern here on the blog (and rewarding the readers that have come this far) - so I decided to give away 5 NoShow Sock Patterns: One for each of the first 5 people commenting below... to knit up and enjoy!
I really do think that everybody needs (at least) one pair of these!

Comments

The case about my new case: Della Q

24/4/2017

Comments

 
DellaQ Knitting Needle case review @knittingtherapy blog by La Maison Rililie
In the last weeks I had to reconsider my knitting-needle "organisation": My "system" wasn't working anymore. Circulars were everywhere and although I tried to keep them from tangling up with each other by storing most of them in their original sachets, they were also starting to show their age and tearing up. It was extra hard and quite unpleasant to try to find anything in my big mess of a bag...
My old knitting needle
DellaQ Knitting Needle case review @knittingtherapy blog by La Maison Rililie
My old knitting needle
So here you get the exclusive before + after pictures!
Behold on the left my wonderful striped tote, which I used since the dawn of time to keep (most of) my needles in one place... While on the right please do welcome my new and all professional The Que Grand Circular Needle Case!
It might look like an innocent, elegant silk clutch from the outside, but beware - the inside holds the best tool for all of us slightly neurotic and archive-maniacs knitters out there:
Pockets... Labels,
TABS!
In this organisational wonder you get 21 labelled pockets, plus another 3 plain pockets. 
​
All of them do have a flap and they are about 15cm x 10,5cm big, which makes each pocket large enough to hold about 3 (smaller sized) needles comfortably.
DellaQ Knitting Needle case review @knittingtherapy blog by La Maison Rililie
The labelling helps me to find whatever I need at a glance - that is, almost… since there is no info on length of the cords given in the tabs. On the other hand this would have limited each pocket to only one length and for me at least, it is so much more practical to keep all different lengths of the same needle-size in one space.
Well, I guess that what I will do is to hold up all the same-sized-needles of one pocket, so as to quickly see which is the 60cm, the 80cm and the 100cm length one. That does not sound too bad.
The half sizes stop at 6,5mm, so that there was no pocket provided for my 7,5mm circular (the labelling goes from 1,5mm (000US) to 12mm (17US) by the way). There are even quarter sizes for the smaller needles, which I do not use at all - so I thought that I could put stickers on the existing tabs to personalise the labelling according to my own needs and together with the pockets that do not have labels, I can still find my stuff at one glance and have all of my needles together in one case.
DellaQ Knitting Needle case review @knittingtherapy blog by La Maison Rililie
Thankfully I checked the website again when I was going to write the blog post - because there I read that this case also features a zip pocket, which I didn't see at all! It says on the site that this pocket is here, “just in case you need to store something other than a circular needle.”… What a great addition!
This extra deep and large pocket is very well hidden underneath one complete row of flap-pockets!

So I proceeded and put ALL of my short circulars TOGETHER with their original plastic pouches (that mention size and length) into this zipped pocket and yes, they all fitted in there!
DellaQ Knitting Needle case review @knittingtherapy blog by La Maison Rililie
While the pocket organisation is most practical and welcome, the main star of this case is of course the fabric! When I first saw it, I thought that it is made out of pure silk - but no, the material is called “Poly Silk” and as I found out with a quick google search, Poly Silk is essentially polyester and silk - it is a mix designed to make the silk more durable, easy to wash and wrinkle resistant. So you get the gorgeous look of silk and hopefully the durability and resistance of polyester with this material. 
Sounds good to me (who always walks around with wrinkly clothes, if they aren’t knit-wear… my knits are perfectly blocked, always!!! But everything else, not so much).
It is very soft to the touch and provides a relatively sturdy but extremely lightweight case. Although it is not small (29cm x 18cm x depth: diverse - my overfilled case measured 2cm on one edge and 4 cm on the other), it can look sleek and still hold all of my quite big needle collection.
​A big collection, which makes me want to reevaluate why I had to buy this 15mm needle back then? It takes up almost as much space as half of my other needles… and I never ever have used it anyway!
DellaQ Knitting Needle case review @knittingtherapy blog by La Maison Rililie
But back to the actual case: Especially for all of my travelling around, I love that it isn’t heavy and that it takes up considerably less space than my former storage.
I think that I will still continue to use my cute Cath Kidston case seen here on the left for my straight needles and probably for most of my DPNs, since I really love the combination of the two of them together. I never use my straights anymore though, so I normally don't have to travel with this much heavier case.
The colour I have is called “Seafoam” and it is a wonderful, vibrant, light venetian green. I especially love the different hues the silky fabric provides and I have the impression that it will age gracefully by getting lighter at the edges and make the rich texture of the weave come out even more. On the website there are quite many different colours to choose from, depending on the model and there is also a big choice of different sized needle cases for interchangeables, straights, DPNs or crochet hooks. I also think that I saw some lovely project bags over there, but I tried to ignore them for the time being.... 
But what I love the most, is the fact that these cases aren’t produced by a big international company but by a small business based in Seattle, which seems to be working ethically with the people that produce those handmade bags in Vietnam.
DellaQ Knitting Needle case review @knittingtherapy blog by La Maison Rililie
The tag on my case informed me that “A portion of your purchase trains low-income and rural Vietnamese women in the art of quilting” - How cool is that!

Even if the prices of items produced by these  shops sometimes seem more elevated than equivalent products offered by giant business chains, I still am actively looking out for these “small and true shops” each time I need something.
I really believe, that if we all could support the smaller businesses that still try to show a conscience in today's consumerist jungle, the working conditions in some otherwise exploited places might maybe get a bit more acceptable.
At least I am feeling so much better about any of my own purchases when I try to actively reflect on the type of company I am investing my little money in and when I then choose to wholeheartedly support all of the individual "Ma and Pa" shops out there.
DellaQ Knitting Needle case review @knittingtherapy blog by La Maison Rililie
There is so much more info you can read about the DellaQ shop and the quirky owner Della in her about page (or you can also check her out on instagram). Her blog “The Knitting Bag Chronicles” features also a lovely post that introduces the Vietnamese sewers and the workshop she is working with.

Now I am off to find a different solution for my DPNs, since I guess that my old Cath Kidston straight case (although very cute) will be too cumbersome to take with me when travelling…

For the dimensions, offered colours, price and other info about the cases, check out the DellaQ shop.
My case is this one: The Que Grand Circular Needle Case in the colour seafoam
DellaQ Knitting Needle case review @knittingtherapy blog by La Maison Rililie

Comments

Sock-Operations

30/3/2017

Comments

 
Shortening of a knitted sock: A tutorial on knittingtherapy by rililie
After having gifted a very special hand-knitted item to a beloved receiver, the most dreaded thing for a knitter to hear, is: "Oh... it's so cute, I love it - but I have to admit that I never wear it because it really doesn't fit / is too big / much too long / not really my size...! Well, thanks anyway"
- I had the pleasure to hear something similar after asking my mother if she wears the ShellSock in yellow I gifted her about a year ago. I made her this pair because she liked the ones I did for myself (based onthis free pattern here), but I never saw her wearing the socks, when I visited.
So... after wondering why she didn't tell me sooner and without me asking about them, I immediately started "The Operation ShortSock".
It's nothing groundbreaking in terms of newness or innovation. No, it's simply a cut-and-graft shortening of the sock's foot-tube. But since many knitters seem to be afraid of such "invasive treatments" and since I thankfully remembered to take pictures during "surgery" (a rarity in my case), I thought that I might show you the complete procedure below - step by step - and maybe it will seem less daunting to some! It's the idea of cutting that frightens more than the act itself, believe me.
​
So - first of all we had to do an evaluation-field trip: Mum tried on the sock and we established how much exactly we would need to shorten it, so that it'll fit comfortably.
​Try to keep in mind here that the fabric is elastic and that it will stretch a bit, but avoid to take out too much and make a sock that will be too snug and tight. Just fold over a section, try it out and mark the extent that needs to go.
Shortening of a knitted sock: A tutorial on knittingtherapy by rililie
I measured the extra length starting right after the toe - at the lower foot section, right above the increases: This is the easiest and safest area to take some inches off. Four DPNs where positioned to mark the section that would be taken out: two on the instep and two at the insole of the sock.
To make things easier, I chose to pick up the stitches right after the contrasting white round at the toe and on one knit row of the ShellSock pattern, that would still allow me to have a good looking stitch pattern sequence, after the procedure.
Then I cut into one stitch of said contrast round in white (the first round of the section we intend to remove right above the needle of the toe area) and proceeded to take the whole round out stitch by stitch until the toe was separated completely from the rest of the sock.
You can click on the pictures to see a bigger version of them, if you like.
Shortening of a knitted sock: A tutorial on knittingtherapy by rililie
Then I found the tail of the grey main colour and just unraveled it until I got bored... and grabbed the cute little scissors I have from fringesupplyco to quickly cut all the excess away - without of course hurting any of the stitches already positioned on the needle - or myself - or others... 
Shortening of a knitted sock: A tutorial on knittingtherapy by rililie
After cleaning up the mess I did, I made sure that all the stitches were laying correctly on the needles (sometimes I get them twisted when picking up sts in-midst knitting like that). I also checked that each needle had the exact same amount of sts and that the stitches on the needles facing each other, were perfectly aligned.
Shortening of a knitted sock: A tutorial on knittingtherapy by rililie
Then the fun part began: The actual grafting and re-connecting of the toe to the foot! If you are one of those knitters that fear this step, rest assured that it is not at all hard to do. You just need to take your time and keep an eye on your tension, while following a good tutorial, if you don't already know the grafting mantra "knit, slip, purl... purl, slip, knit" by heart.
Shortening of a knitted sock: A tutorial on knittingtherapy by rililie
​Here on knitty you can find one of my favourite Kitchener Stitch Tutorials by Theresa Vinson Stenersen!
Shortening of a knitted sock: A tutorial on knittingtherapy by rililie
I also tried to tweak the tension with an extra DPN when I was half-way through and again at the very end, because I am a little neurotic about those things... you don't need to do the same, if you are happy with the look of your grafted stitches.
If you do want to try your hand at my grafting-perfectionism-neurosis, my simple but time-consuming tip would just be the following: Work the grafting more on the loose side and after having completed some sts, tighten them up to the perfect tension by getting into the right leg of each stitch and pulling it out, ever so slightly. 
Then try pulling it's left leg (ha!) and continue to the next stitch, until the extra length of the looser stitches has been eliminated and the new stitches look exactly like their old friends. Just work slowly and carefully to achieve good results.
Shortening of a knitted sock: A tutorial on knittingtherapy by rililie
After neatly hiding all tails and such, the old-new shortened sock was ready to be worn for the first time and it successfully had been saved from a dark and boring life in the sock-drawer!
Both me and my favourite knit-recipient were quite glad about it...
You are welcome, mum! 
Do tell me if you have found a different system to make changes to the size of a sock, after having finished it - I am always very interested in new ways to craft stuff and to see what others prefer doing.

Or just leave me a comment anyway!
I am always super happy to hear from you...
On this note I need to admit, that I was stupid enough to accidently delete ALL of the comments I had on this blog some months ago, when I changed to the Disqus system. It still pains me when I remember that I seem to have lost them all!!!
Shortening of a knitted sock: A tutorial on knittingtherapy by rililie

Comments

CHROACHYM AND MENTIS: Musings on Art and Fibre

19/2/2017

Comments

 
On an incredibly hot day this past June, I strolled around the former industrial district in Athens and stumbled upon a rare gem: A happy marriage between Art and Fiber.
It was the very last day of an exhibition called Chroachym by Chrysanthi Koumianaki, as I read on the front door of the old Mentis factory - so I walked inside.
Mentis Museum Athens, Knittingtherapy Blog - Rililie©2017
Chrysanthi Koumianaki, a greek artist, collaborated and got inspired by a small scale brocade factory called Mentis in Athens - which today houses the Centre for the preservation of traditional textile techniques of the prestigious Museum Benaki in Greece.
Catalogue of exhibition Chrysanthi Koumianaki in Mentis Museum Athens, Knittingtherapy Blog - Rililie©2017
In the small booklet that served the role of a little catalogue one can read: 
“The artist entered into the microcosm of the factory: dense with sounds, colours and textures. She observed the internal landscape of the small industrial space; she watched, listened and noted and with every notation, every repetition a shift occurred. The machines’ language became movement, as dancers became carriers of her linguistic game, from code to code. The game is selective and it is personal; as personal as the story of Mentis itself and their legendary brocade business from its heyday to now.”
Mentis Museum Athens, Knittingtherapy Blog - Rililie©2017
The brocade factory opened in 1867 to dress King Otto, the first King of Greece’s shortlived Monarchy. Later the factory's production expanded as a silk factory and it became one of Greece’s most famous producer of passementarie - the embellisments that decorated courtains of couture houses, traditional costumes, theater production and even army wear for over half a century. Today it survives as a reference to a by-gone era, less as a necessary production line but as a symbolic gesture, a cultural and historic heritage site.

Wonderful tassels, cords and edgings fill up the space everywhere and can be admired in midst all the industrial beauty of the old machines and tools. And there, right between the busy silk heaps, there are Koumianaki's delicate floating pieces of work: Intertwined, as if they always were a part of the setting. Listening with feminine attentiveness and speaking to us about the factory in a poetic and soft voice. Her work asks us to see the factory’s particularities - to see and to hear them anew, as they truly are - and that IS Art in my opinion. It makes people think and feel and challenge and decide and observe.
Making us more "human", I guess - and I love this feeling, even if I encounter it seldom!
Thank you Chrysanthi for this experience.

Since most of my own pictures are from the factory/museum itself, you can see more of the actual exhibition here, on Chrysanthi's site.
Mentis Museum Athens, Knittingtherapy Blog - Rililie©2017
Just as a general side note: I have to mention here that I don’t take the word “Art” lightly and that I myself have never applied it, when referring to knitting, spinning or weaving. I also have to admit that I am always cringing when I read or hear this new linguistic construction called a “Fibre Artist”…
But I digress... this is quite a huge subject and we can discuss it in the comments or in another moment, if you wish.


Anyway, ranting or musing aside… in this very specific instance there was something happening that truly resonated with me and that for the first time gave the words “Fiber Artist” a meaning that rang true - even in my personal strict, narrow and very specific view of fibre and art!
Catalogue page of exhibition Chrysanthi Koumianaki in Mentis Museum Athens, Knittingtherapy Blog - Rililie©2017
Video installation Chrysanthi Koumianaki in Mentis Museum Athens, Knittingtherapy Blog - Rililie©2017
Catalogue page of exhibition Chrysanthi Koumianaki in Mentis Museum Athens, Knittingtherapy Blog - Rililie©2017

Comments

Birthday SALE

12/10/2016

Comments

 
Birthday Sale Rililie (13-14.10.2016)
Yeah... one year has passed since the last Birthday-Sale here in Rililie-Universe... (which also means that I am one year older now, but let's not focus on that)!

Only for today and tomorrow you can get all of my patterns at a 20% discount.
Just put anything you fancy to the shopping cart (either on this site or on ravelry) and the deduction will be automatically applied during check-out.

But be mindful of the time: The sale ends on October the 14th 2016 at midnight CEST (Here on the time.is site you can immediately check the current time for Central Europe)

Enjoy your new patterns, while I'll enjoy my cake (minus the candles, ha ha)!!

Comments

GILDA

28/9/2016

Comments

 
Gilda... The film Rita Hayworth was most famous for.
The 1946 Hollywood drama with this one immortal scene: Featuring a dancing and singing, alluring Gilda and one looong glove!
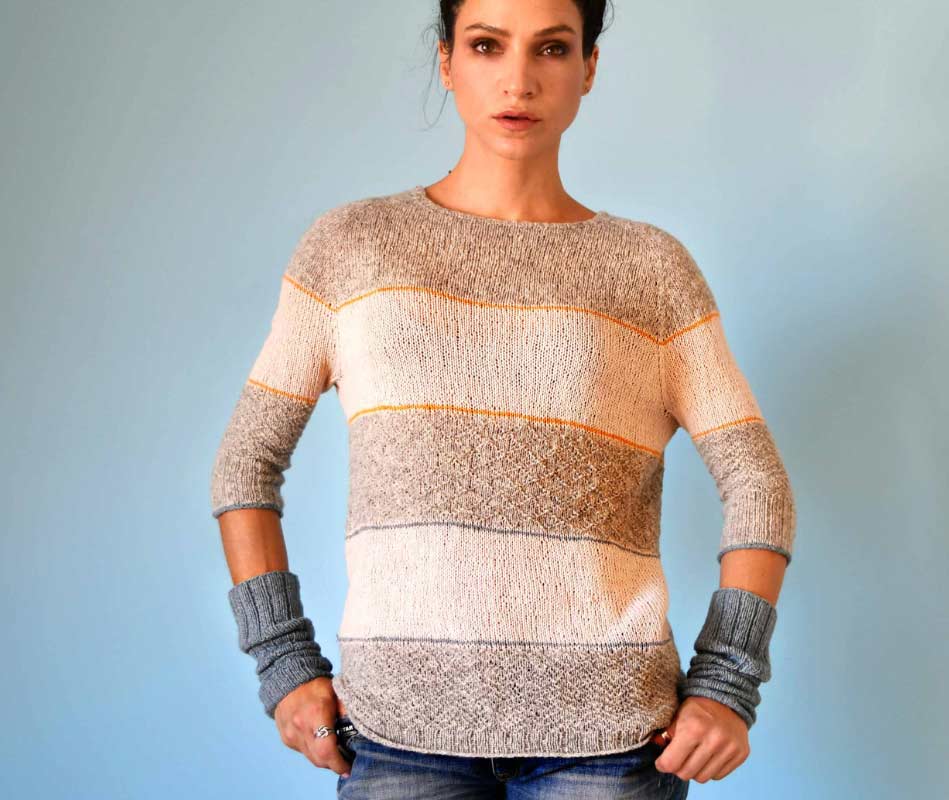
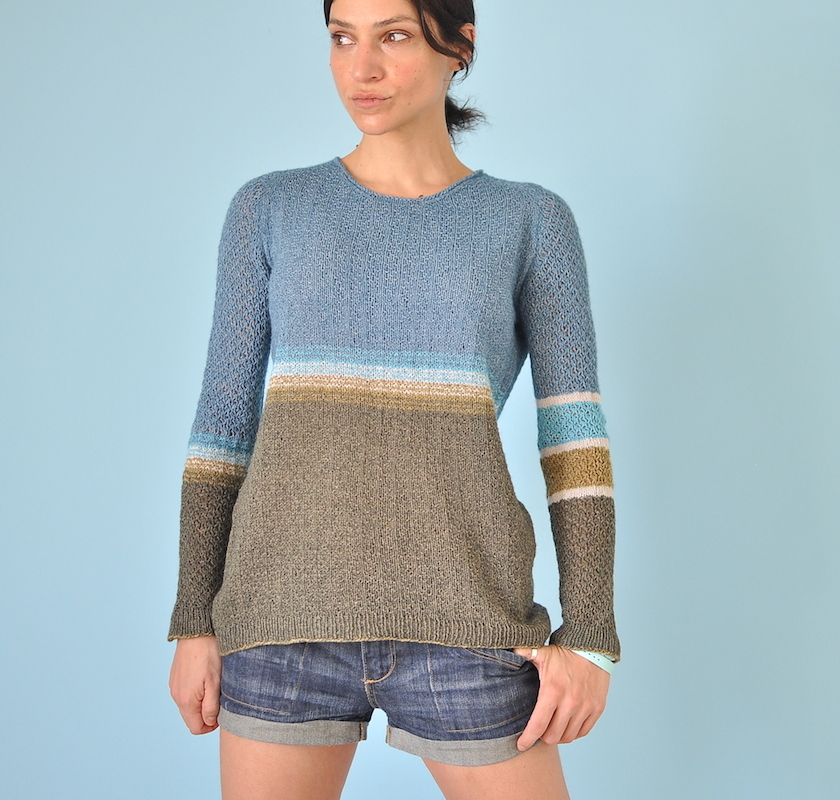
Gilda Pullover + Armwarmers by La Maison Rililie Designs
Now my take on Gilda has not much in common with the sleek and provocative, red-haired pin-up Rita... But it features long fingerless gloves too, and I would love to think that it would be Rita's choice for a Gilda-esque casual and chill out day in autumn or winter...
... the dancing and singing is optional, of course!
Gilda Pullover + Armwarmers by La Maison Rililie Designs
Apart from the gauntlets or arm-warmers, that were designed as some kind of an extension to the ¾ sleeves of this garment (for days when we just need more warmth, up to the very end of our hand) - this pullover offers a casual and cozy fit with fine, delicate texture in the form of similar stitch patterns.
The diamond and the chevron stitch are quite easy to memorise and held in small scale, so that they don't weigh the quality of the fine fabric down too much.
Finally the extra large stripes give the whole design a more youthful and modern take, while tiny accent stripe allow for a fun play with colour.

To further enhance the striping of this design, different material has been chosen, so as to have a slightly mat fabric for the patterned stripes and a smoother one for the Stockinette sections. Both yarns are of light fingering weight and very affordable, while offering a vast choice of colours and extremely good quality: Mabel & Ivy Supersoft and Mabel & Ivy Coast yarn.
The producer of the Mabel&Ivy label, Tangled Yarn, are offering kits for this pattern, which include all the yarn you’ll need to knit your sweater (with the option to purchase the needed amount of yarn - with or without arm-warmers - to complete the look)!
The GILDA Kits are available on the tangled-yarn site for a limited time: Until October 20th 2016.
I hope that you like Gilda, even if this one isn't even remotely related to her famous and sensual namesake, the "love goddess" of the 40's!
​
You can find the downloadable pattern PDF for the pullover + arm-warmers either here on the La Maison Rililie site or on ravelry.
Gilda Armwarmers by La Maison Rililie Designs
Gilda Pullover + Armwarmers by La Maison Rililie Designs

Comments
<<Previous

    show cart


    Rililie

    This is a blog about knitting stuff - patterns and the like (the therapeutic part will come after diving into the needles... promise!)


    affiliate links:

    Craftsy Class: Spinning Art Yarns

    Categories

    All
    Chatter
    Fingerless
    Fo
    Free
    Game
    Giveaway
    Hat
    Imported From Old Blog
    Indy Yarn
    La Maison Rililie Designs
    Me
    News
    Pattern
    Polo&CO
    Print
    Shop
    Socks
    Technique
    Tools
    Toy
    Tricks
    Tutorial
    Workshop
    Yarn
    Yarn Kits


    Archives

    January 2018
    December 2017
    November 2017
    August 2017
    April 2017
    March 2017
    February 2017
    October 2016
    September 2016
    February 2016
    October 2015
    September 2015
    August 2015
    May 2015
    April 2015
    March 2015
    February 2015
    December 2014
    November 2014
    October 2014
    September 2014
    August 2014
    July 2014
    June 2014
    May 2014
    April 2014
    March 2014
    February 2014
    January 2014
    December 2013
    November 2013
    October 2013
    September 2013


    RSS Feed
    Follow on Bloglovin

    affiliate links:

    Craftsy

    Patterns:

    Funky Grandpa Cardigan by La Maison Rililie
    Funky Grandpa Cardigan
    Dessine-Moi un Mouton by La Maison Rililie
    Dessine-Moi un Mouton Pullover
    BeauB Cardigan, by La Maison Rililie Designs
    BeauB Cardigan
    VulcanSpy Hat by La Maison Rililie
    Vulcan Spy Hat
    Diane Cardigan by La Maison Rililie Designs
    Diane
    GILDA pullover + armwarmers by La Maison Rililie
    GILDA jumper + gauntlets
    SpliTTop by La Maison Rililie
    SpliTTop
    LeScarabéeBleu Cardigan by La Maison Rililie Designs
    Le Scarabée Bleu
    Orza Pullover by La Maison Rililie
    Orza Pullover
    Mrs.Jekyll & Little Hyde by La Maison Rililie
    Mrs.Jekyll & Little Hyde reversible hat
    Moroccan Nights by La Maison Rililie
    Moroccan Nights Pullover
    NoShow Socks by La Maison Rililie
    NoShow Sock
    Reverse&Shift Hat by La Maison Rililie
    Reverse&Shift Hat
    Mitsouko+Mitsouko's Lover, a customizable hat pattern by La Maison Rililie Designs
    Mitsouko+Mitsouko's Lover
    Casazul Hat by La Maison Rililie
    Casazul Hat
    Granemones Shawl by La Maison Rililie
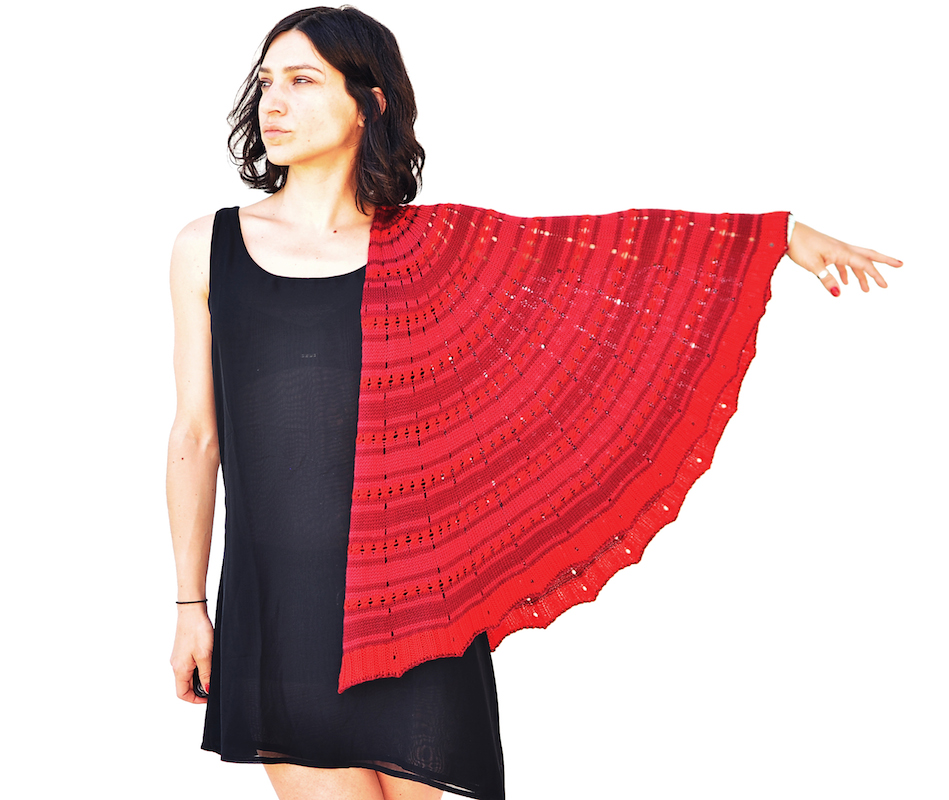
    Granemones Shawl
    Green Memories by La Maison Rililie
    Green Memories Hat & Armwarmers
    MissBrummell Cowl, by La Maison Rililie Designs
    MissBrummell
    MarlOn Pattern by La Maison Rililie Designs
    MarlOn Cardigan
    DrawingStraws Pullover by La Maison Rililie Designs
    Drawing Straws
    RhombingAround by La Maison Rililie Designs
    Rhombing Around
    Spring Lines by La Maison Rililie
    Spring Lines Pullover
    NoFa Shawl by La Maison Rililie
    NoFa Shawl
    BlueSand Cardigan by La Maison Rililie
    BlueSand Cardigan
    Cocktail(Dress) by La Maison Rililie
    Cocktail(Dress)
    Cocktail(Jumper) by La Maison Rililie
    Cocktail(Jumper)
    Shaken, Not Stirred e-book by La Maison Rililie
    E-BOOK: Shaken, Not Stirred! (Collection of Cocktail Dress+Jumper)
    InBetween Bolero Pattern by La Maison Rililie
    InBetween Bolero
    Quadrifurcus by La Maison Rililie
    Quadrifurcus Hat
    CineCittà Top by La Maison Rililie Designs
    CineCitta Top

    RSS Feed Widget
    I'm on ravelry

    ravelry button
    ravelry button

All text and pictures on every page of this site is protected by copyright.
La Maison Rililie © 2013-2018
knittingtherapy blog, La Maison Rililie Designs
✕