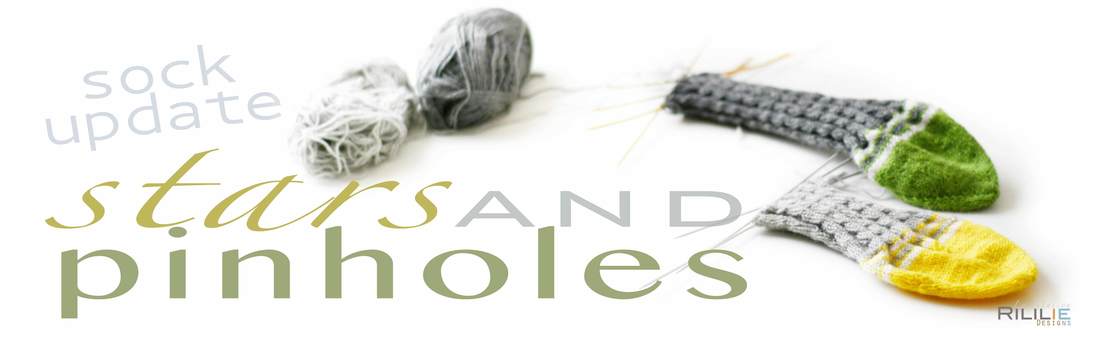
I know I know...
It seems as if I have been in a sock knitting frenzy lately - but my sock ramblings shall be kept in check for the next year (here you have quite the original New-Year resolution)!
It seems as if I have been in a sock knitting frenzy lately - but my sock ramblings shall be kept in check for the next year (here you have quite the original New-Year resolution)!
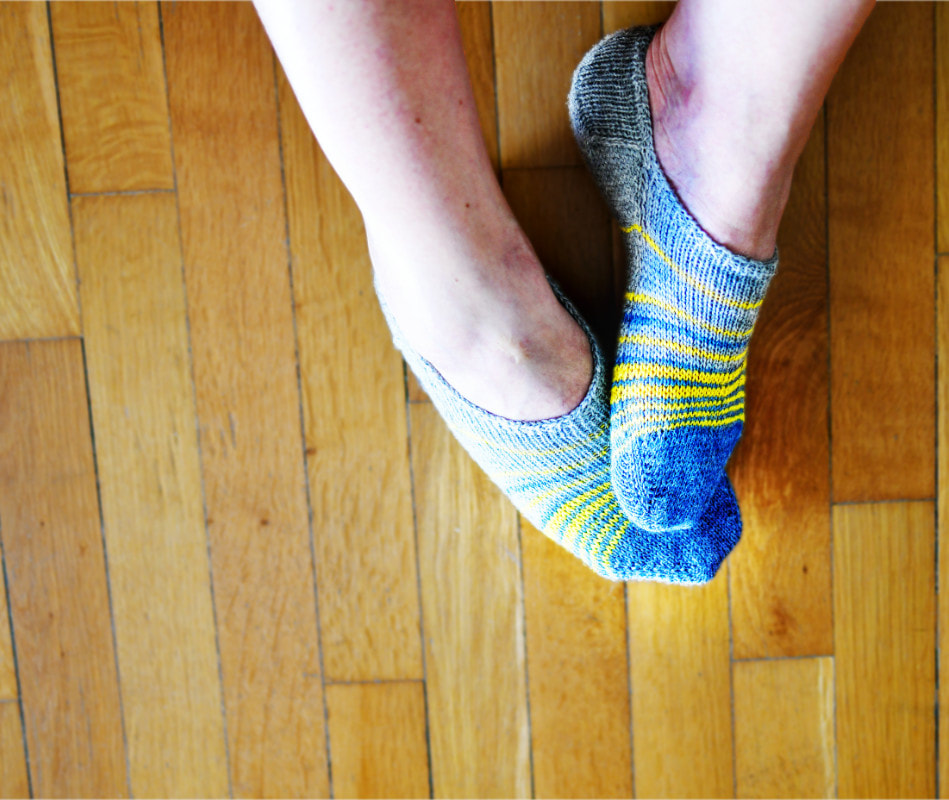
But I really had to post this follow-up article on my latest one, the free SpiralSock Pattern!
My good friend and tech-editor Kate, actually made a great suggestion after she checked the first version of the pattern ( the one published this Christmas). There was not time to rewrite the pattern back then, but I really wanted you guys to know about Kate's great idea!
My good friend and tech-editor Kate, actually made a great suggestion after she checked the first version of the pattern ( the one published this Christmas). There was not time to rewrite the pattern back then, but I really wanted you guys to know about Kate's great idea!
(Quick disclaimer:... It seems that her idea is a known adaption to heel-less sock patterns, but we both didn't know about it and re-discovered what others will most probably already know for decades!)
Anyway, since I know that there must be other sock-ignorant people out there like me, who are very entertained by this kind of knitting-technology, I still thought that this follow up post and addition to the pattern itself, might interest some of you.
Anyway, since I know that there must be other sock-ignorant people out there like me, who are very entertained by this kind of knitting-technology, I still thought that this follow up post and addition to the pattern itself, might interest some of you.
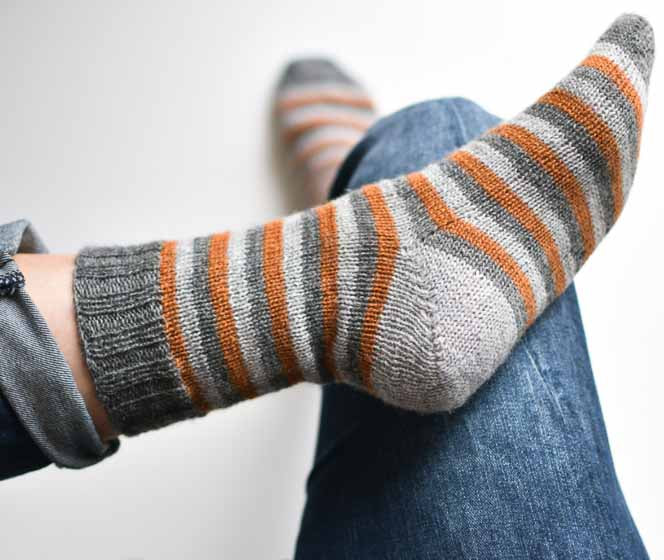
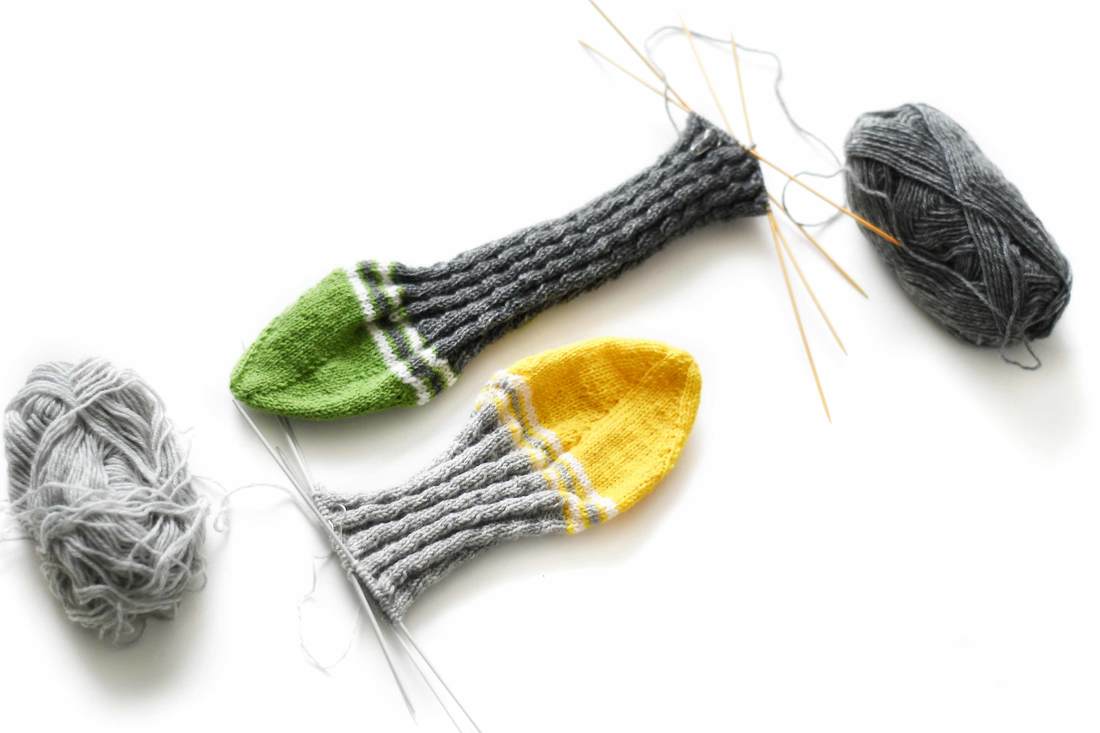
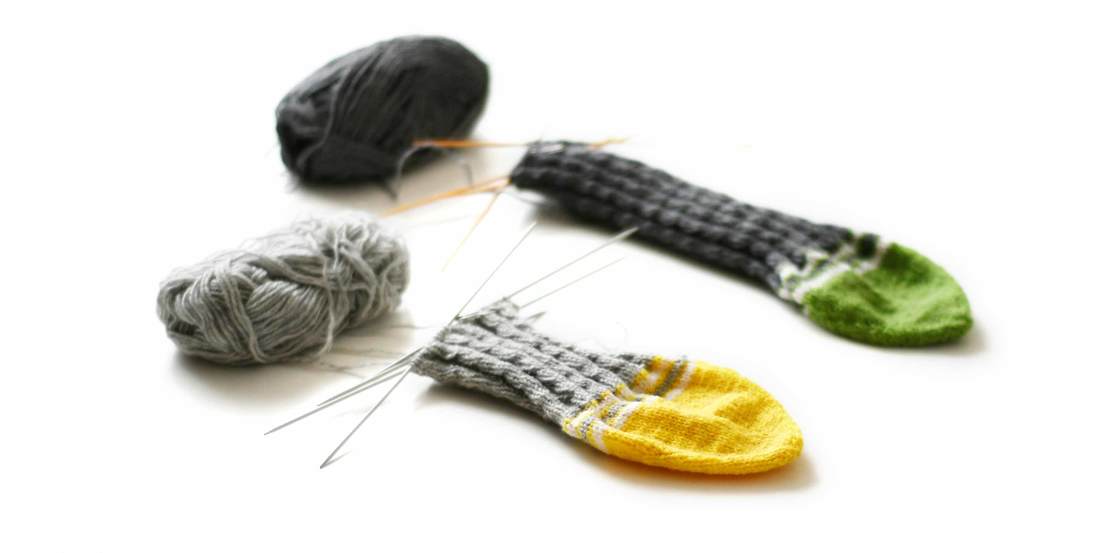
So, well... Kate's new and improved method was to work a Star-Toe (or also a round toe) with the SpiralSock, so that it can be worn without having to adjust the toe in any way, since there is no need for any adjustment in any direction because there simply isn't any - the star toe is the same on all sides, as is the tube for the heel-less sock!
With this toe, one would be able to keep the heel part of the sock even longer in shape, since it never will be put on in the exact same way and therefore the whole area will be worn out over a longer period of time.
Cool, isn't it?
So I played around with a star-toe with a progressive ratio of increase and even rounds and of course I have updated the sock pdf and now there are both toe variations in there for you to choose!
To work this star toe though, we need to cast on our stitches in a circle and there are many ways to work the same circular cast on techniques: One is the crochet technique, which uses (as you have already guessed) the extra tool of a crochet... not a problem in itself, if you can be bothered with looking for it in your messy studio (not that I speak out of experience here....)
Or then there is the excellent "disappearing loop method" by the famous techknitter, whom I consider my biggest teacher and mentor, that also uses knitting needles only and is using a similar technique as for the tubular or invisible cast-on.
But I do prefer the one I am showcasing below, since it not only has the advantages that no extra tools are needed (and the messy studio can be sufficiently ignored) - but it also does immediately provide the knitter with two casted on rows. Therefore there is an actual "lower row" stitch to work into right away - a feature, which is especially handy for hidden increases in the very first round after casting on.
(Here I like the hidden increases because they provide a discreet way to work immediate repeat augmentations - on every stitch and/or directly on top of each other on subsequent rounds, as we are doing here to provide a less pointy toe)
Pinhole Cast-On
The main usage for this technique is to mount stitches around a circle (which will later be pulled shut), so as to be able to elegantly start a piece of knitting from the centre outwards - either for round or square shawls, blankets or coasters - or as a start for many other geometrical 3D shapes, like a cone or the bottom of a cylinder or sphere (for toe-up socks, top-down hats, bags or other similar shapes).
Since this technique looks much more complicated in a picture-tutorial than it is in reality, I found that a video is a better way to show how it is done. To keep things simple, the sts are all cast-on on one DPN and then distributed while working the first increases, for a less fiddly experience. This is why in the first worked round, the yarn will come from left to right (as is happening when we work an i-cord). But don't worry: It is not going to be at all visible afterwards. I tried also to showcase, that it is not too important how one is wrapping the yarn around - or if one likes to use a second needle or just fingers to pass the stitch over. The result will not differ, really. So do try all methods out and choose what ever feels most comfortable to you! |
I hope you'll enjoy it!
|
On another note: I wonder, do you guys prefer my printable photo-tutorials (which I find are easy to reference later on or to file) or do you like videos better?
Is there one medium you strongly prefer over the other, or does it all depend on the technique itself (like in this case, where the tutorial is easier to understand when actually seeing the movement)?
Please do tell me and I will try my best to adapt to what you guys like most!
oh...
...and have a wonderful and strong New Year! ✨⭐️


 RSS Feed