
After having gifted a very special hand-knitted item to a beloved receiver, the most dreaded thing for a knitter to hear, is: "Oh... it's so cute, I love it - but I have to admit that I never wear it because it really doesn't fit / is too big / much too long / not really my size...! Well, thanks anyway"
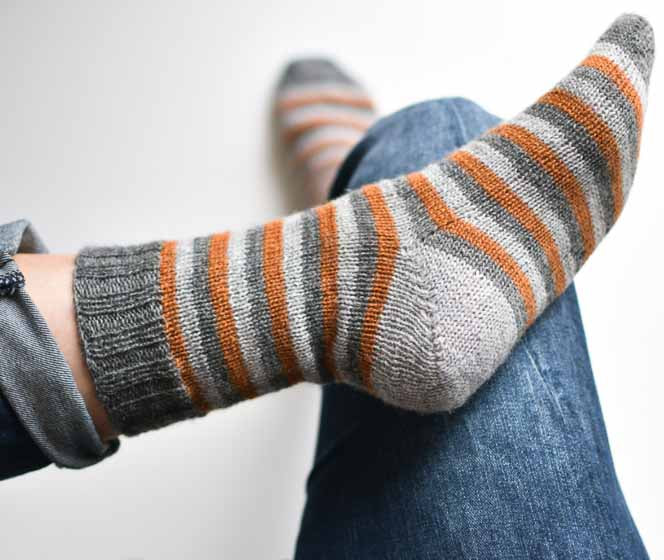
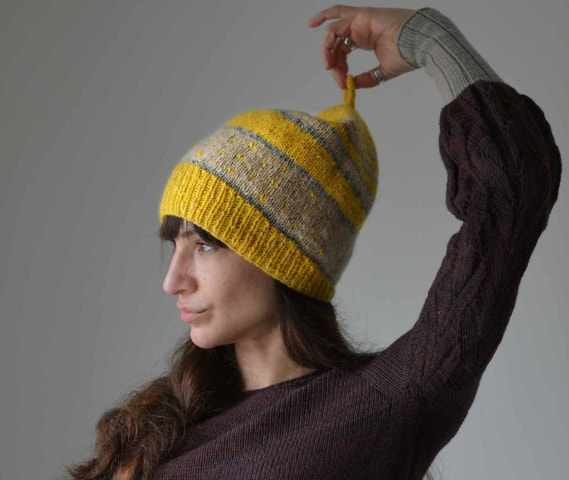
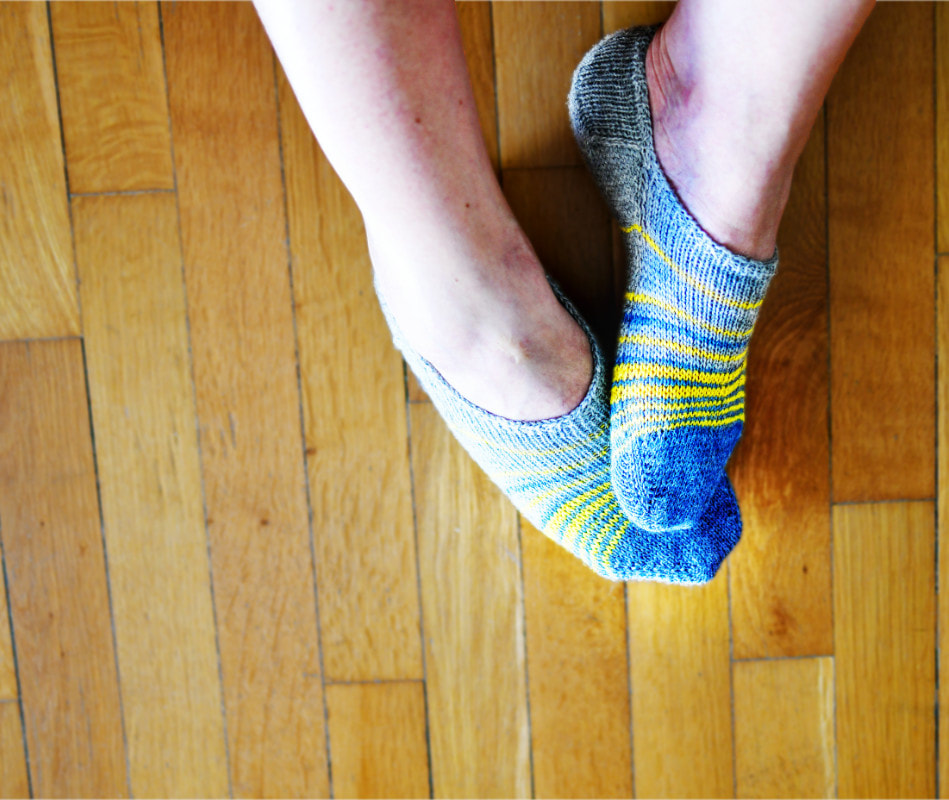
- I had the pleasure to hear something similar after asking my mother if she wears the ShellSock in yellow I gifted her about a year ago. I made her this pair because she liked the ones I did for myself (based onthis free pattern here), but I never saw her wearing the socks, when I visited.
So... after wondering why she didn't tell me sooner and without me asking about them, I immediately started "The Operation ShortSock".
It's nothing groundbreaking in terms of newness or innovation. No, it's simply a cut-and-graft shortening of the sock's foot-tube. But since many knitters seem to be afraid of such "invasive treatments" and since I thankfully remembered to take pictures during "surgery" (a rarity in my case), I thought that I might show you the complete procedure below - step by step - and maybe it will seem less daunting to some! It's the idea of cutting that frightens more than the act itself, believe me.
So - first of all we had to do an evaluation-field trip: Mum tried on the sock and we established how much exactly we would need to shorten it, so that it'll fit comfortably.
Try to keep in mind here that the fabric is elastic and that it will stretch a bit, but avoid to take out too much and make a sock that will be too snug and tight. Just fold over a section, try it out and mark the extent that needs to go.
|
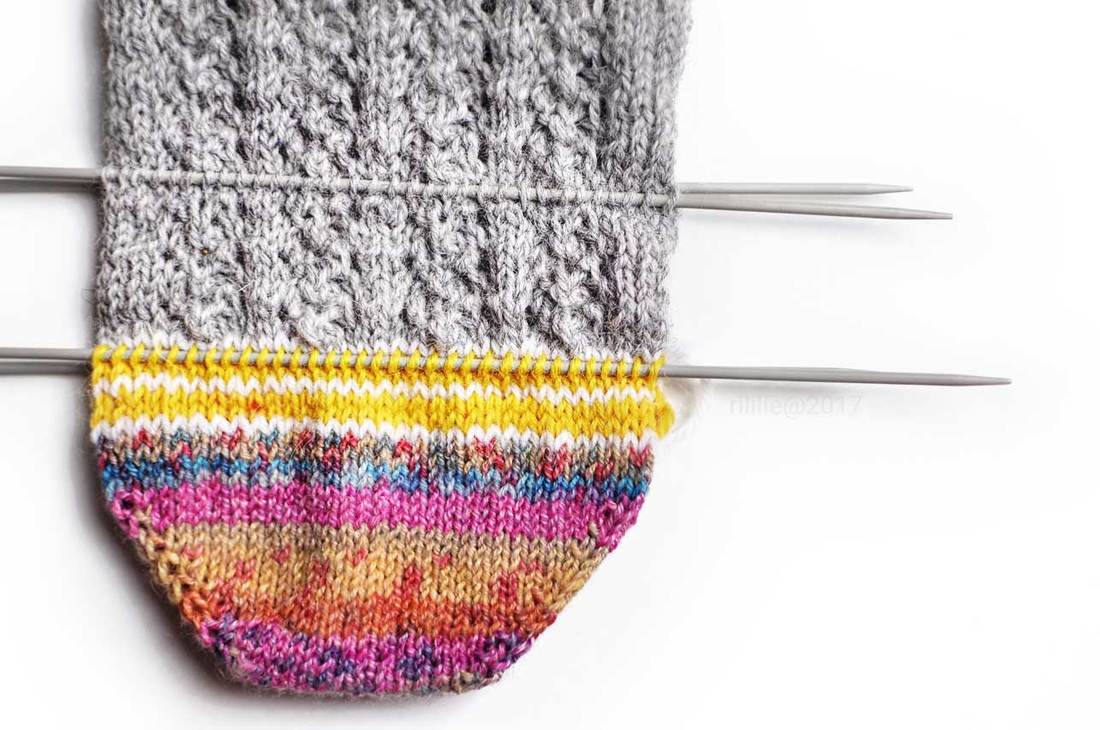
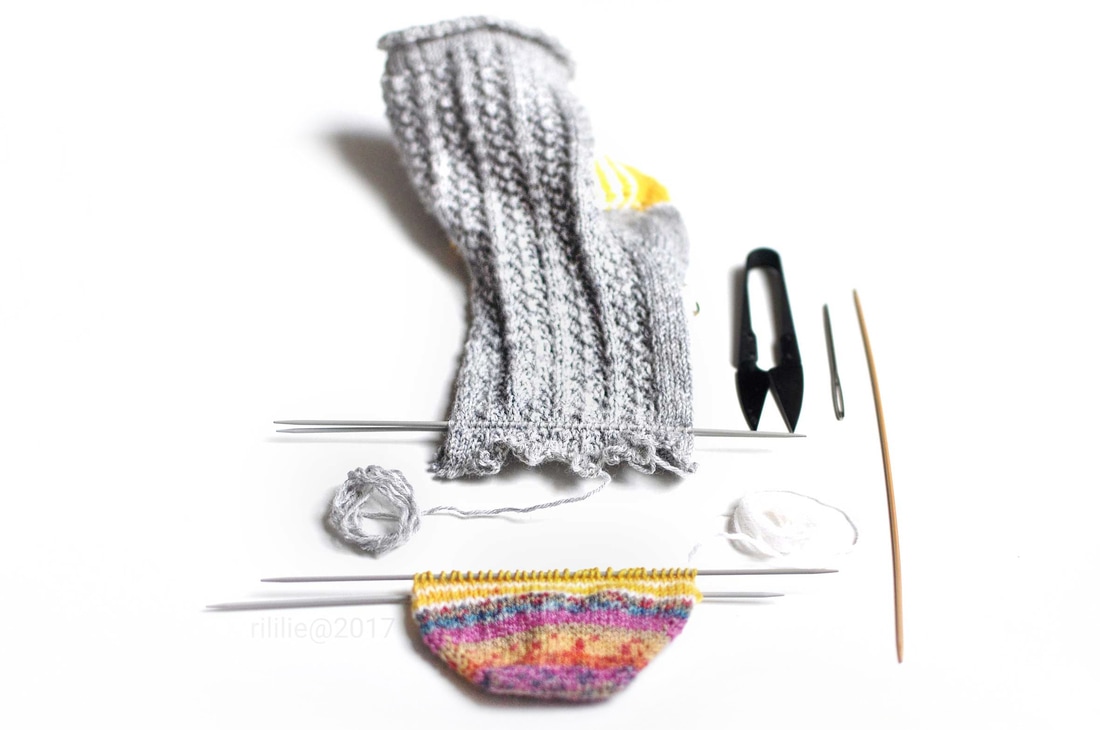
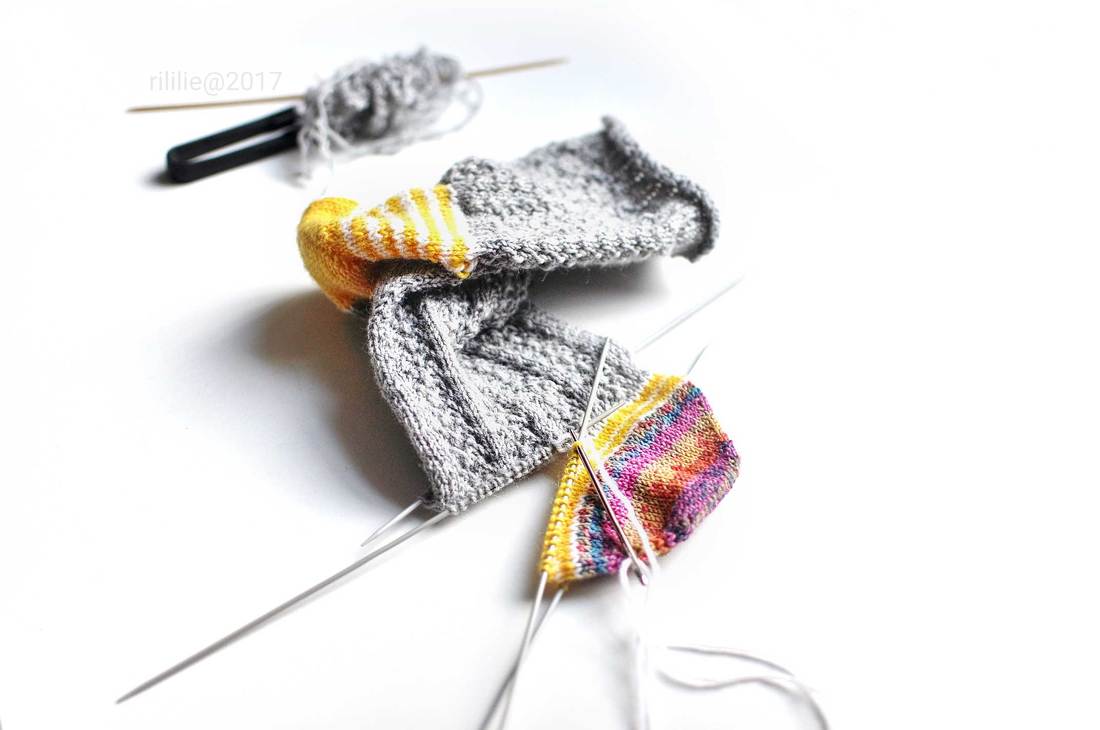
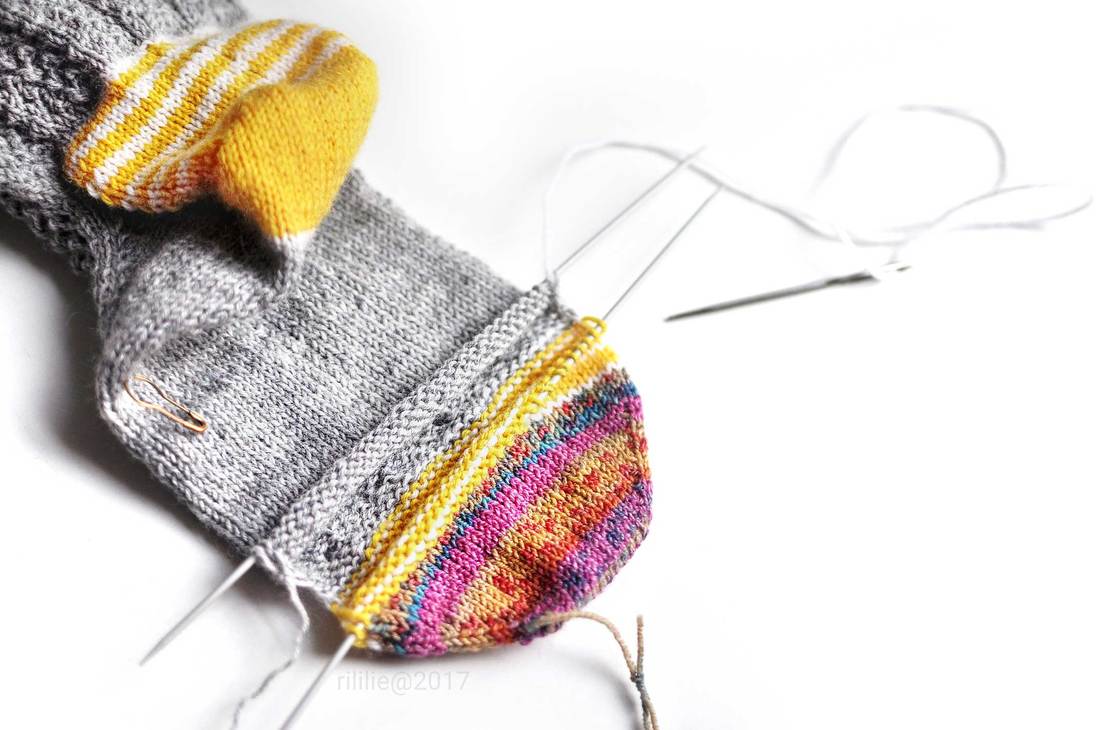
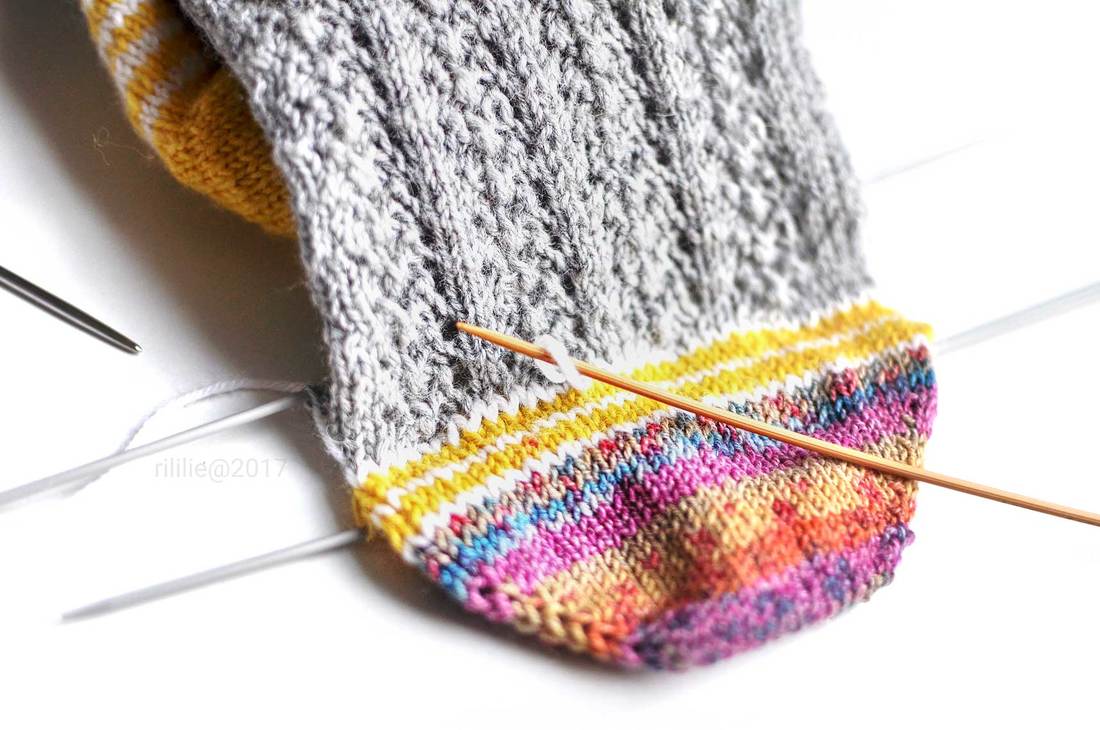
I measured the extra length starting right after the toe - at the lower foot section, right above the increases: This is the easiest and safest area to take some inches off. Four DPNs where positioned to mark the section that would be taken out: two on the instep and two at the insole of the sock.
To make things easier, I chose to pick up the stitches right after the contrasting white round at the toe and on one knit row of the ShellSock pattern, that would still allow me to have a good looking stitch pattern sequence, after the procedure. |
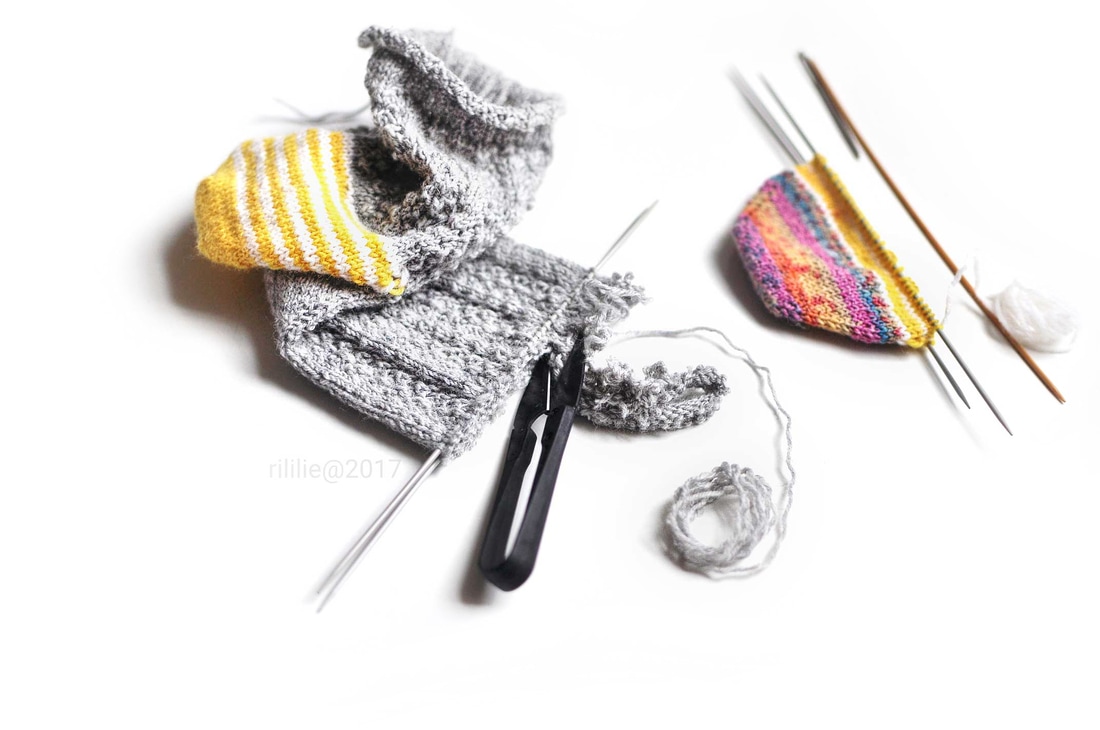
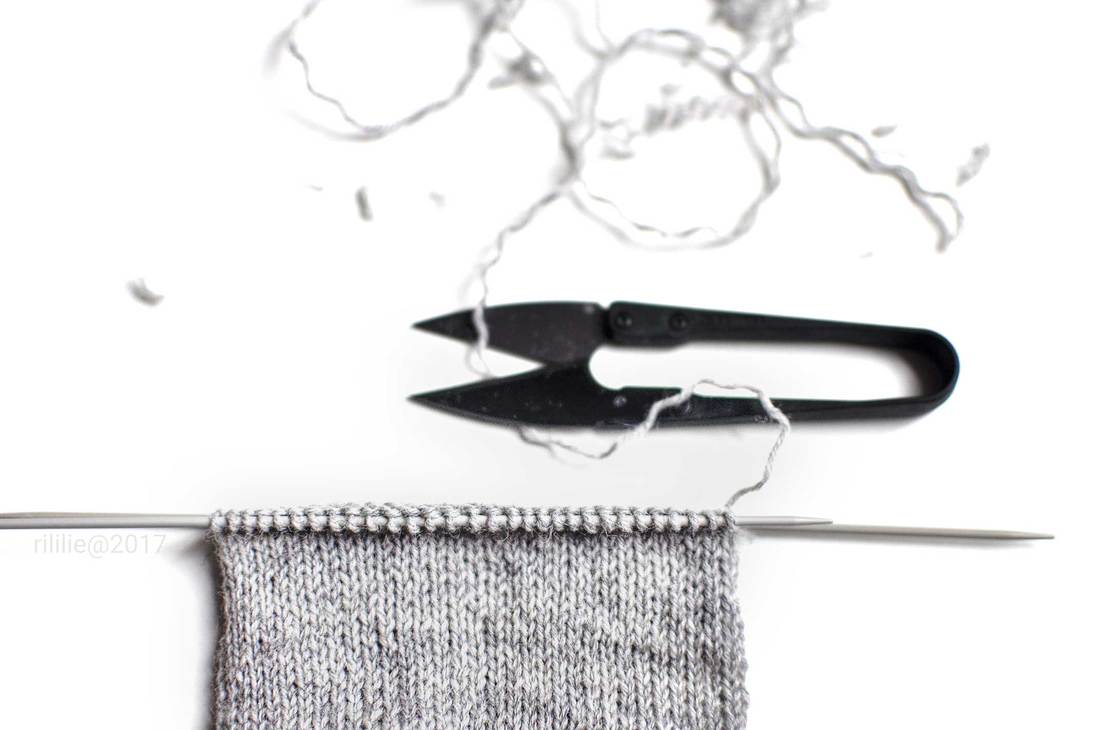
Then I cut into one stitch of said contrast round in white (the first round of the section we intend to remove right above the needle of the toe area) and proceeded to take the whole round out stitch by stitch until the toe was separated completely from the rest of the sock.
You can click on the pictures to see a bigger version of them, if you like.
You can click on the pictures to see a bigger version of them, if you like.
|
|
|
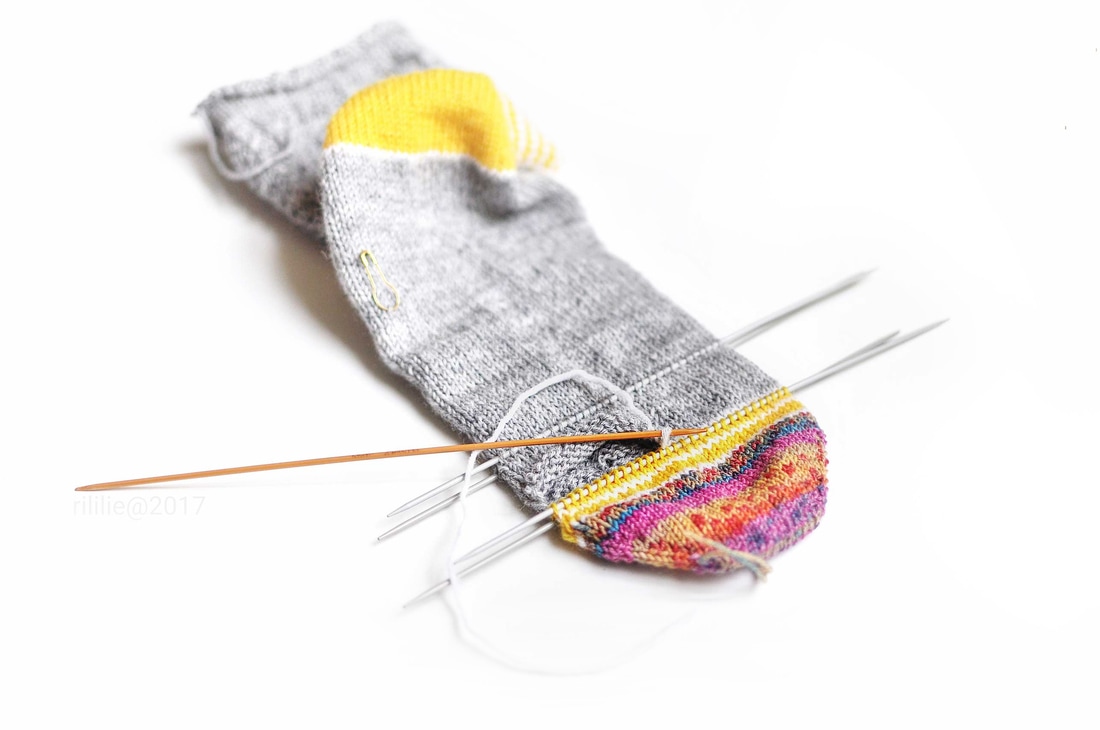
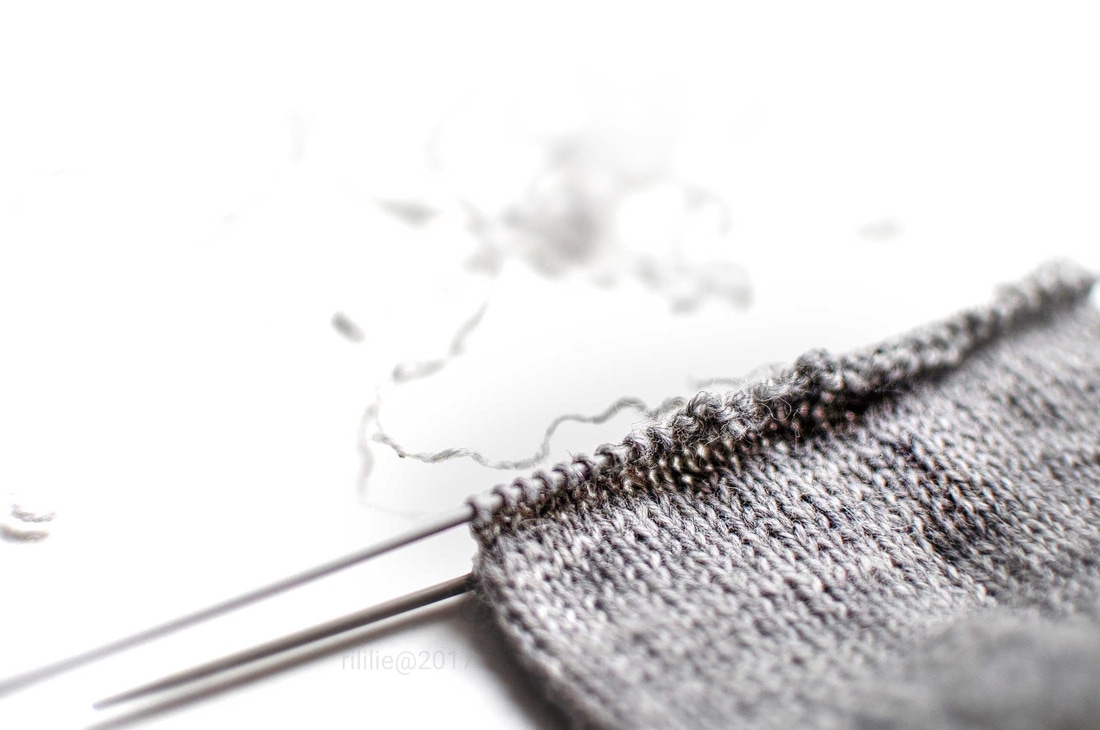
Then I found the tail of the grey main colour and just unraveled it until I got bored... and grabbed the cute little scissors I have from fringesupplyco to quickly cut all the excess away - without of course hurting any of the stitches already positioned on the needle - or myself - or others...
|
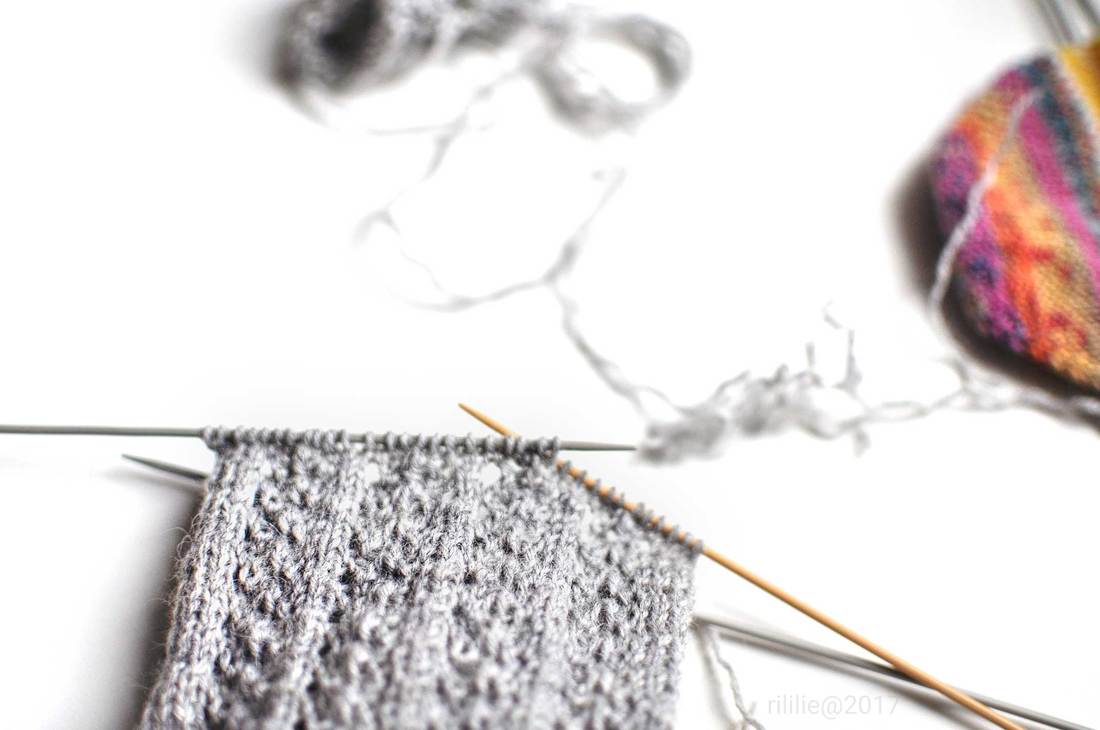
After cleaning up the mess I did, I made sure that all the stitches were laying correctly on the needles (sometimes I get them twisted when picking up sts in-midst knitting like that). I also checked that each needle had the exact same amount of sts and that the stitches on the needles facing each other, were perfectly aligned.
|
|
|
|
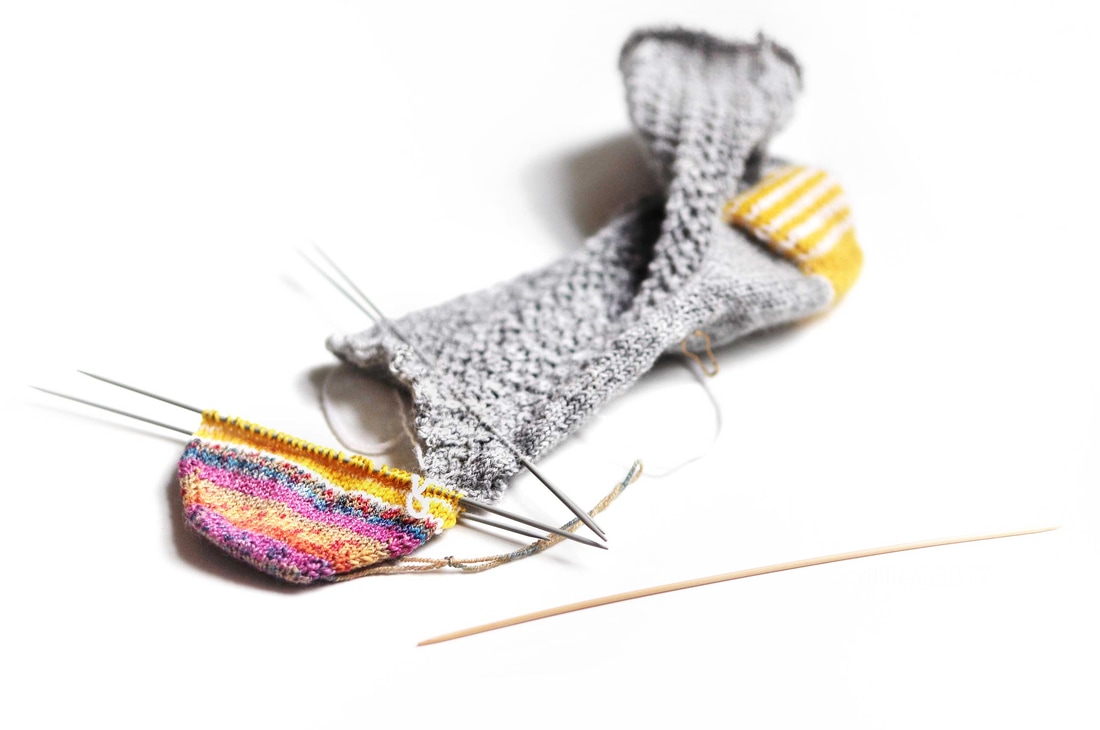
Then the fun part began: The actual grafting and re-connecting of the toe to the foot! If you are one of those knitters that fear this step, rest assured that it is not at all hard to do. You just need to take your time and keep an eye on your tension, while following a good tutorial, if you don't already know the grafting mantra "knit, slip, purl... purl, slip, knit" by heart.
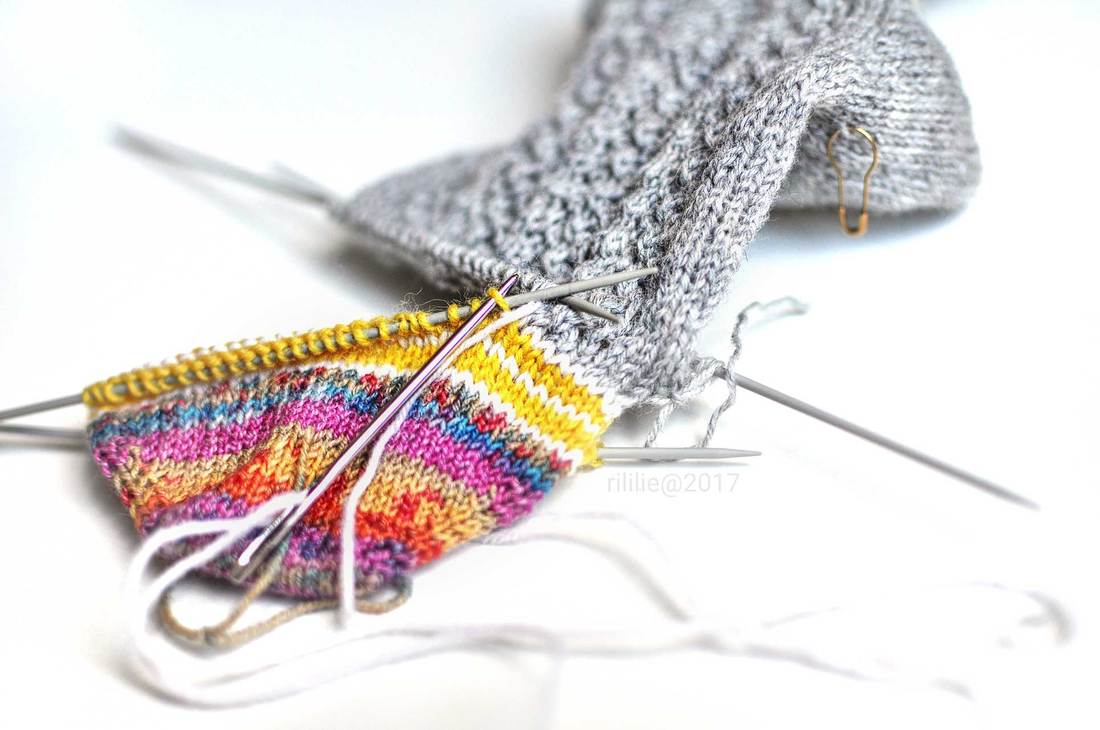
Here on knitty you can find one of my favourite Kitchener Stitch Tutorials by Theresa Vinson Stenersen!
|
|
|
I also tried to tweak the tension with an extra DPN when I was half-way through and again at the very end, because I am a little neurotic about those things... you don't need to do the same, if you are happy with the look of your grafted stitches.
If you do want to try your hand at my grafting-perfectionism-neurosis, my simple but time-consuming tip would just be the following: Work the grafting more on the loose side and after having completed some sts, tighten them up to the perfect tension by getting into the right leg of each stitch and pulling it out, ever so slightly. |
|
Then try pulling it's left leg (ha!) and continue to the next stitch, until the extra length of the looser stitches has been eliminated and the new stitches look exactly like their old friends. Just work slowly and carefully to achieve good results.
|
|
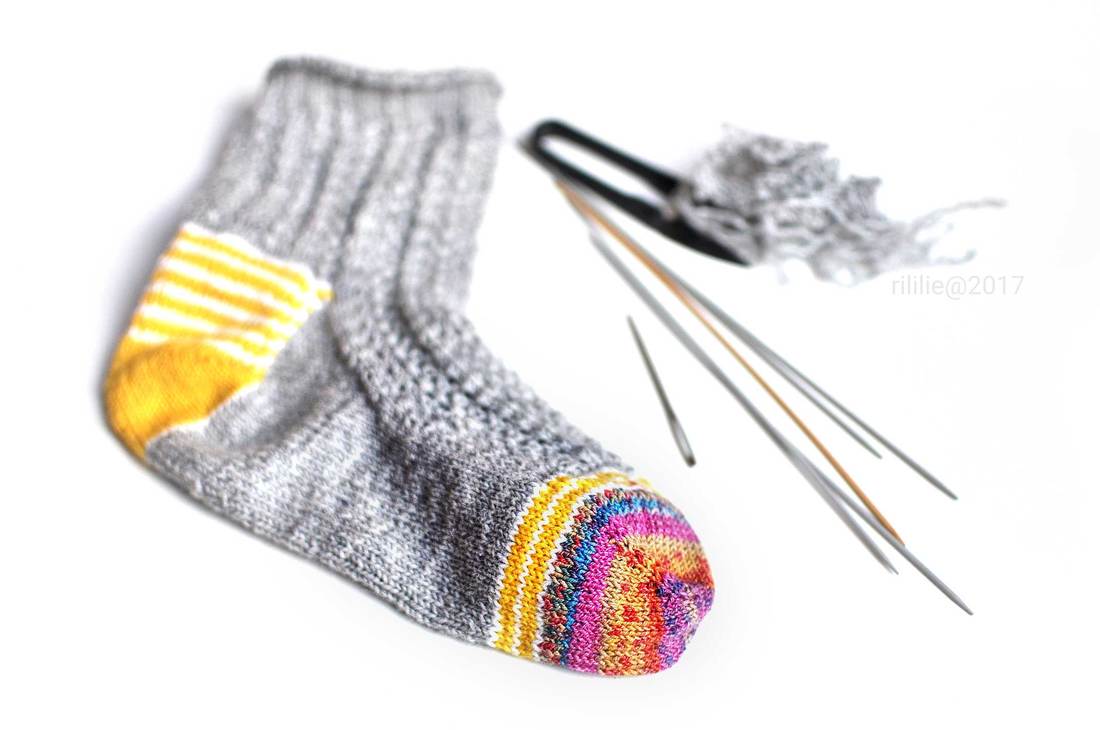
After neatly hiding all tails and such, the old-new shortened sock was ready to be worn for the first time and it successfully had been saved from a dark and boring life in the sock-drawer!
Both me and my favourite knit-recipient were quite glad about it...
You are welcome, mum!
Both me and my favourite knit-recipient were quite glad about it...
You are welcome, mum!
|
Do tell me if you have found a different system to make changes to the size of a sock, after having finished it - I am always very interested in new ways to craft stuff and to see what others prefer doing.
Or just leave me a comment anyway! I am always super happy to hear from you... On this note I need to admit, that I was stupid enough to accidently delete ALL of the comments I had on this blog some months ago, when I changed to the Disqus system. It still pains me when I remember that I seem to have lost them all!!! |
|
|


 RSS Feed