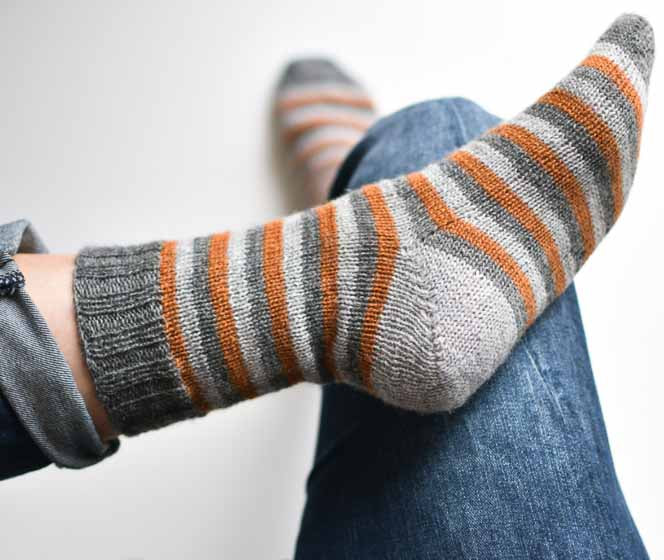
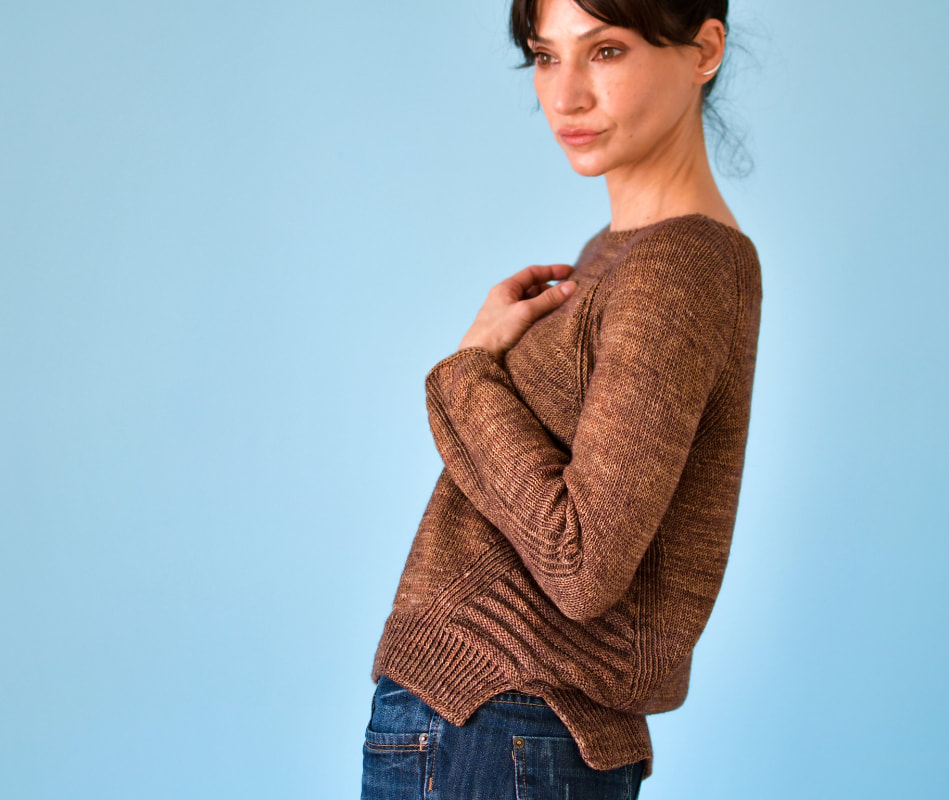
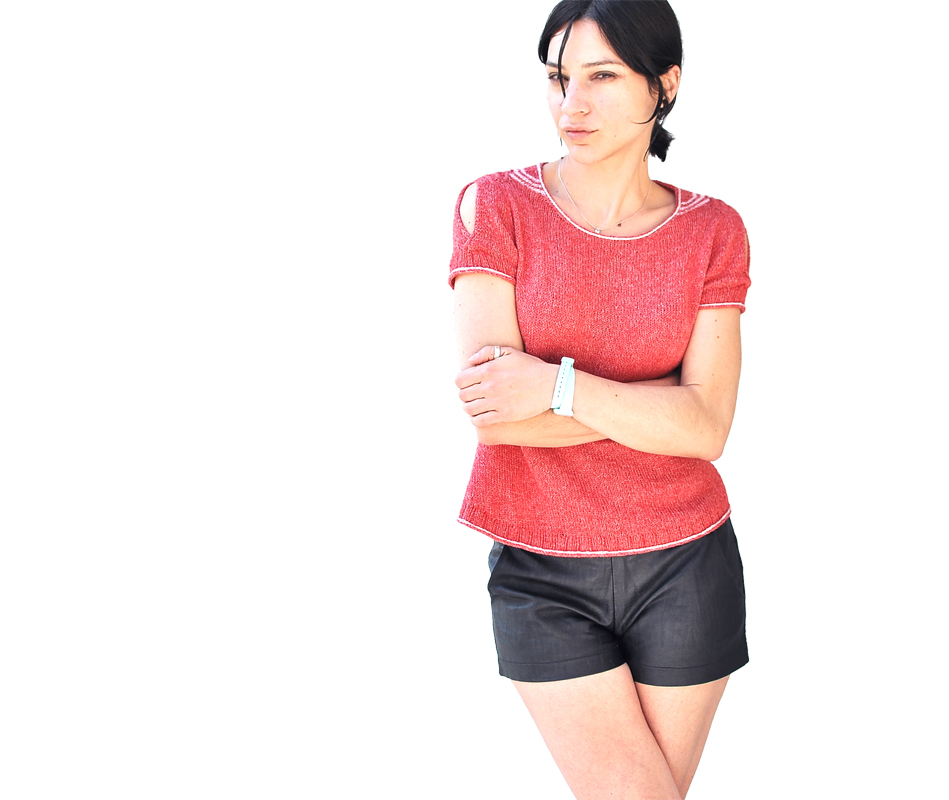
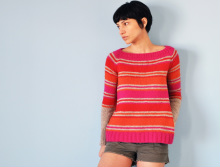
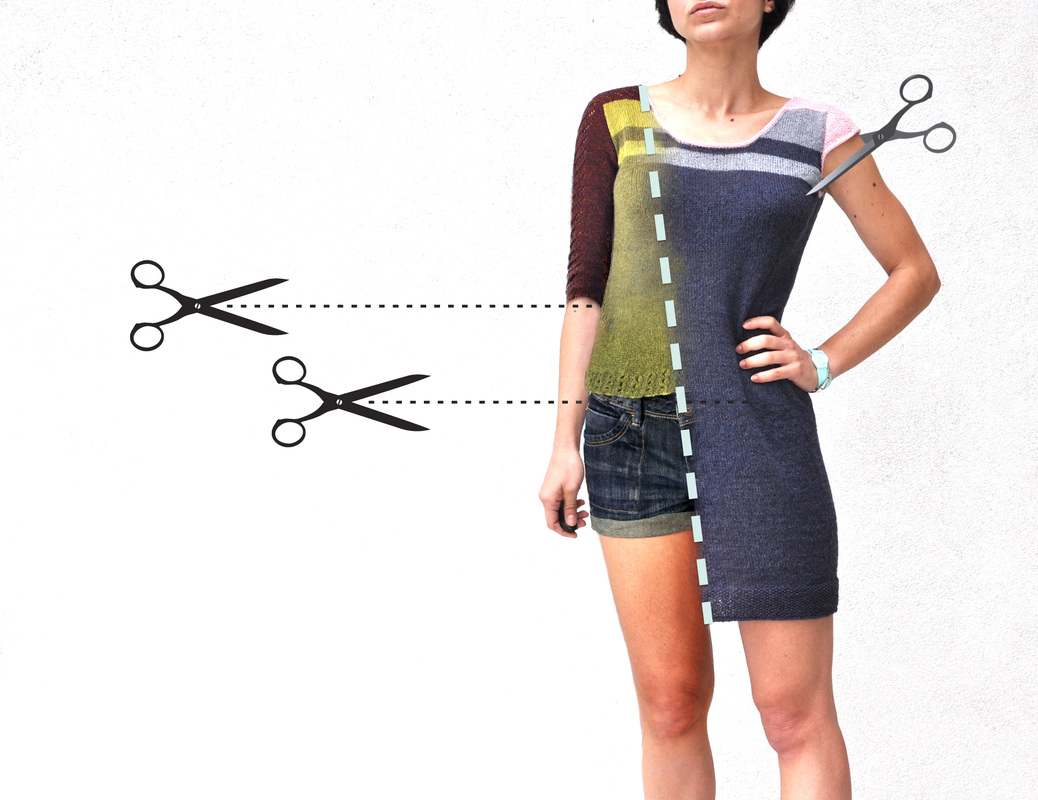
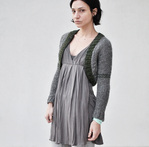
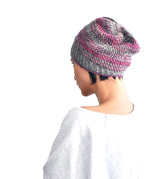
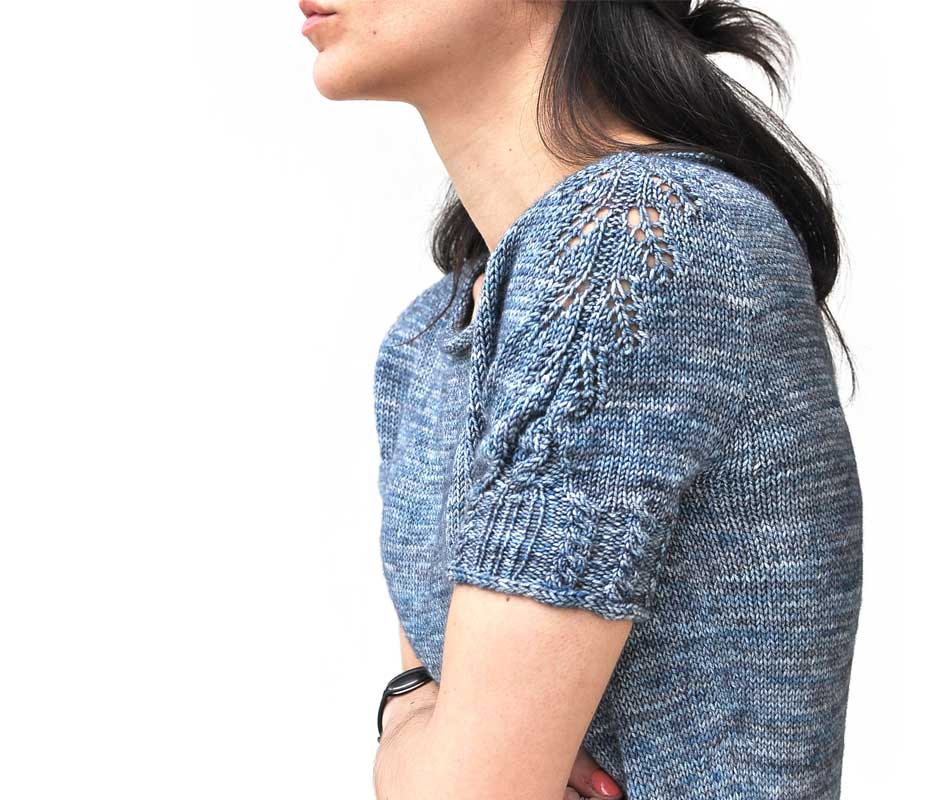
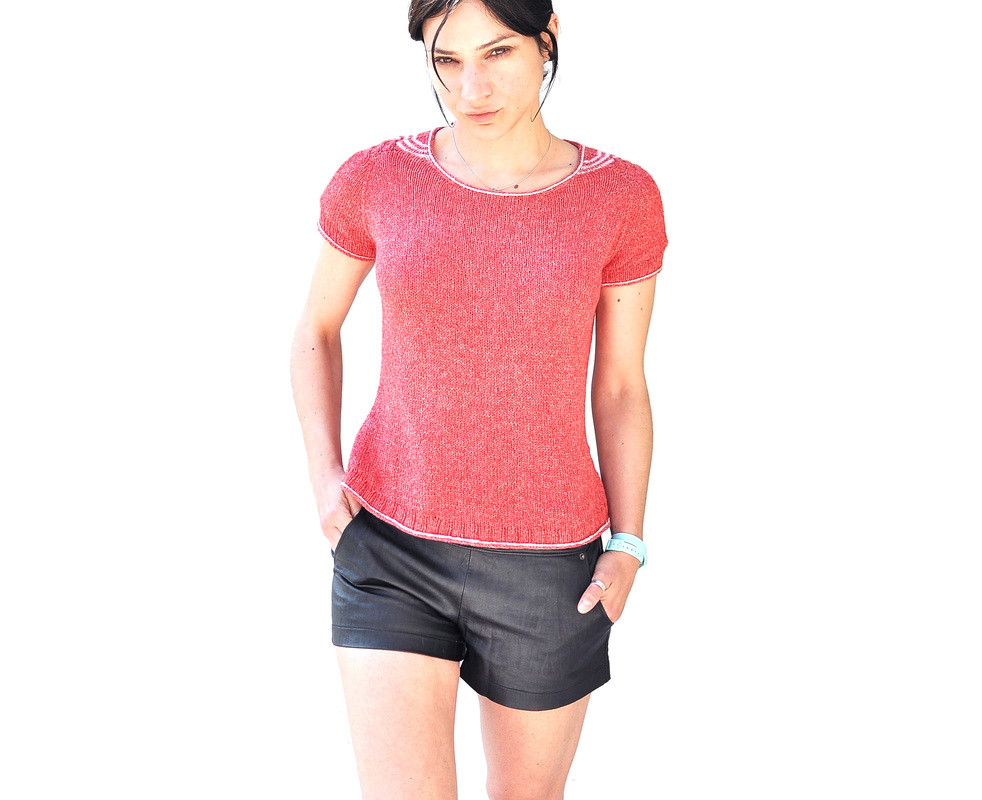
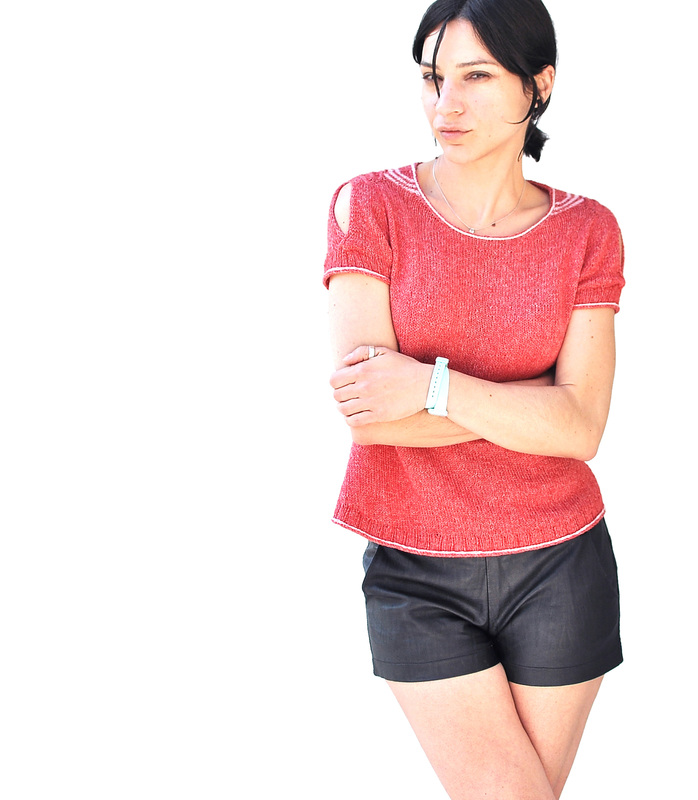
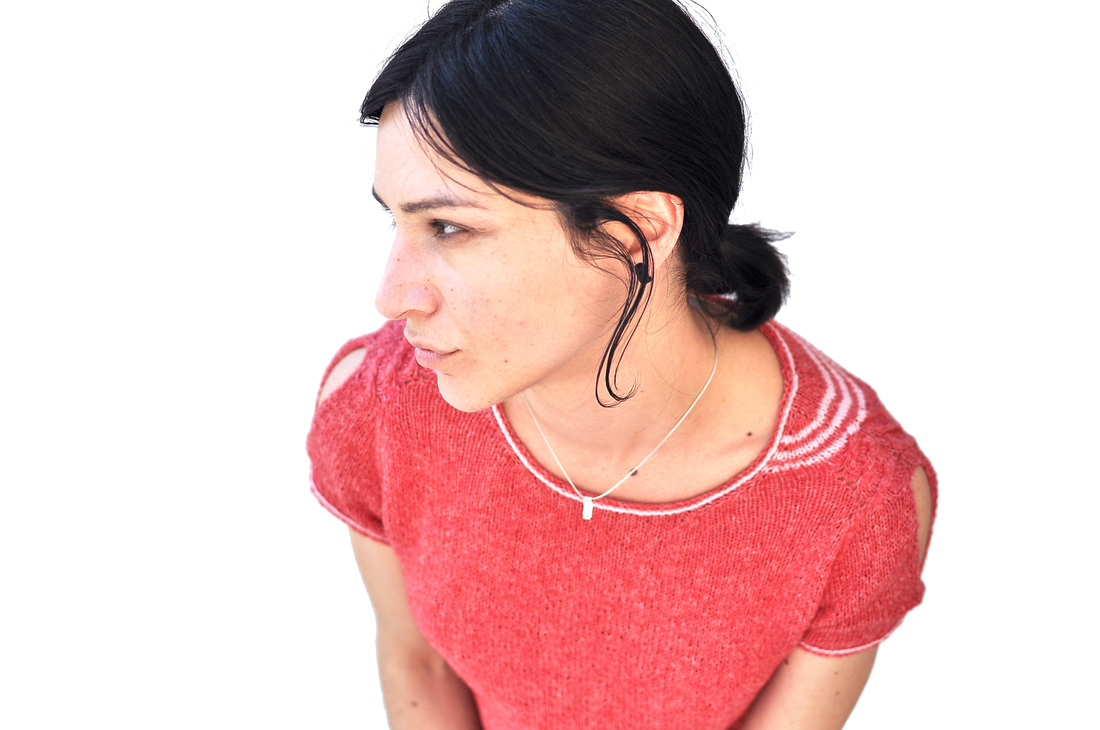
| You can either download the pattern for this little summer top on my website here or find it directly on the ravelry pattern page, together with many other beautiful versions, knitted up by talented ravelers. |
|
...is finally published!!! I have been working on this baby since April! But with the workshop and my stay in Berlin for the whole of May and some other things that kept popping up, this pattern really took a long time to get finally out there! I have to admit that I am very pleased with the SpliTTop! It has so many elements that make it quite unique (at least in my book). A lot of new stuff in terms of seamless techniques, that I discovered while experimenting with yarn & needles in my living-room (all of which are shown step by step in photo-tutorials as usual) and an unusual construction that allows for a (hopefully) very fun project and beautiful finished garment!
Comments
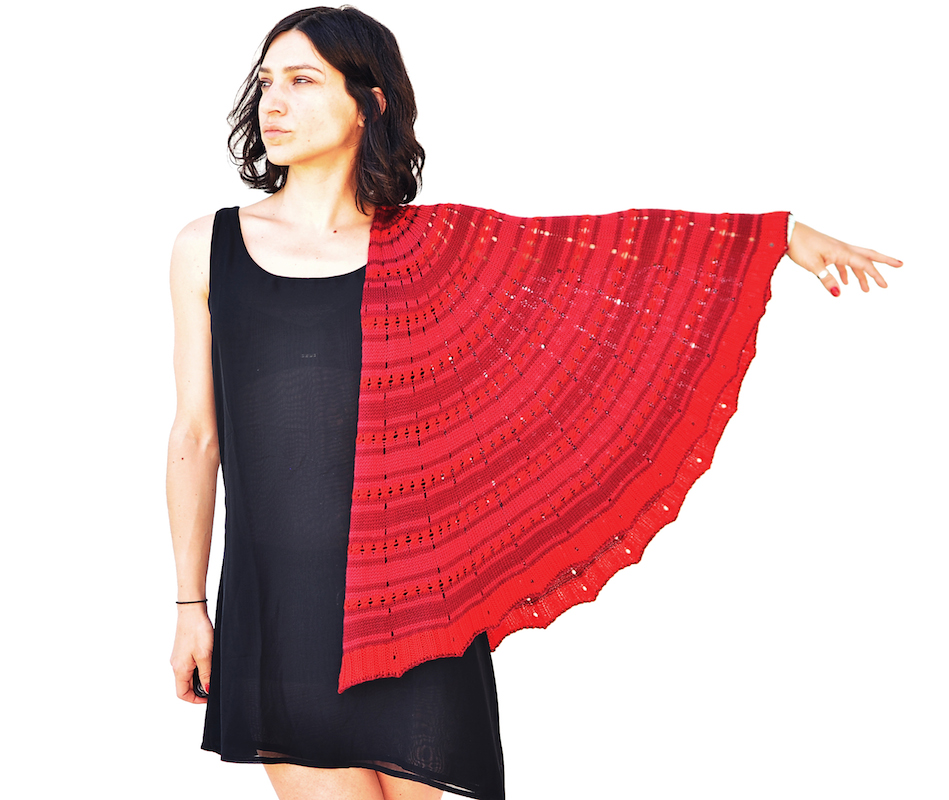
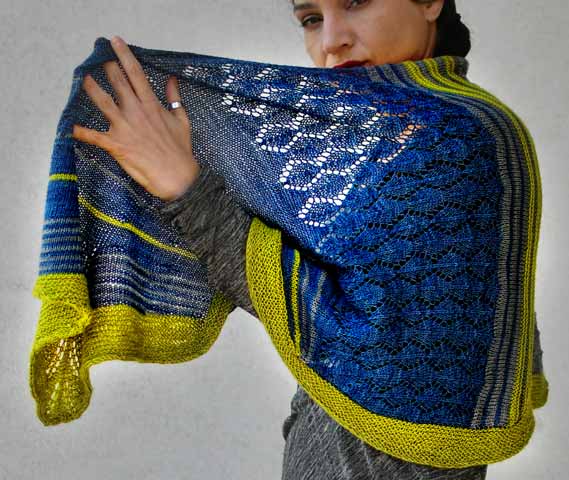
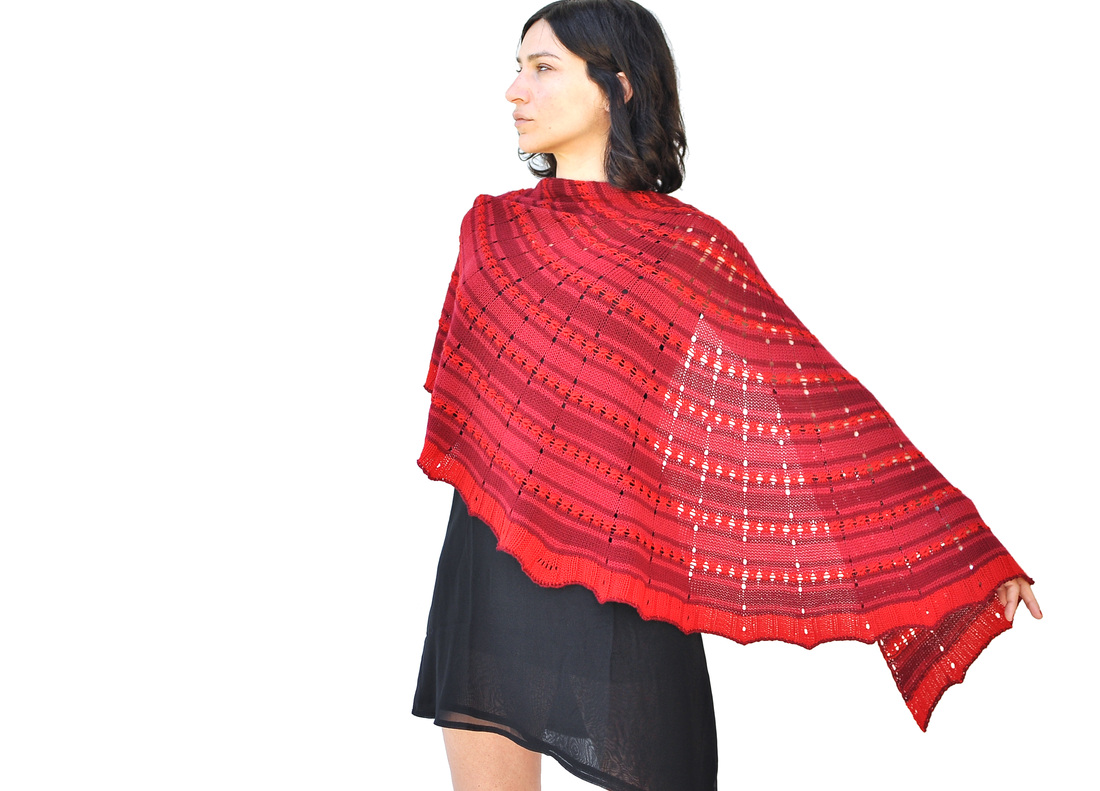
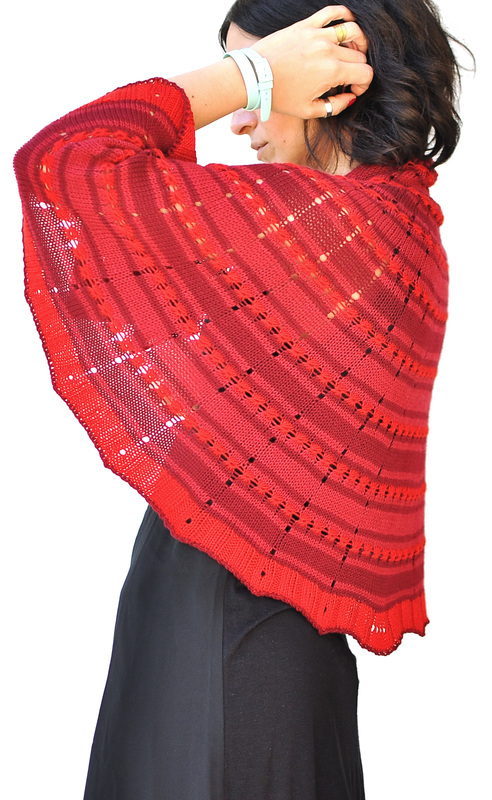
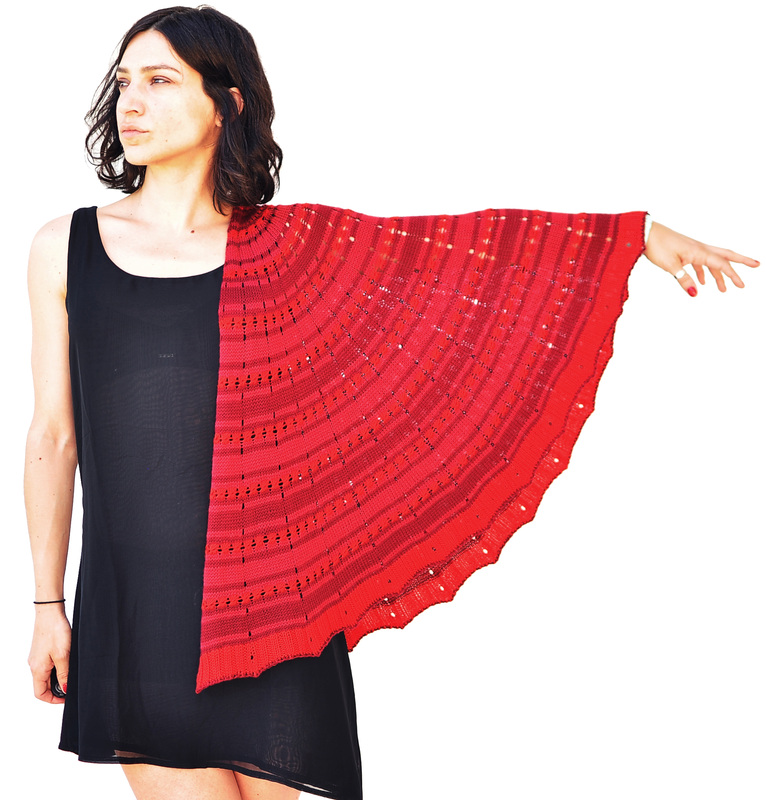
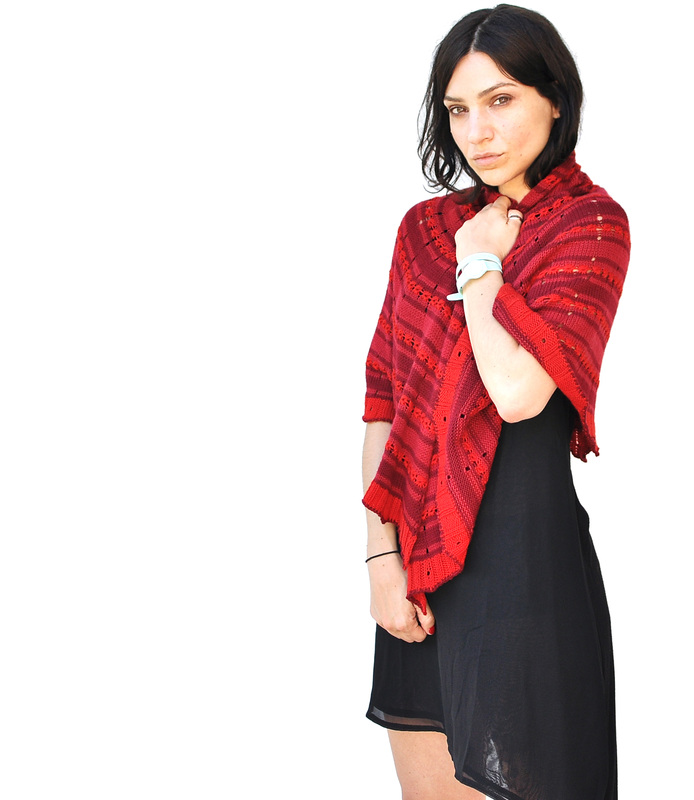
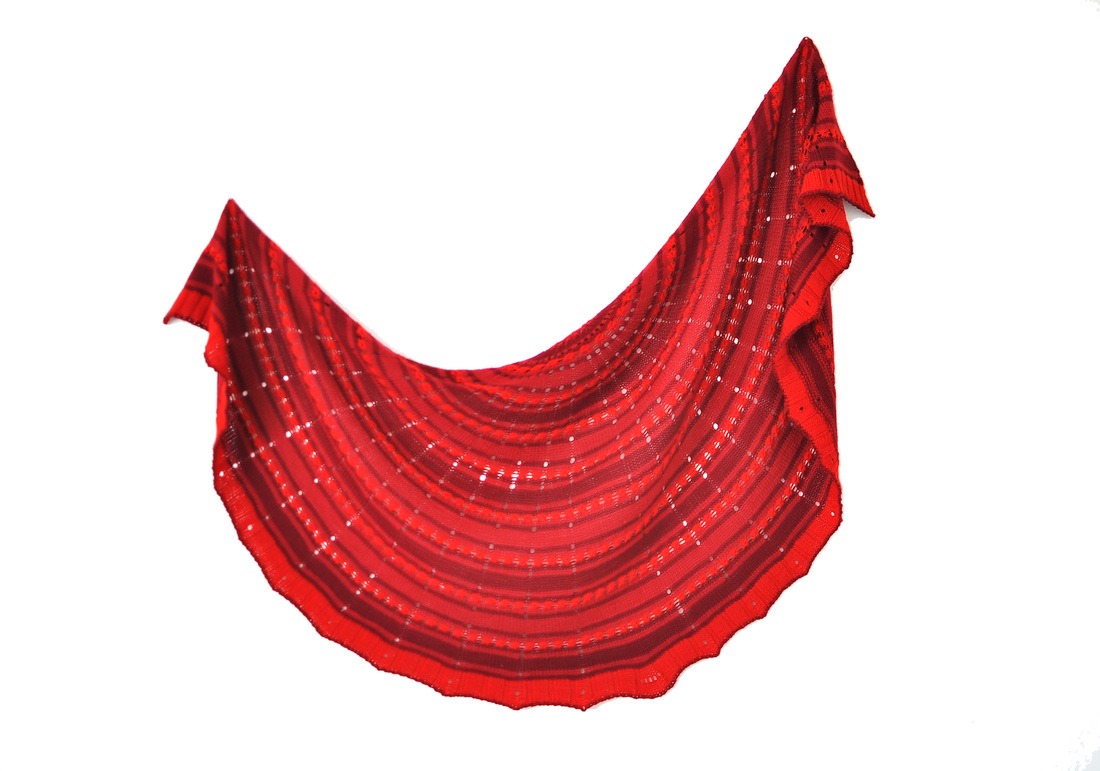
Here it is: A new shawl pattern! Reminiscent of a vintage, granny-style mixed with a contemporary colour-work and a simple border with a little twist. It's a long time I wanted to make a shawl, one that is big enough to actually wear over the shoulders on a chilly summer evening. But it had to be in a retro half-circle shape with a little bit of texture in it (just enough to keep things interesting without getting too much in the way of some effortless beach knitting) and it had to have stripes of course - it wouldn't be me if it wouldn't feature at least some stripes! To cut up the horizontal bands of the stripes and colour-work I also added some dramatic vertical lines of eyelets.... ...and voilà, my new shawl was born!
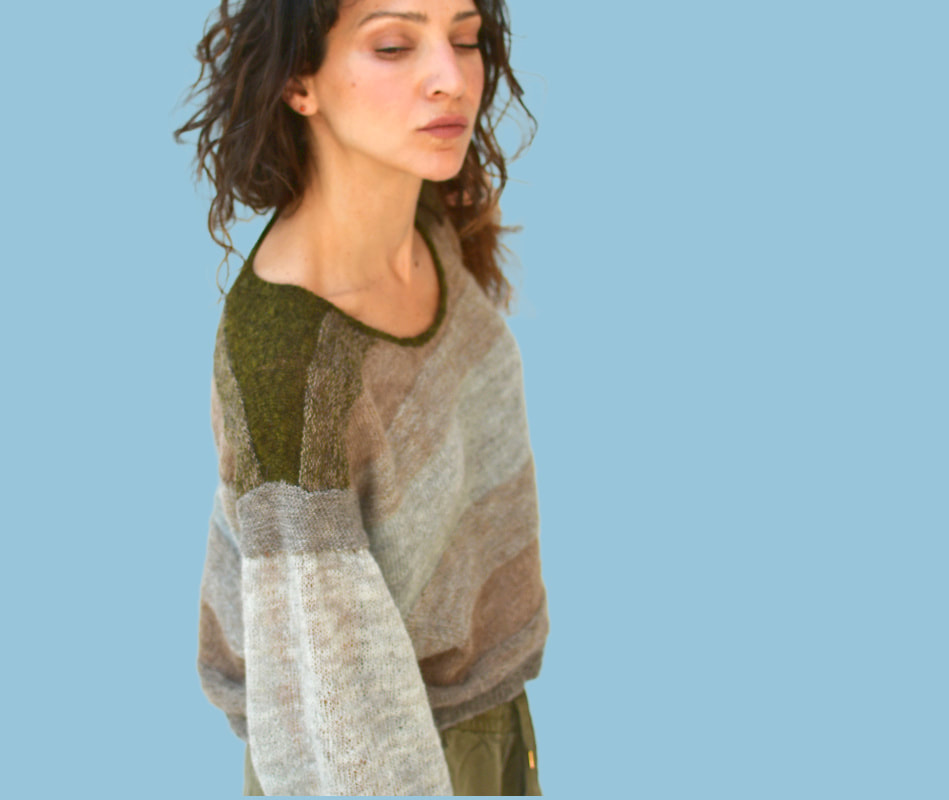
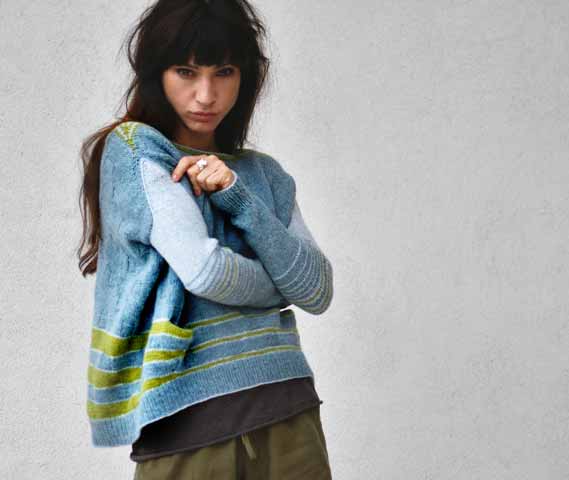
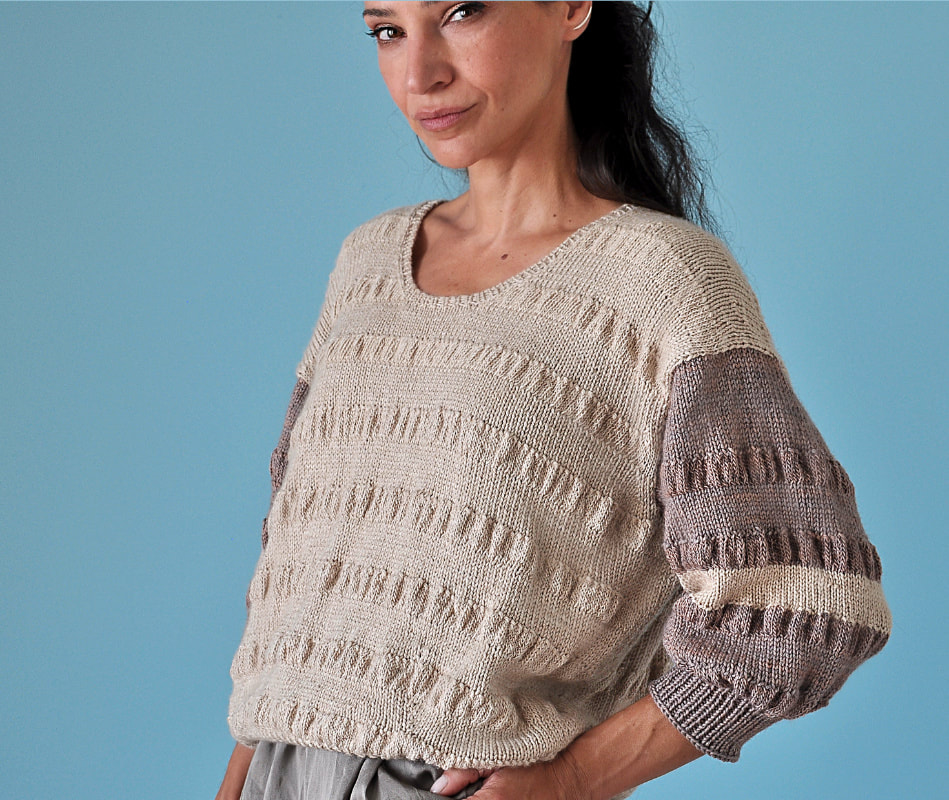
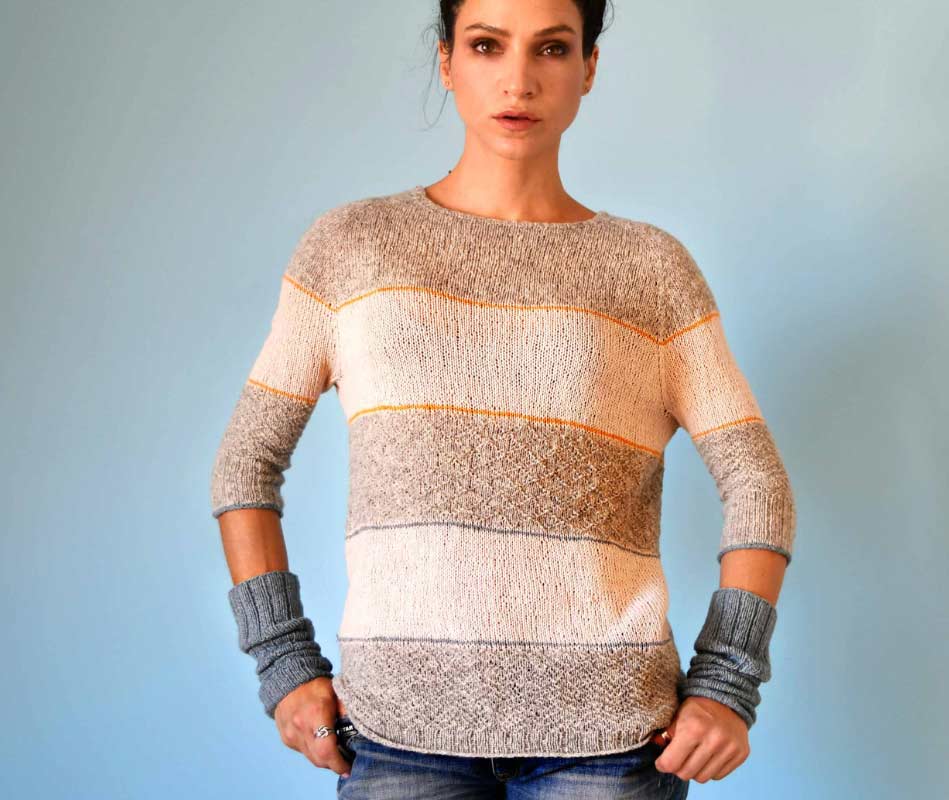
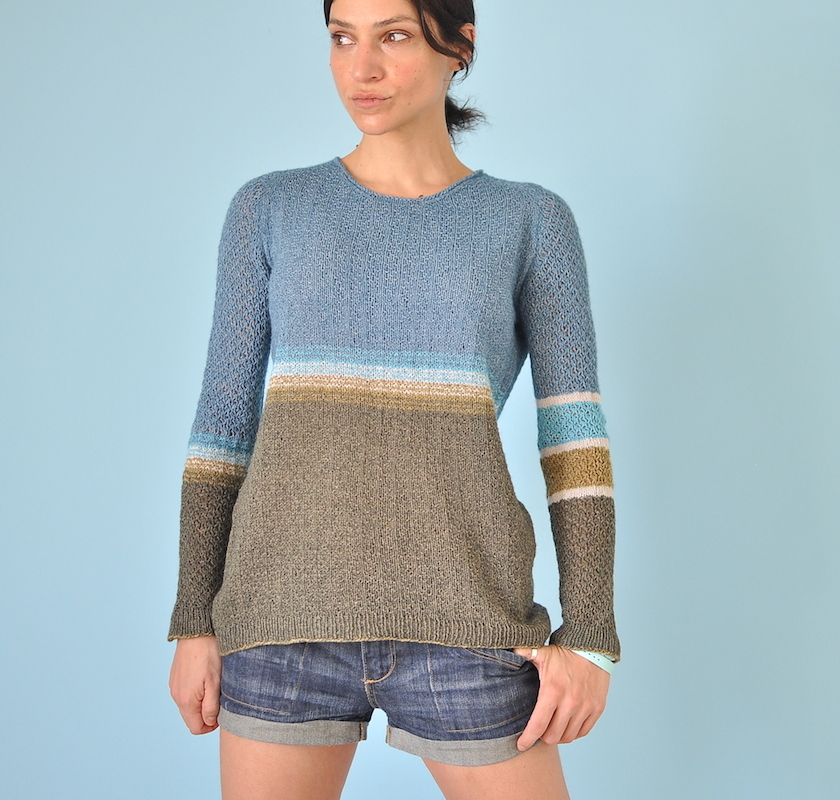
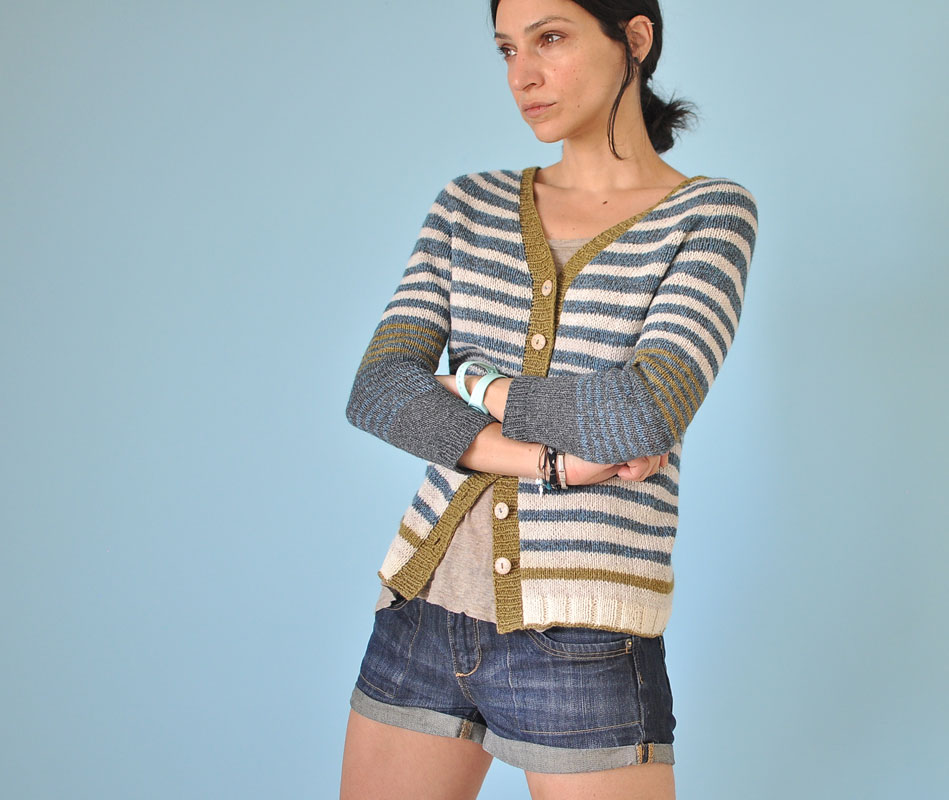
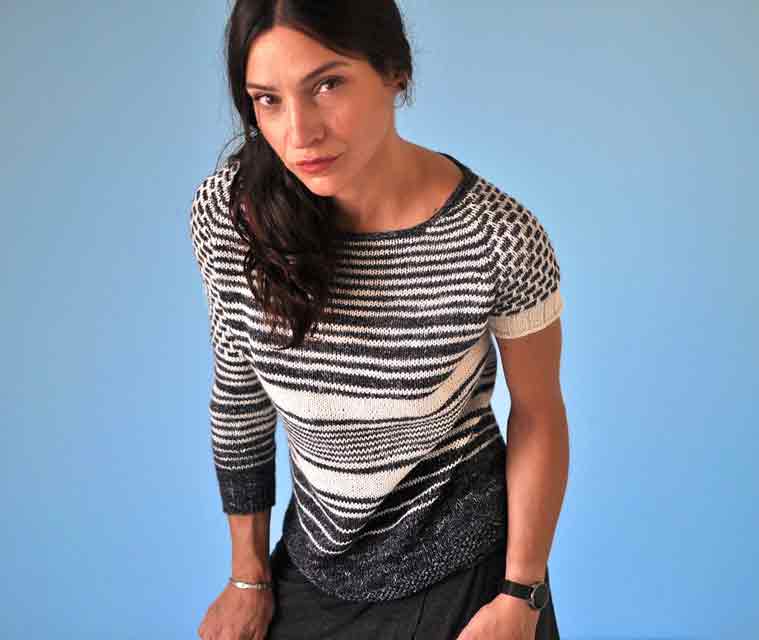
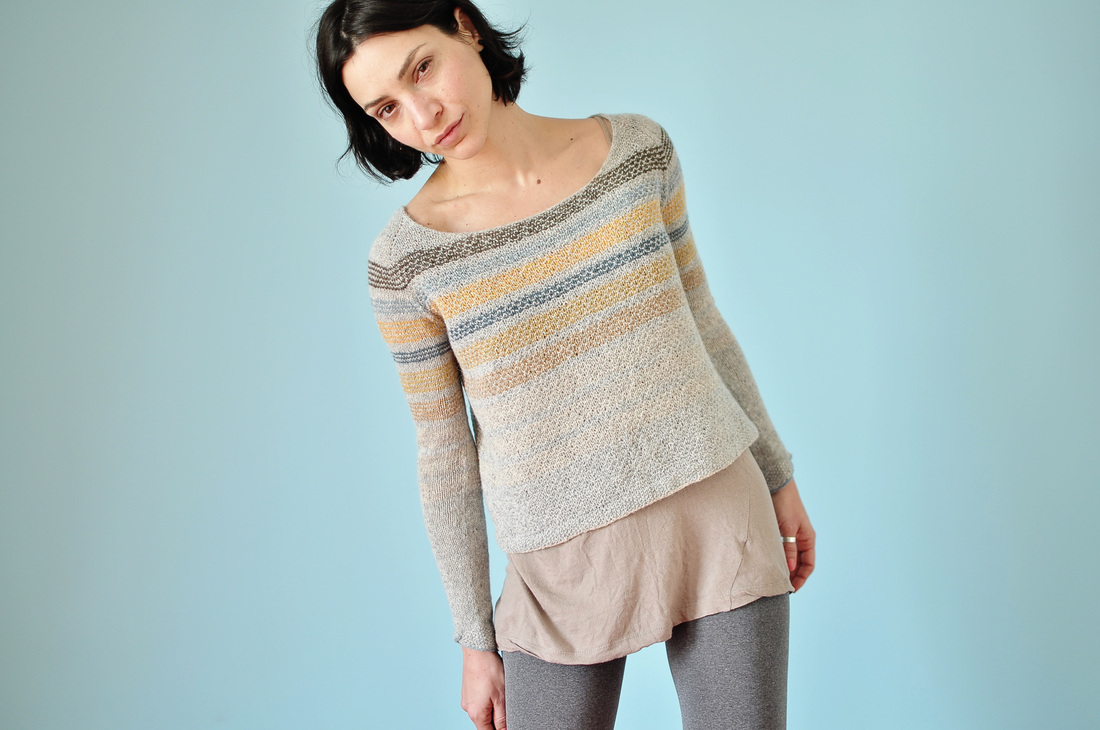
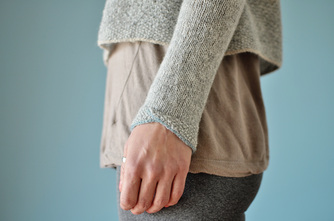
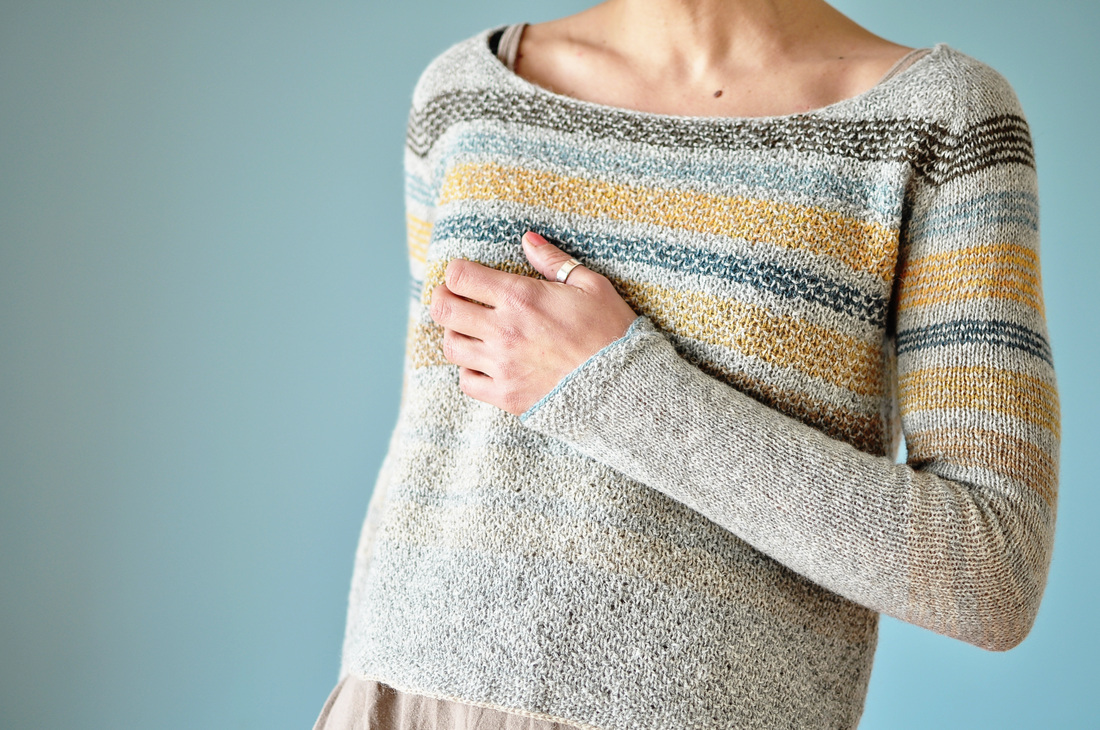
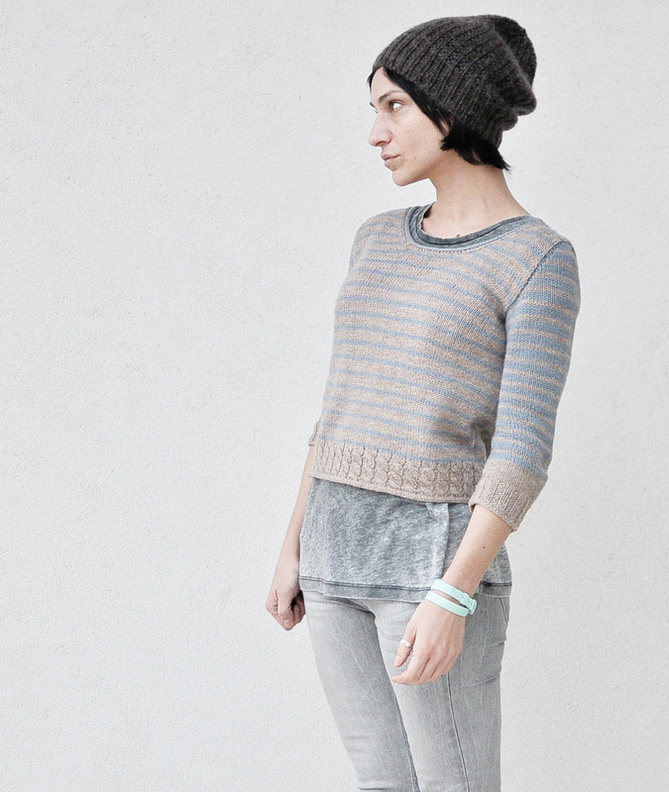
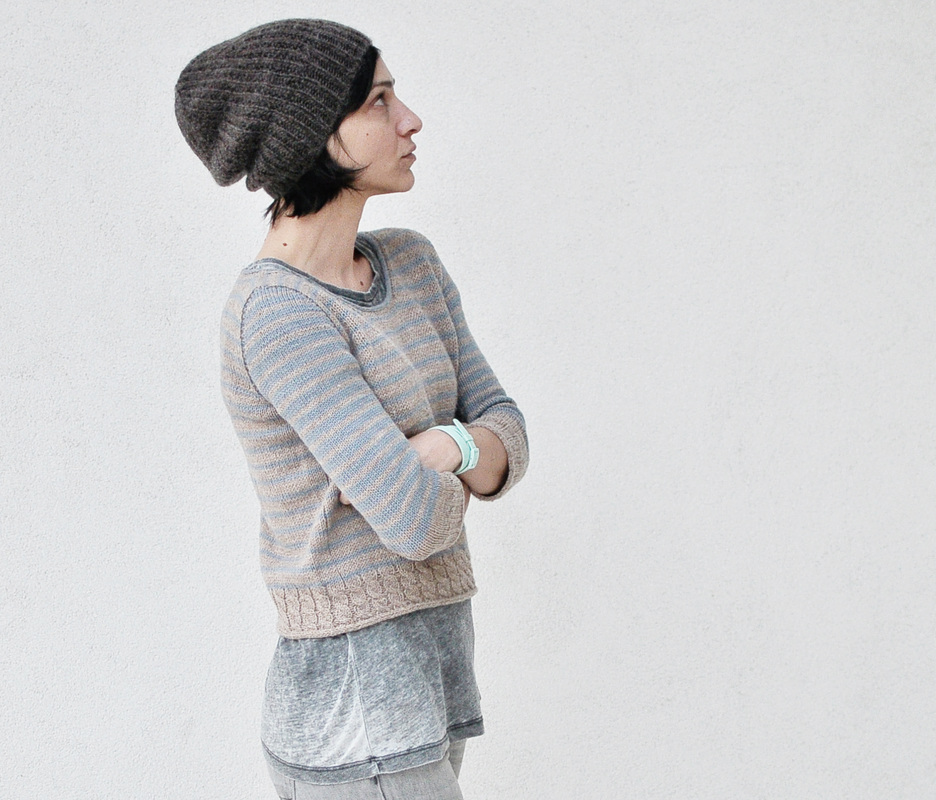
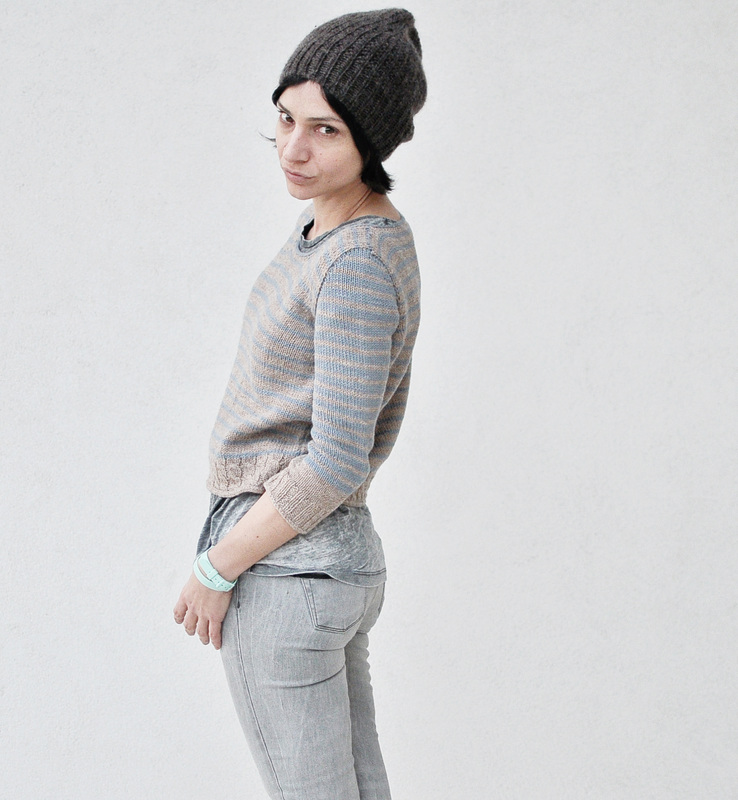
..."Draw me a sheep!", these were the first words uttered by the little prince to the narrator in Saint-Exupéry's magnificent book! I was listening to the audiobook when I was knitting up my design and was totally carried away to the fragile universe of this lovely character, when I noticed that the colours I chose for my project bore an uncanny resemblance to the colours of the beautiful illustrations that the author had sketched up himself! Even without having seen any of them for a long time (since audiobooks don't come with illustrations... yet!), I subconsciously adapted my choice to the little prince's taste - thus I just had to give my new pattern a name that was borrowed from a quote of the little highness himself! The fine and sensitive book must have further inspired me to make a delicate little garment, worked out of fingering weight (and therefore being extra light) and with a simple texture that breaks up the striping with a playful repetition. The boxy form of the pullover keeps it comfortable while a very slight waist-shaping allows for a flowing, feminine drape. To balance the larger body out the neckline is wide and rounded and more reminiscent of a ballet-neck, while fitted sleeves make the whole look more refined. I had fun experimenting with the lower part of the sleeves: they are supposed to be a new take on the fancy renaissance cuffs. Less floppy and much more discreet, they add a nice feature and keep the whole jumper in accordance with the little prince's sensitive attention to detail. This project also makes quite good use of rests in fingering weight yarn (that everybody of us seems to have lying around in abundance)! These can be used for the 7 different contrast-colours. The main concept that was followed in my own sample for combining cool and warm hues, as also low and high contrast colours, are explained in the pattern itself. You can buy the pattern on my website here, or directly at ravelry Dessine-moi un mouton - Le monde est triste sans imagination I have revisited two of my older patterns and updated them:
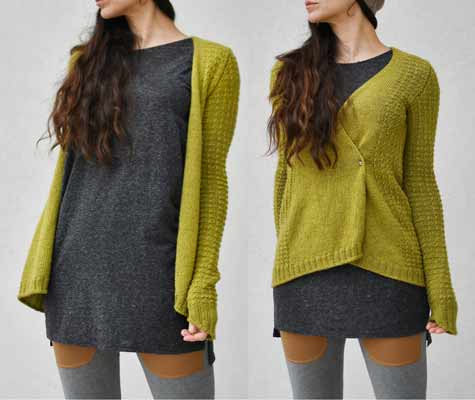
... and also added a long-sleeved version to the existing pattern (which has ¾length sleeves). It's so practical that I have already worn it tons of times... something that you can actually even see in some of the pictures, especially the sleeves show some pilling...! Oh well... You can find this pattern either here on my site or on ravelry. The second pattern that got a little face-lifting is my free Cocoon hat:
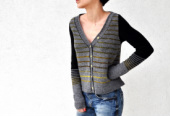
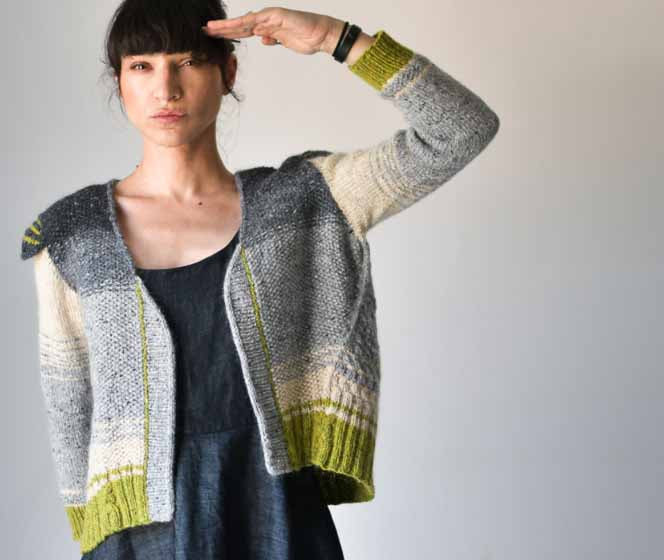
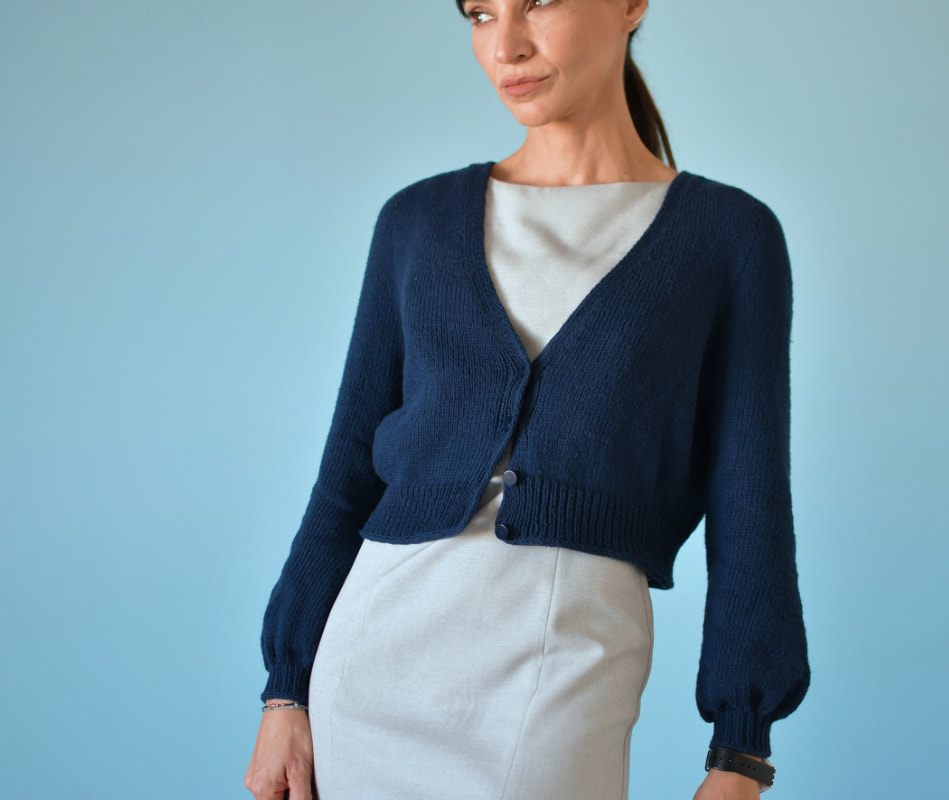
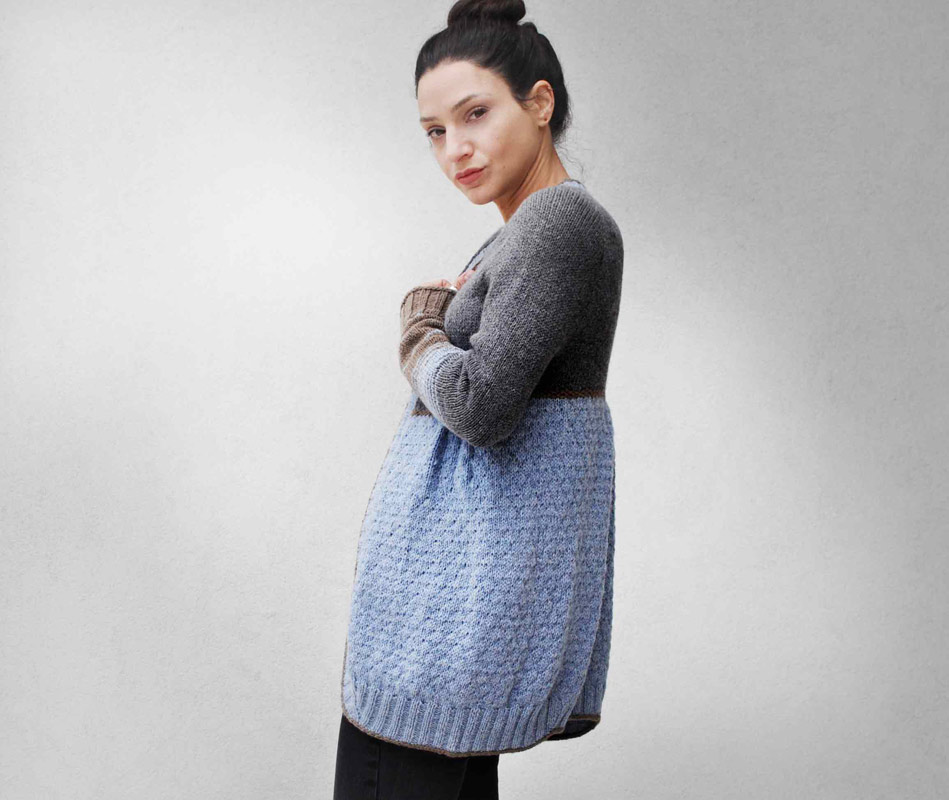
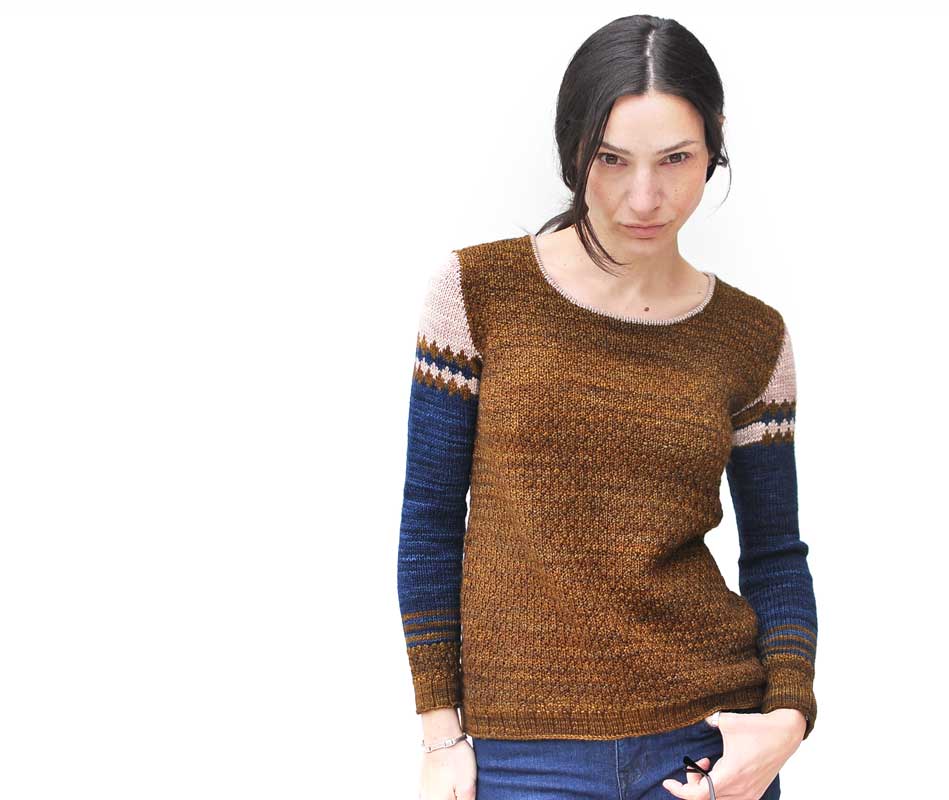
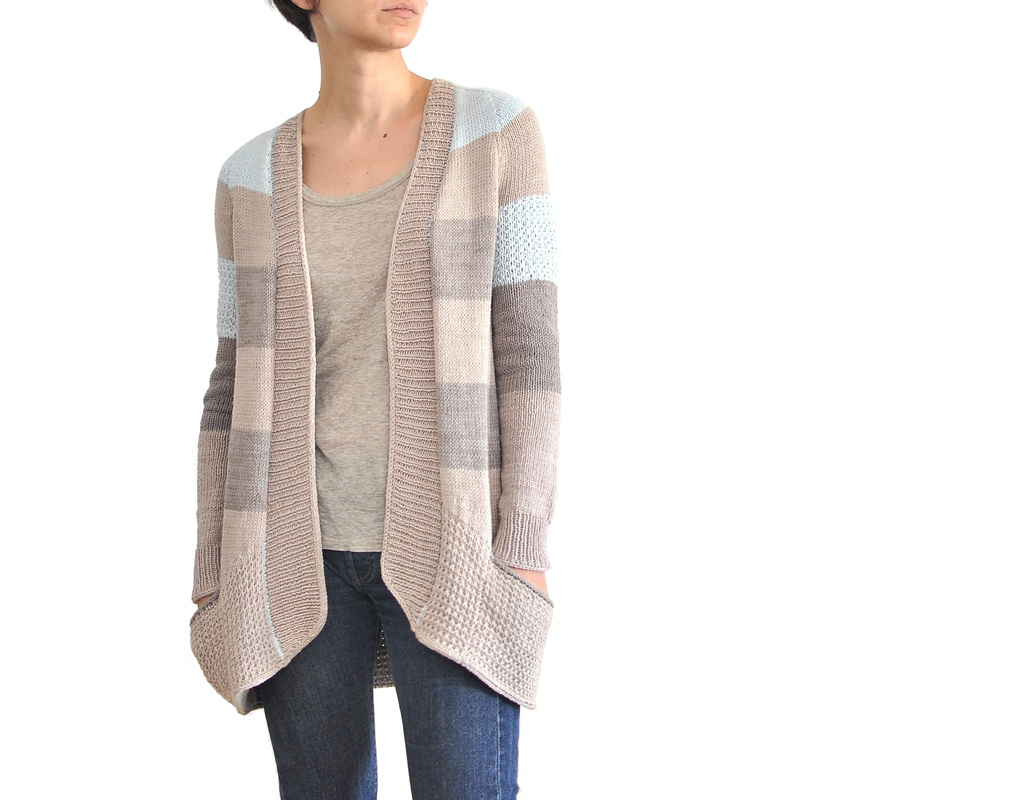
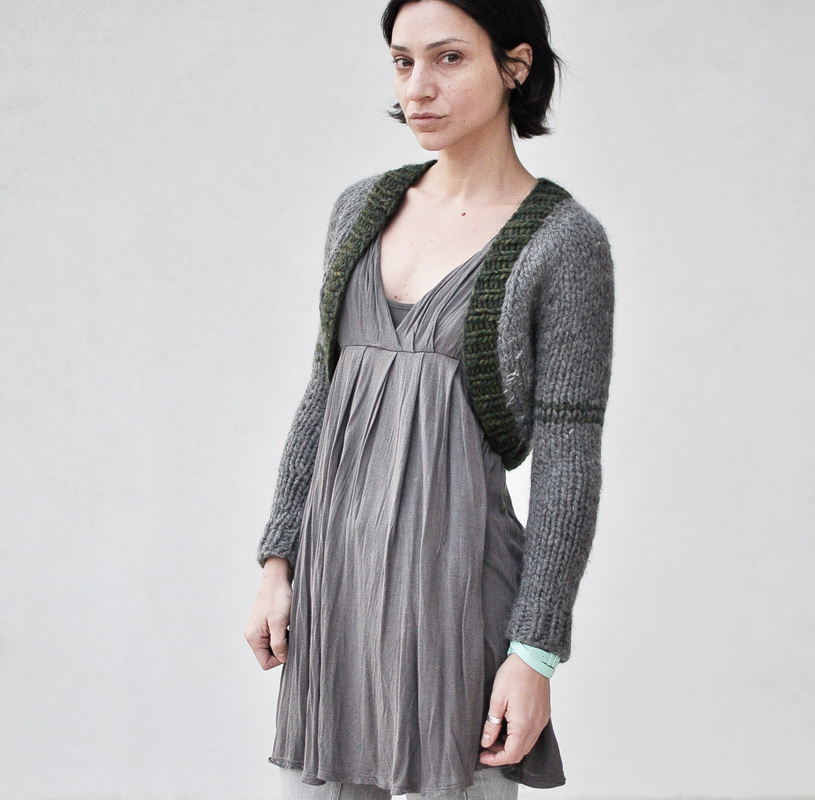
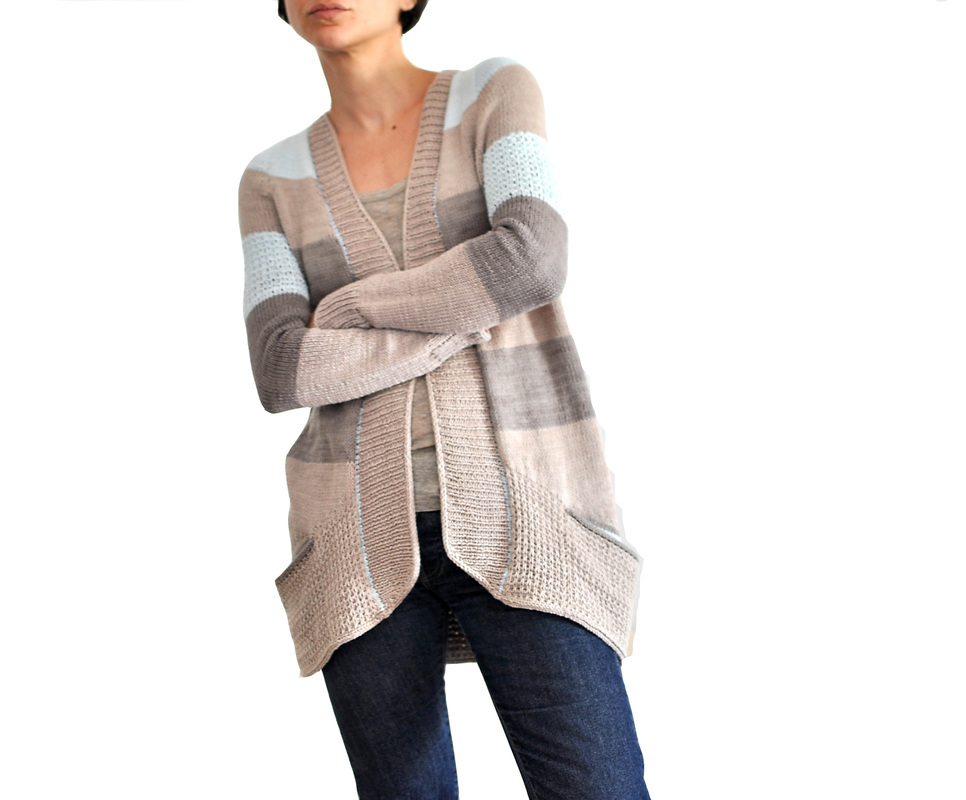
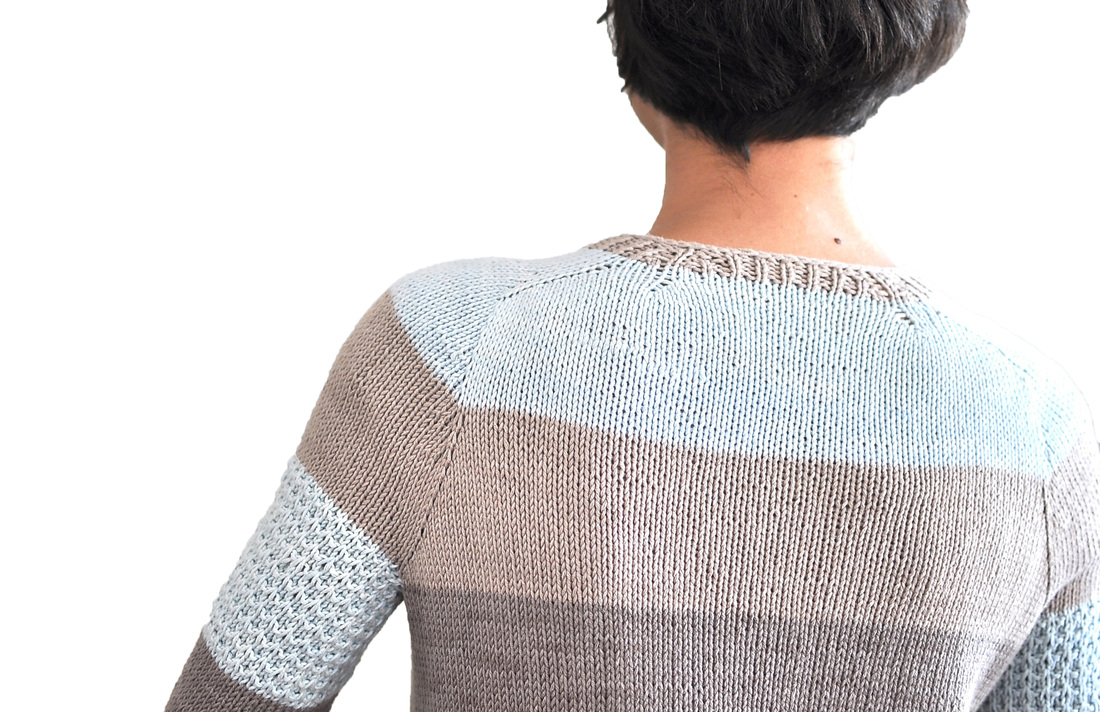
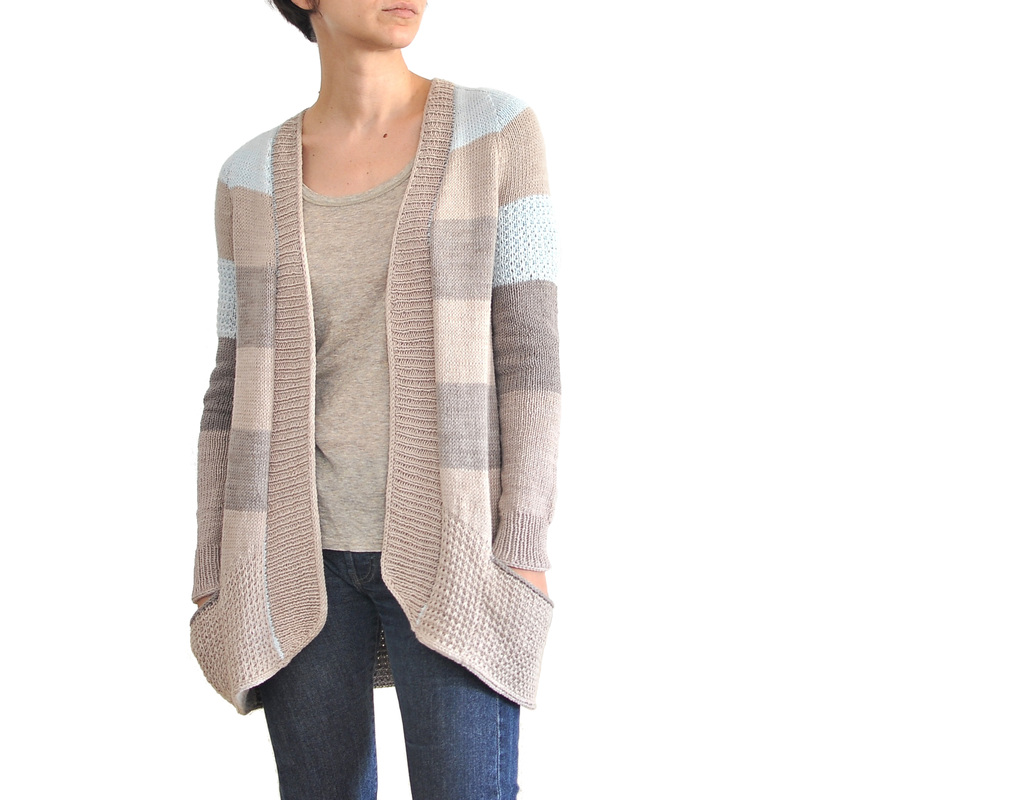
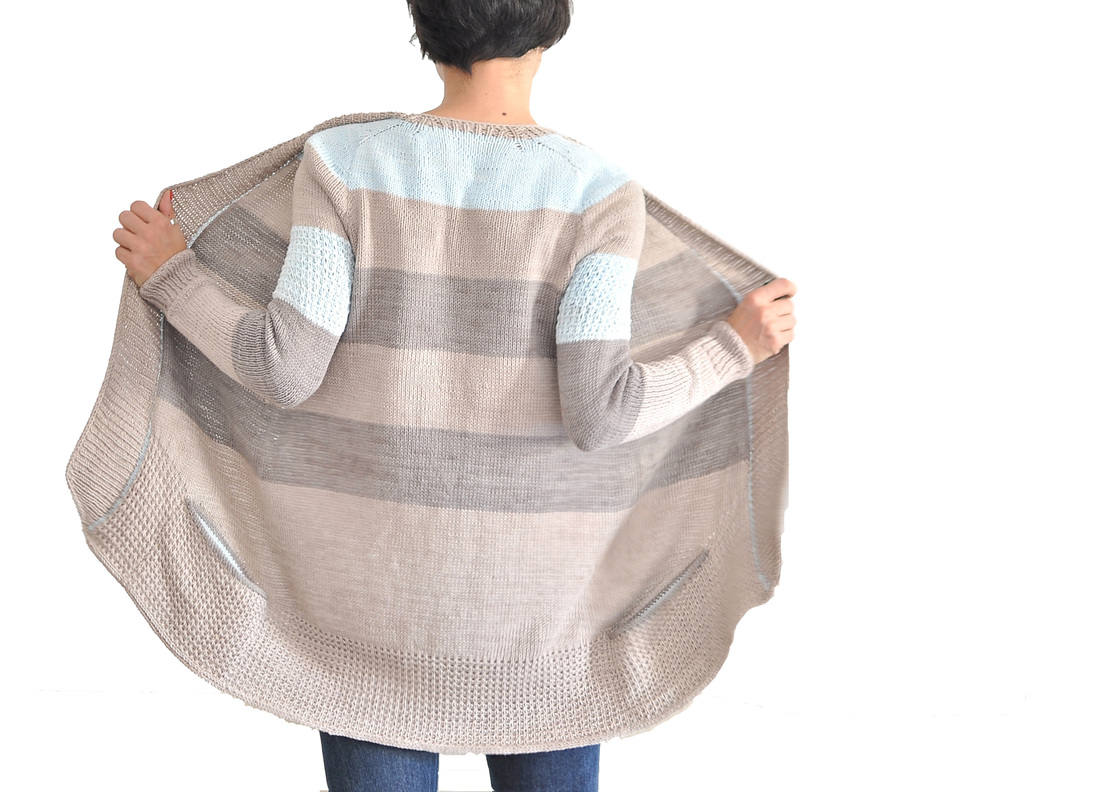
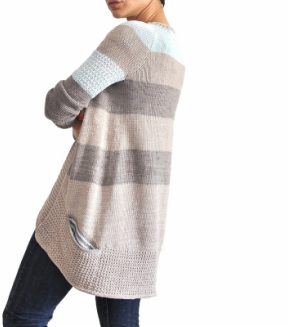
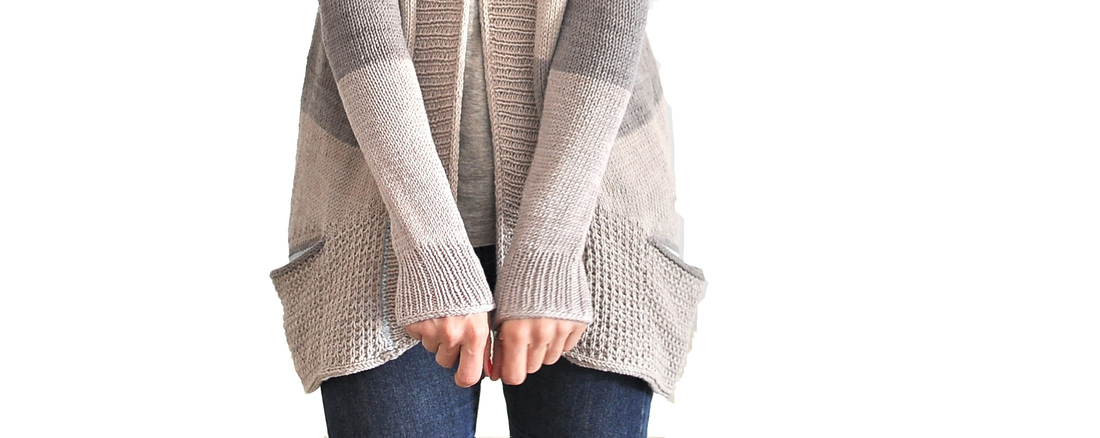
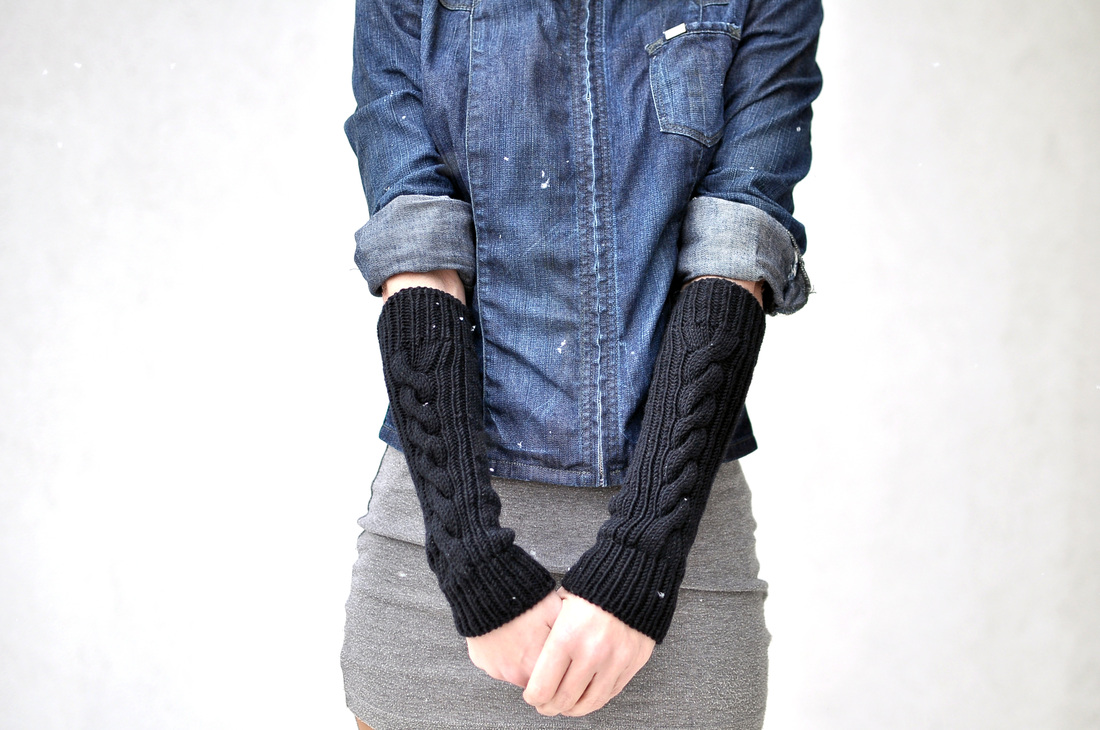
I have waited quite a long time to write this post, but finally I can say it: the pattern I have been working on since last summer is published! It all started out as many of my patterns do.. I wanted to do some experiments on yoke/shoulder/sleeve construction and was determined to find a solution that allows for a top-down construction with a tailored, well fitting look and feel! Especially the contiguous shoulder construction (an ingenious idea developed by Suzie Myers) intrigued me... I have done some garments with it and I liked the clean and well-cut shoulder it produced, but I had some issues with the way the fabric accumulated next to the sleeve and the narrow sleeve-cap that did not really adapt to the natural shape of the shoulder in my opinion (and I didn't find it as comfortable when worn as with a raglan for example). I thought about all the other construction methods I knew for top-down knitting and I tried to combine all of the parts I liked about them... and I before I knew it I got a yoke that was something like a mesh up of contiguous, raglan, saddle and set-in sleeve... all in one! This sounds actually quite horrible, but I was very pleased with the "combination" yoke construction that I finally ended up with! So I started to write this pattern and I can tell you that it is not easy to grade a pattern in different sizes when you have just thrown together different construction-parts, since there are no complete references to consult.... ... I almost gave up on it, but I got so many lovely comments on my project page on ravelry that encouraged me to give it another try! The pattern I ended up with was quite advanced naturally - so I wrote a completely different yoke construction (this time a saddled raglan yoke) for a separate version of the same cardigan, so as to make this pattern accessible to intermediate knitters, too. After almost 6 months, 2 pattern PDF's, 2 tech-editors (that I almost killed with my constant emails) and around 20 marvellous testers this huge project found it's way into the ravelry data-base today!!! With all this talk about the yoke construction I forgot to add that I had a blast designing the rest of the cardigan! It features a rounded, longer back, slip stitch patterns on the hem and on the top of the sleeves ...and POCKETS! I published a free pattern for a pair of armwarmers on ravelry - just in time for the christmas-knitting frenzy (as a small gift from me to you guys)!
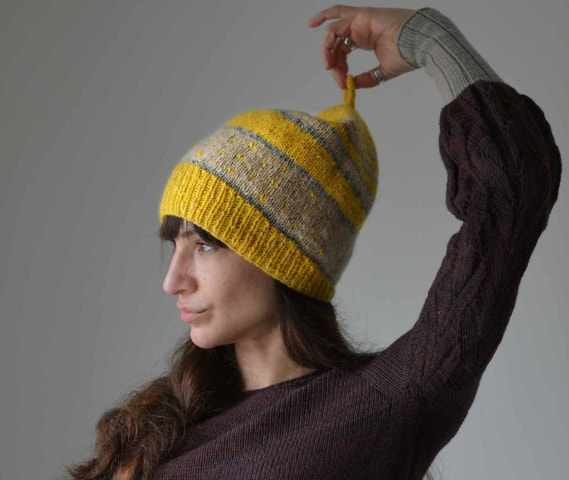
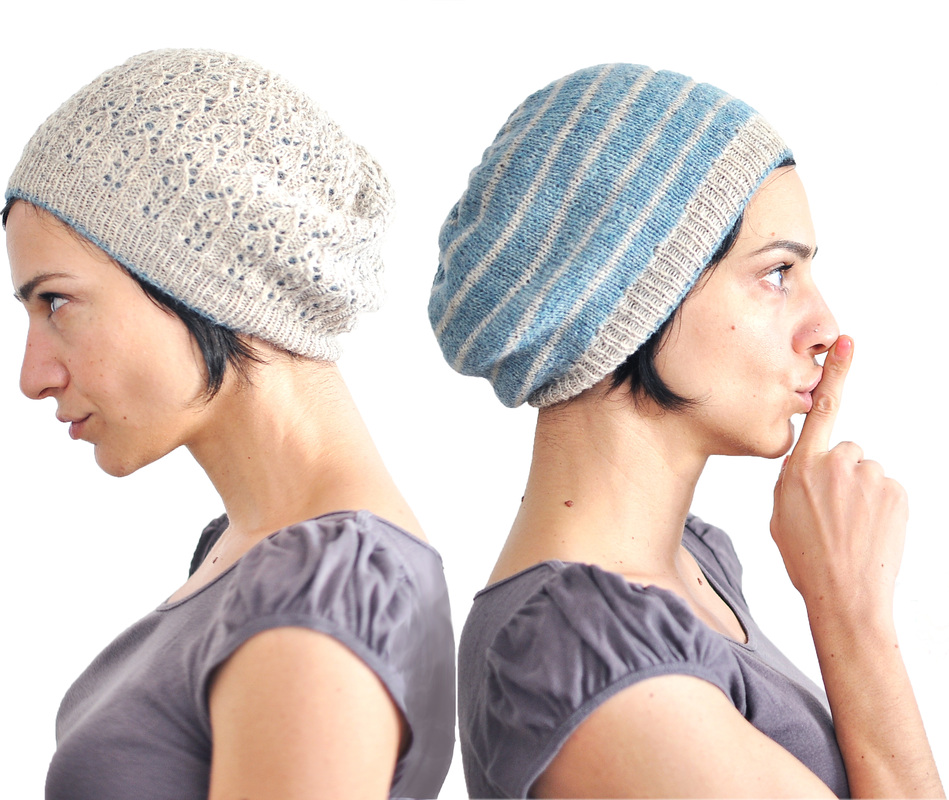
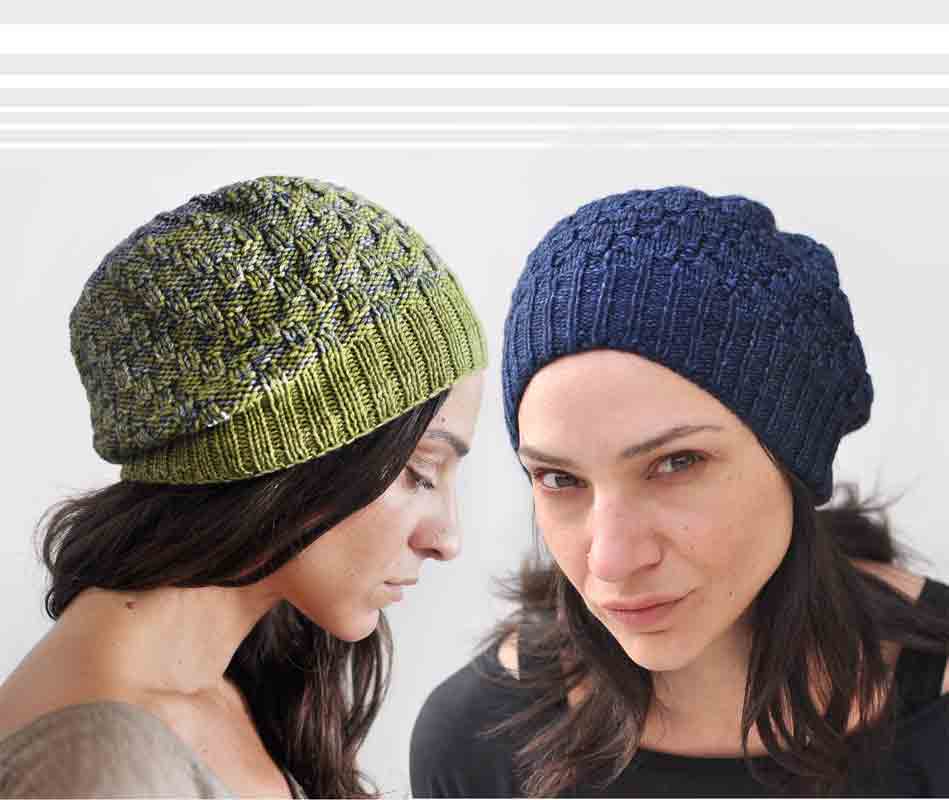
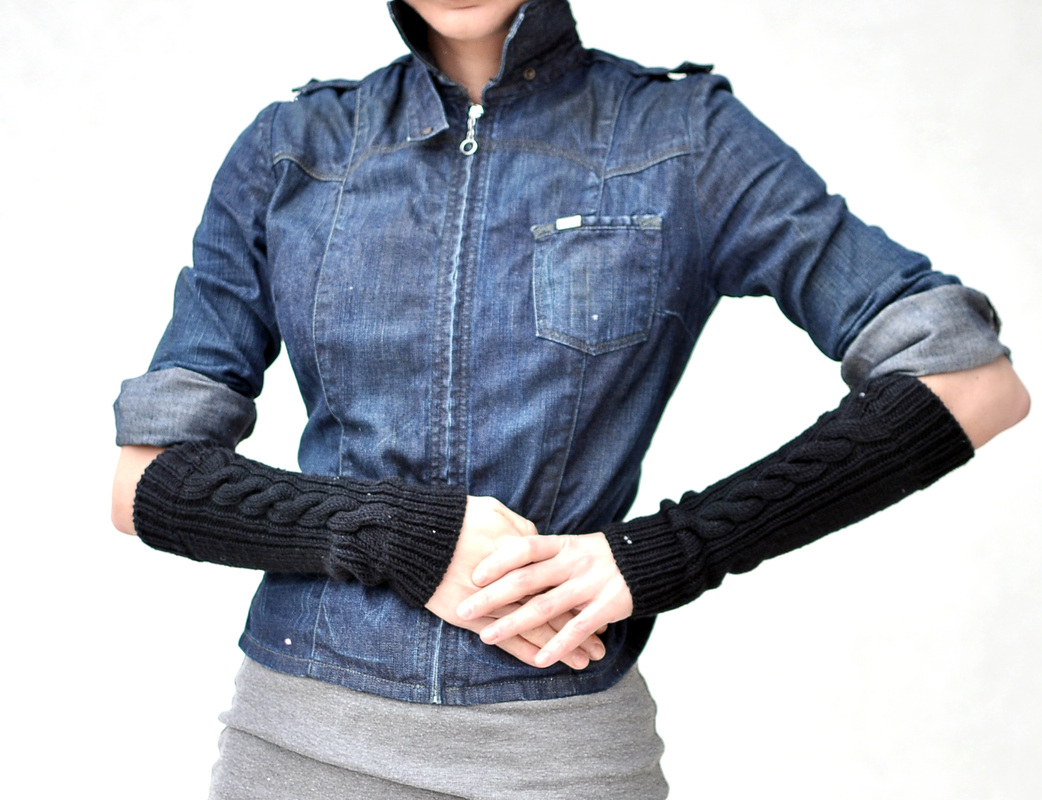
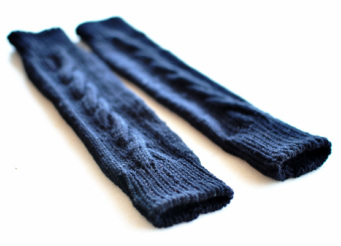
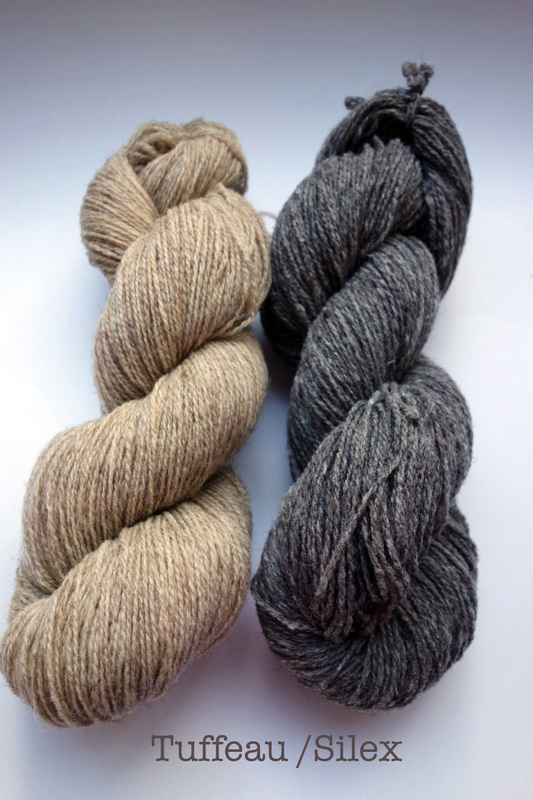
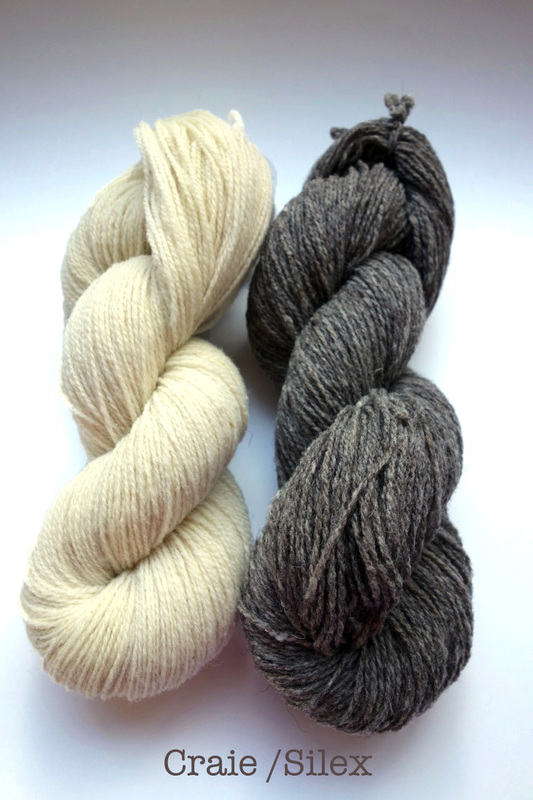
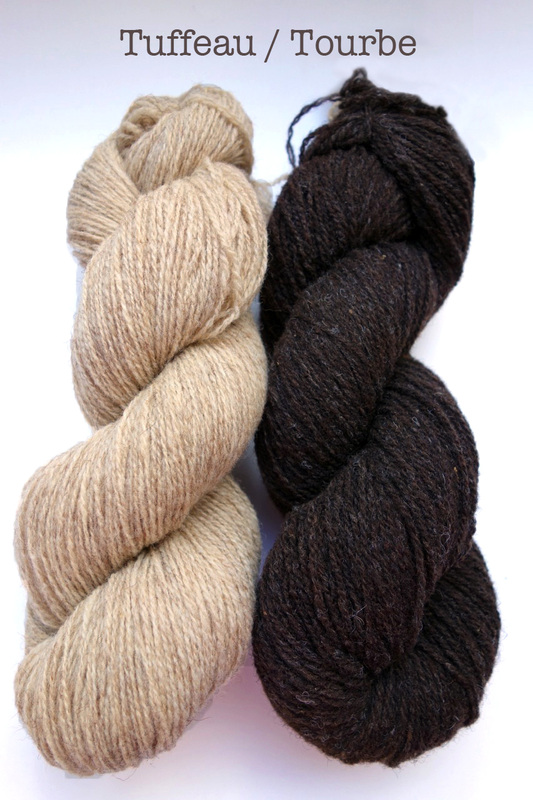
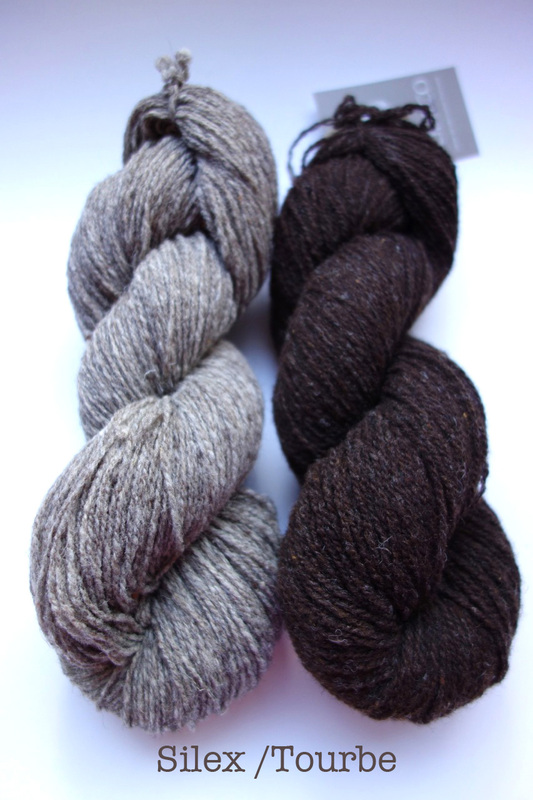
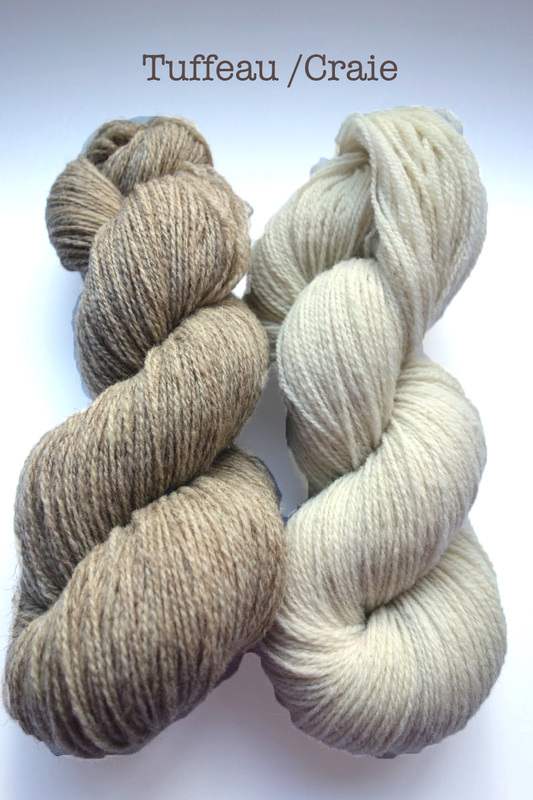
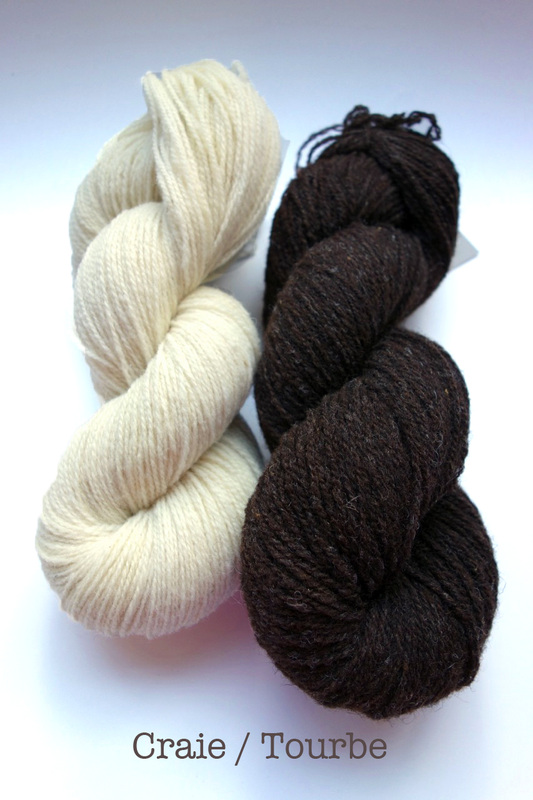
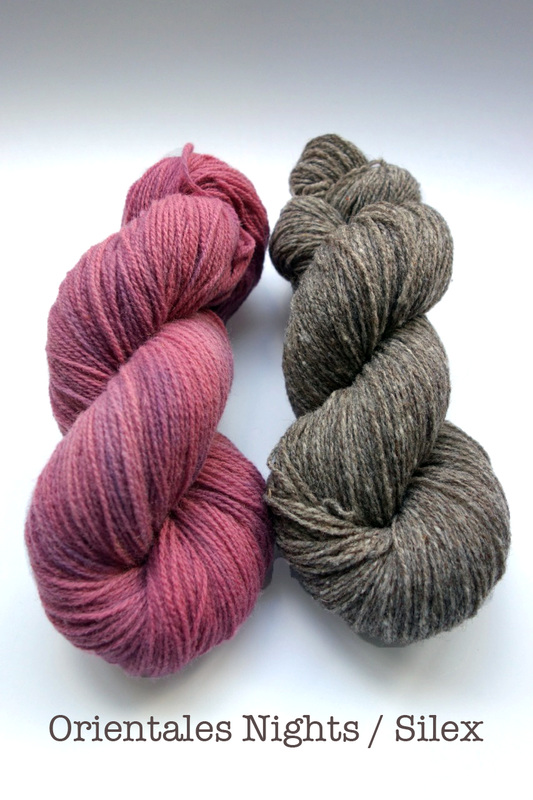
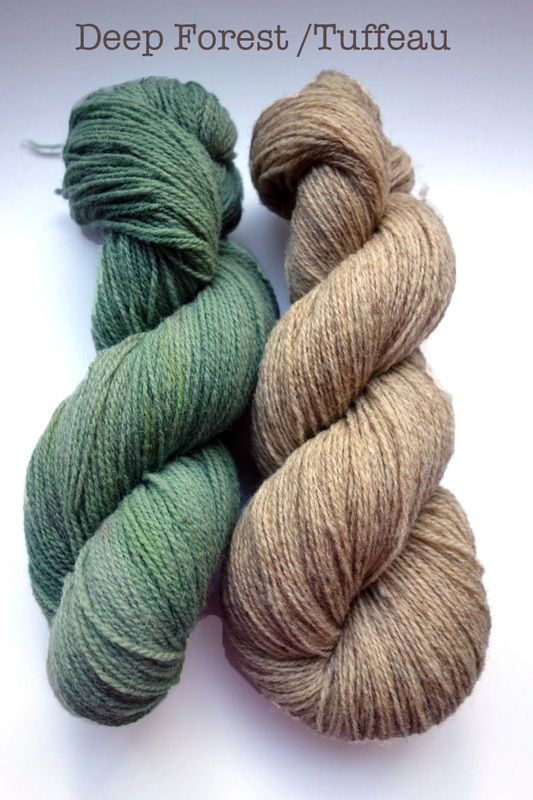
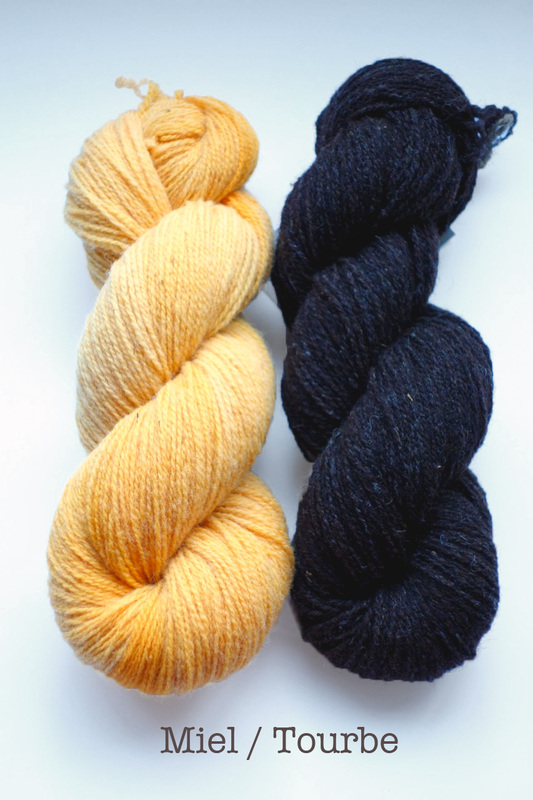
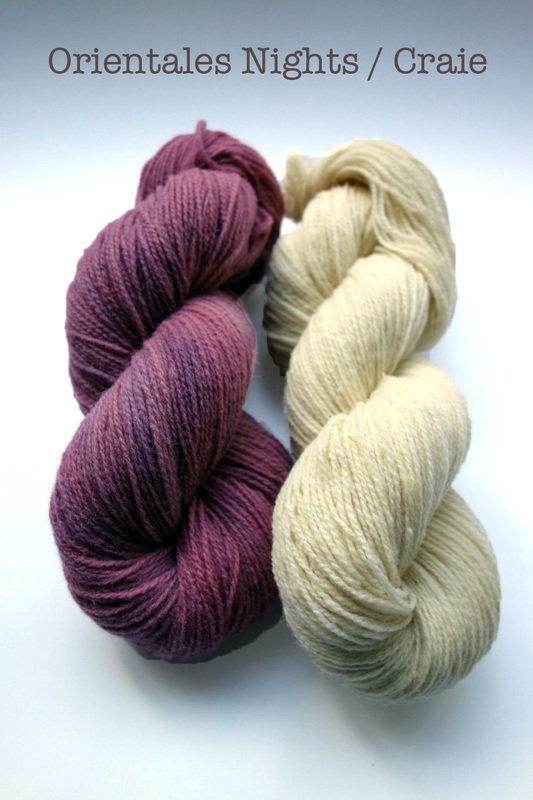
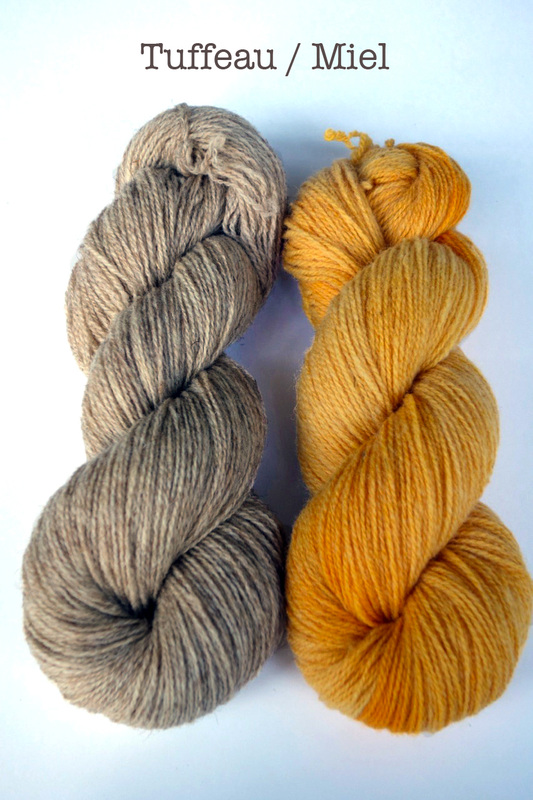
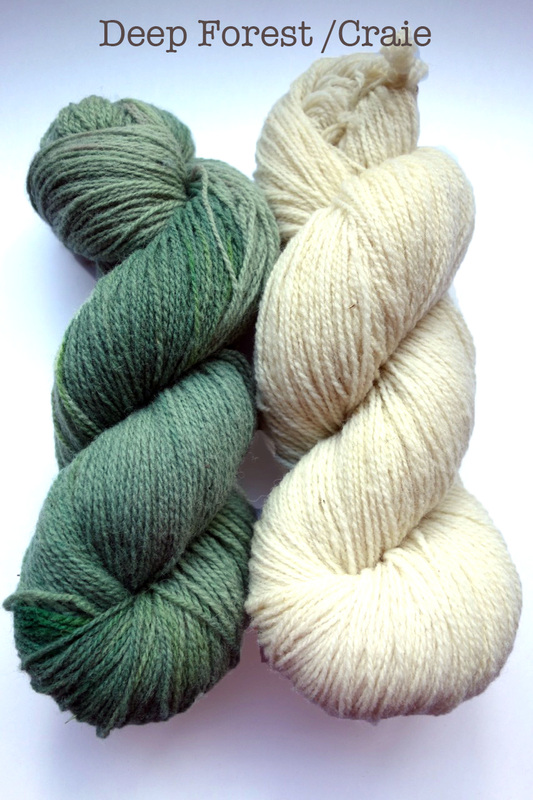
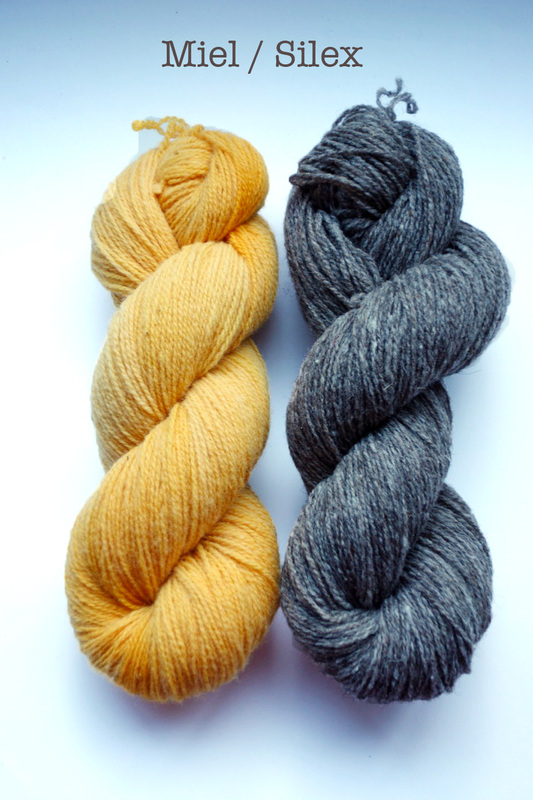
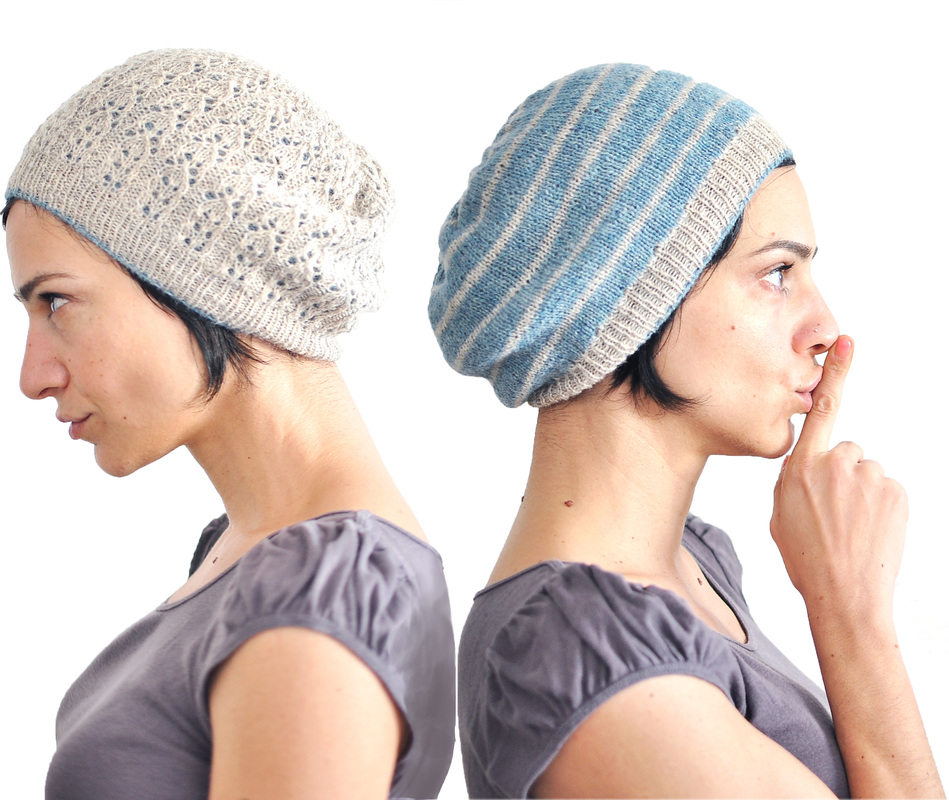
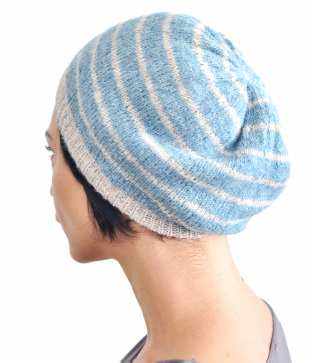
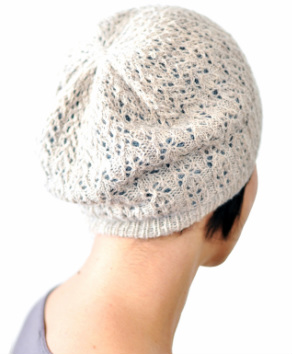
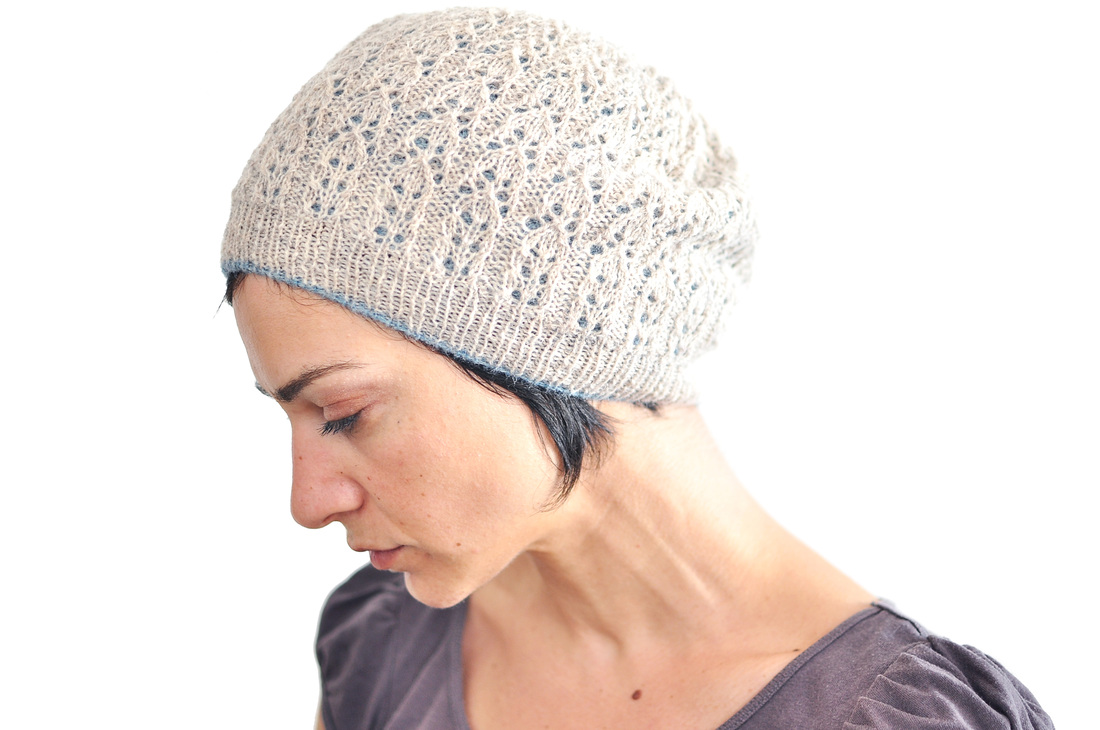
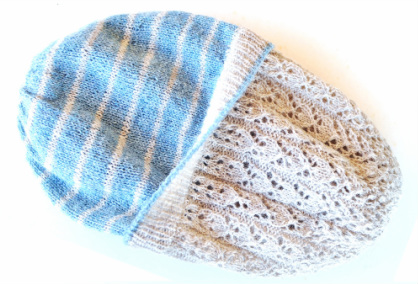
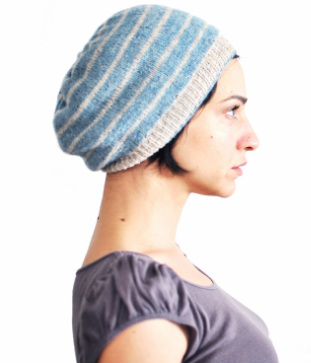
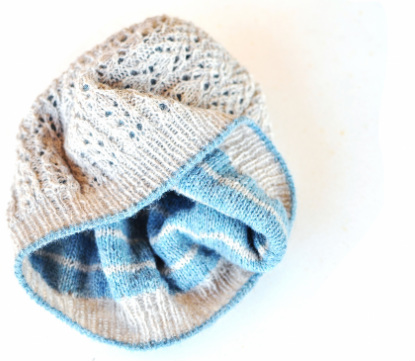
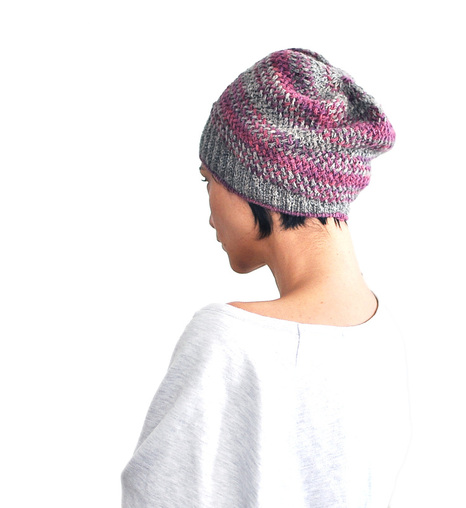
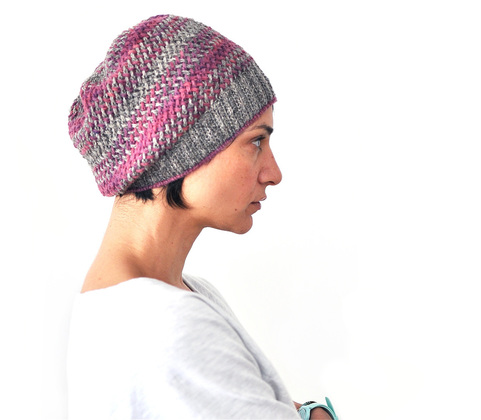
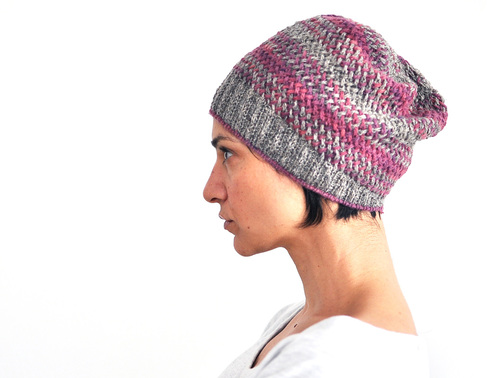
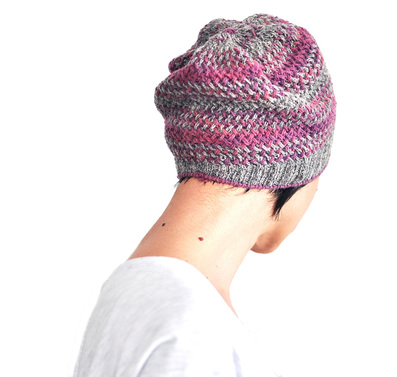
These feature a big mirrored cable, with crisp and neat looking braids thanks to the hidden purl stitch in-between them and the 1x1 ribbing right next to the cables. The rest of the armwarmers is worked in simple Stockinette stitch. Any smooth and highly twisted yarn is suitable for showing off the cables. In this sample 100% merino was used, which is an excellent choice for textured patterns. And they are made out of worsted weight yarn, which makes for a speedy knit! This pattern uses a tubular cast on and bind off for a very neat looking finishing that has also extreme stretch (my absolute favorite for accessories). But if you don't feel up to work this technique, you can exchange this CO or BO with any other method of your choice, just make sure that it is very stretchy! And while I was taking the pictures for the pattern it started to snow - for the first time this winter, very softly and silently the snowflakes wanted to make their presence in my photos... You can download this pattern for free either on this site here, or directly on ravelry. 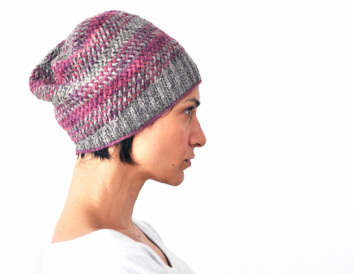 My new hat pattern!!! It has quite an interesting fabric with a stitch that highlights all subtle colour-changes in hand dyed indy yarn! This Diagonal-Basket-Weave-Stitch-Pattern is also the reason for the funny name. Quadrifurcus means "crossroads" in latin (yes... our friends the Romans had quite some ridiculous sounding words, some times) - and I liked it, not only because I have a penchant for ridiculous names... but mainly because the stitch allows for all different hues to come together in never ending crossing paths!!! But who cares about the name anyway... The best thing of all is, that Sylvie fromPolo&CO - who made the yarn of my hat - agreed to prepare some incredibly gorgeous kits extra for this pattern!!! She has been working like a maniac to prepare all the yarn and kits, so that they will be ready and waiting for you in her little etsy-shop tonight, at 19:00 GMT. For the first 2 weeks of it's publication, until Nov 30, 2013 at 0:00 GMT, the pattern will be exclusively available in her shop (together with the yarn-kits) at a special price.... Polo&Co is in France and all the yarn is made exclusively out of local french wool that is washed, carded and spun on the spot! There will be two different kinds to choose from: A Natural Colour Combination (at 8,70 Euros + Shipping) With 2x50gr balls of yarn in gorgeous "sheep" colours... unprocessed, natural colours without any added dye: just the actual colour the yarn had when it was shorn from the sheep. By clicking on the images below you can get to each kit page directly to order it. And a Coloured Combination (at 11,50 Euros + Shipping) Again 2x50gr balls of yarn. One in a natural shade as above and another one in a gorgeous hand-dyed colour out of natural & biodegradable dyes. By clicking on the images below you can get to each kit page directly to order it. The Quadrifurcus pattern will be offered together with each kit until Nov, 30 - at the discounted price of 3,20€ (it is already included in the above prices)! After that period it will be available through my own shop and ravelry (without the kit sadly) at it's regular price of 4,20€. My new hat pattern is almost out! (Edit: it IS out and you can find it here on ravelry!!!) It's a reversible hat with a dual personality disorder! The one side (Mrs. Jekyll of course) is a dainty feminine lacy hat with 2 main lace patterns that repeat in different combinations all through to the top, while the other side (called Little Hyde, just in case that you were wondering...) is a playful sporty take on narrow stripes on a colourful contrast yarn and only some tiny little eyelets near the brim. The colour of Little Hyde is showing through the eyelets of the lace - and if you choose a bright colour for the contrasting lining of the hat (one that's different from your hair colour works best), then your Mrs. Jekyll will have some coloured spots that shine through her lace!!! The best part in this hat (in my humble opinion of course) is that both hats share the same brim, that is made in one layer only. Most reversible hats have this bulky brim because they have the lining start from the very edge of the hat! This results in having too much fabric around the face - a look which is fine with bulky hats, but I didn't want this for the feminine little lace beret I had in mind. So I thought about a way to make the ribbing with one layer only and to incorporate the lining stitches when finishing the brim of the hat - with a seamless construction of course! And of course I just had to make the tubular cast-on for this hat... again... ! This time with the contrast colour for the first rounds, to visually "connect" Mrs. Jeckyll and Little Hyde! Since I tried this cast-on method I just can't go back to any other... especially when working fine yarn and especially for hats and mittens (where you notice the cast-on much more and where you just need to have some stretch in it). If you don't know this technique I strongly suggest you'd check it out: here is a great video link from Ysolda Teague) Finally the double layer of the hat has also a practical reason (besides being fun when we try to emulate our own dual personalities)! It gives added warmth, since a hat in light fingering yarn (Holst supersoft in this case) wouldn't be very useful for winter - especially in fine lace! The pattern for the hat will be available starting the 26th of October 2013. For today only my friends from my knit-group here in Athens will get the pattern as an early christmas present... since I won't be here for the next couple of meetings! Oh... I absolutely forgot!!!
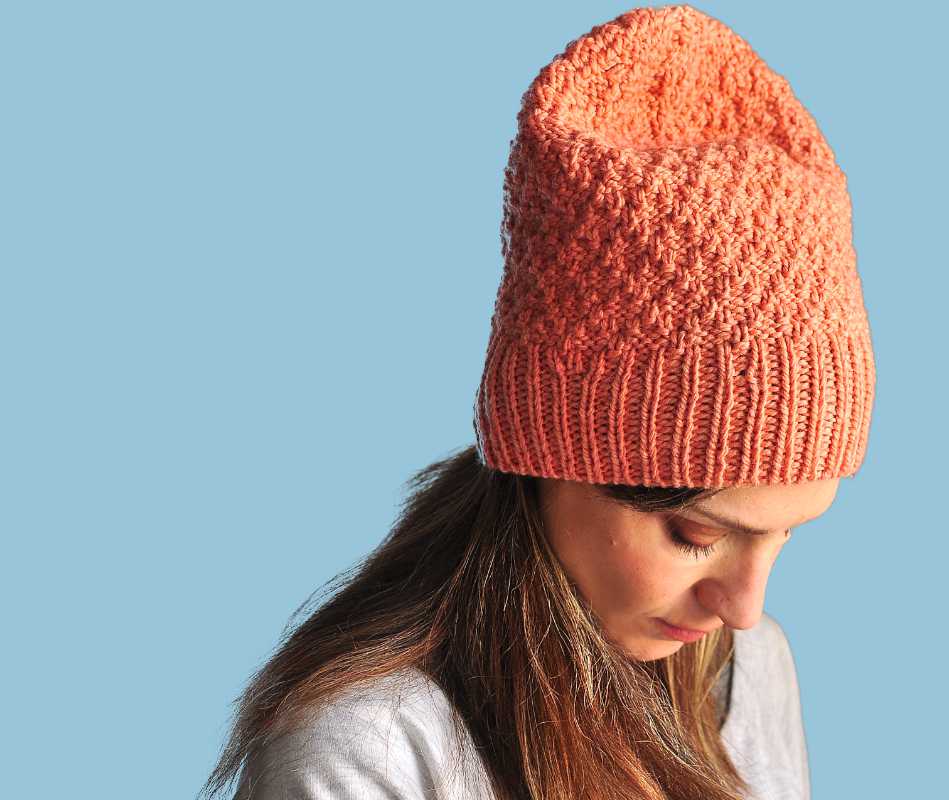
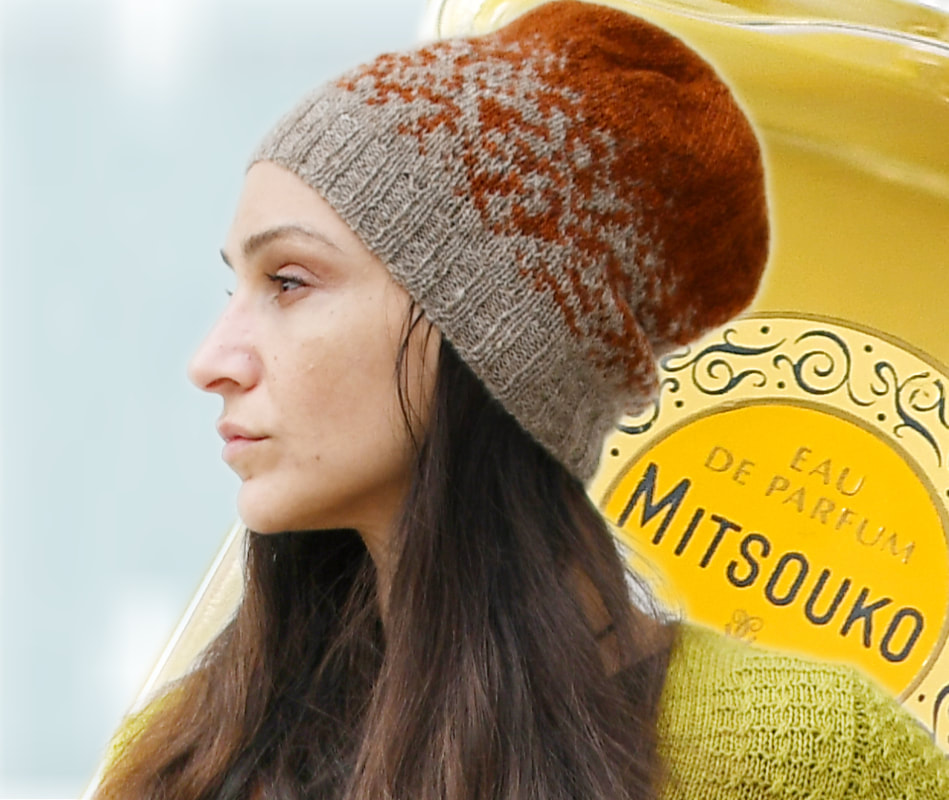
I thought it would be fun to play a launch game for this pattern: Tomorrow I'll open a thread in my group on ravelry about the Mrs.Jekyll & Little Hyde pattern and the first 15 commenters will get the pattern as a gift! So keep your eyes on the group! I finished the hat!!! You remember, my first project using my brand new gorgeous indy-yarn? I really like how it came out, even with its slightly unconventional shape… the fabric is quite dense because of the weave-pattern (which makes it very warm thankfully) and this allows the hat to take on different forms: so it can be worn either as a béret style hat (when pushed down at the back)…. ….or - my personal favorite - in a more hipster style (when just crunched a little bit at the top)! Pardon my slightly crazy eye in this pic… I don’t know what was *that* shocking… :) I did the ribbing with a slipped stitch detail and with diagonal shaping to keep it less bulky at the neck (since I always look like an idiot with either bulky & scrunched ribbing in my neck area or the wider part of the hat starting too high up)! I think that the biased shape gives also a nice “turbanesque” touch to the whole hat (and keeps the top of the hat slightly lower & near the nape… a good thing when you wear a tall hat and you don’t really dig the smurf-look). The weave stitch seems to be a little complicated at first, but one gets into the rhythm soon enough…
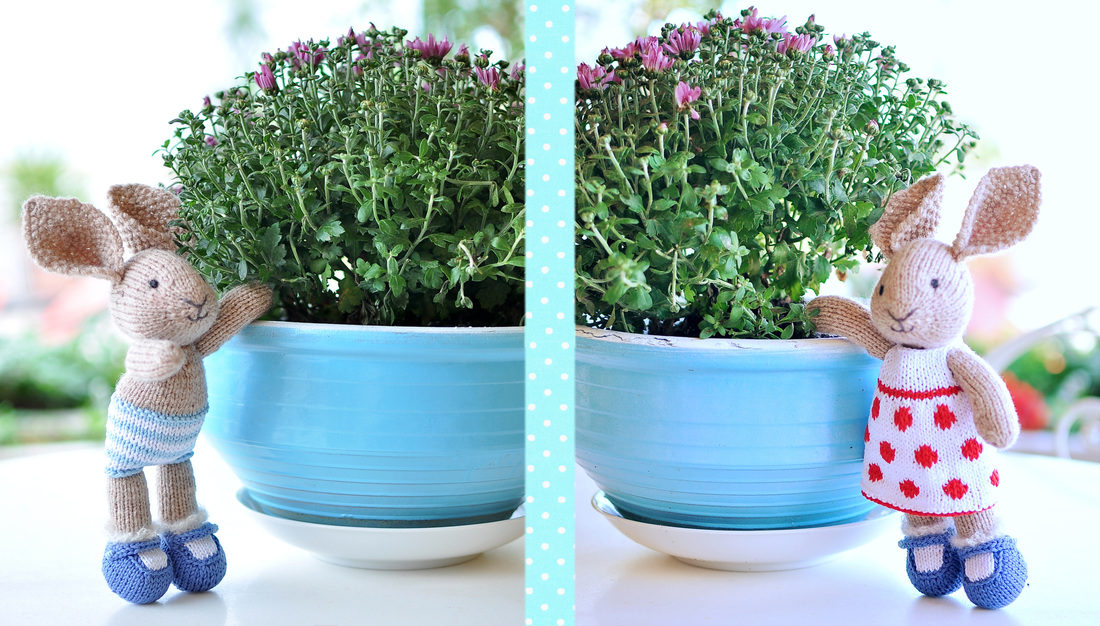
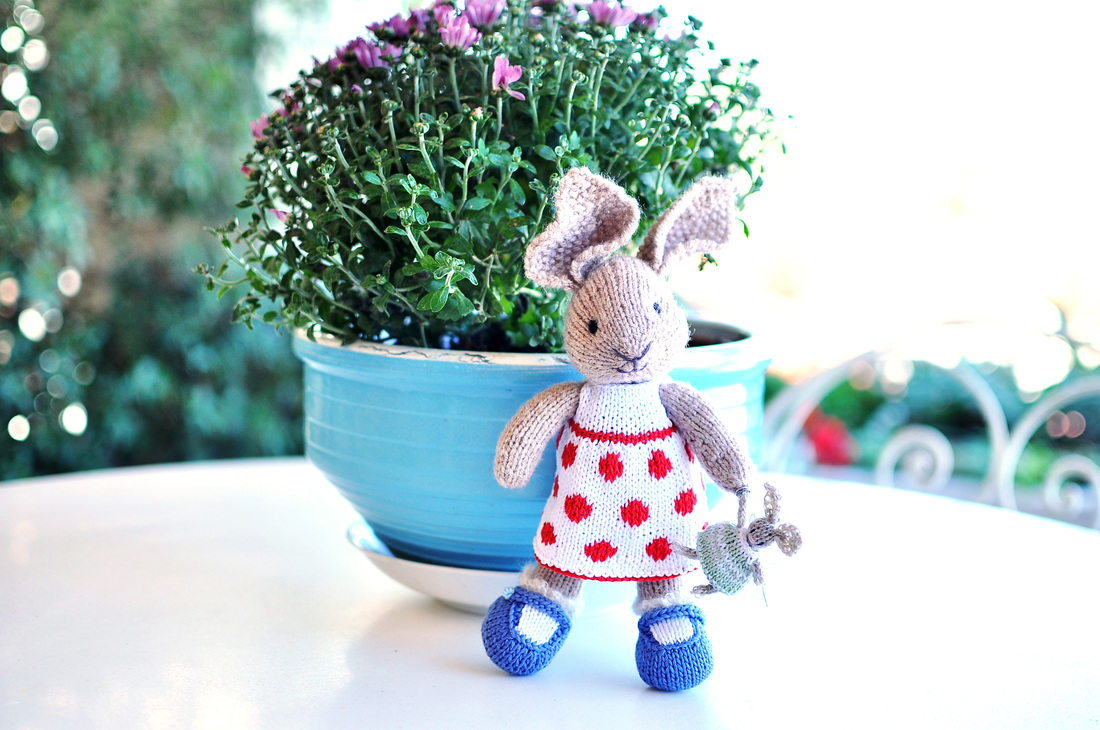
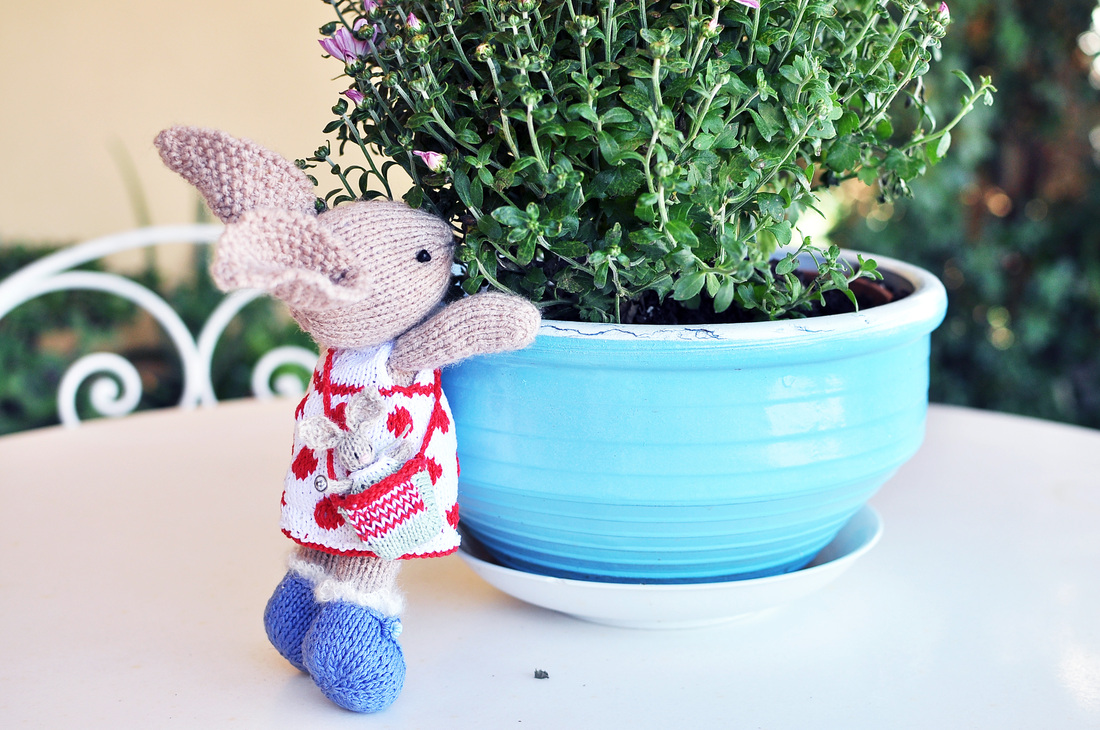
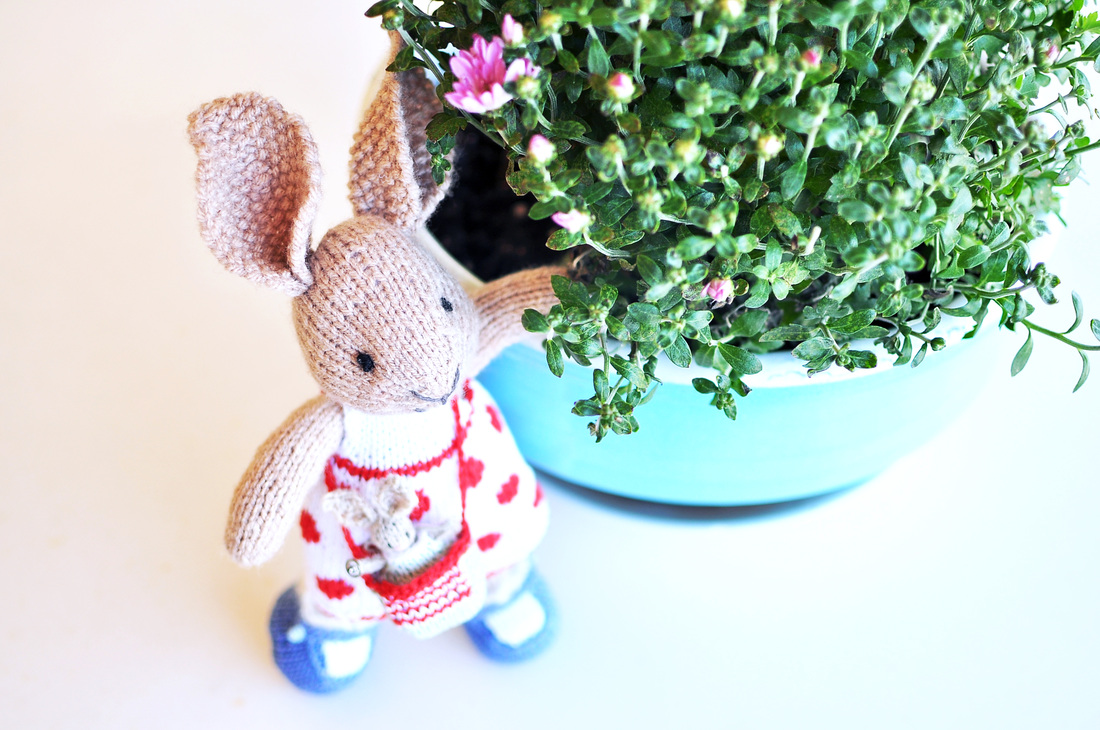
…but the best thing is: it perfectly hides the jog when knitting in the round!!!! Have you guys seen this wonderful toy pattern by Julie from “Little Cotton Rabbits”? She wrote the most wonderful pattern to knit your very own bunny-friend with lots of detailed instructions and great pictures to illustrate every step. It’s really lots of fun to decide on colours and texture and to see your little rabbit come to life with every stitch you make! I did very few modifications (notably the little ankle socks with the crocheted frilly mohair lace) but followed the pattern mostly for everything else… Because my little bunny girl seemed a little bit lonely and sad I decided to make her a little toy of her own. Julie has a lovely pattern for the teeny tiny bunny on her blog (and she even has a post for the itty bitty dress it wears). My little bunny was very happy with it’s little doll but there were technical problems involved, since the bunny hands have less than perfect motor skills and it could not really carry it’s new friend around… so we found two solutions to this problem: one was to add press studs to both the bunny and the tiny toy hand (with a little bit imagination it even looks like a pacifier) and the other was to knit up a bag to help the bunny carry around it’s little friend… when it’s otherwise occupied! The bag was quickly done: I casted on 10 sts of fingering weight yarn with the provisional method on 2mm/US 0 DPNs and worked in 1 row stripes for 8 rows (in red & white), then I did 2 rows of garter sts and bound off in red. With the green coloured yarn I picked up 6 sts on the side (needle1), undid the prov. co and knitted it (needle2) and then picked up another 6 sts on the other side (needle3). Then I just worked in stocking stitch back and forth for 4 rows and increased on both “corners” at the bottom on every RS: Needle1: K to end, M1R. Needle2: K1, M1L, knit to last st, M1R, k1. Needle3: M1L, knit to end of row. After another 3 rows of stocking stitch I did the back side of the bag with a method that is often used in the heels of socks: On the next RS I knitted the sts of needle1 and 2 - then, I slipped the first stitch from needle3 over the last knitted stitch of needle2, turned the work, slipped the first stitch again and purled back to the end of needle2. There I slipped the next st of needle1 over the last purled st of needle2. Again I turned and slipped the first st before knitting back. I repeated this process until all of the stitches from both needle 1 and 3 were worked up this way and bound off. Then I just crocheted around with a simple ds and the red yarn: I started on the left side of my little garter top and stopped right next to it on the other side. The long strap is also crocheted with a simple chain stitch. Mine is 20cm/8” long, but you should adjust it to your bunny’s size…. I find that it looks cute when it just reaches the hem of the dress. OK.. now that is a very quick and simple description of the bunny-bag and I hope that you’ll still find it useful if you want to make one for your own little bunny girl (or boy, bunnies don't care about gender issues)!!!!
|
RililieThis is a blog about knitting stuff - patterns and the like (the therapeutic part will come after diving into the needles... promise!) affiliate links:
Categories
All
affiliate links:
Patterns:Archives
August 2021
I'm on ravelry |








 RSS Feed

